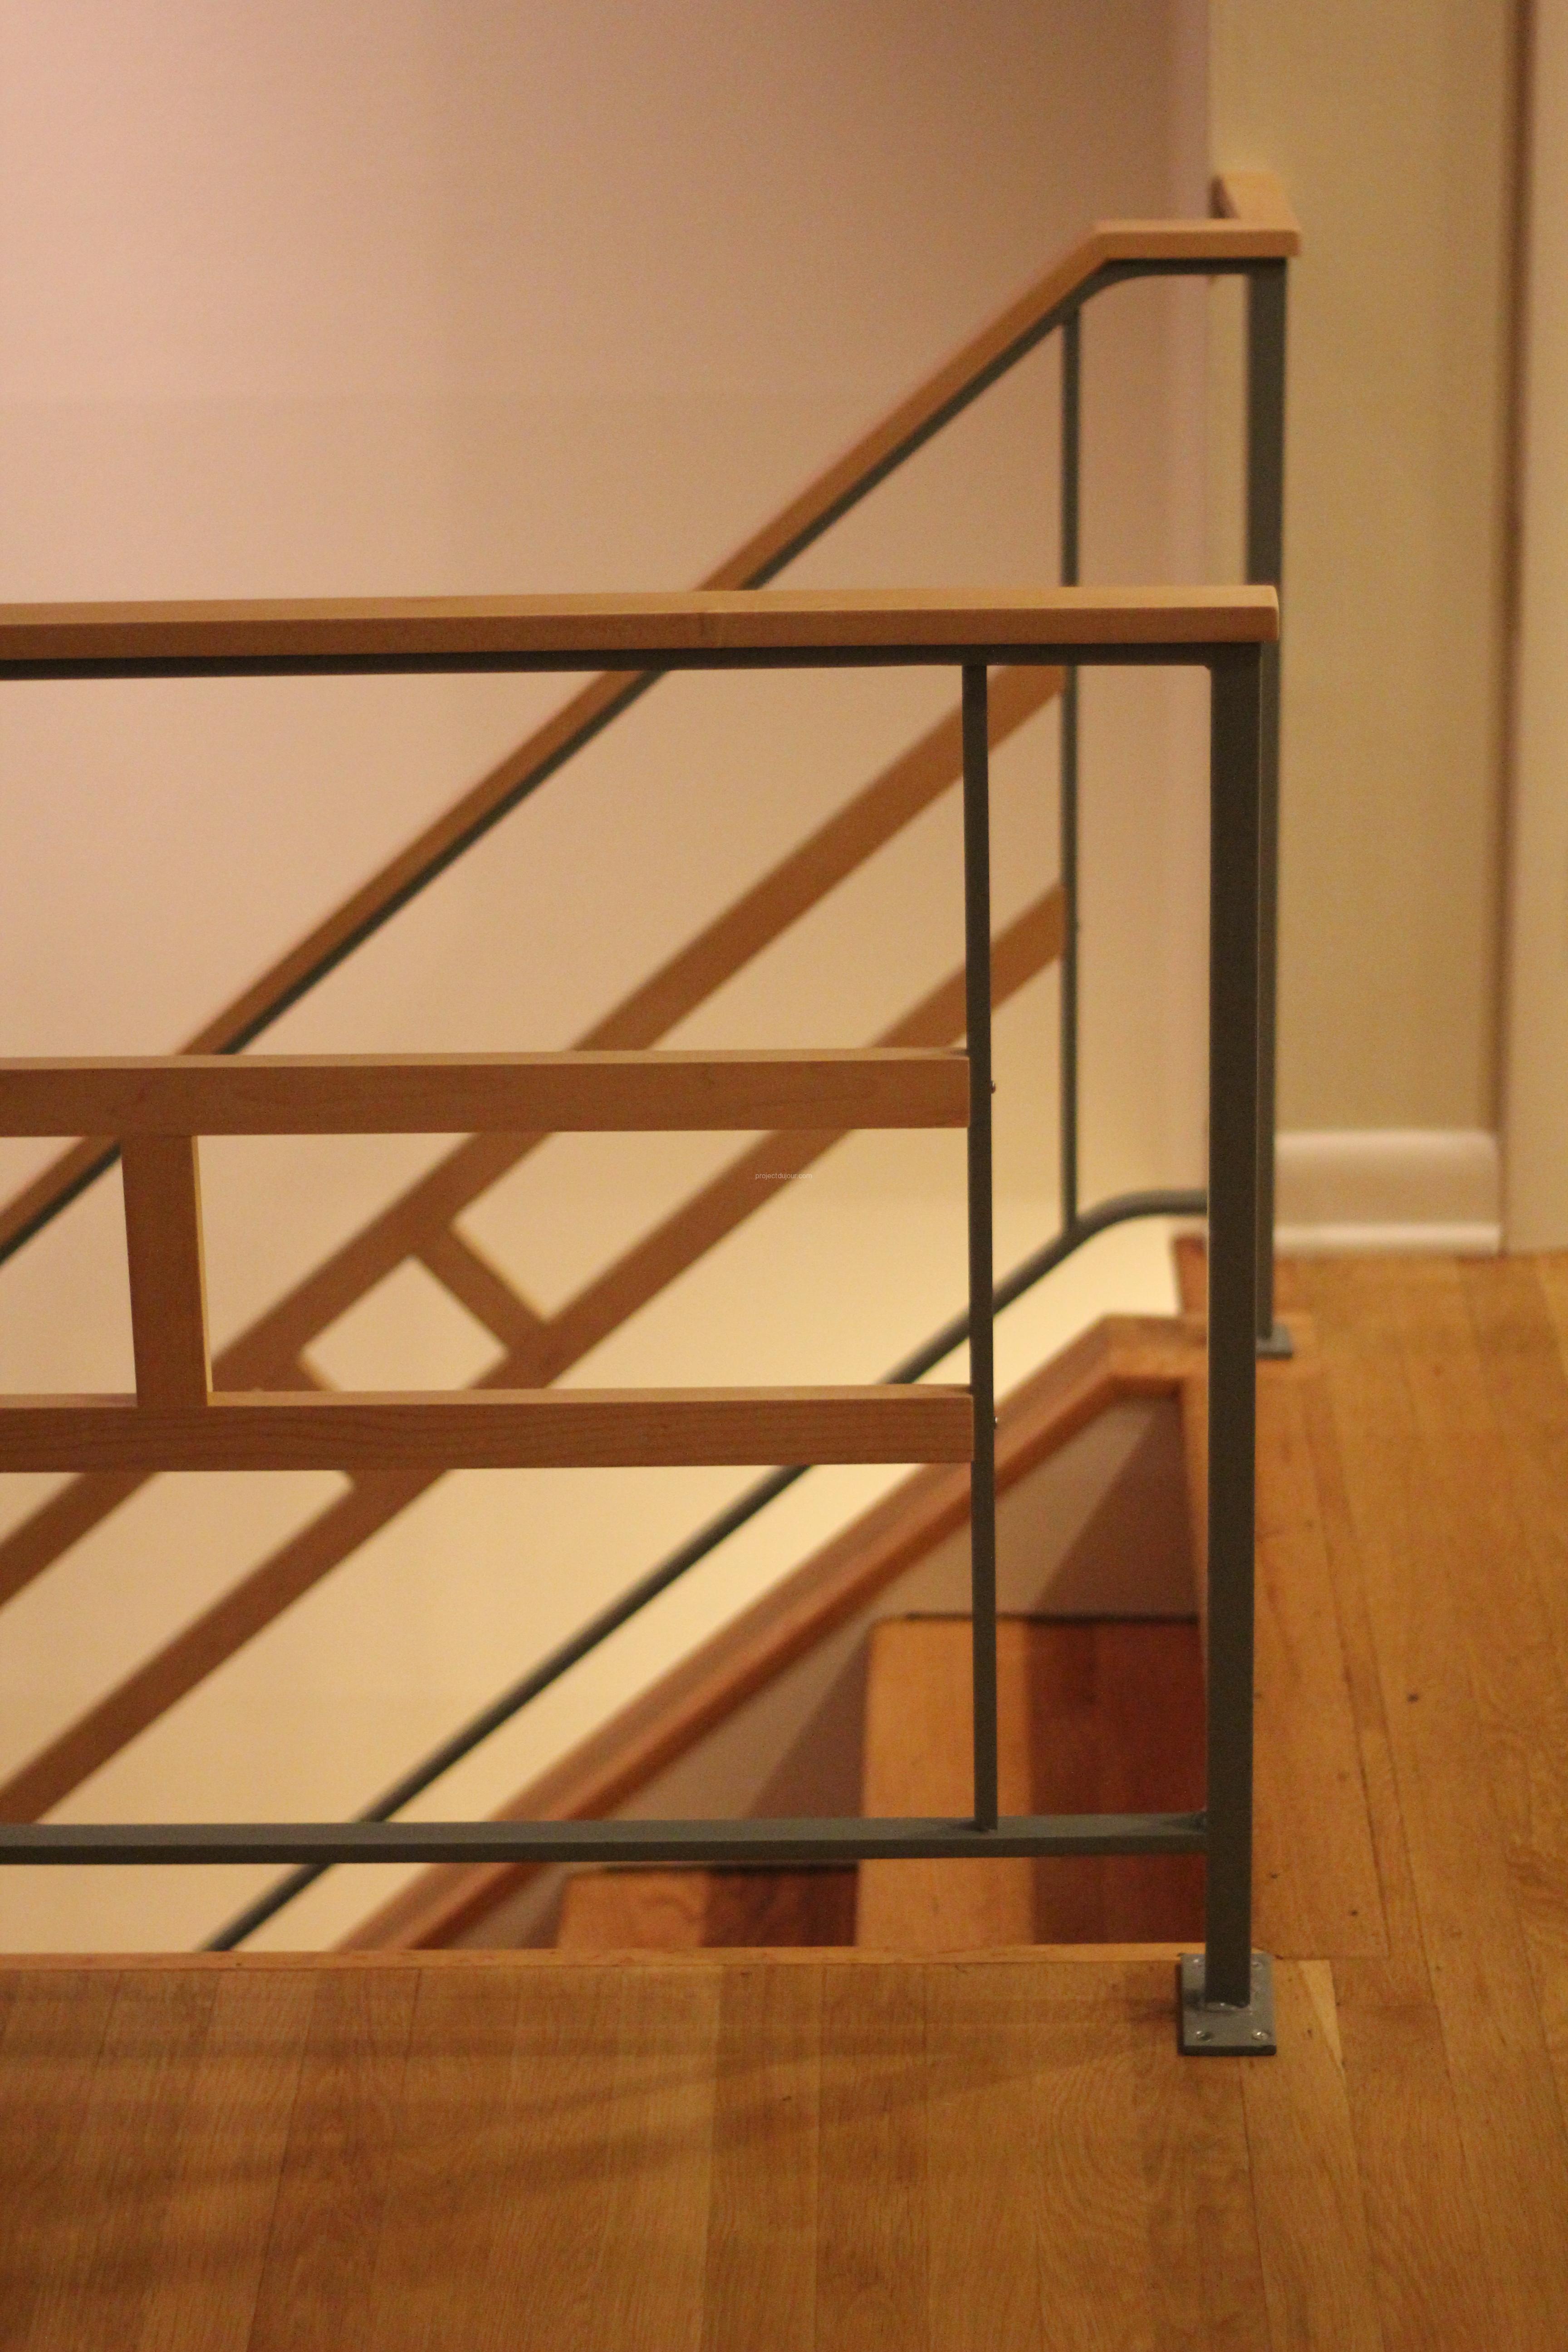
I spent a fair amount of time trying to figure out what to do with the stair railings. I contemplated replacing them altogether or find a way to improve them. I liked the overall dimensions but the triangular pattern and the shape of the handrail were not my taste.
The original railing was very open and I wanted to preserve that. I first took a sawzall and cut the extra pieces I didn’t like in the middle. The handrail was screwed to the frame so this wasn’t too hard to remove, except for 50 years of paint.
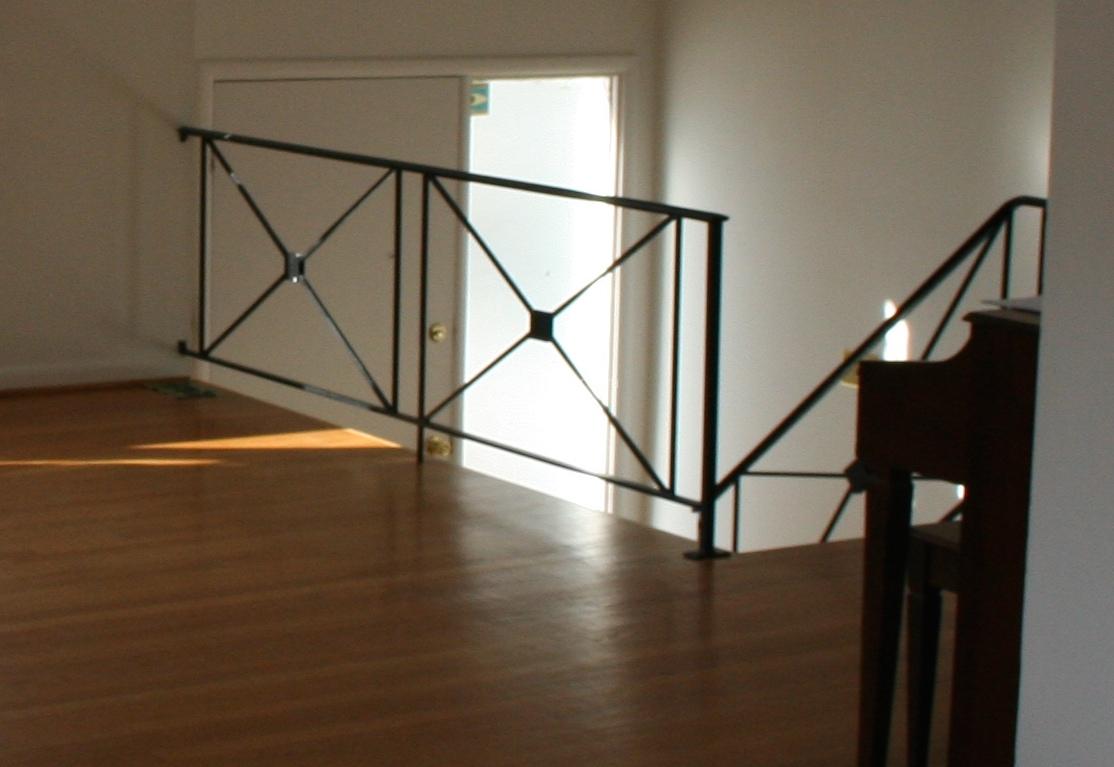
Original railing

Strange angles
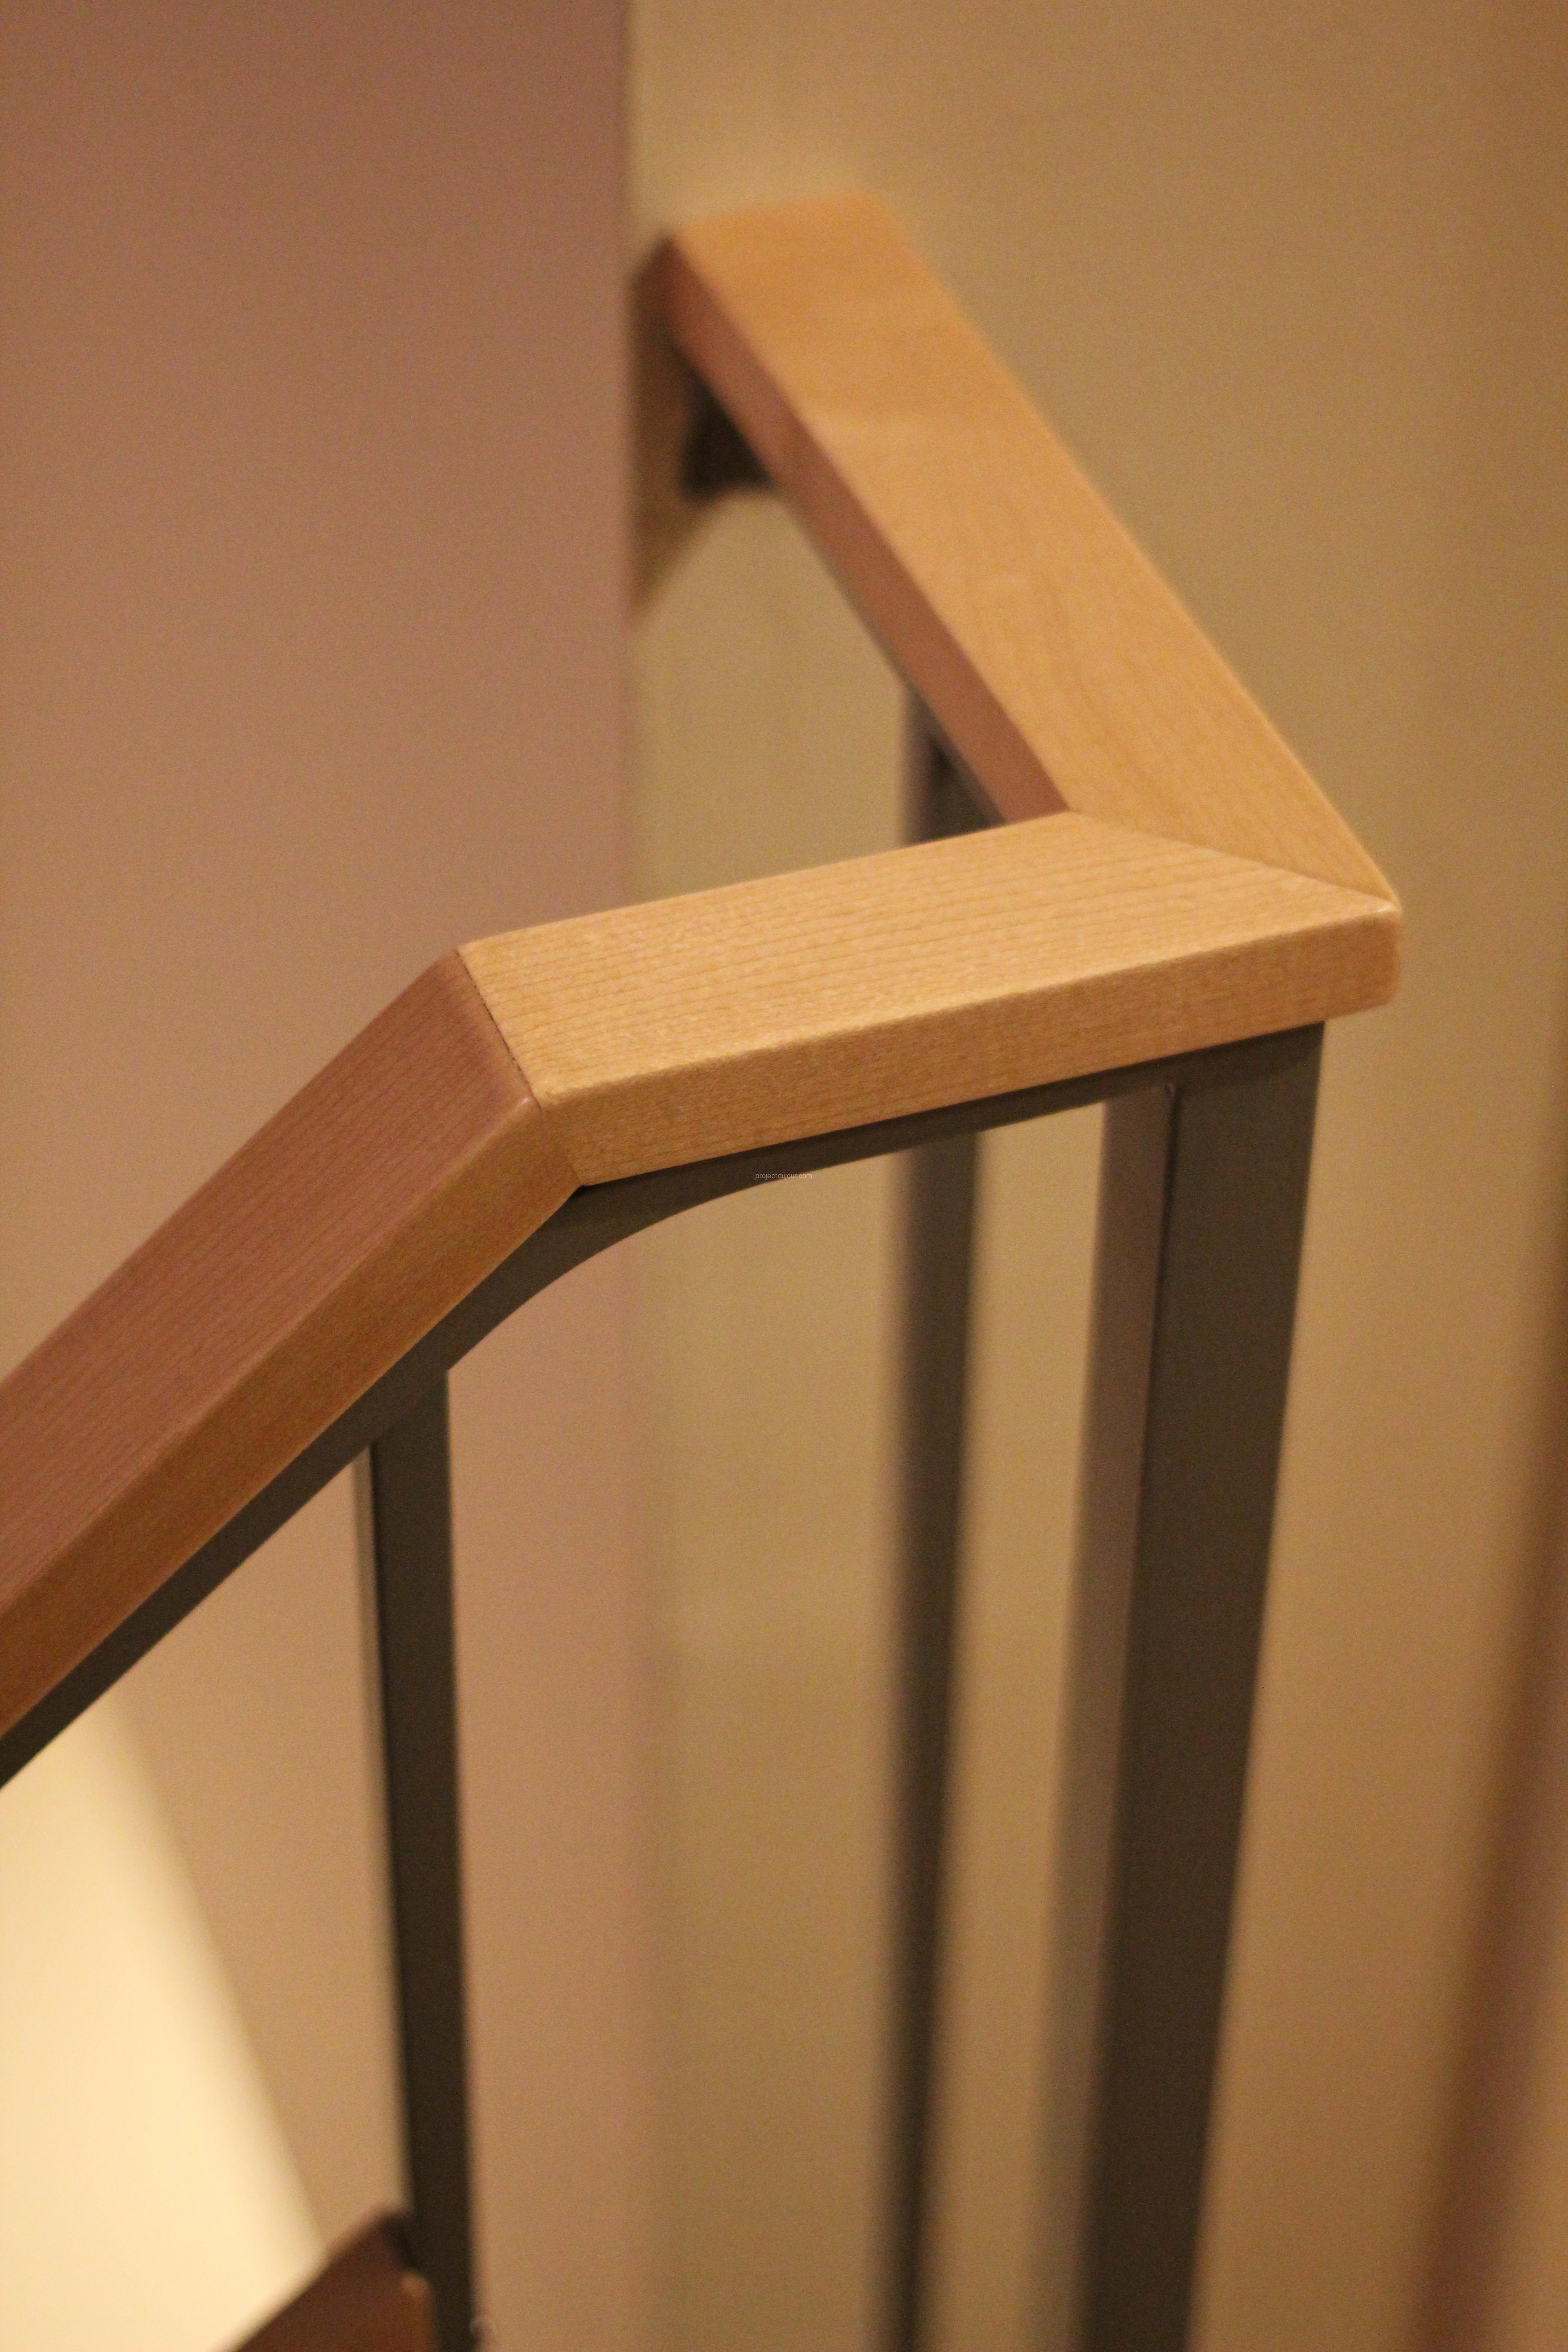
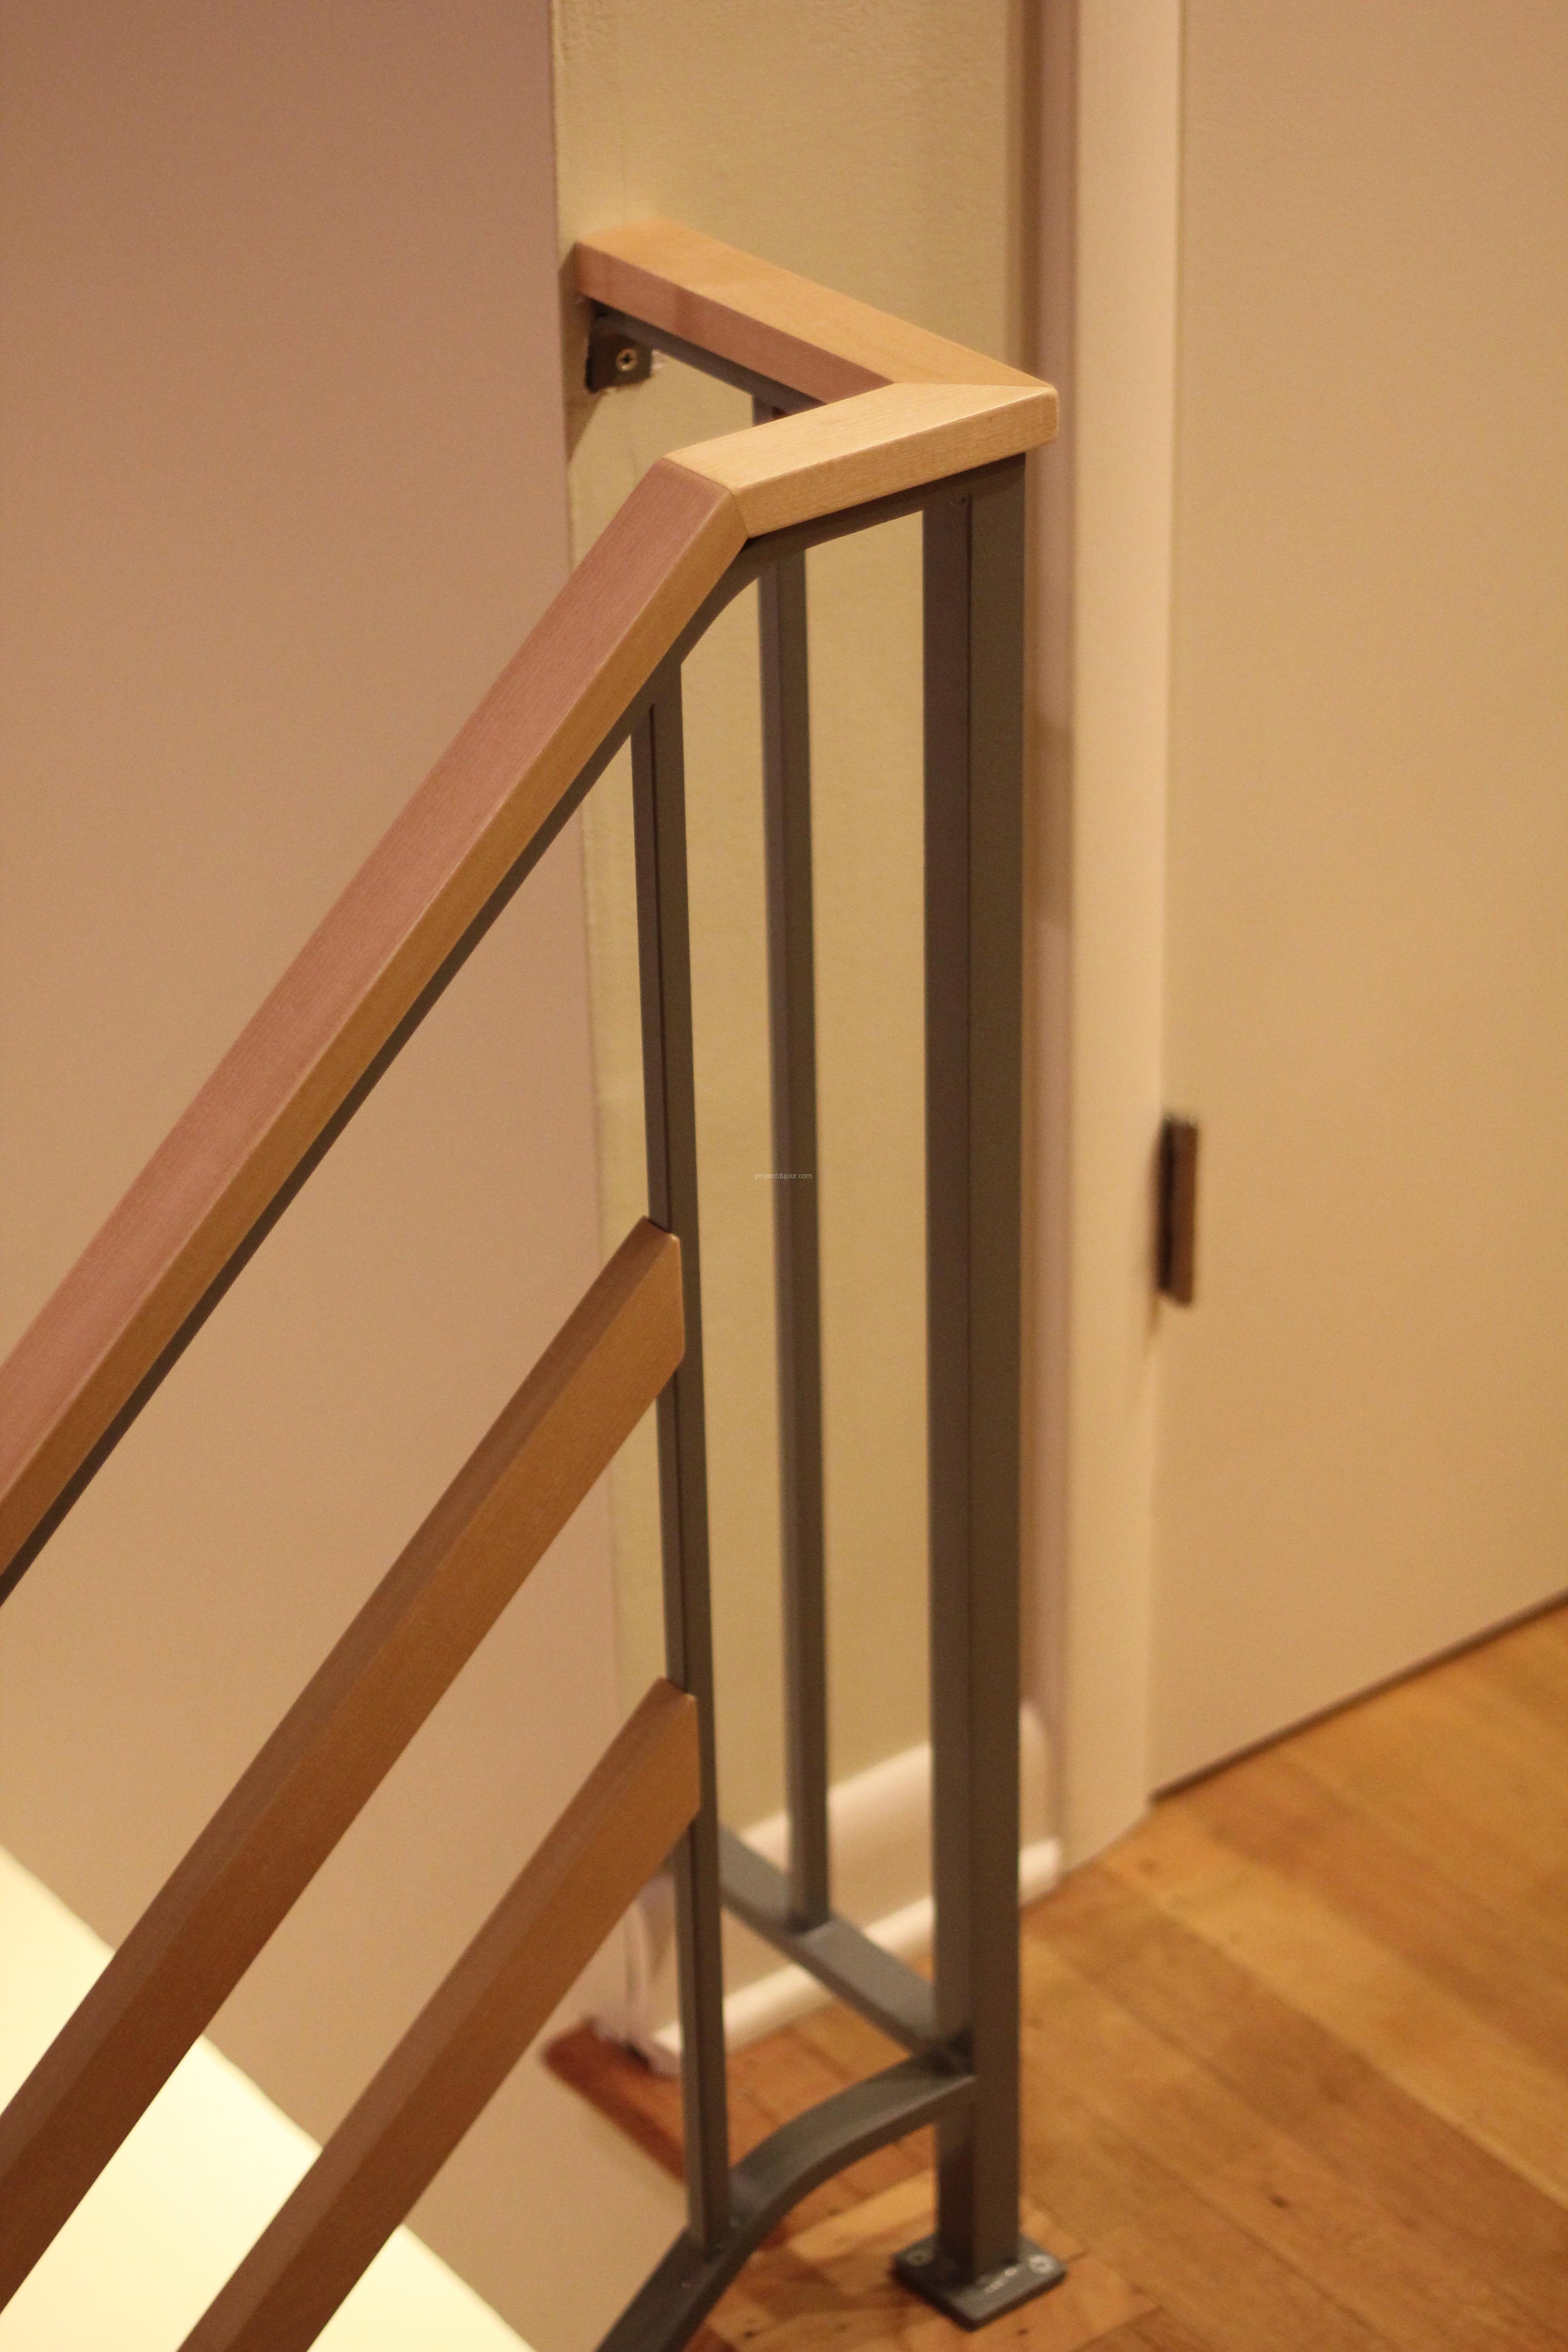
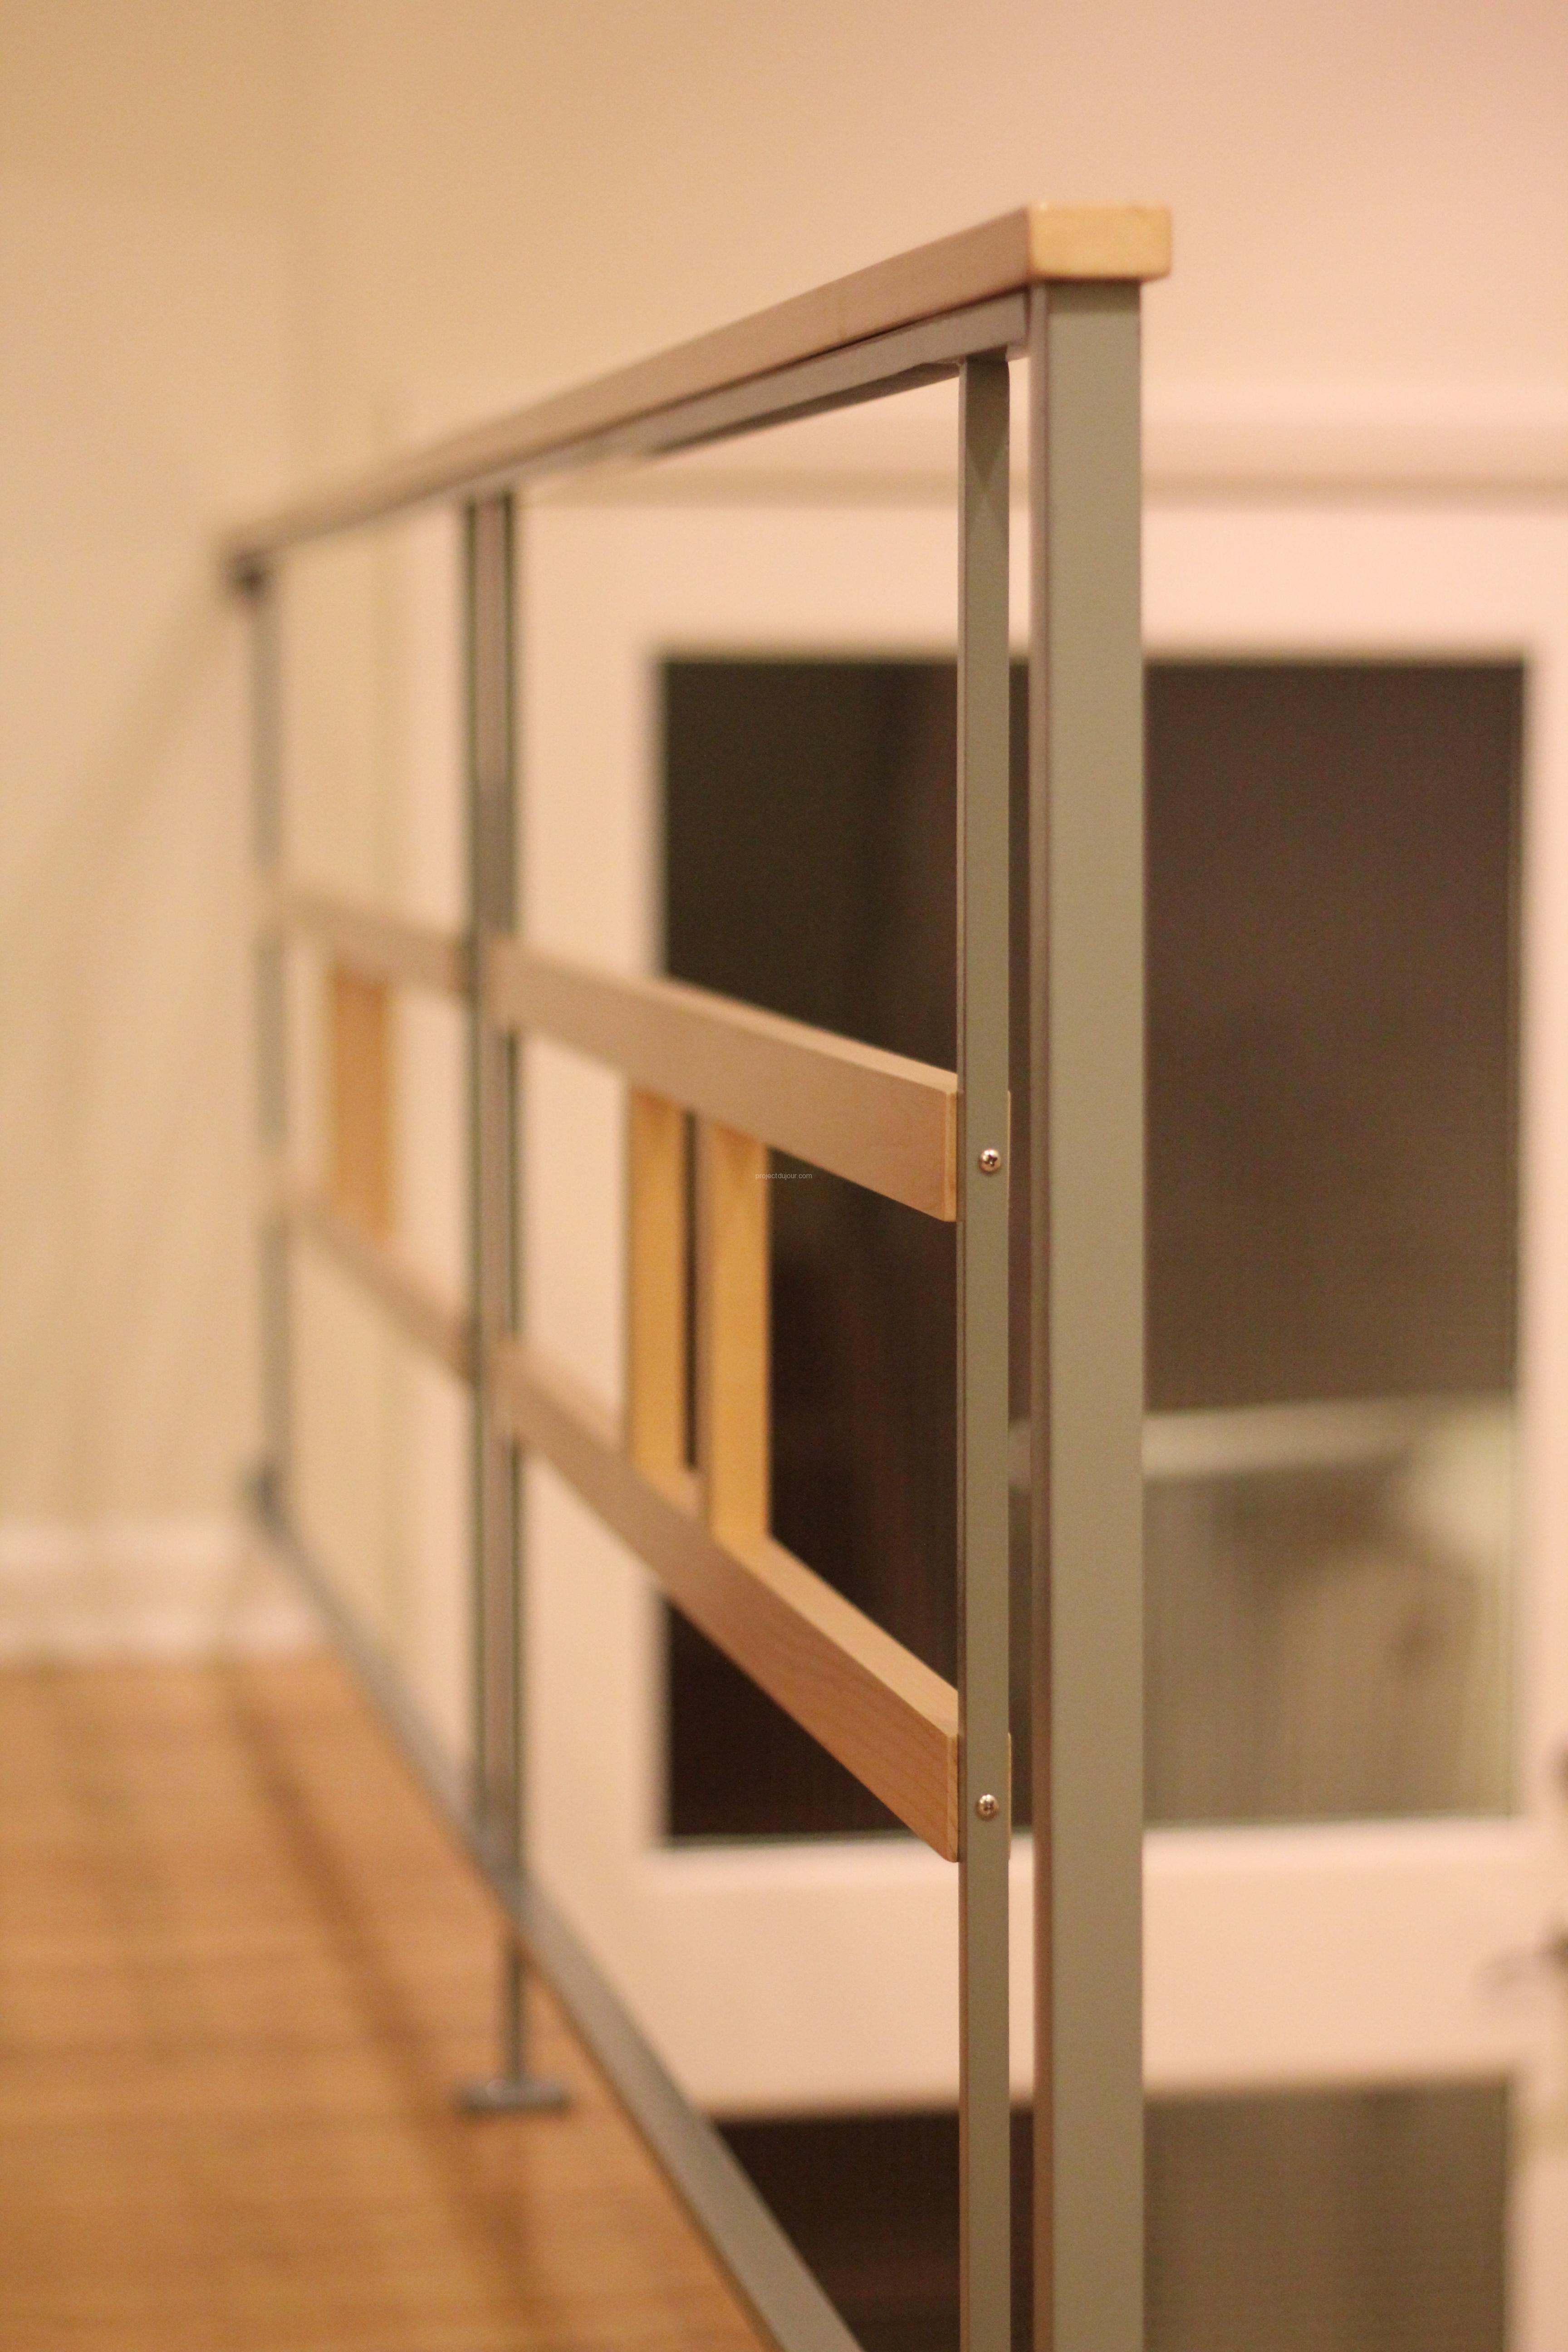
I then gave the frame to Tim who reinforced it, got it sandblasted and powder coated. For the handrail, I used stock 1″ by 2″ maple. I glued a long narrow piece underneath the handrail to fit the shape of the U profile on top of the metal frame. This prevents sideway motion and also fills the space so there’s no visible gap between the handrail and frame.
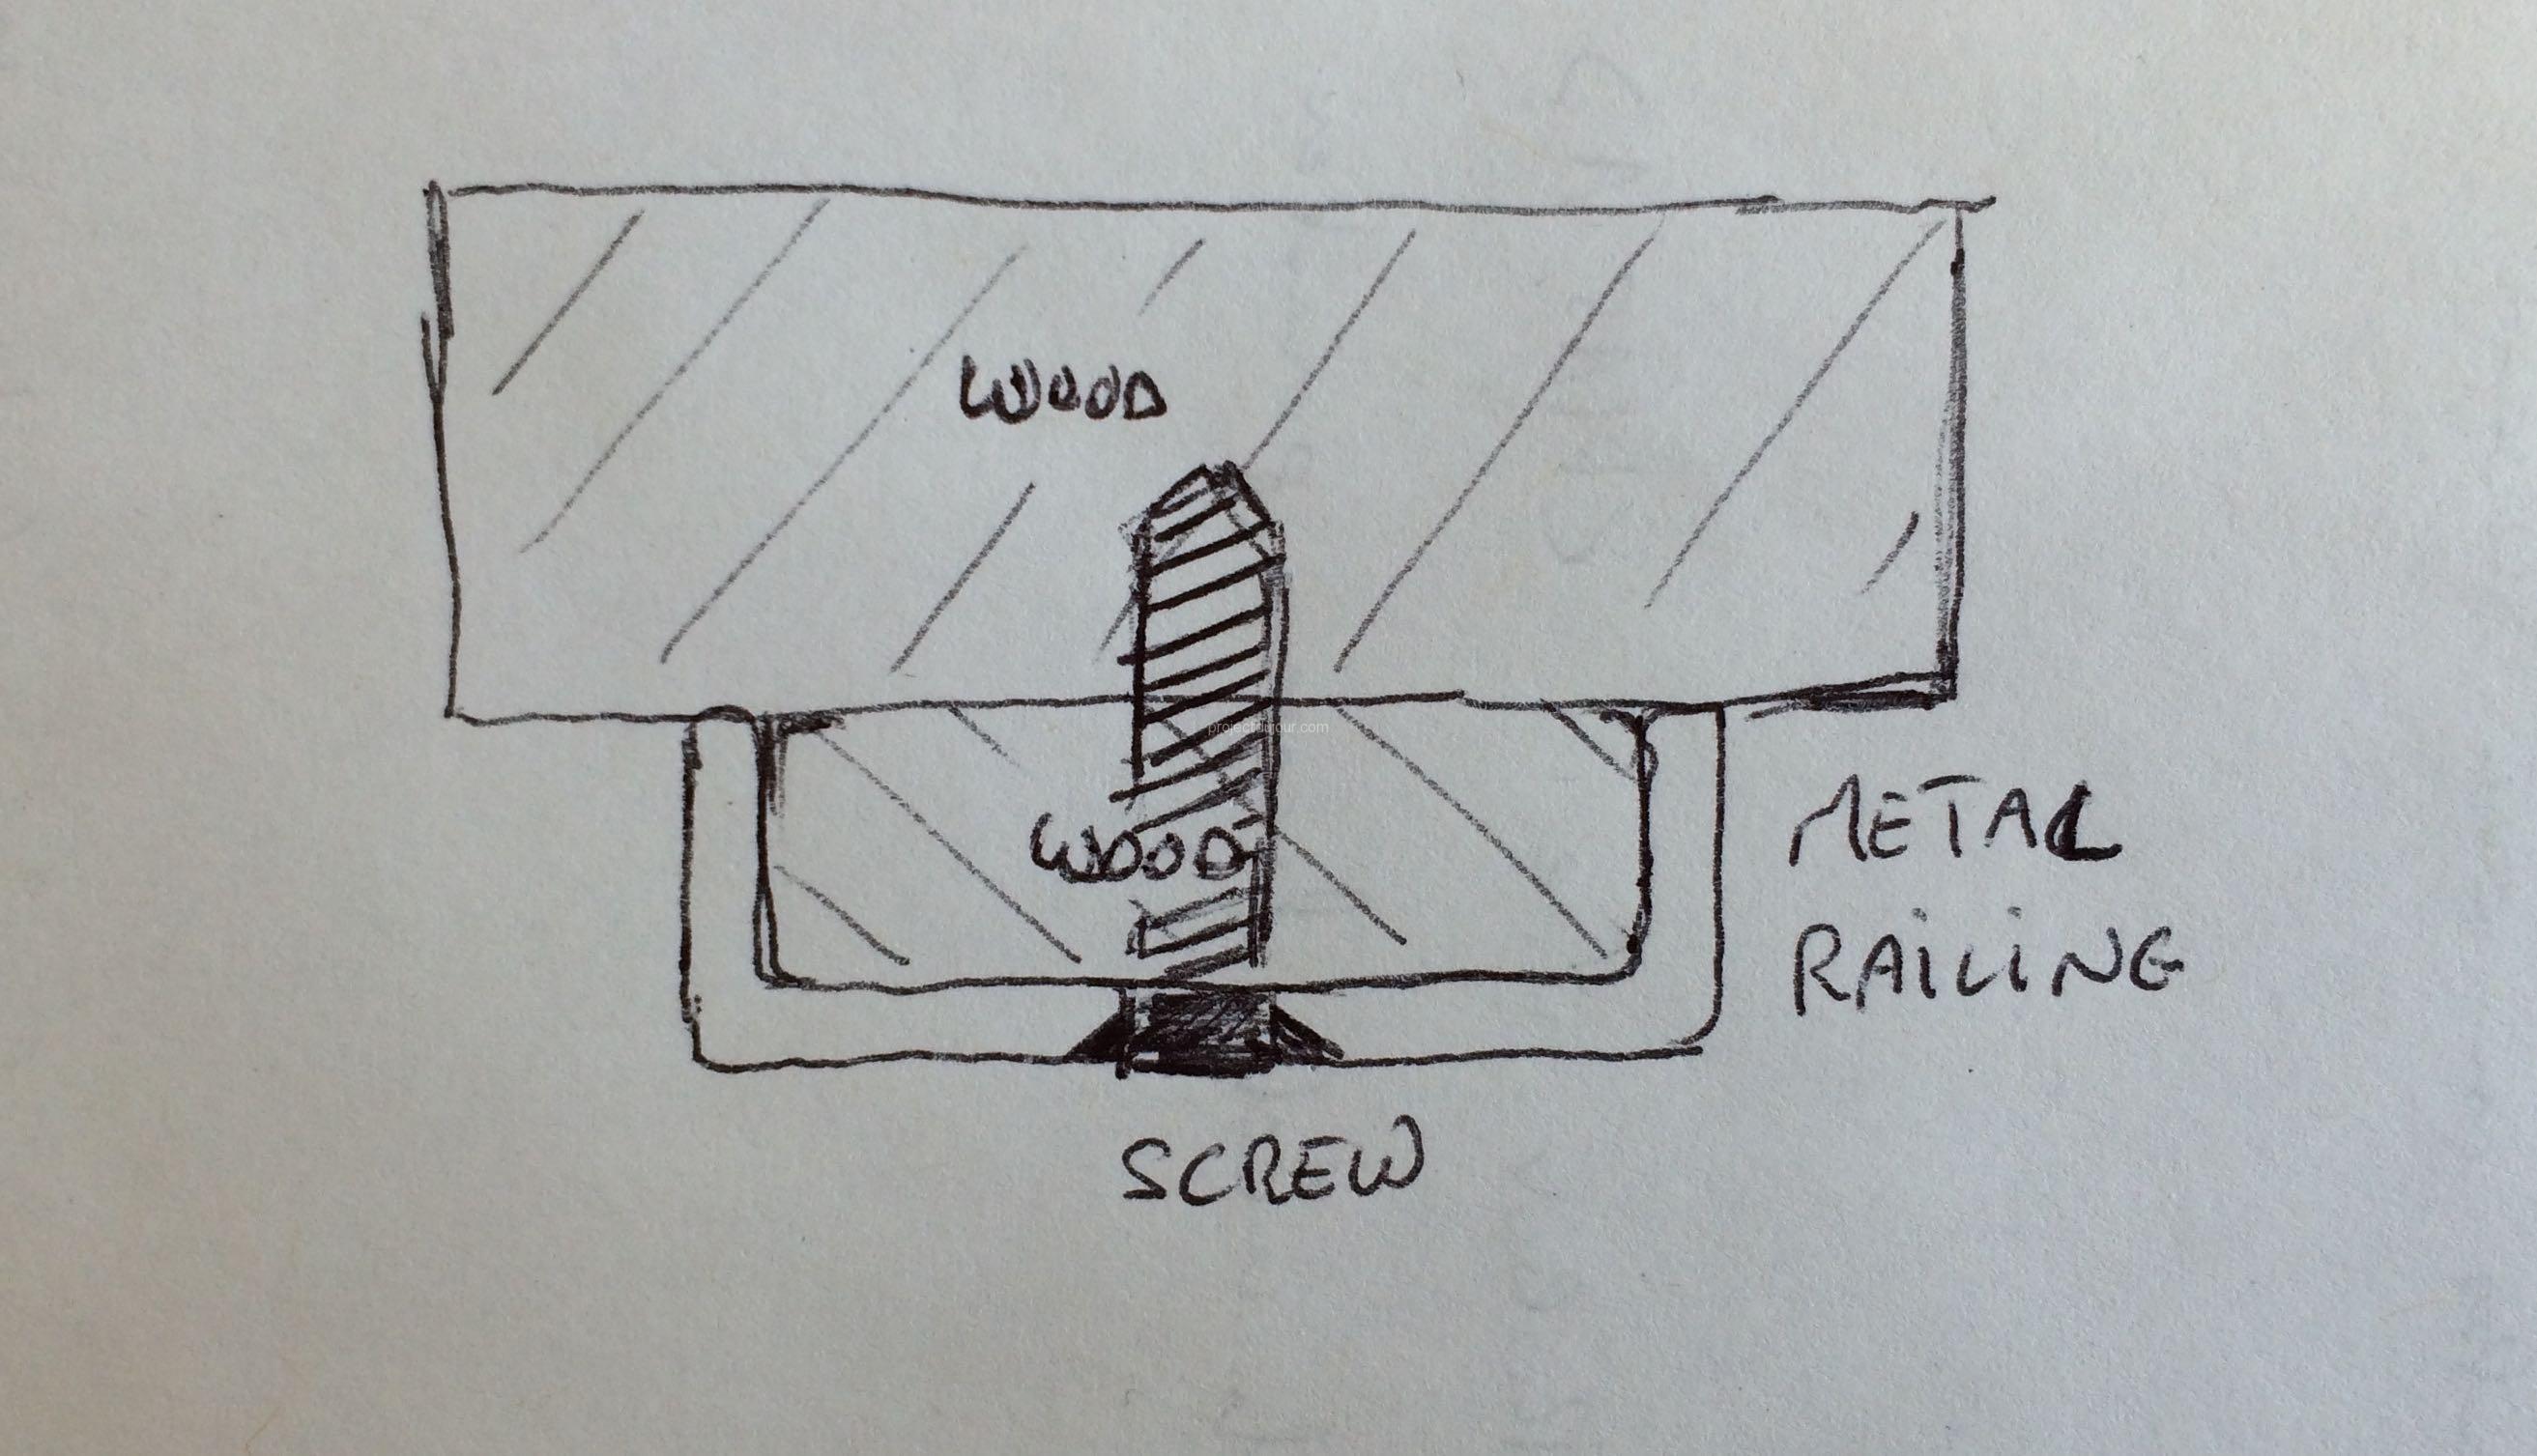
Handrail attachment
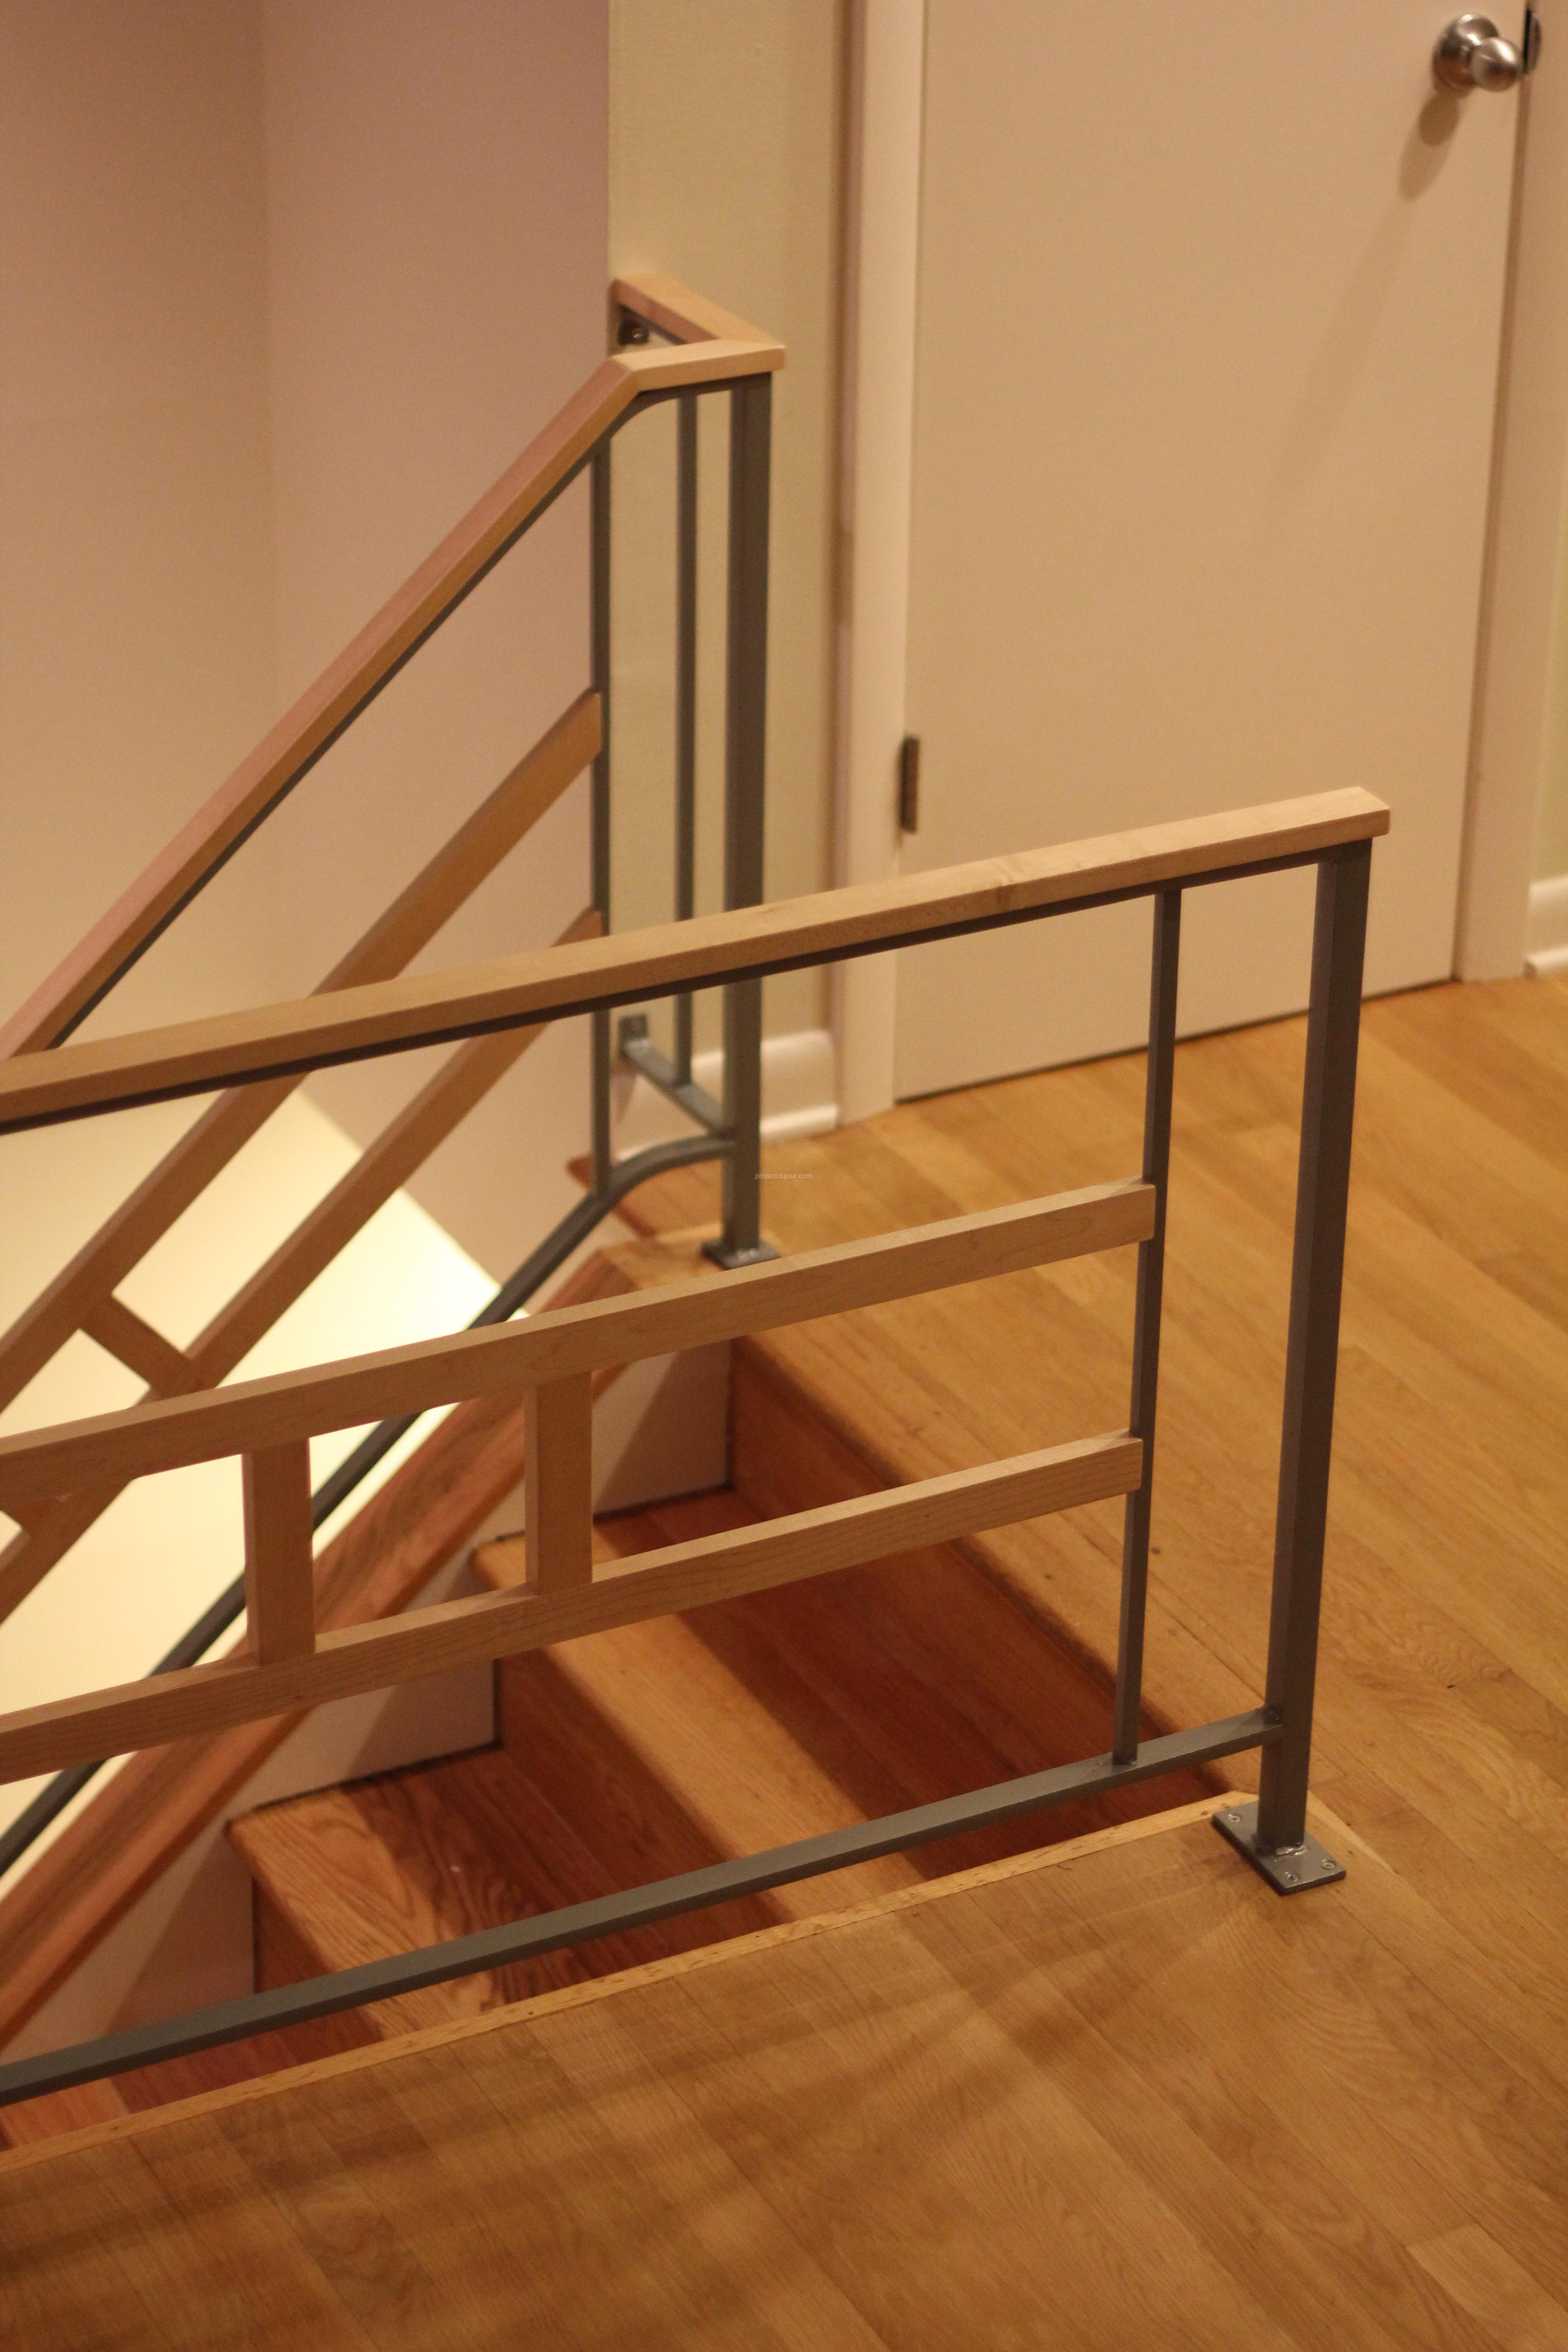
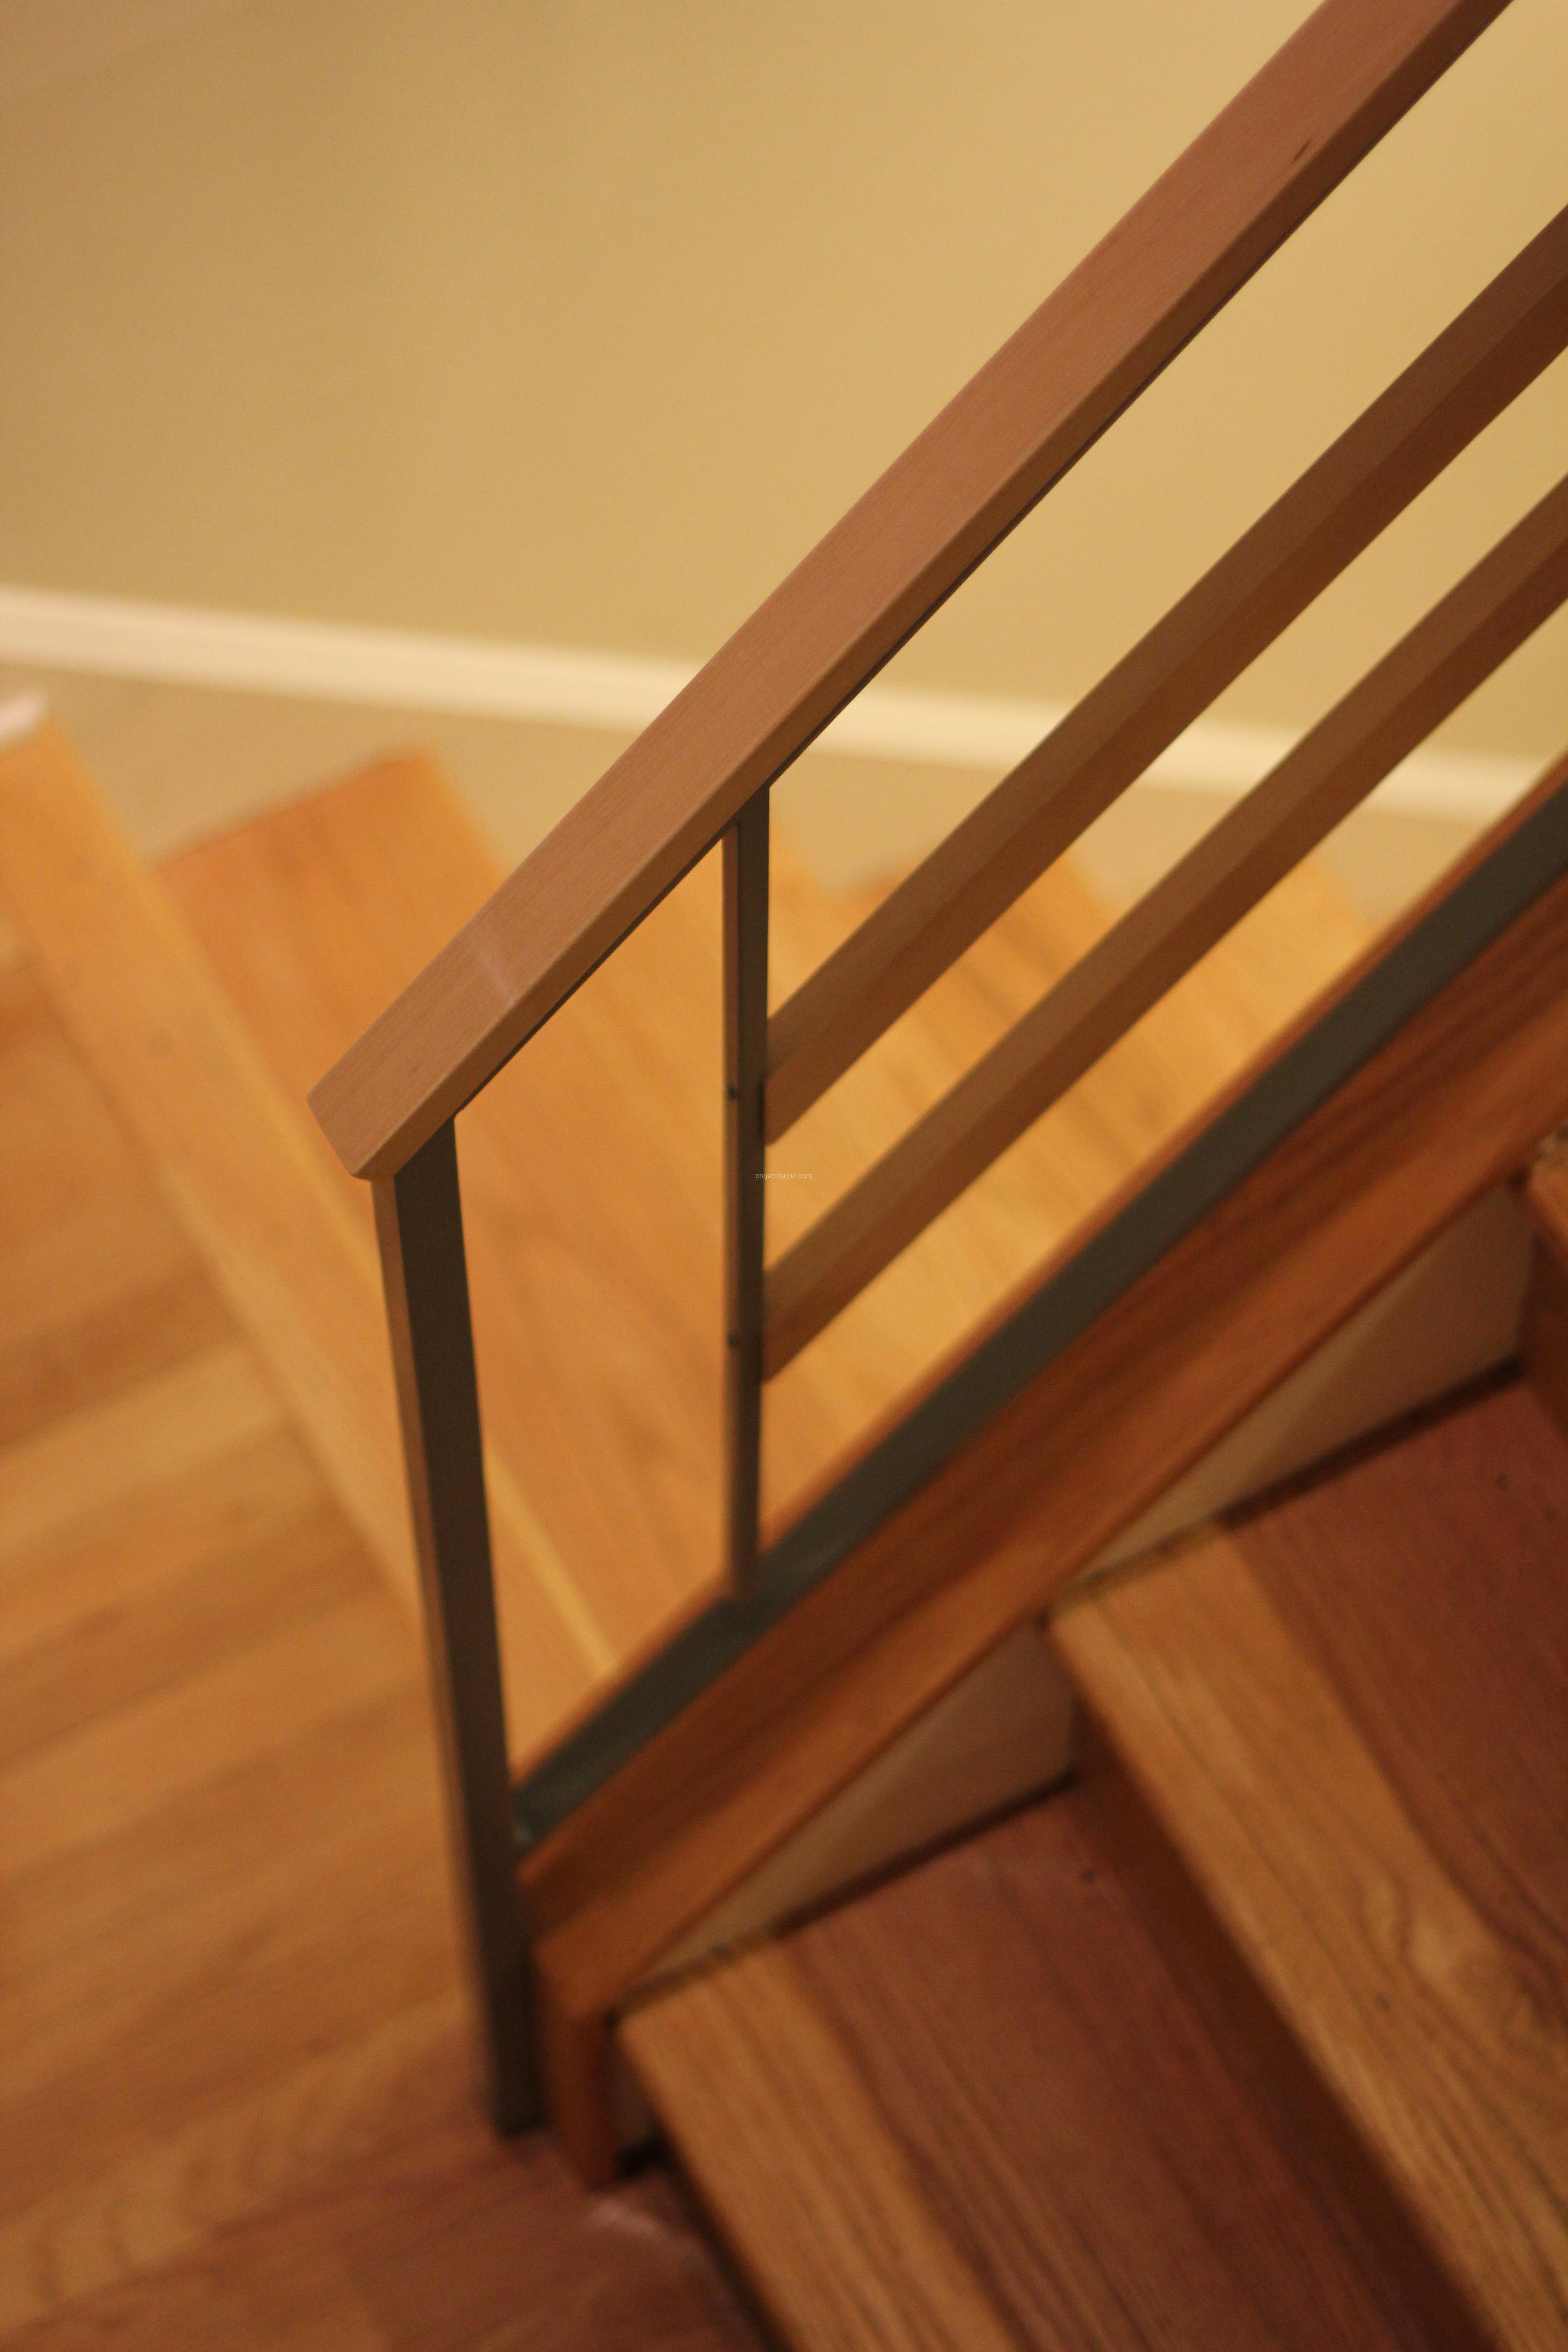
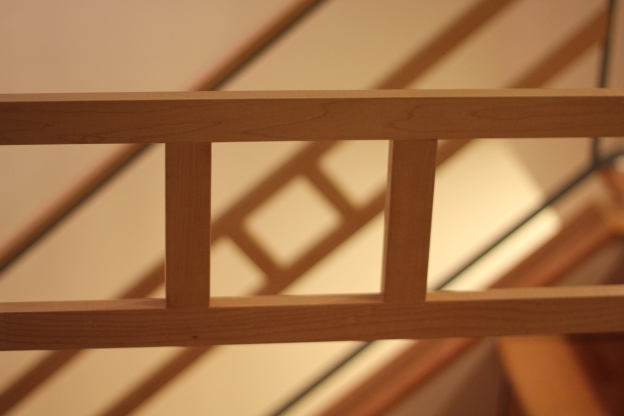
To fill the voids in the frame, I built three small horizontal “ladders” using 1″ by 2″ maple. The vertical pieces are held to the horizontal bars using tenons and mortises with wood glue. To attach the bars to the metal frame, I cut 1/2″ inch grooves at the ends of the “ladders”. I then drilled small holes on the 1/2″ vertical metal bars to allow for stainless wood screws.
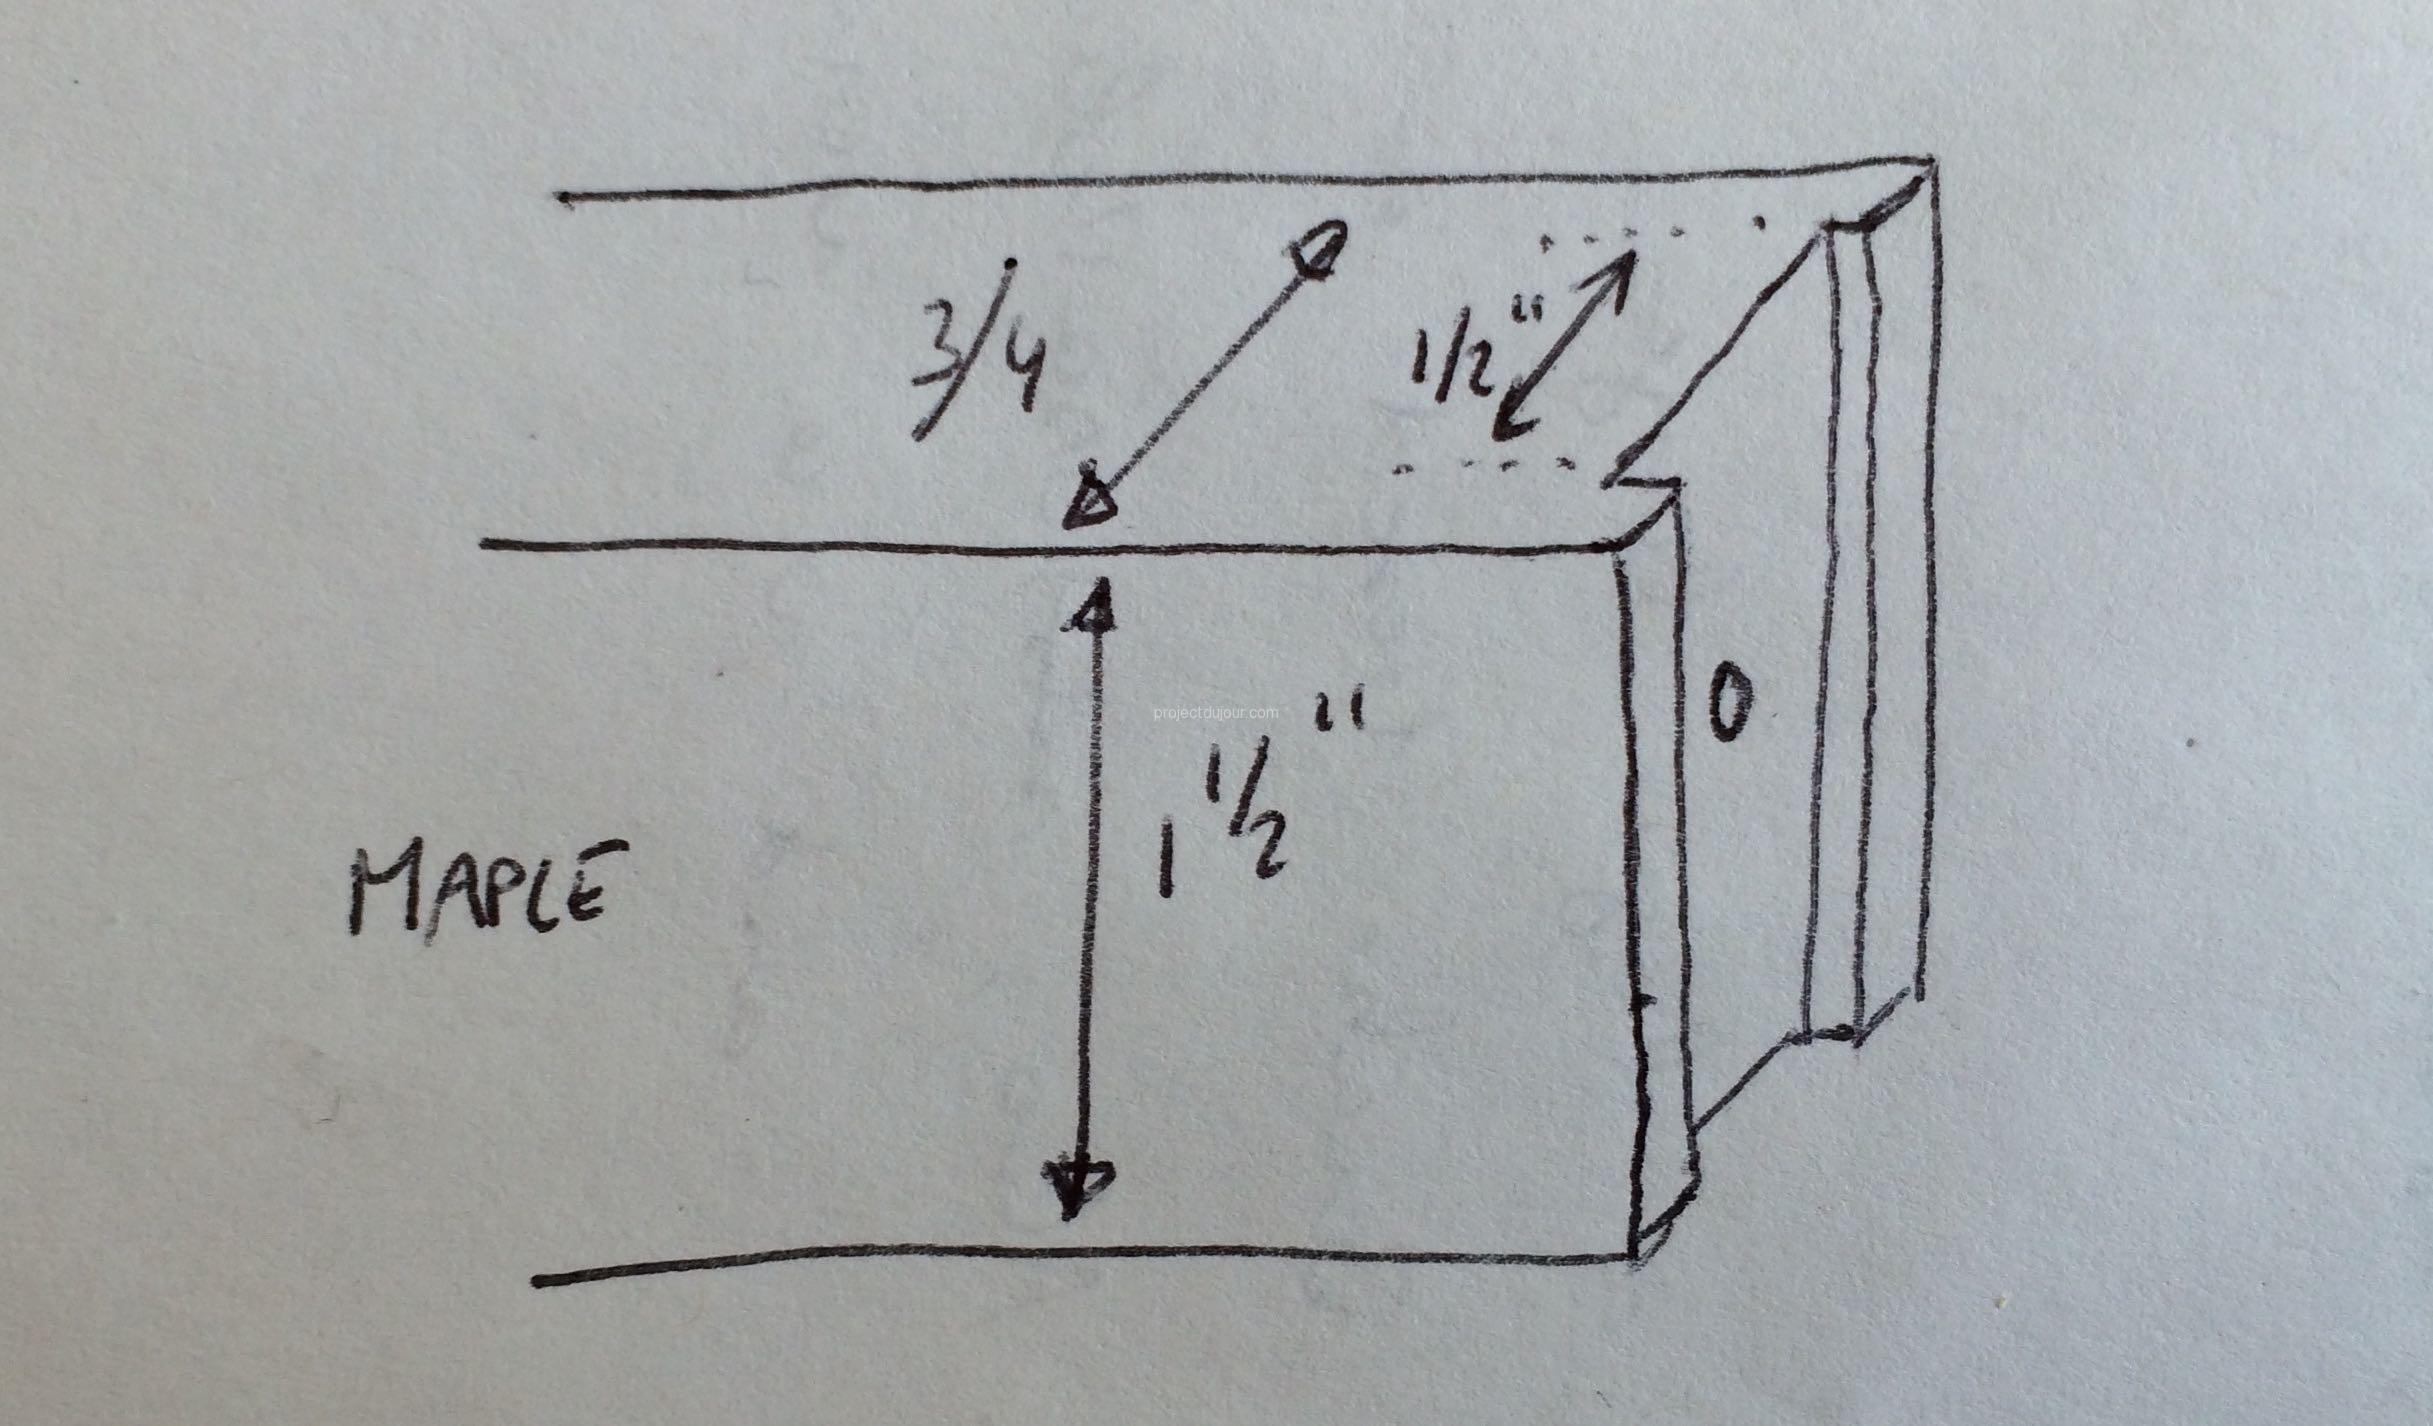
Grooves to wrap around metal bars
Small project but major improvement.