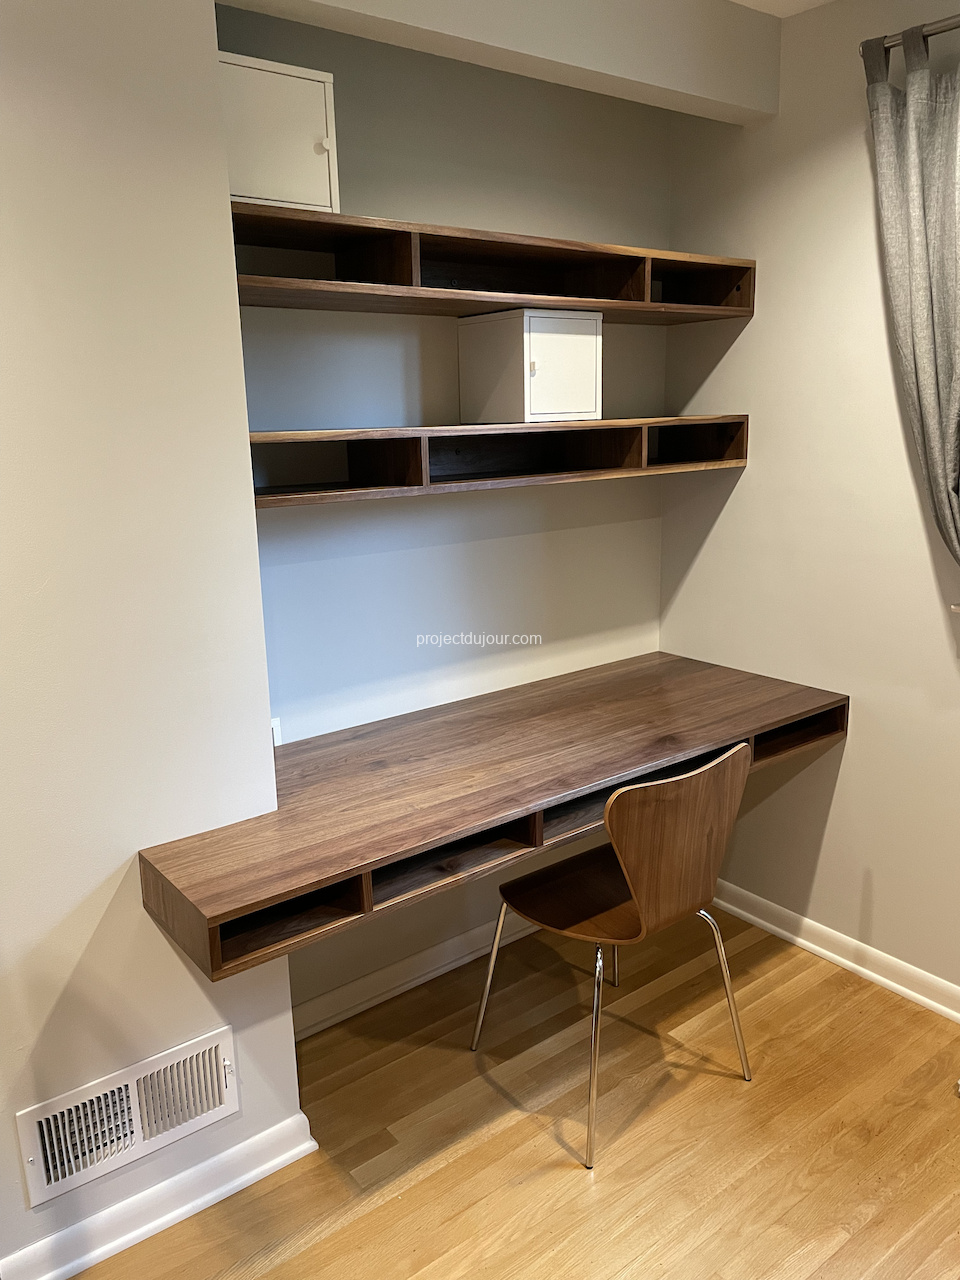
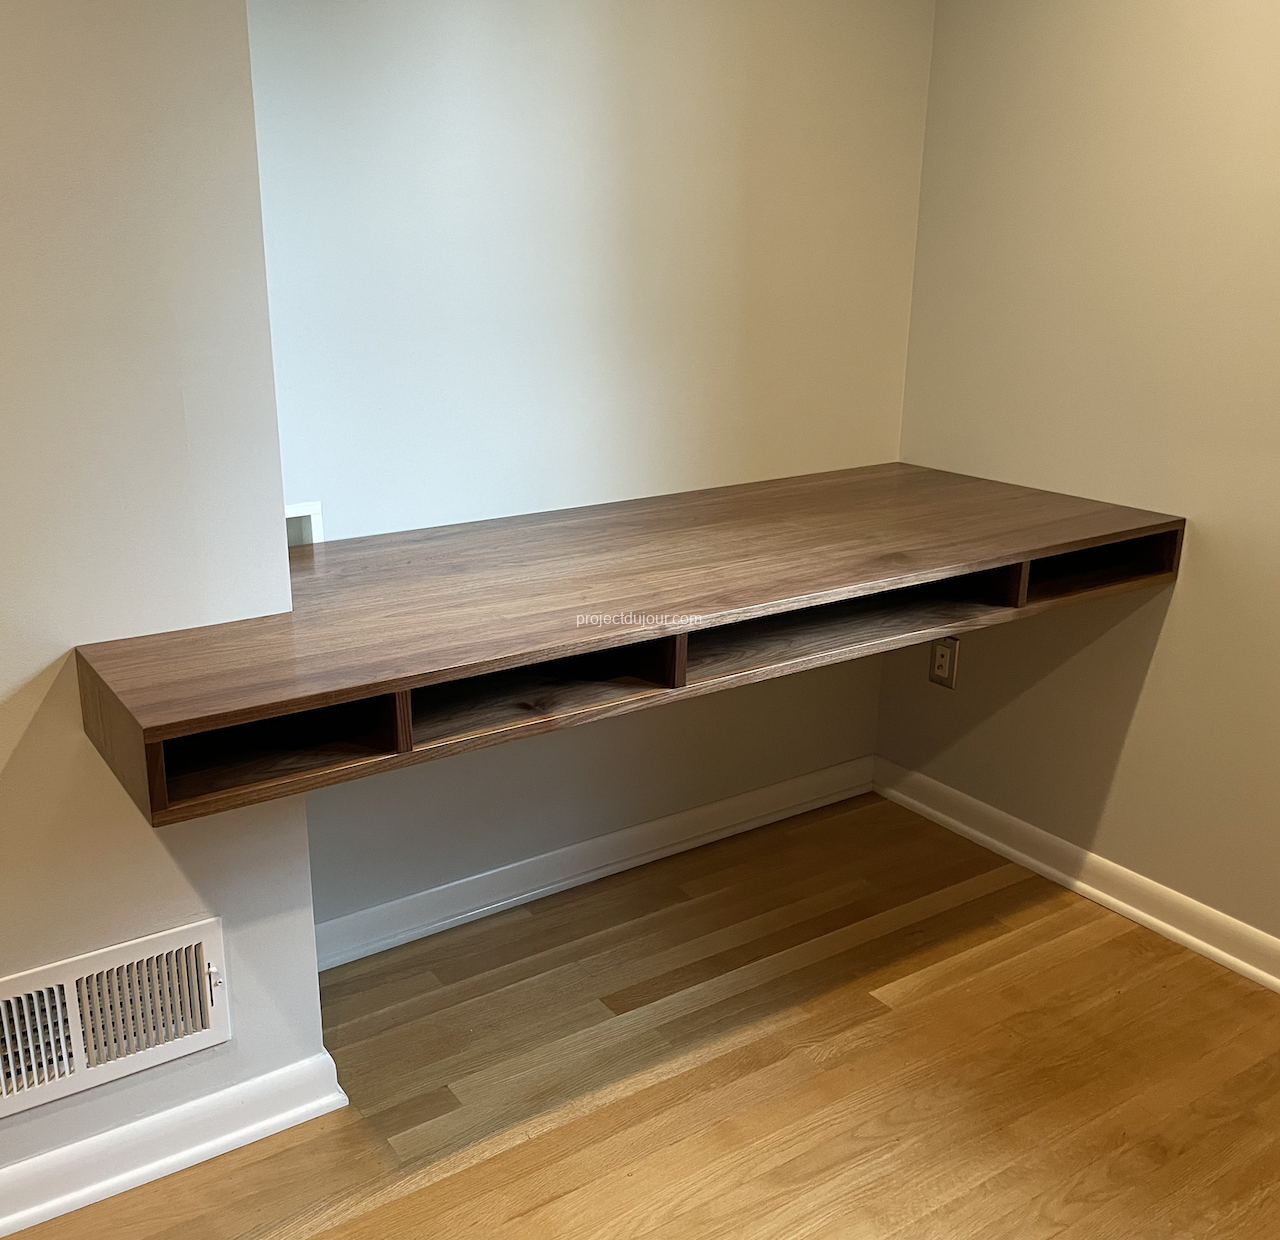
This project du jour is for a small bedroom that used to have a closet encroaching on the main space. I removed the closet years ago and finally decided to build a desk and shelves for the open space. This is a simple built-in desk and a set of shelves made of walnut. The assembly is based on dowels and glue, nothing else.
The slabs of walnut were prepared by a local timber shop, Freestate Timbers. I tried to assemble my own panels in the past but it seems I can never get the boards to be perfectly flat (even using a plate joiner). Buying fully assembled boards makes life a lot easier.
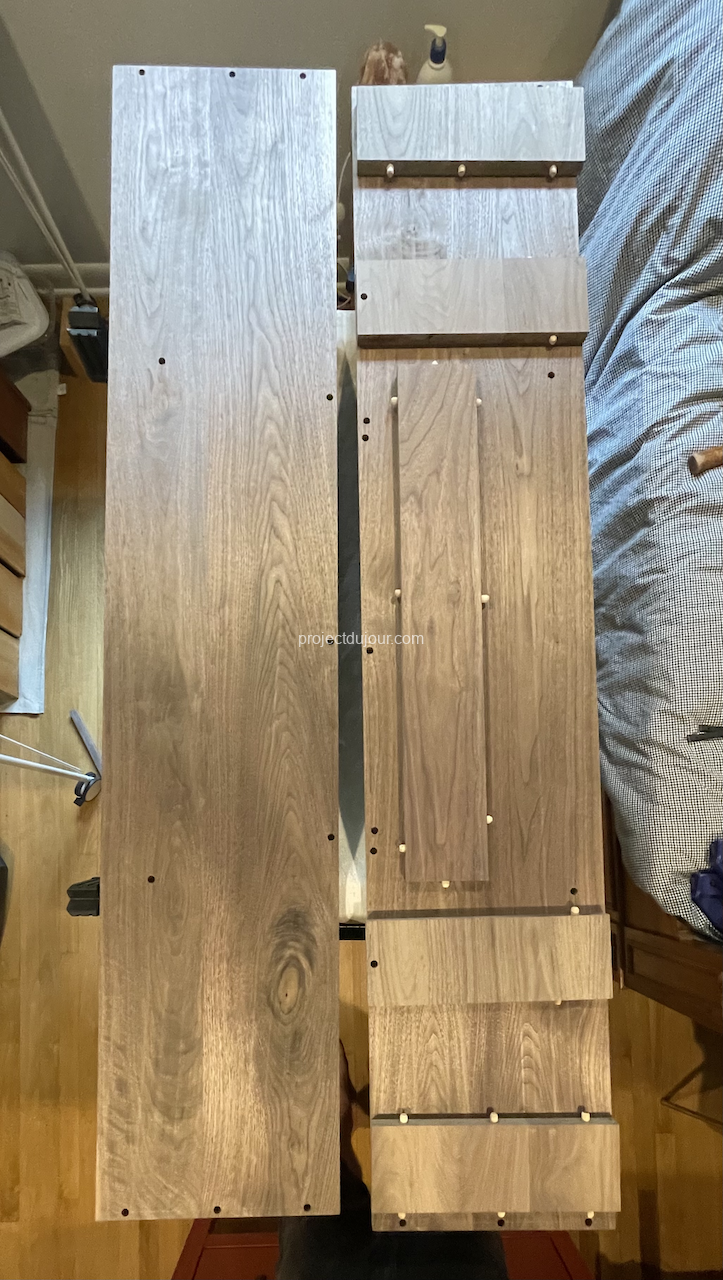
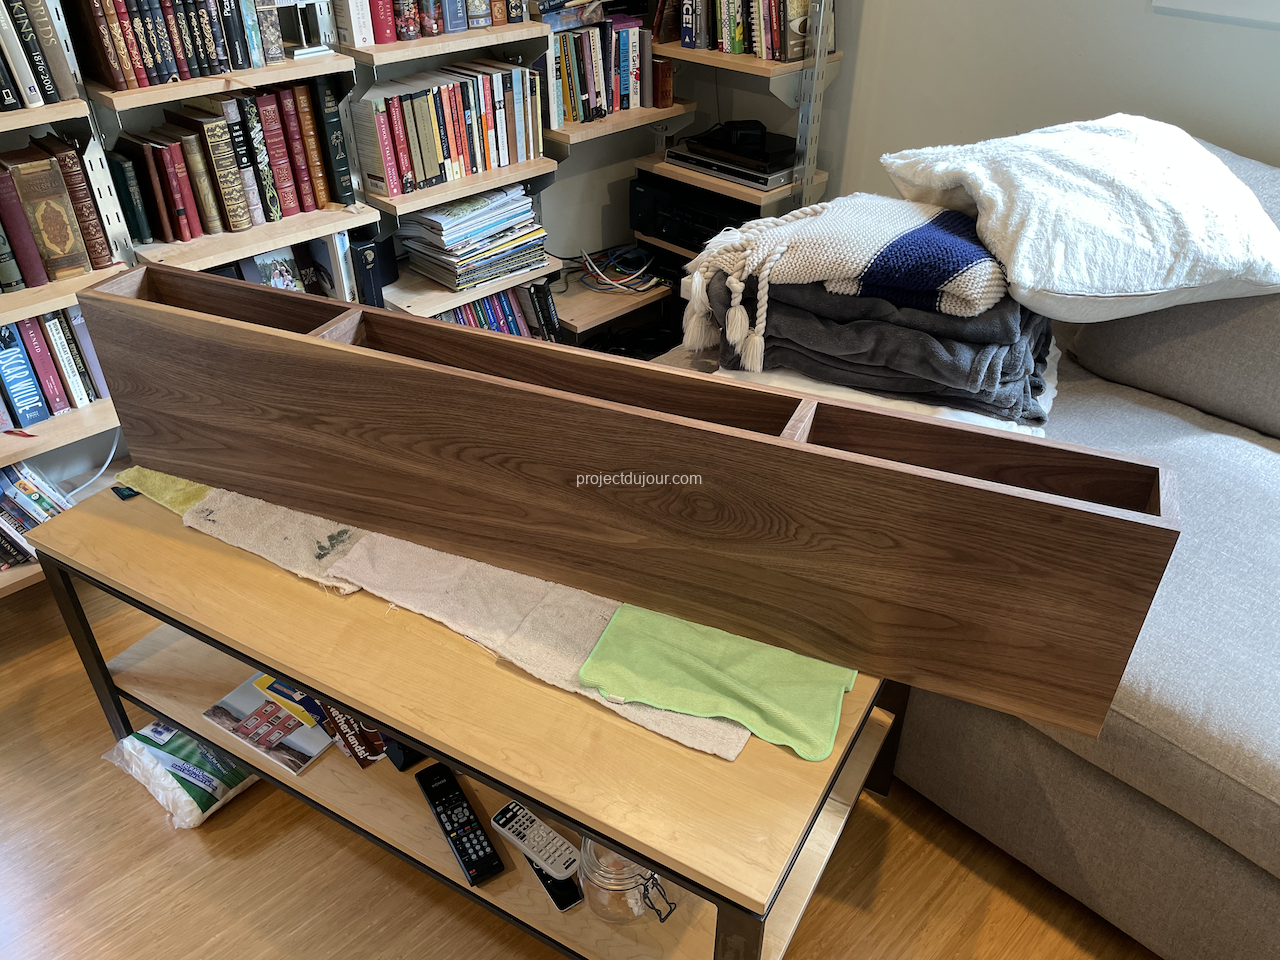
I started with the shelves. For each shelf, I used 2 long horizontal boards, about 13″ wide. Then I have 4 very short vertical dividers and a piece at the back (not for the full length, just the middle). The piece in the back ensures some rigidity and allows me to attach the shelf to the wall behind it.
For the finish, I first wanted to use a natural oil like Danish Oil or even some wax but I feared this would not resist well on the desk. Coffee tends to get spilled on desks in this household… Ultimately, I decided to try Minwax Wipe-On Poly (clear satin). This is the first time I used this product and I was pleasantly surprised. It’s fairly easy to apply, fast and somewhat forgiving (no drips!). It does stink when applied so we needed to make sure we had some good ventilation. The result on walnut is really nice.
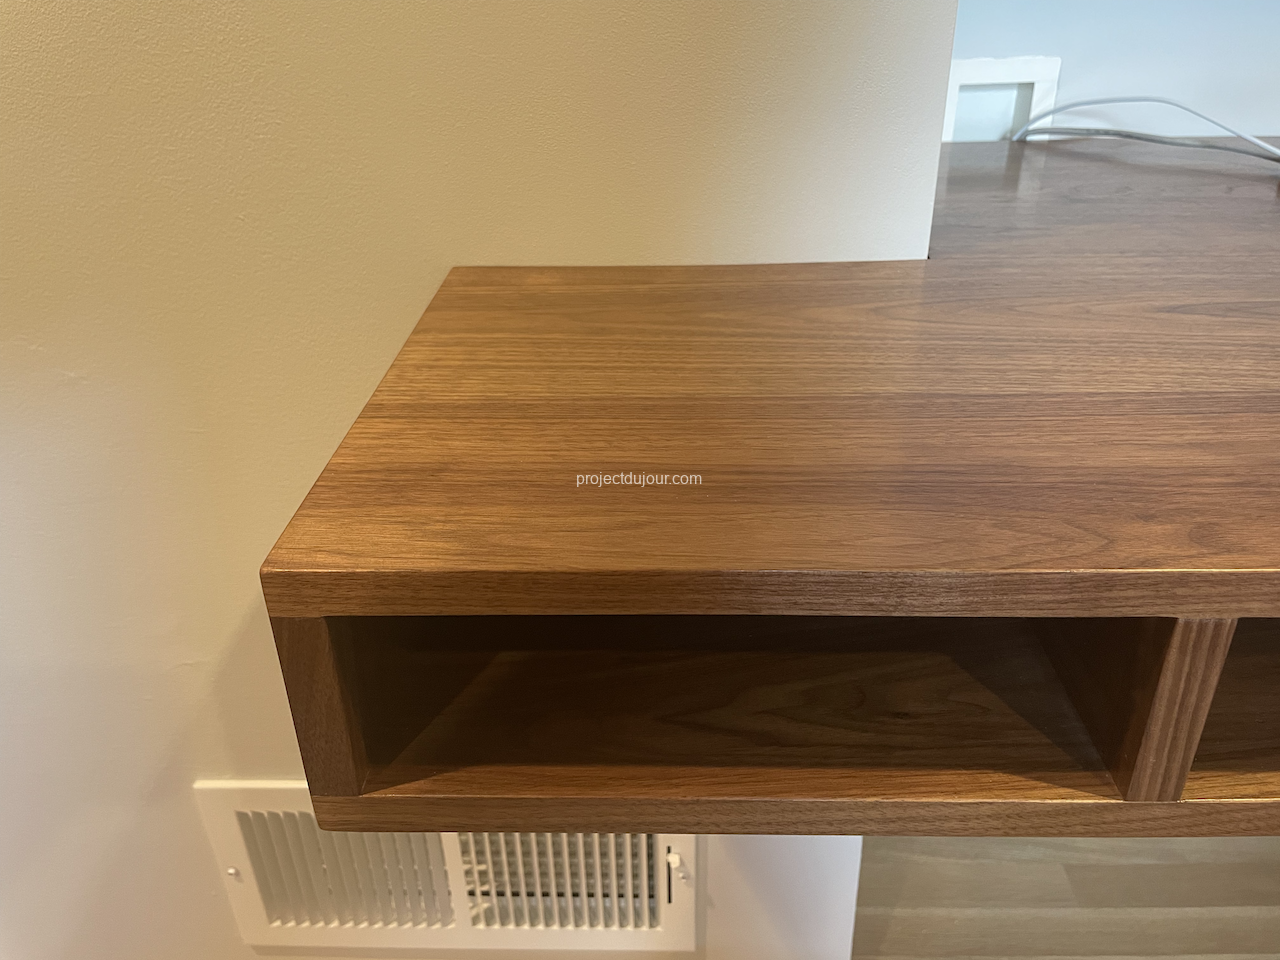
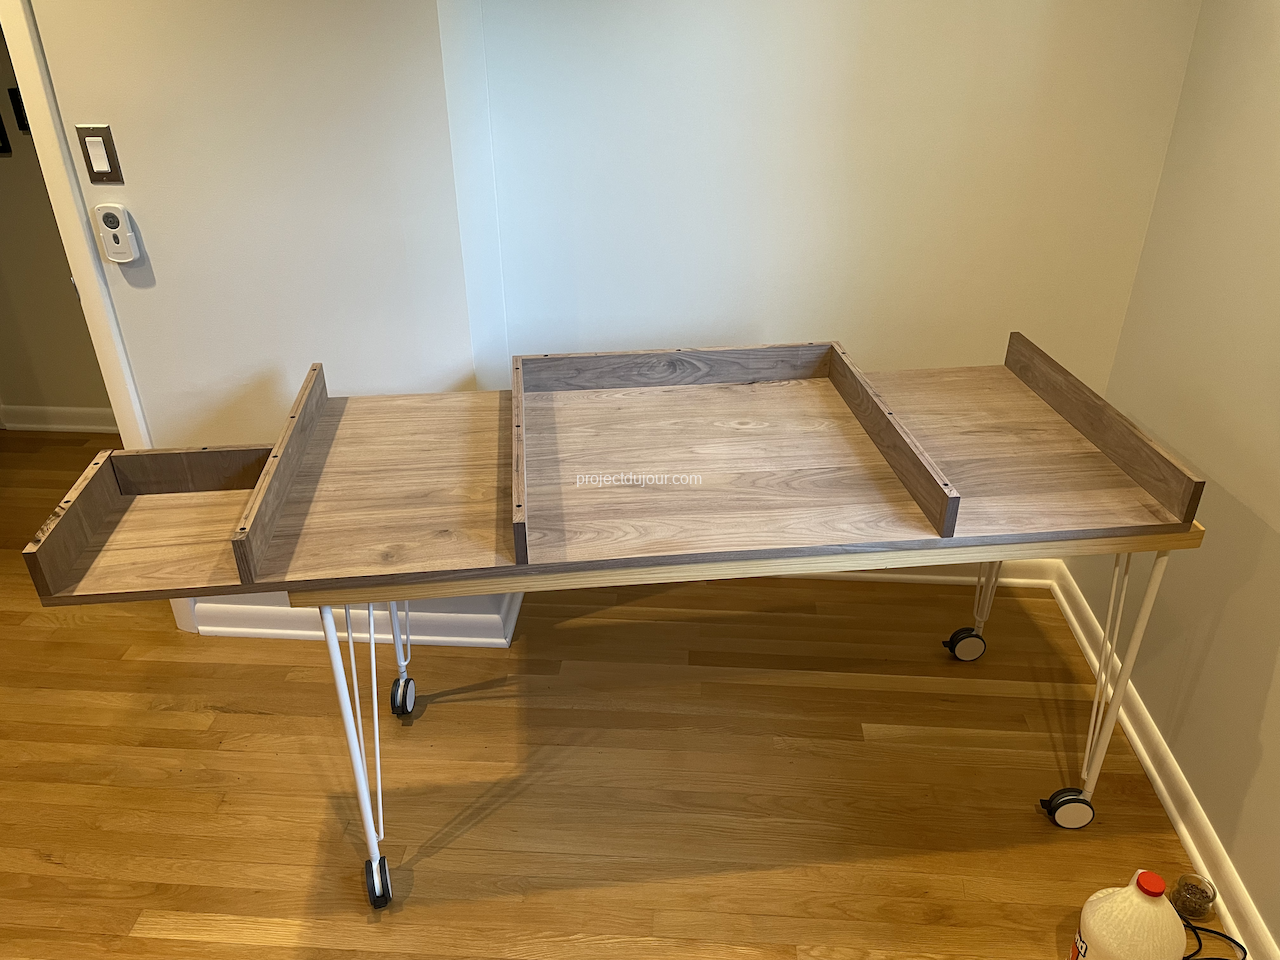
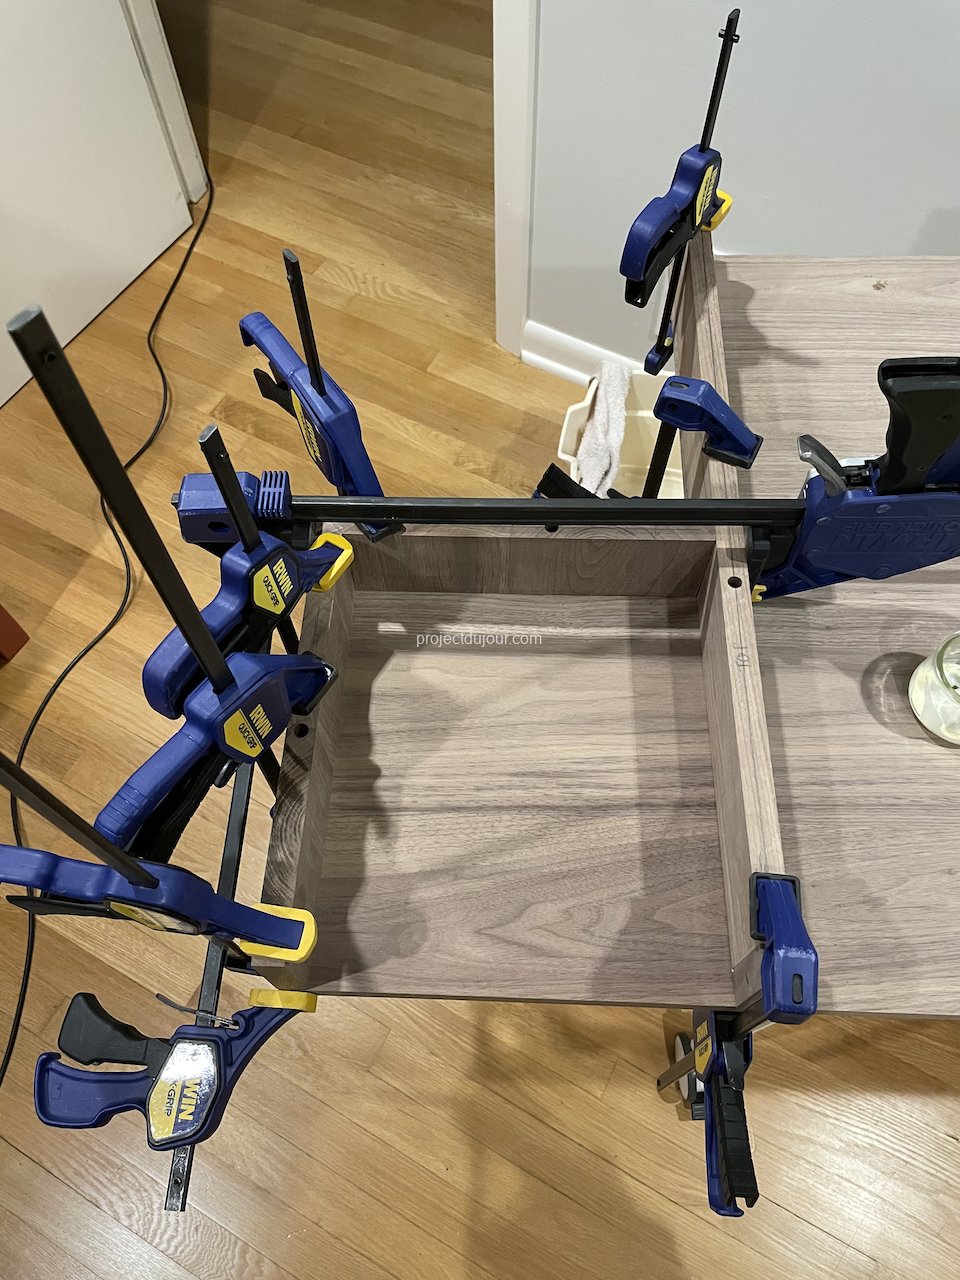
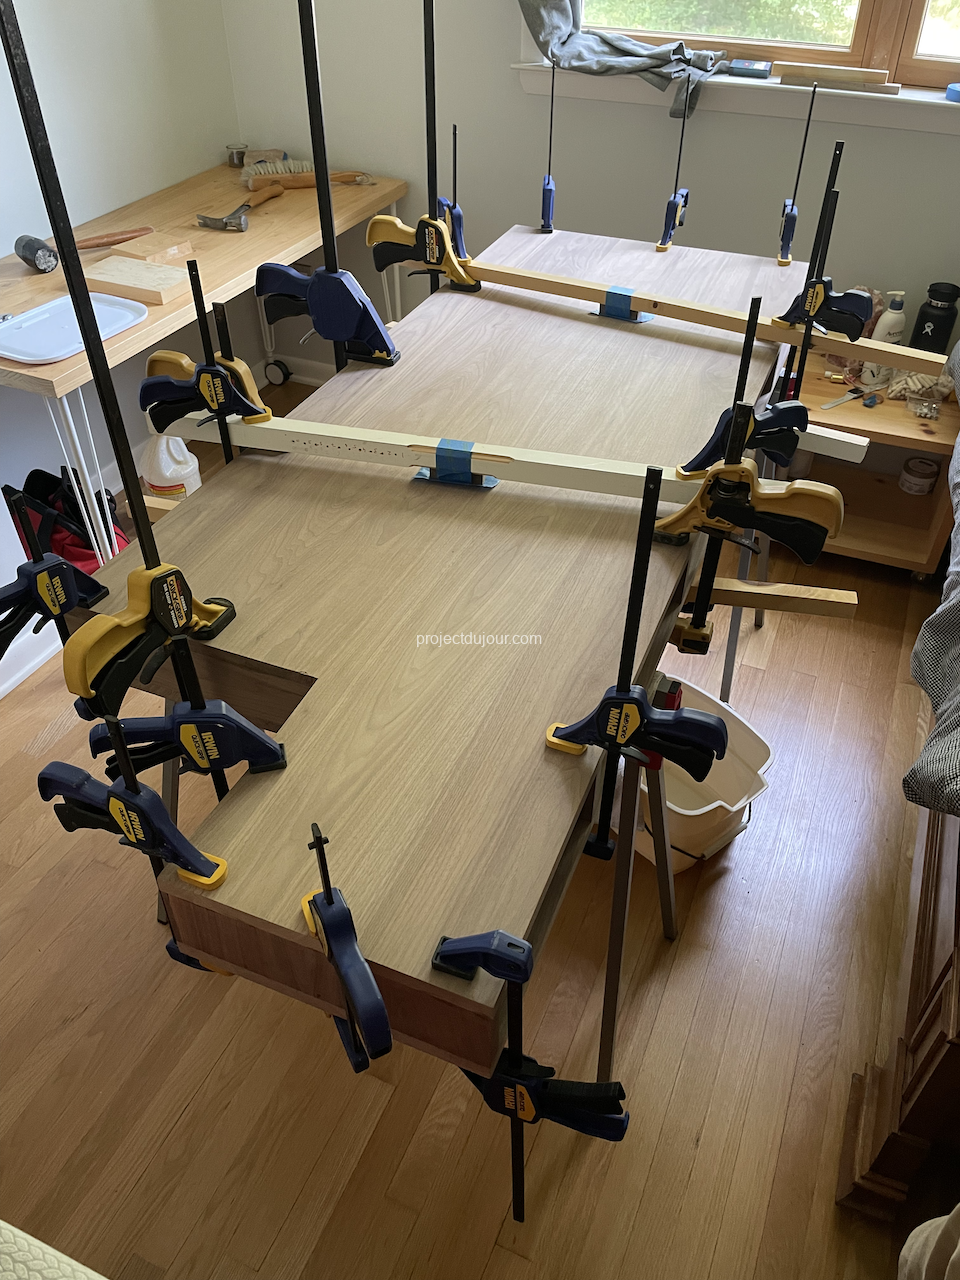
The desk construction is very similar, two big horizontal slabs and 4 vertical dividers for the central part. To give the desk a bit more character I decided to add a small over-hang on the left side.
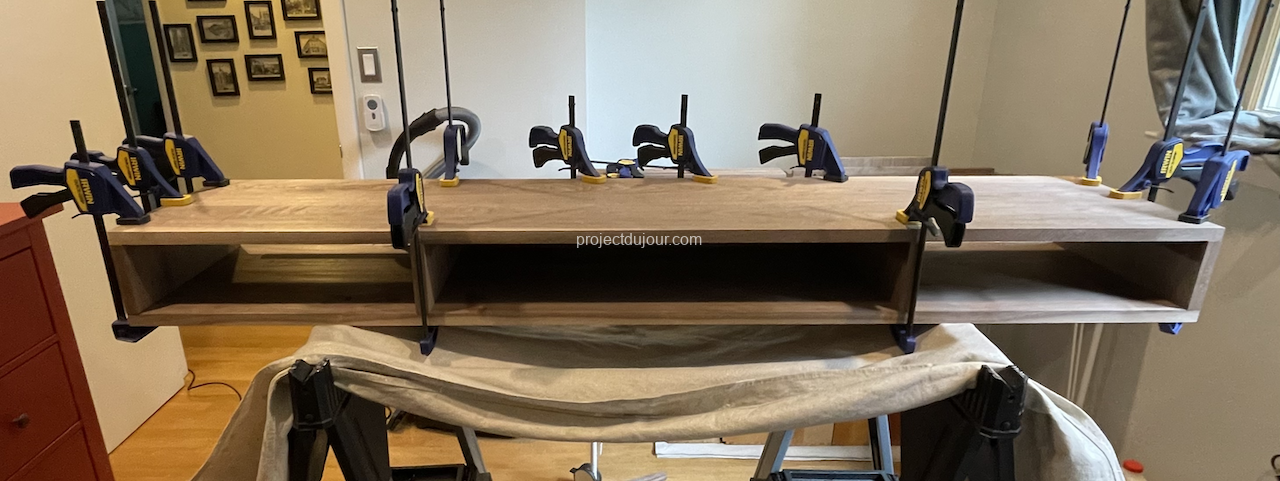
The desk being bigger and a bit more complexed, I assembled and glued it in two steps.
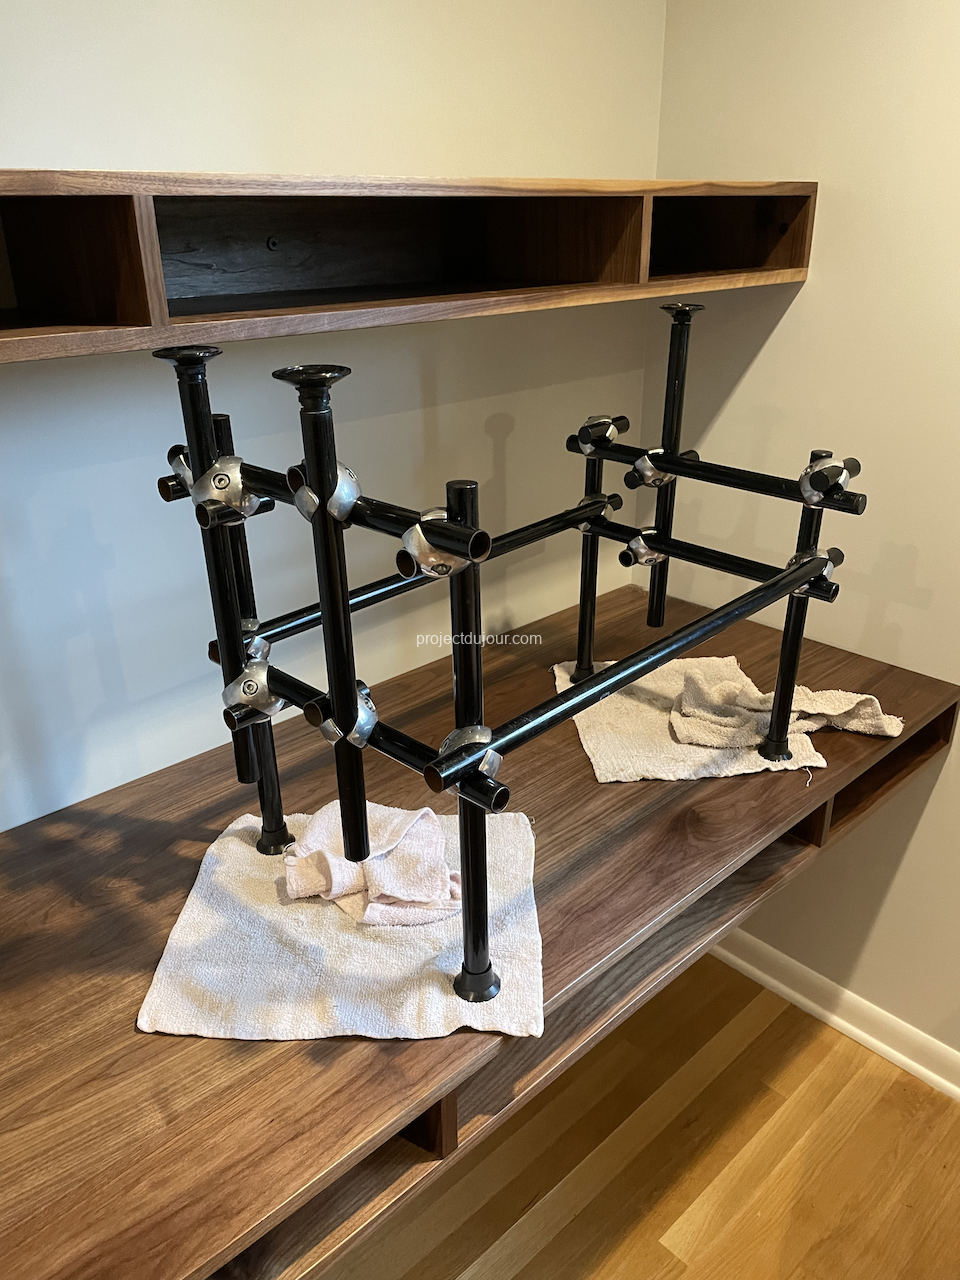
Finally, to mount the desk, I built a temporary frame using metal tubes. I’ve had these since I was 16 and re-used them over the years as shelves, desks, bed frames… They come with adjustable legs so they worked great to support the desk and level it.
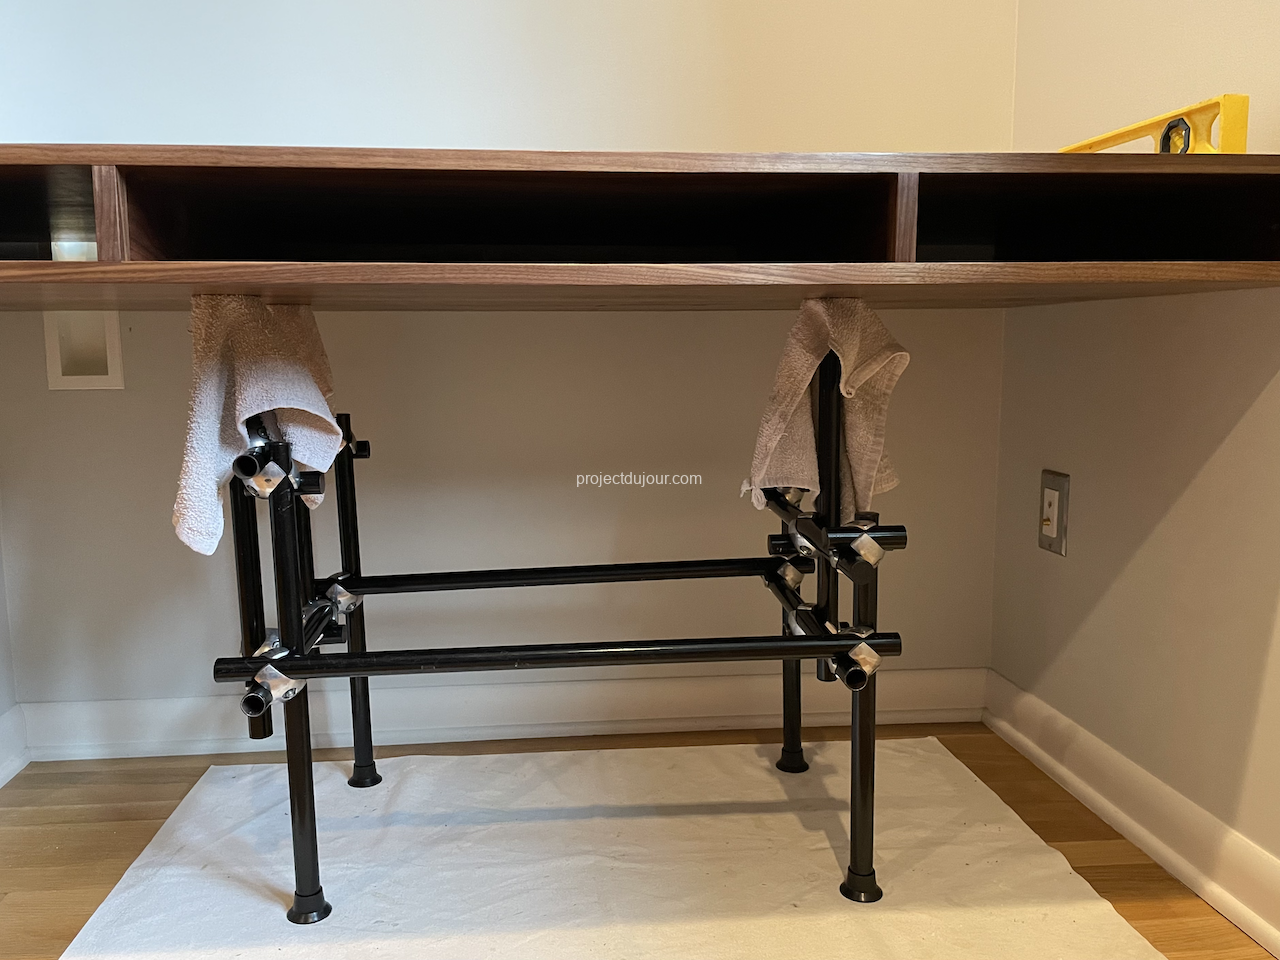
I was a bit concerned about the strength of the whole desk but with 3″ structural screws on every stud I could find, it seems very sturdy.
I then resized the support frame and placed it on top of the desk to install the first shelf.
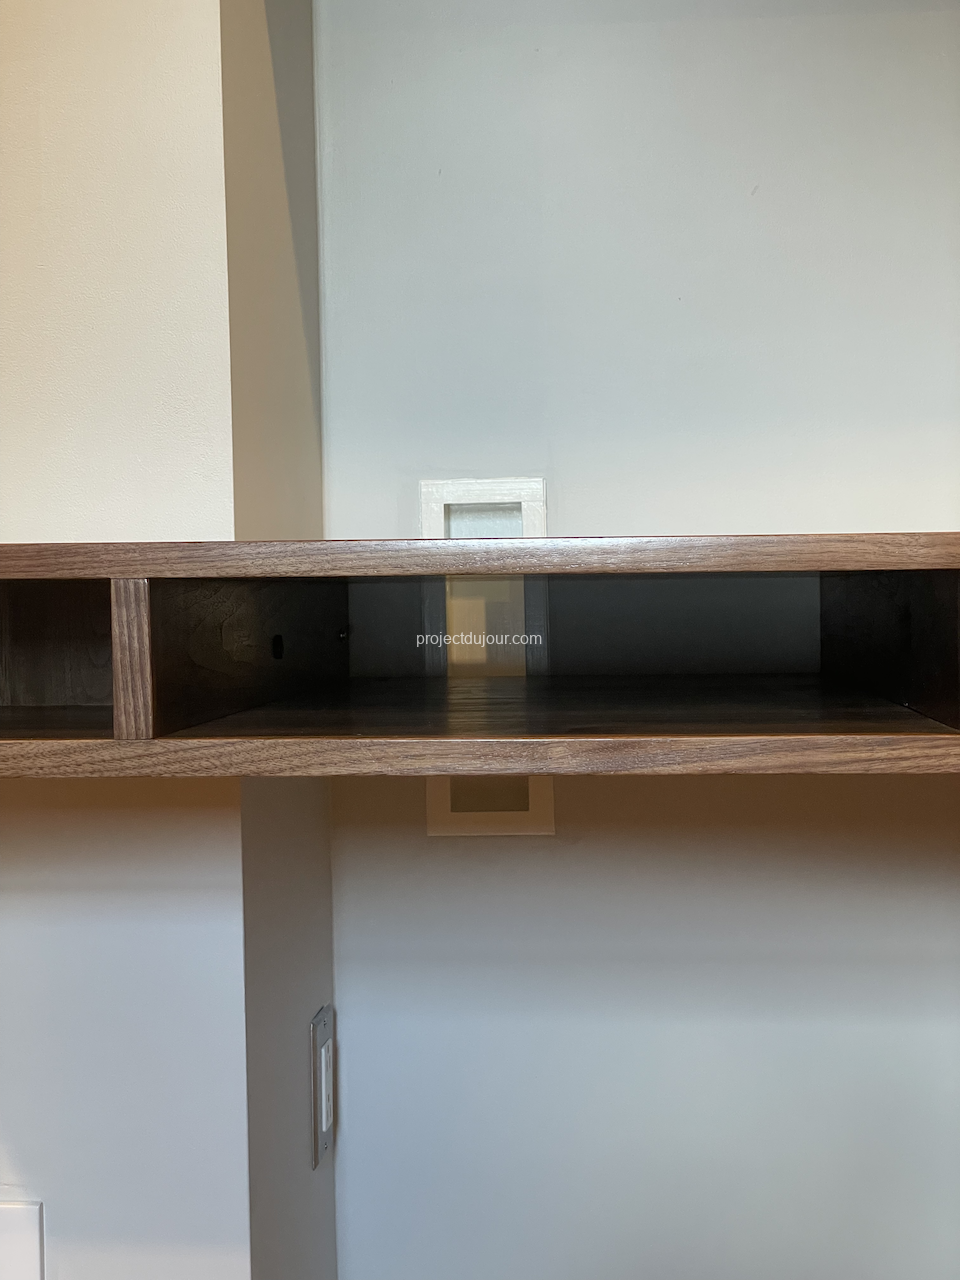
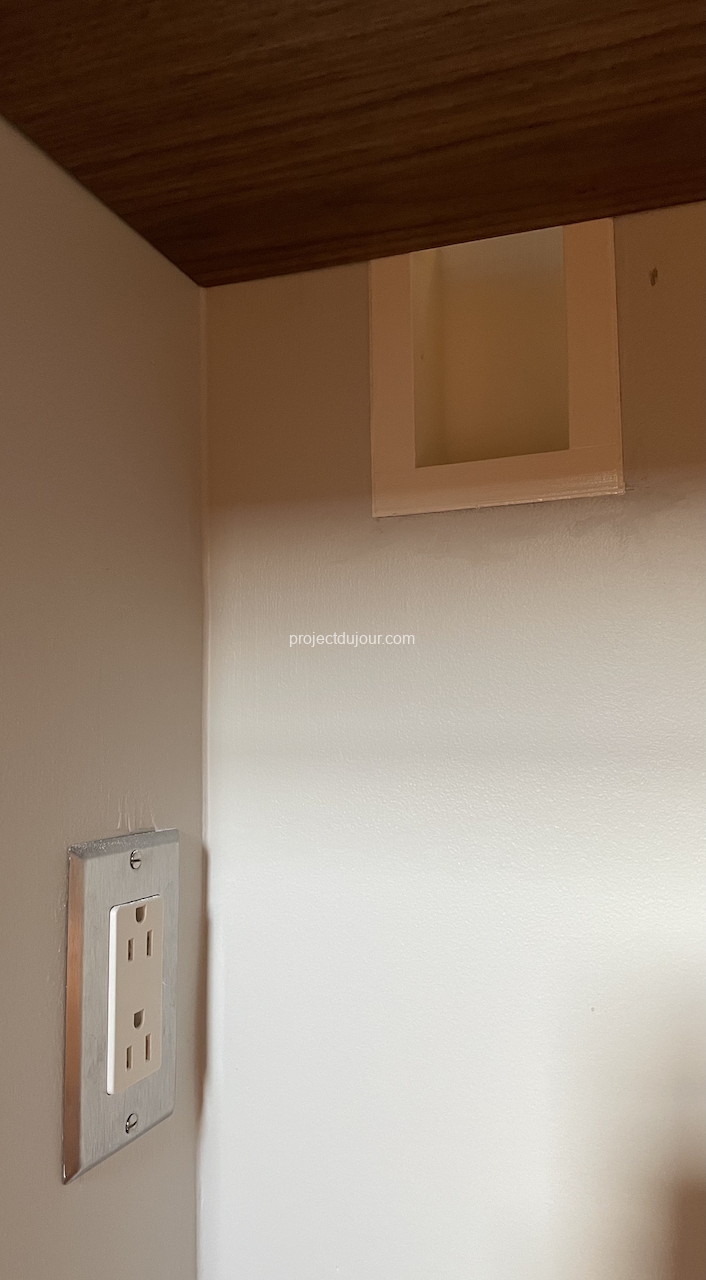
To pass cables from under the desk to the top, I could have drilled a hole in the desk but that seemed like sacrilege. Furthermore, I might add some drawers in the desk and the cables could potentially be in the way. Instead, I decided to cut the drywall and create a small nook that can be used to pass cables behind the desk.