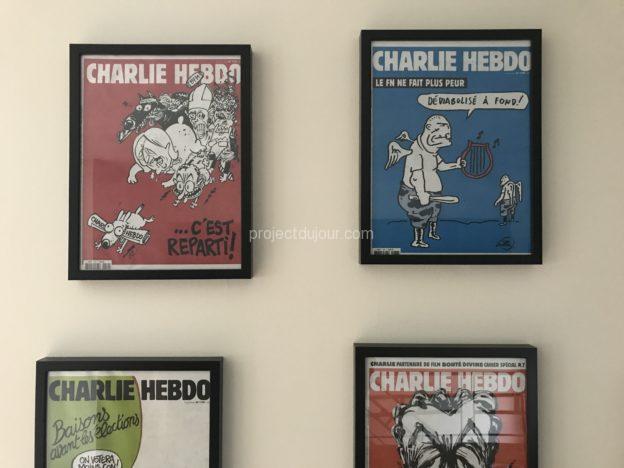
I bought 9 IKEA Ribba frames, they’re cheap, look nice and had the exact size I needed (12×16 inches). They were easy to open and I had my newspapers framed in no time. I then ran into a strange issue, these frames are not easy to hang on regular framing hooks.
The problem is that the tab on the back of the frame is not long enough to reach most framing hooks. There is a hanging “tab” on the back of the frame but the frames are thick and the tab is buried all the way inside, far away from the wall. Based on a quick internet search, it seems that older IKEA Ribba frames came with a wire on the back that could be pulled close to the wall. Newer models don’t seem to have this convenient feature.
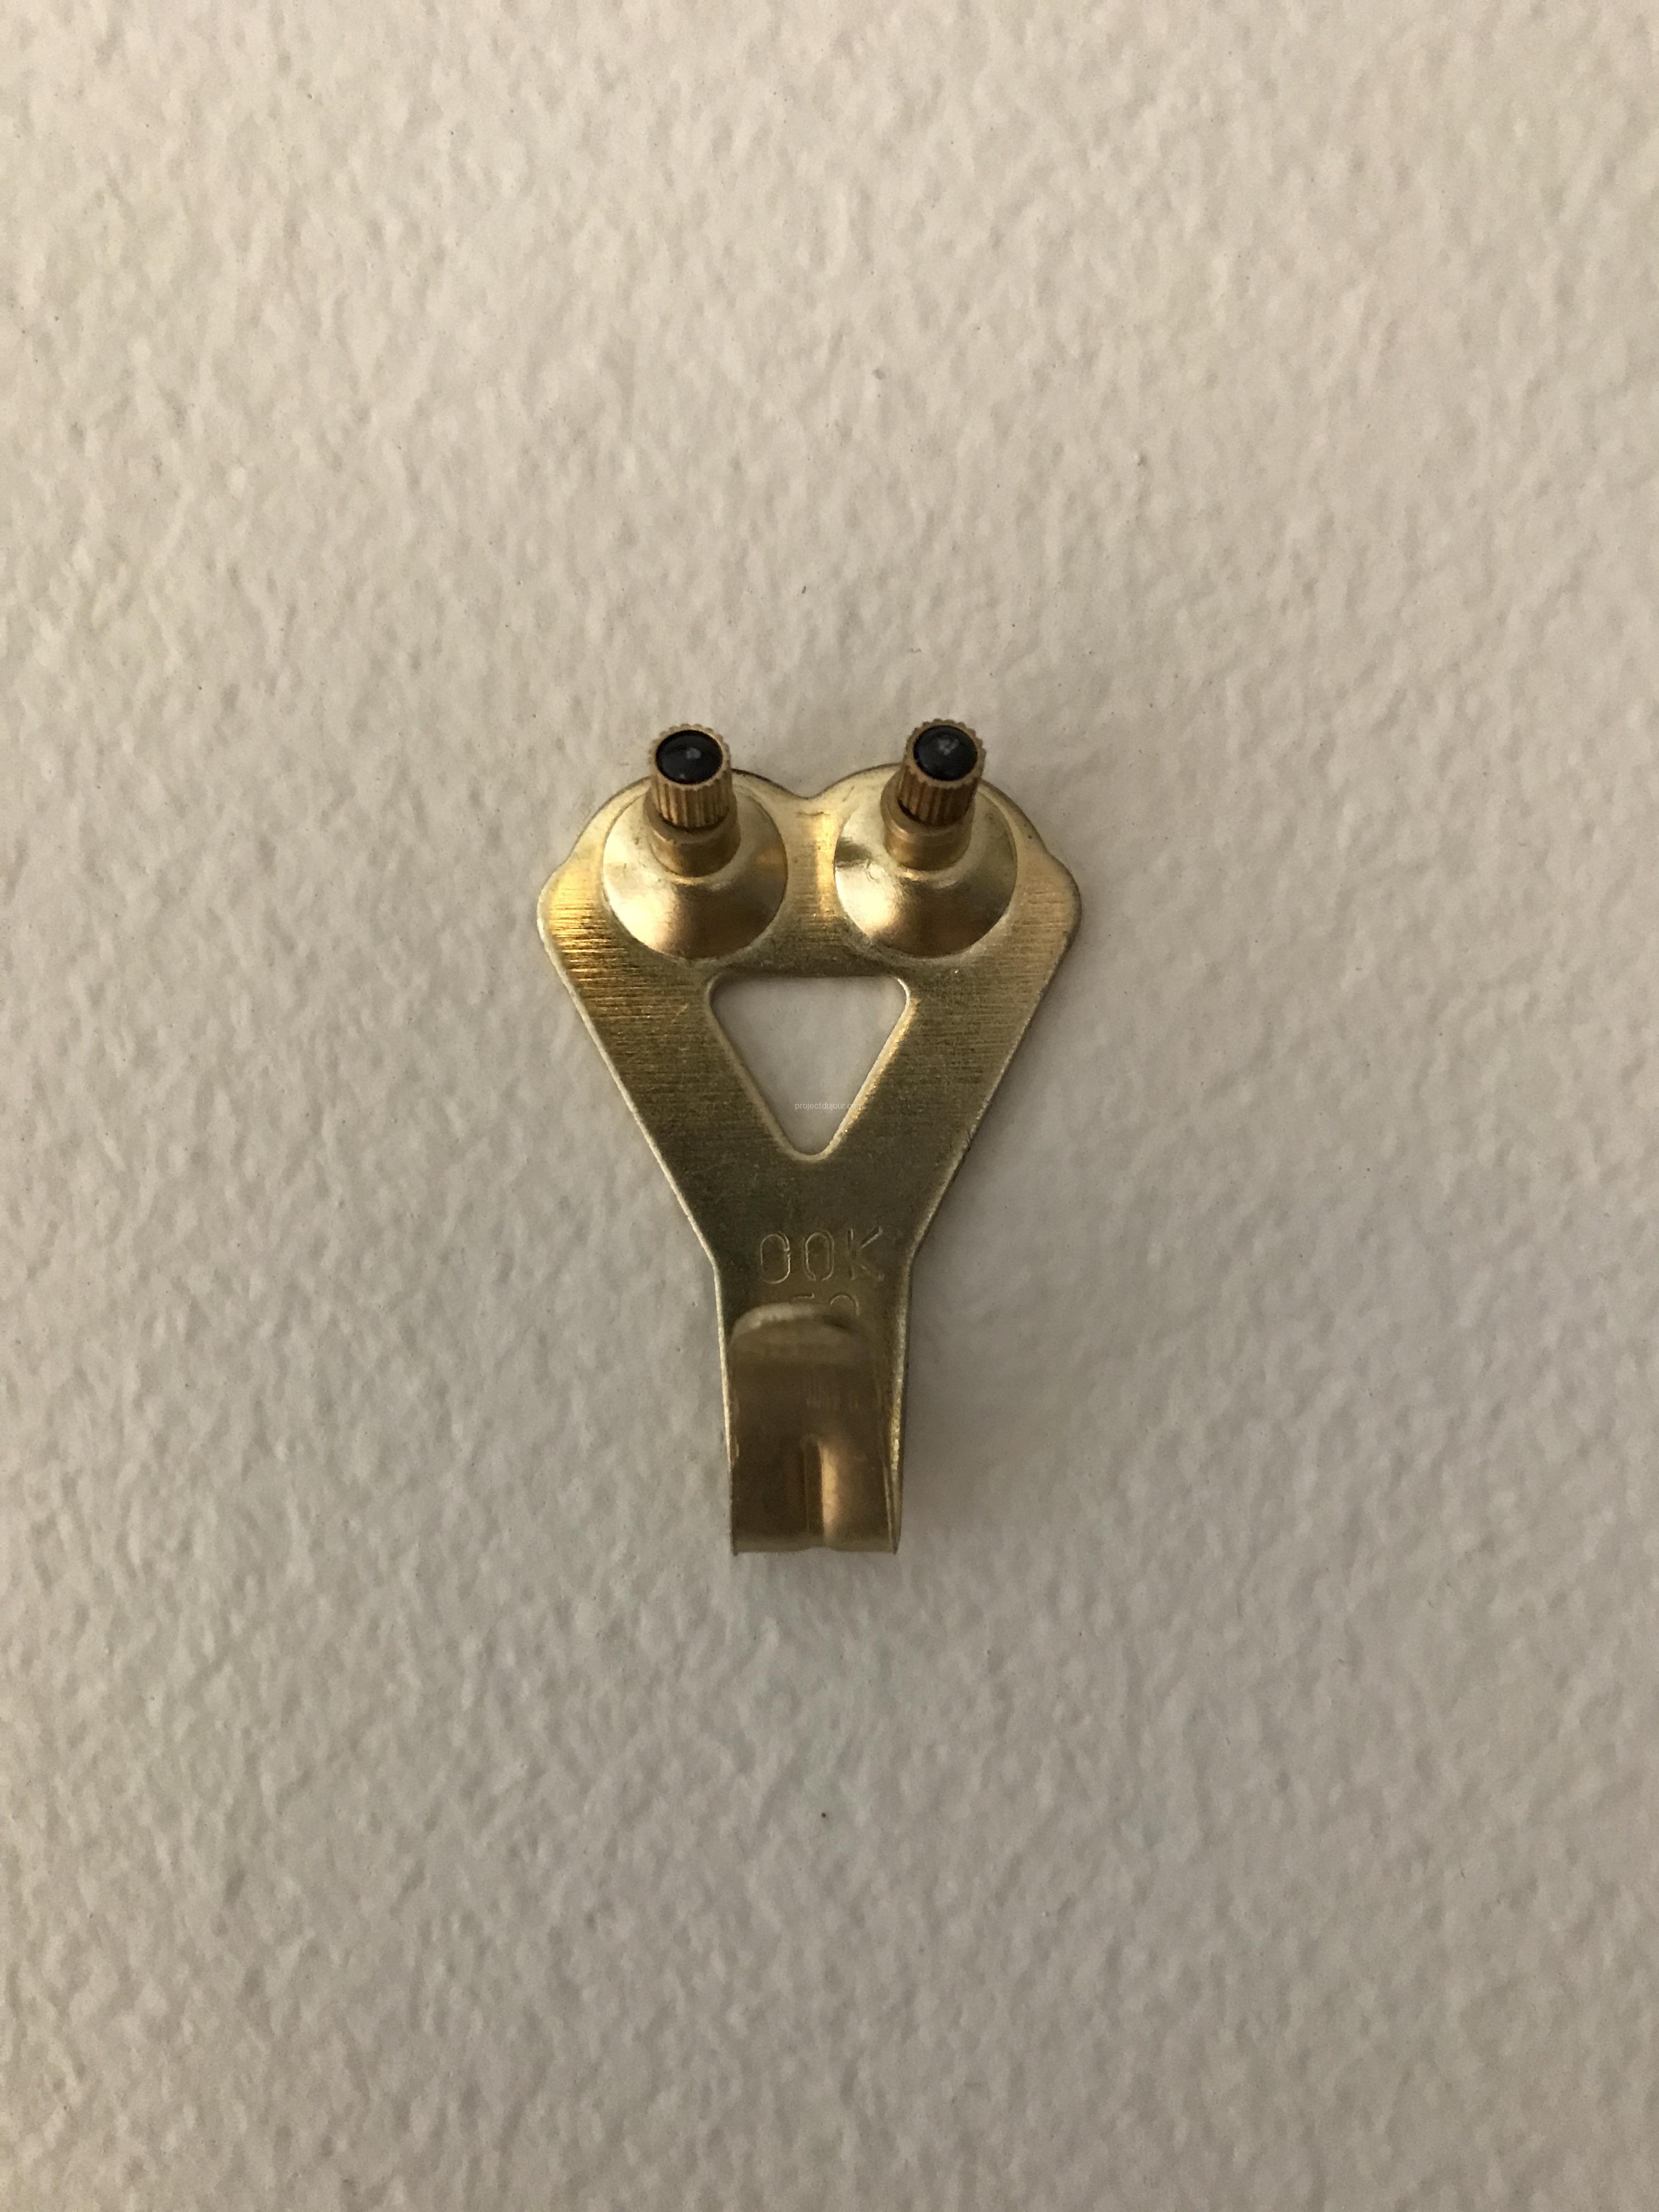
Standard framing hook
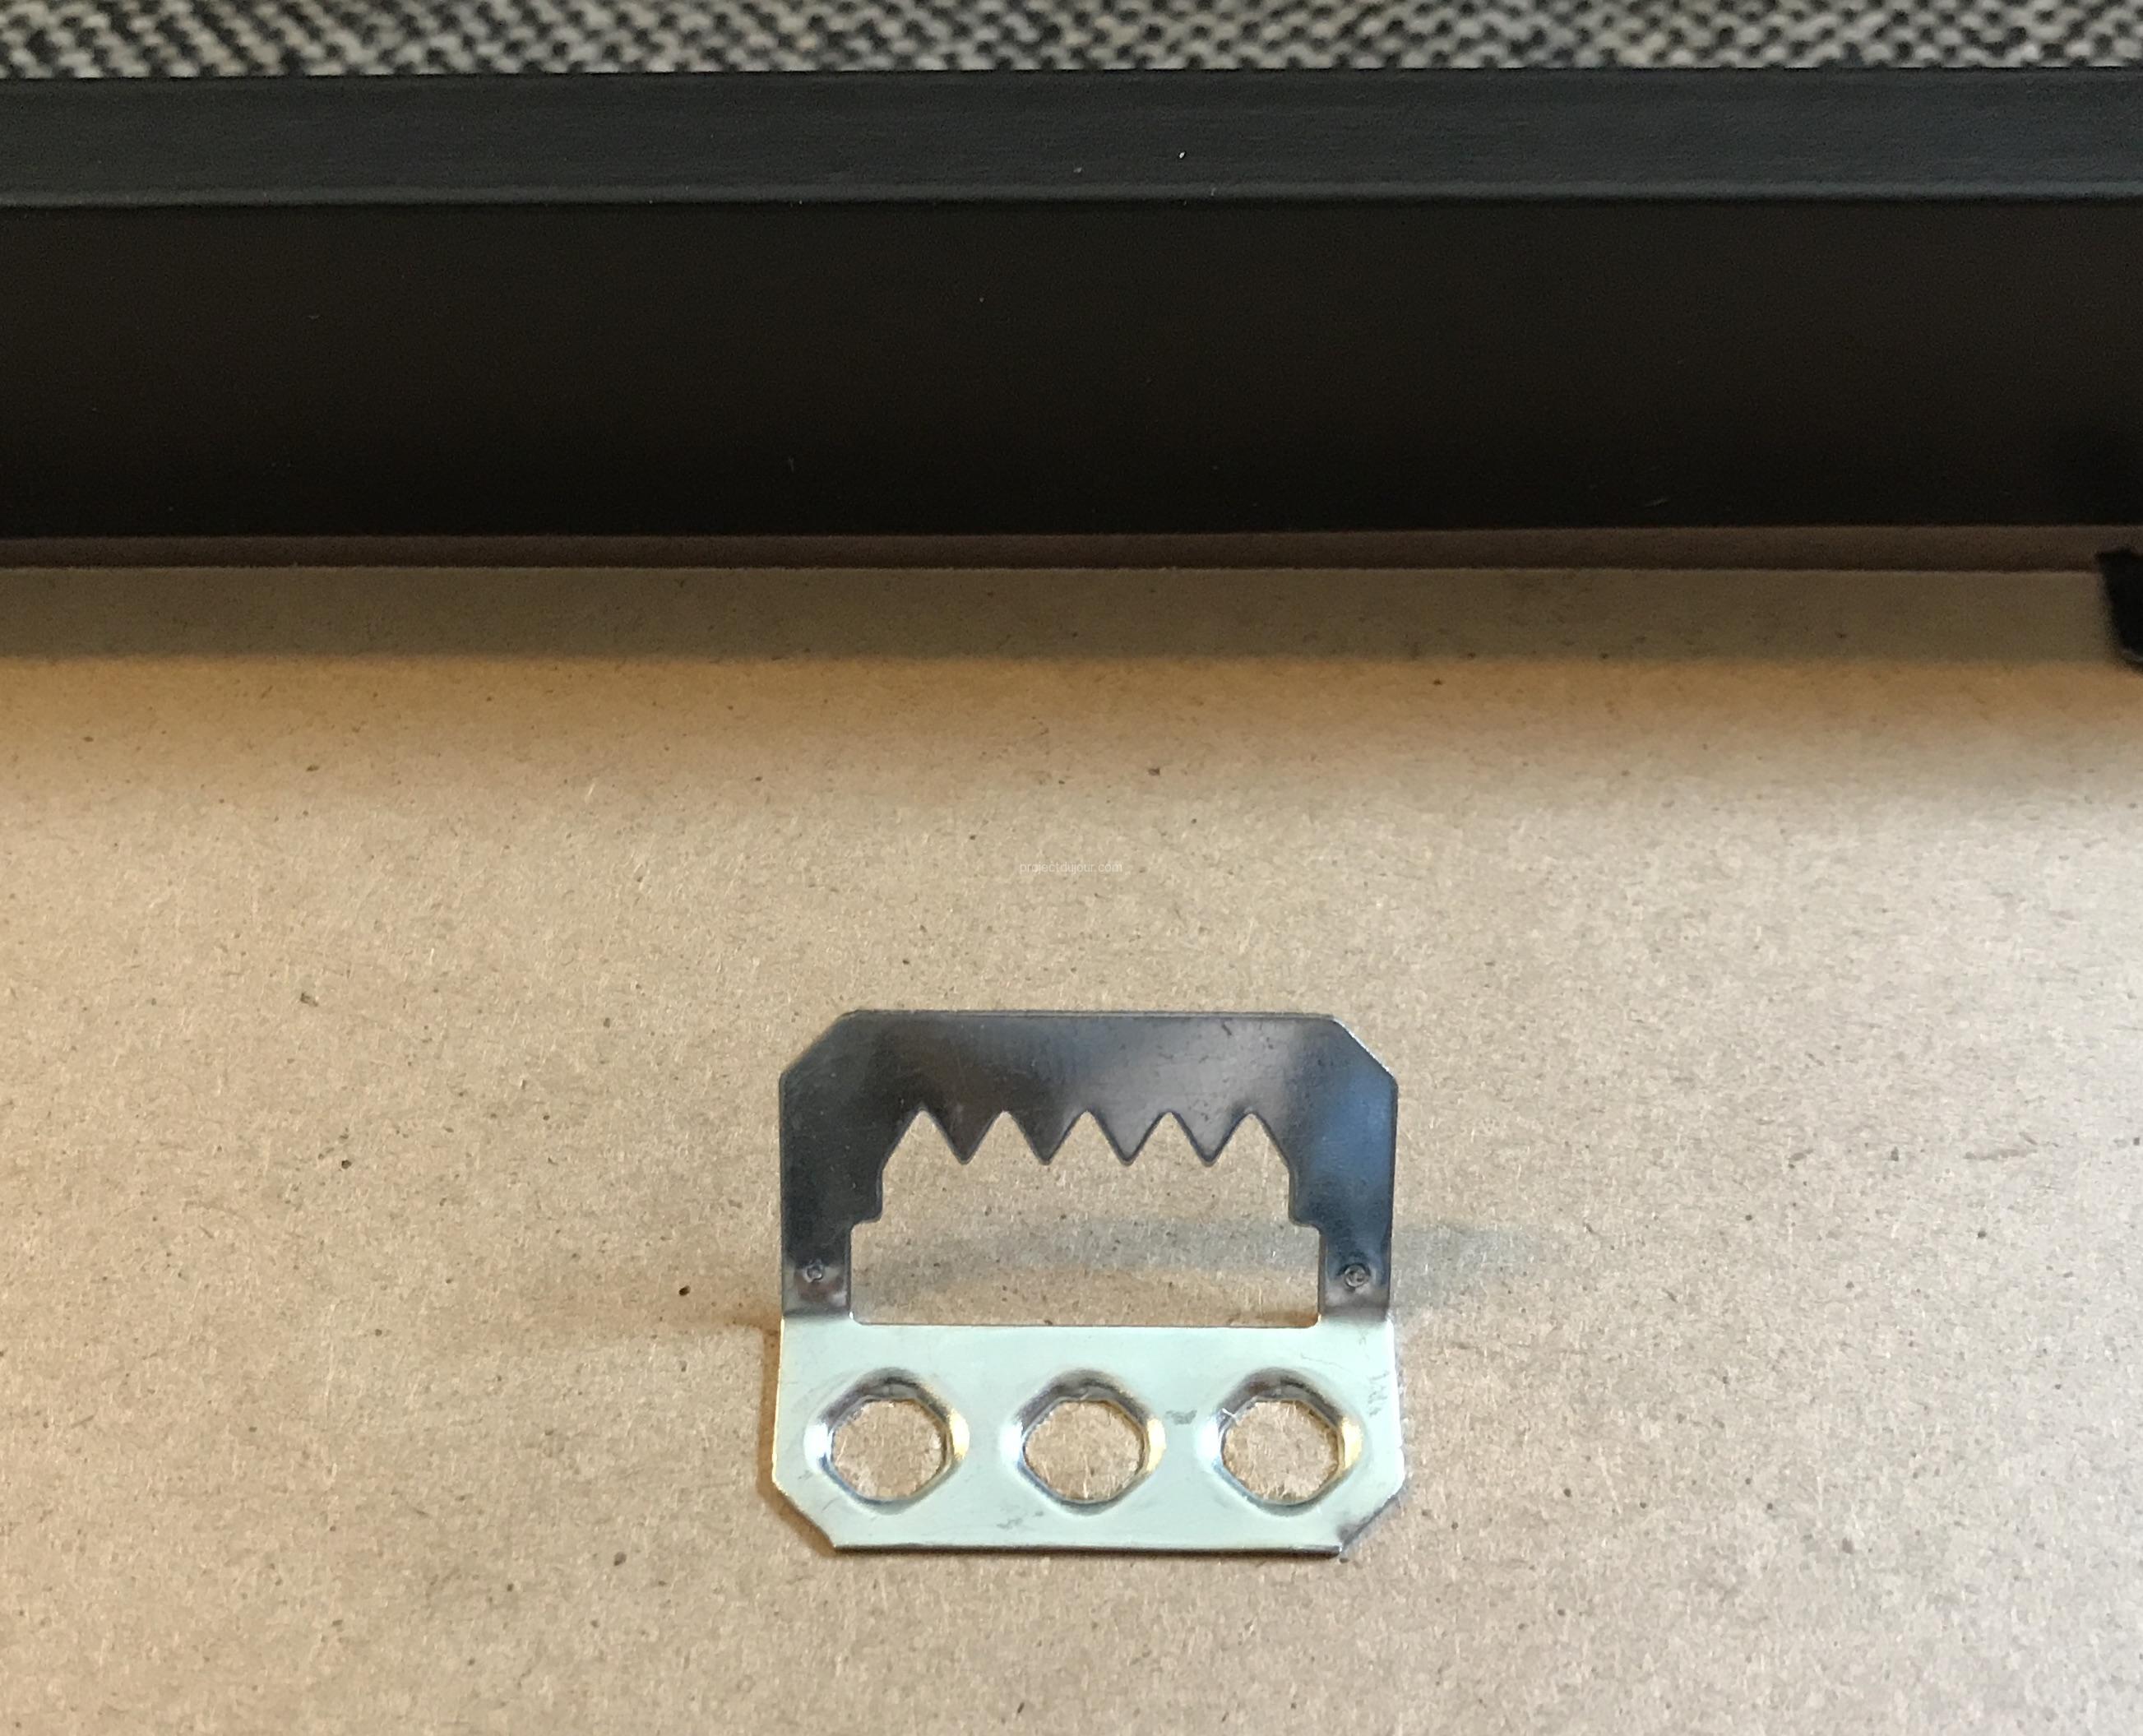
Tab on back of Ribba frame
I initially thought I could use a drywall anchor with a long screw. The screw would have to be sticking out almost an inch to reach the tab. With such an overhang, the torque on the screw would have been quite strong and I was afraid the drywall anchors would fail.
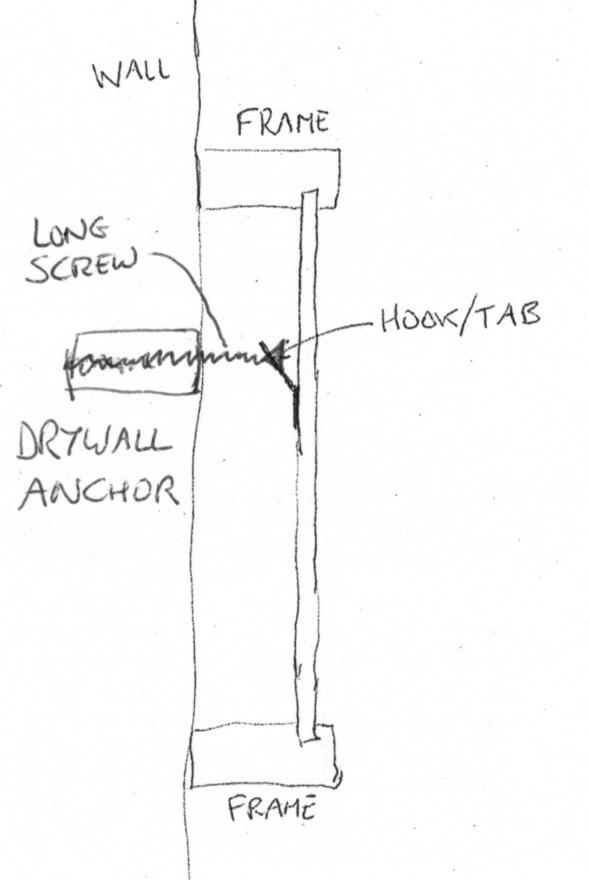
Using a drywall anchor and long screw
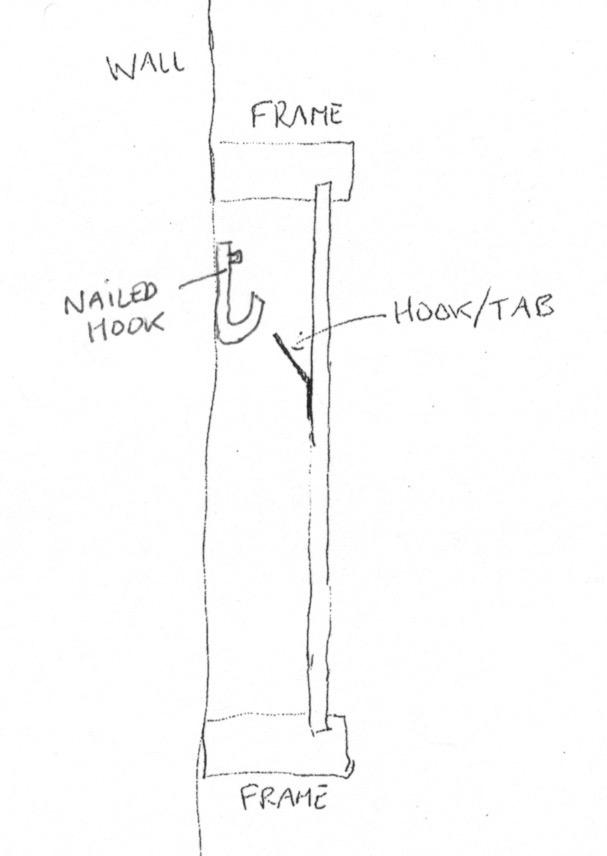
Space between the hook and the hanging tab
To use a regular framing hook, I decided to simply extend the tab on the back of frame using a solid wire.
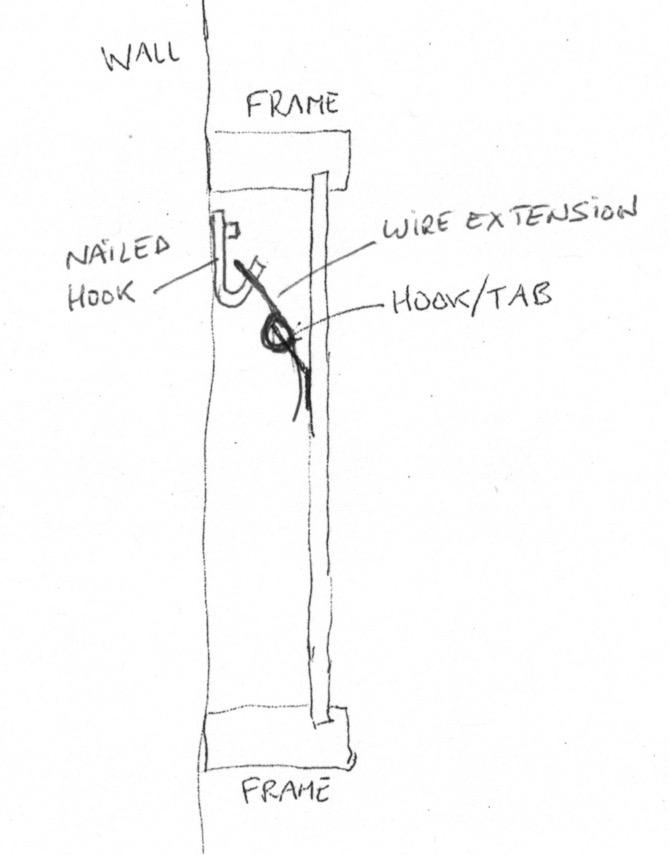
Extending the tab using a solid wire
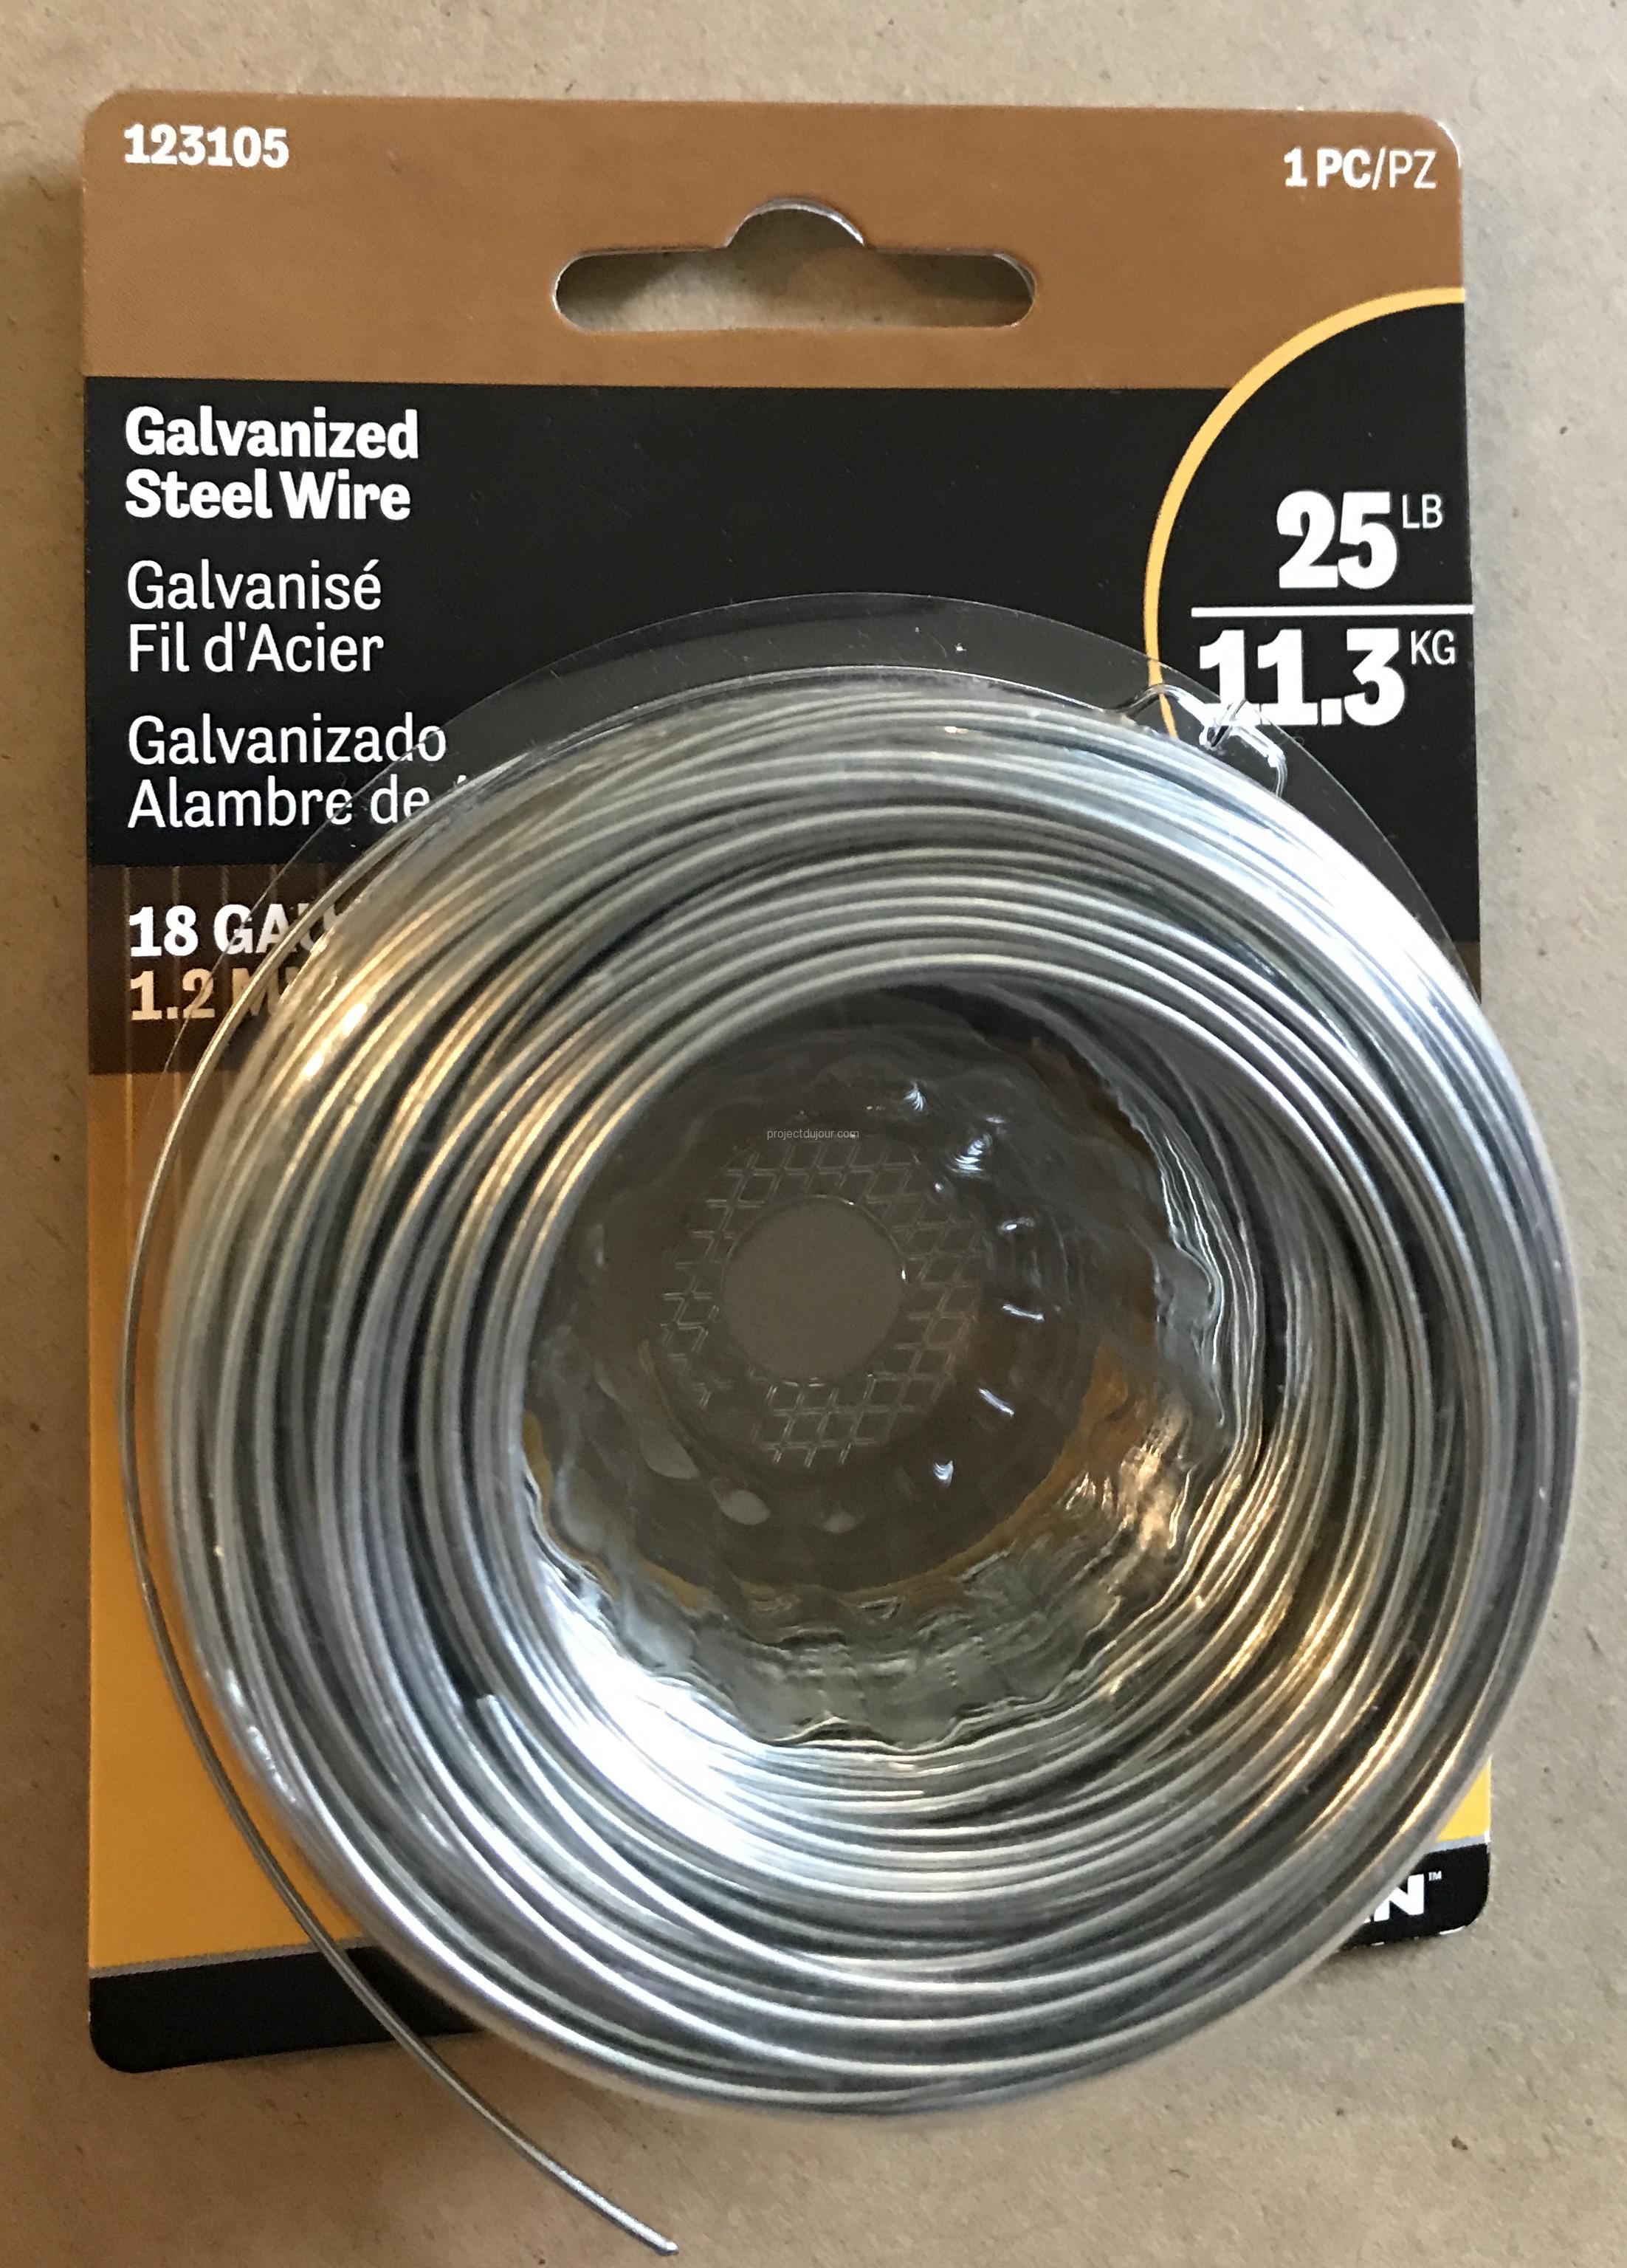
Solid wire, not stranded!
I started by cutting a 5 inch long piece of wire. I then folded the wire in 2 with a loop wide enough to fit on the hook nailed to the wall. Using a pair of pliers, I folded the tip of the wire hook , about 3/4 of an inch away from the tip. This is the length I was missing between the tab and the hook.
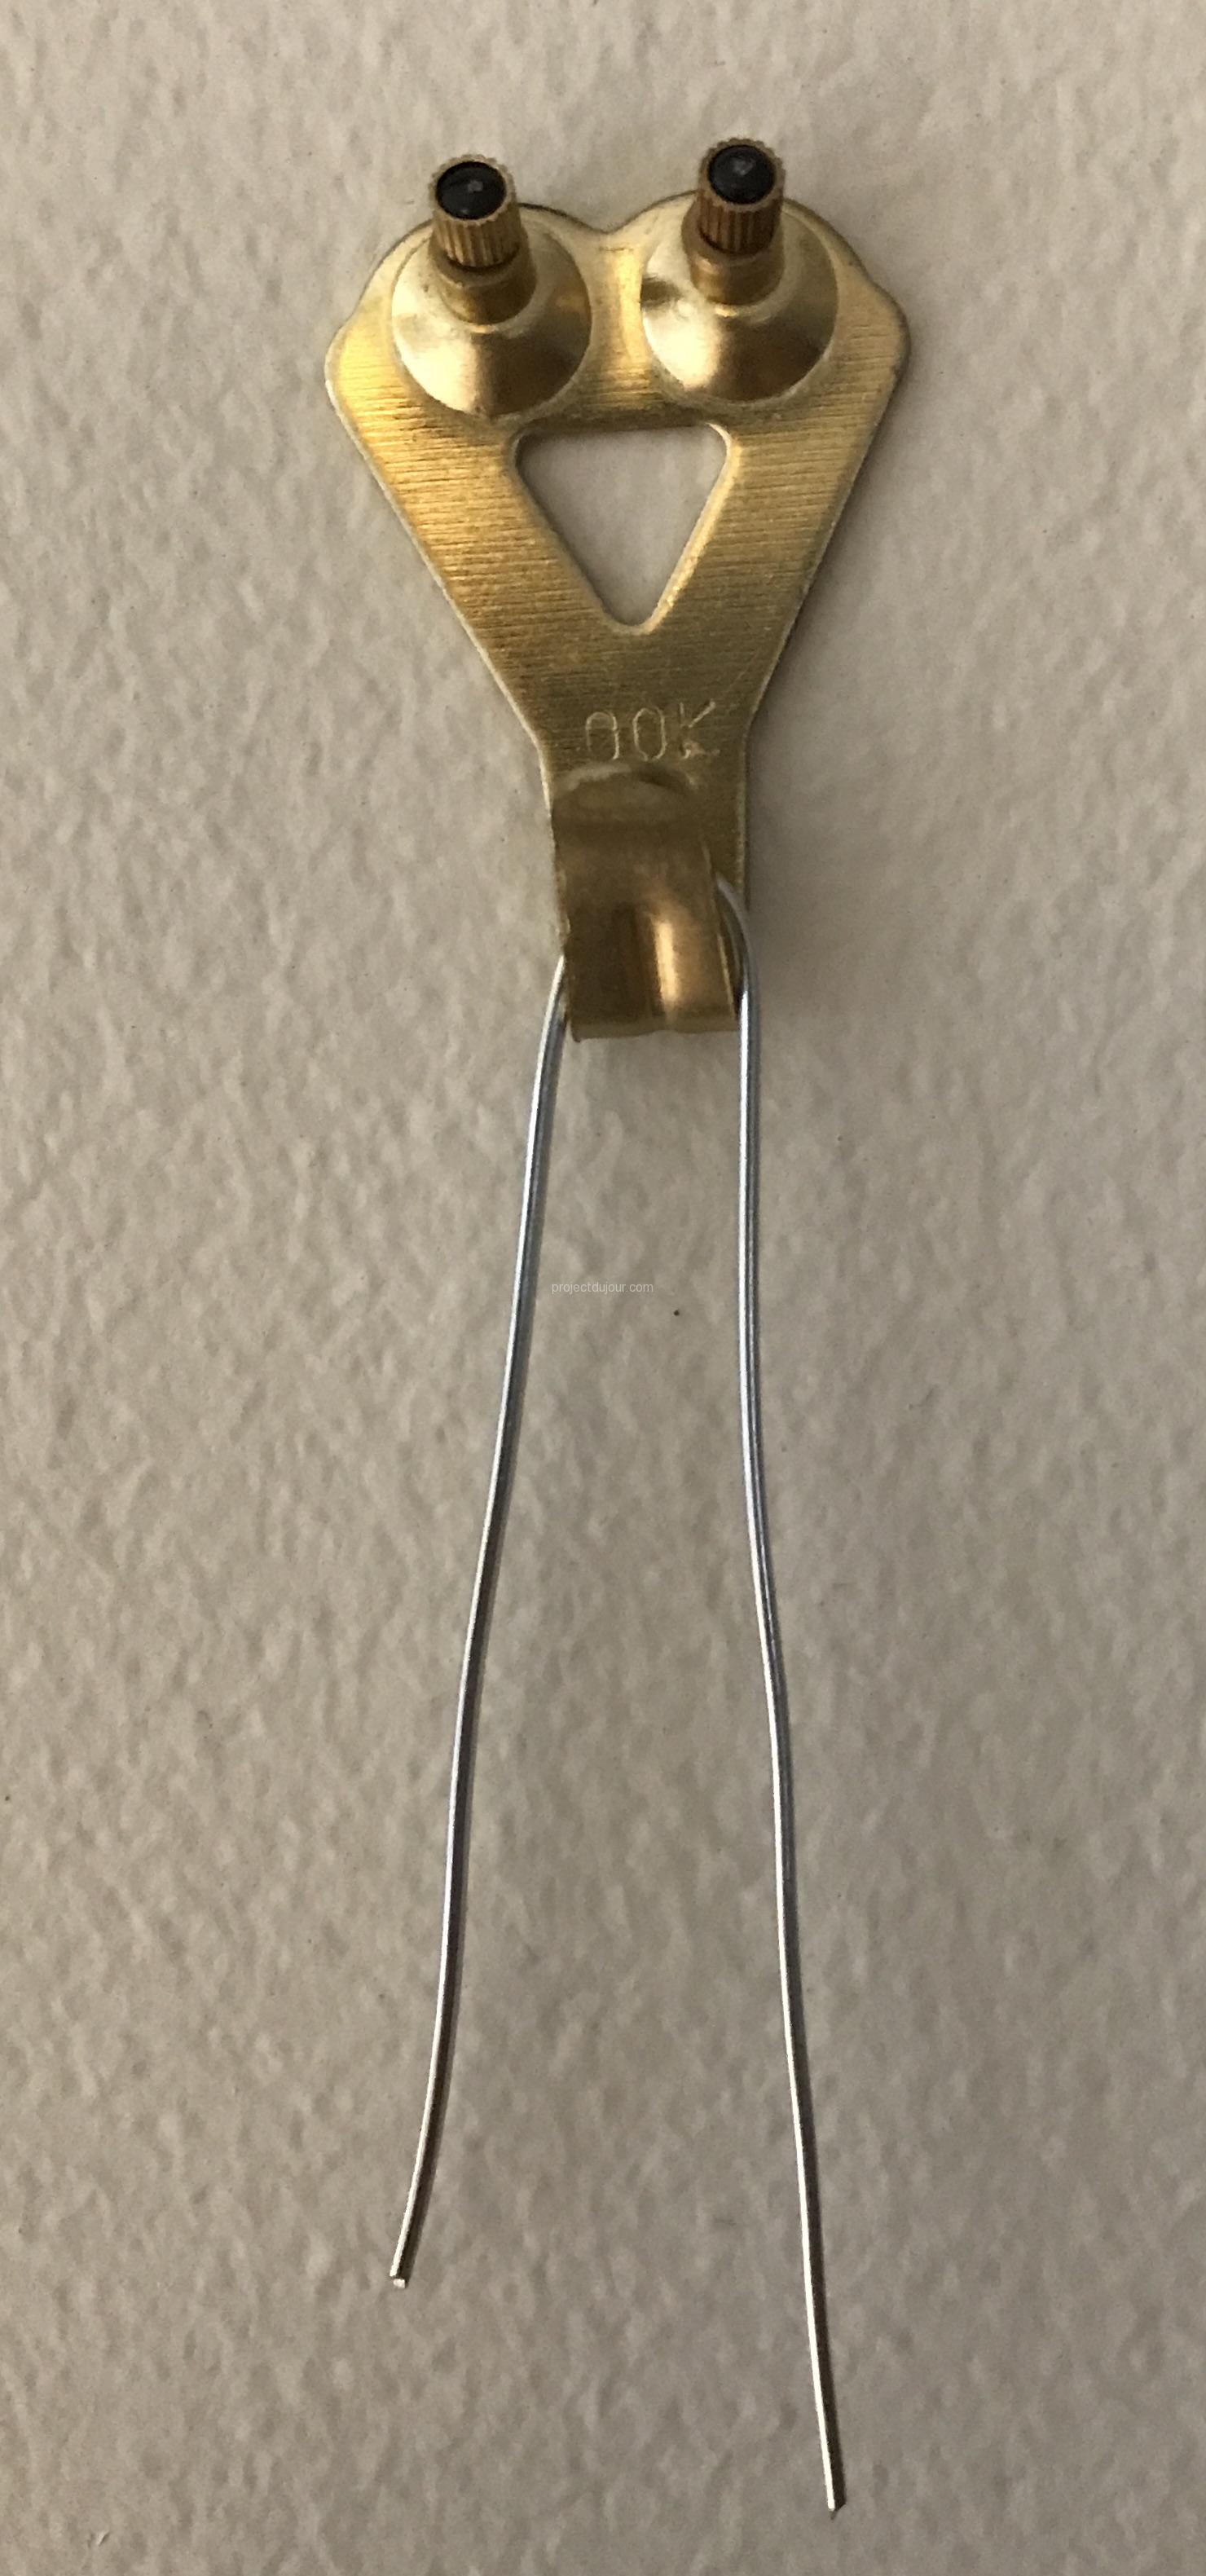
Making sure the loop is wide enough for the hook
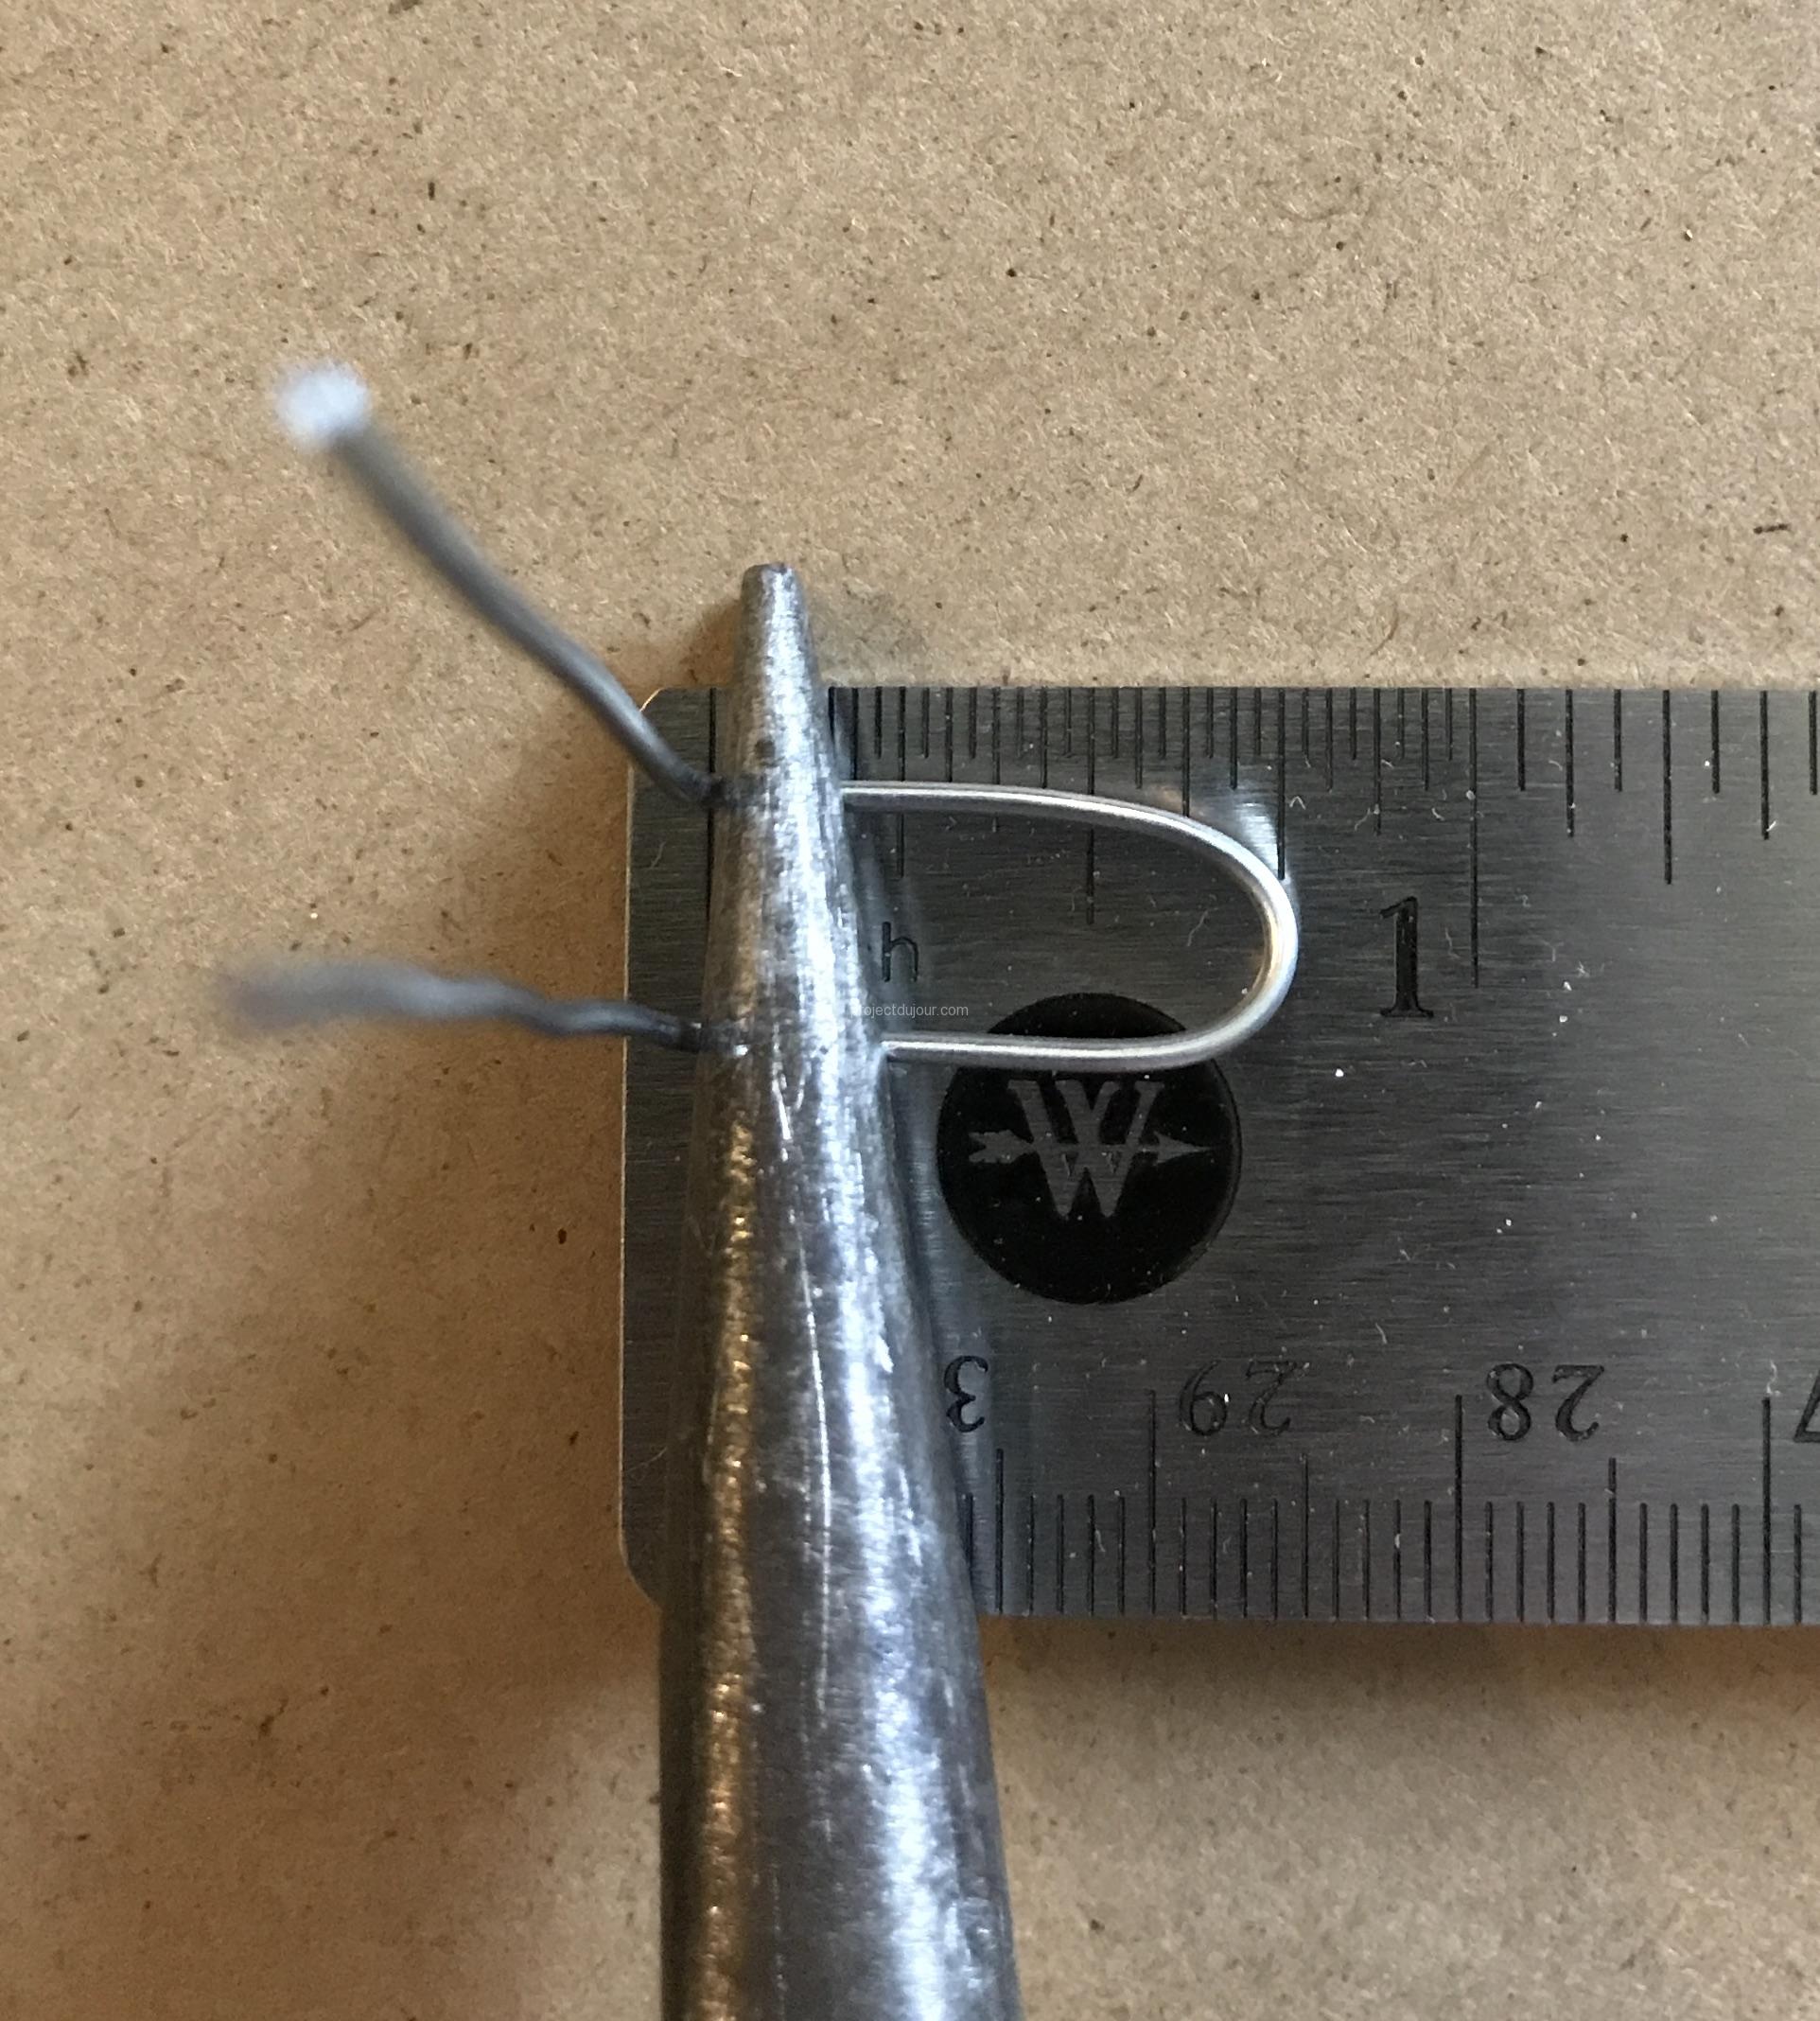
Fold using a pair of pliers
I then placed the metal wire loop inside the tab on the back of the frame and folded the two wires around the tab. Using the “W” grooves on the tab guarantees that the wire loop will remain centered.
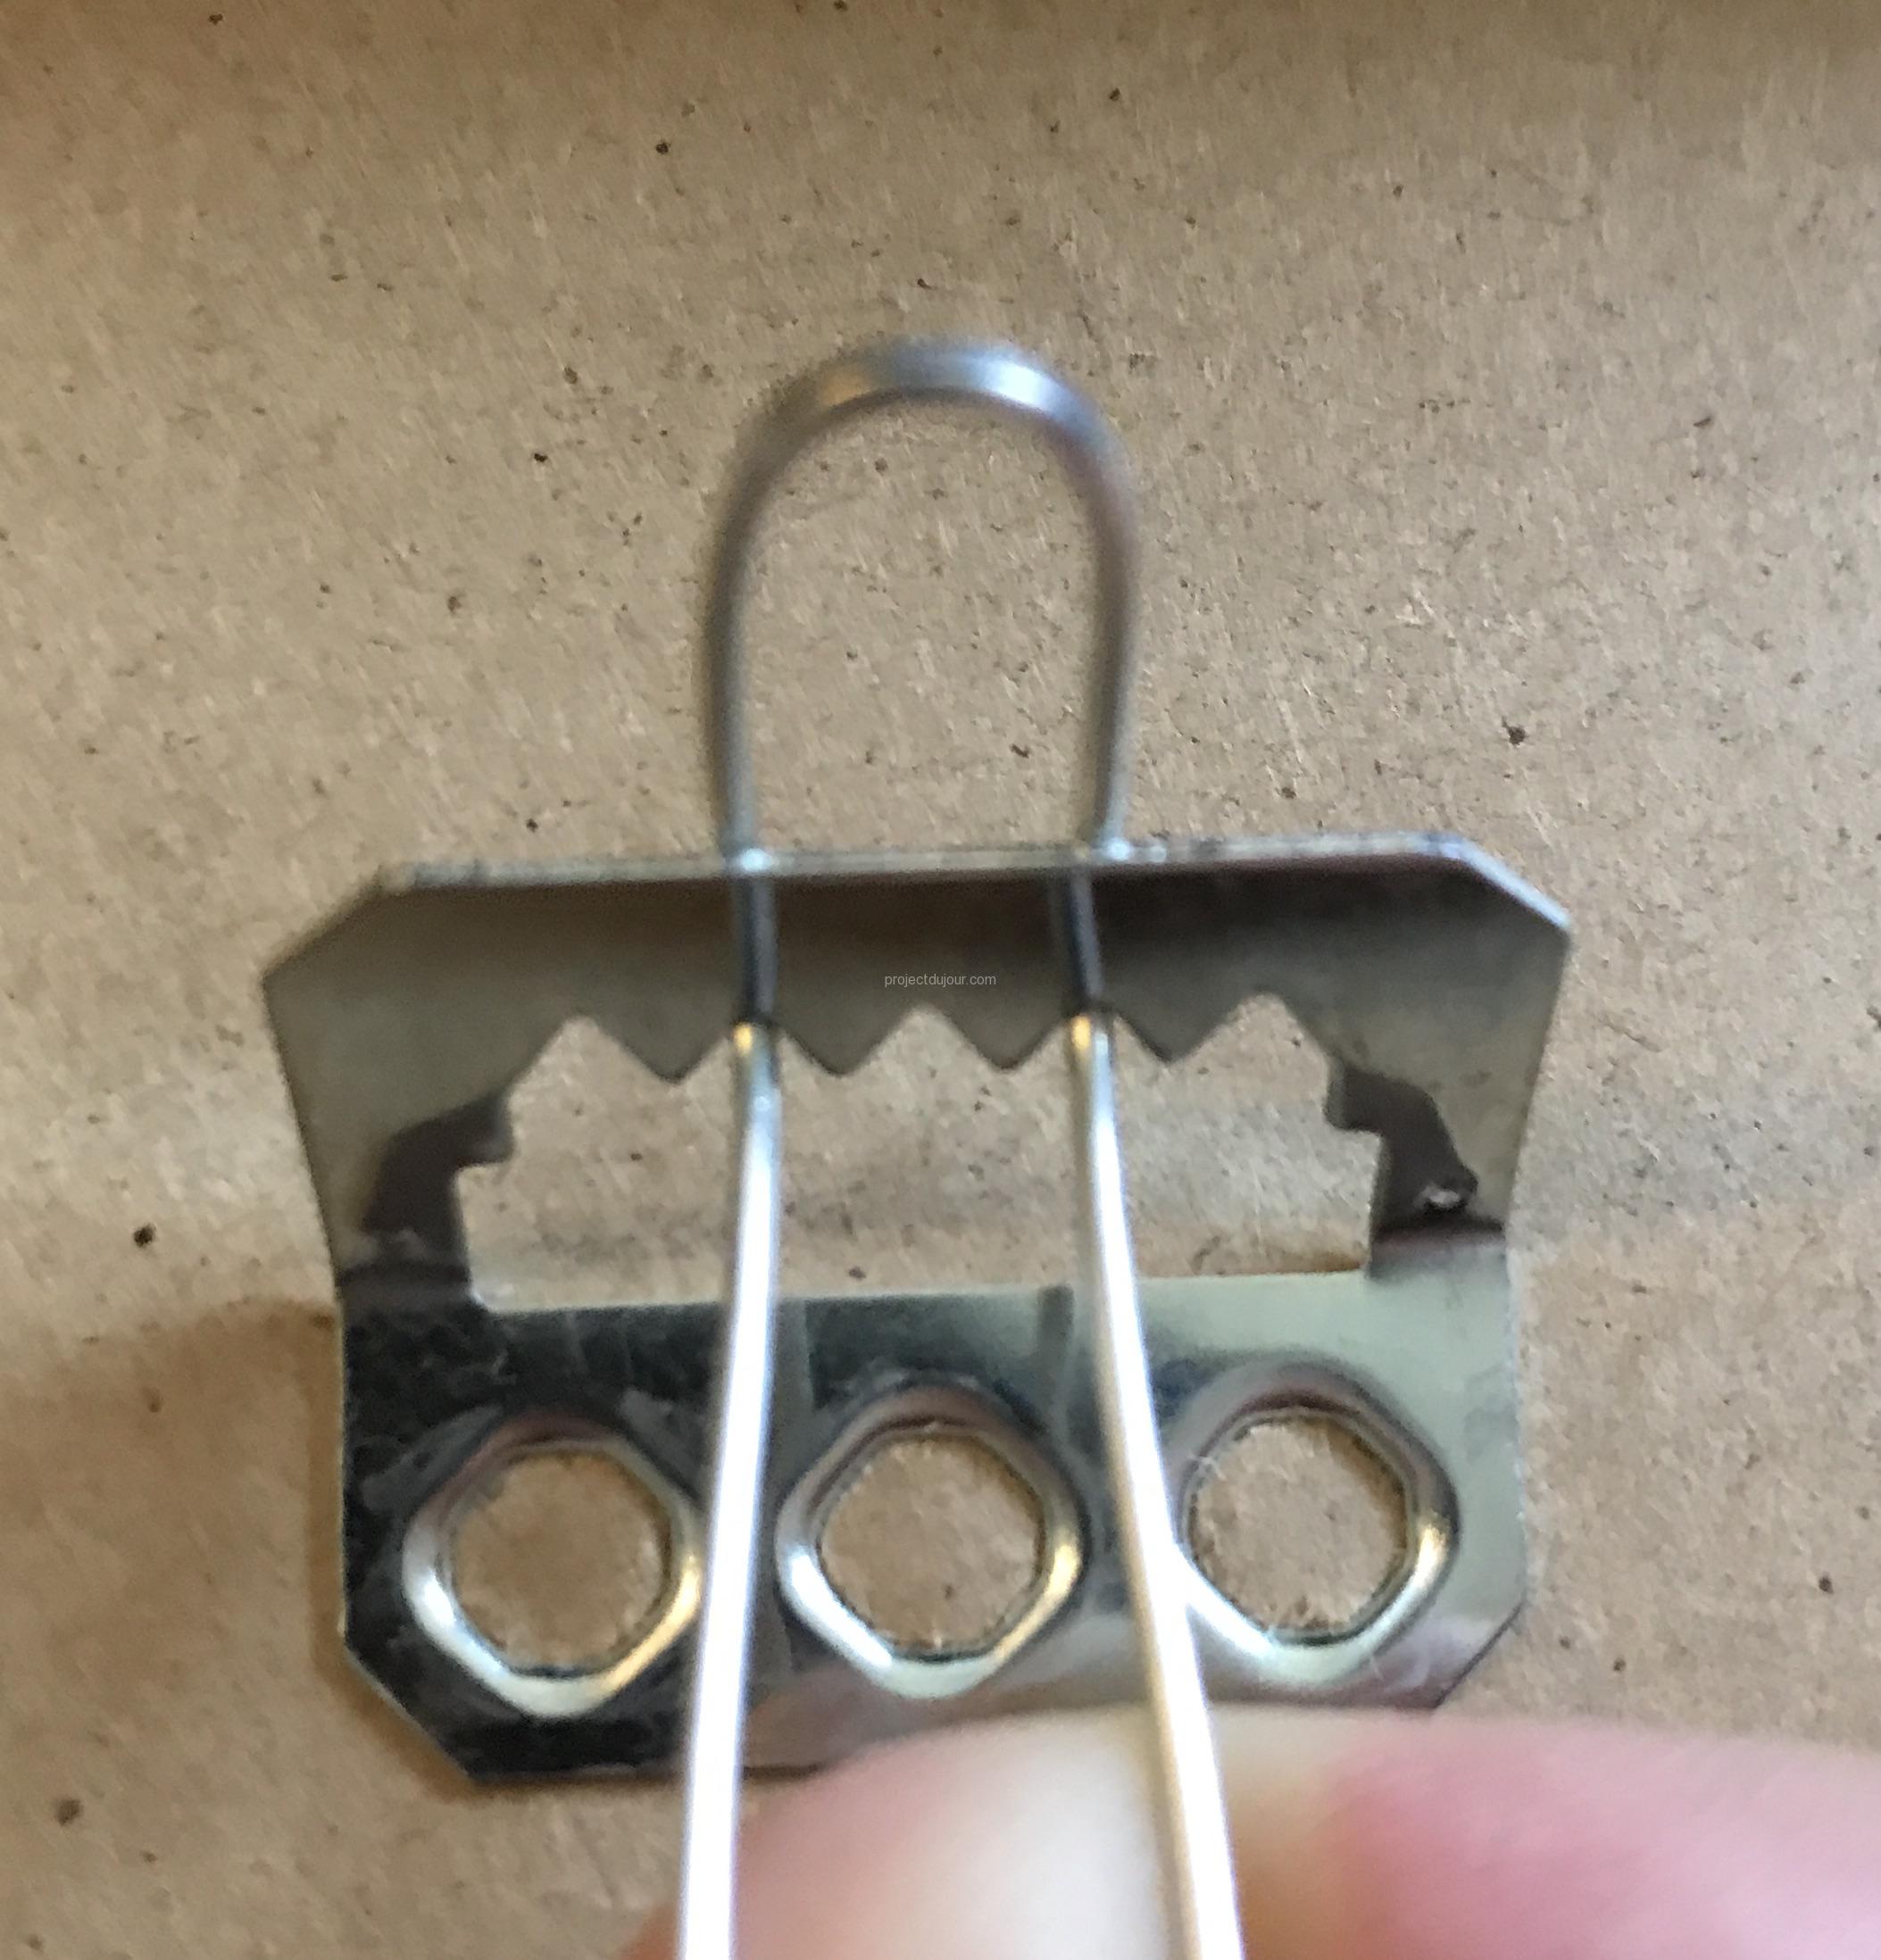
Inserting loop in tab
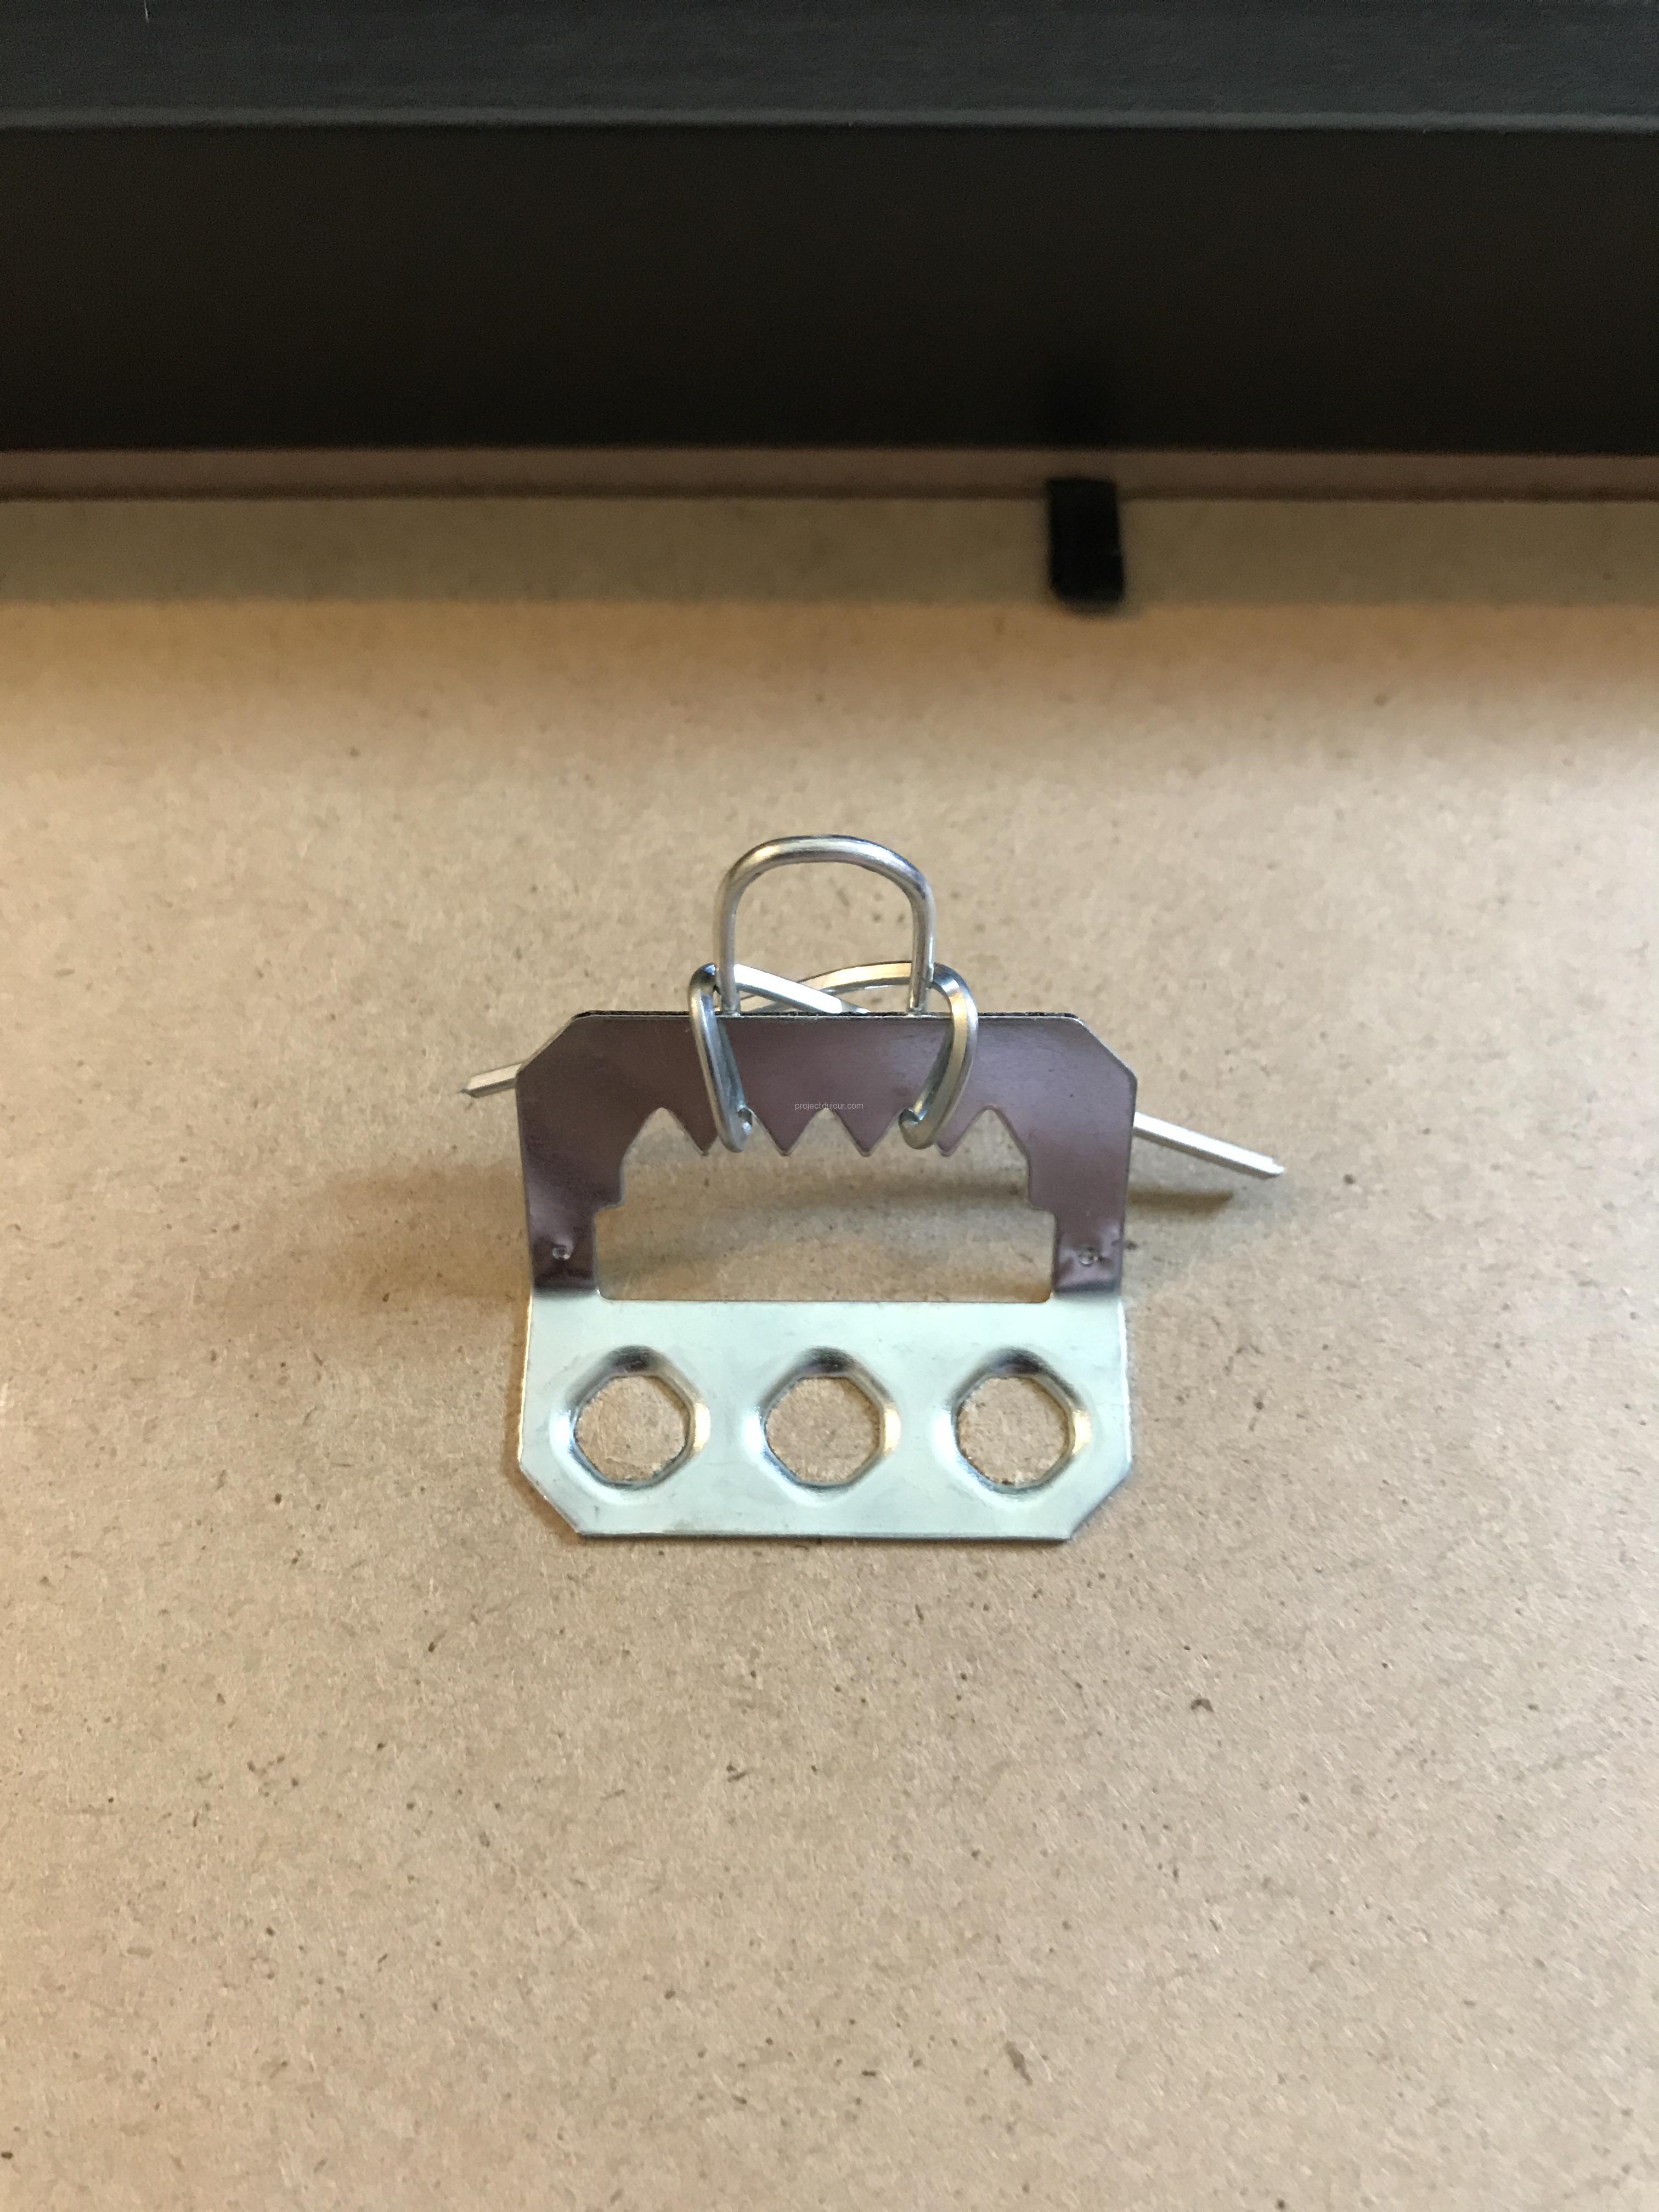
Wire wrapped around the tab
Et voila!

C’est reparti!
Shameless plug: if you read this post all the way to that point, maybe you could click on an ad or two on this site. It would be greatly appreciated and maybe one day it’ll cover the cost of web hosting.

This is really helpful, thanks! One quick question – why do you say to use solid wire, and not stranded? I bought “picture wire”, which is a bunch of small wires twisted together (I assume that’s what you mean by ‘stranded’?) – would that work?
I only tried with a solid wire, just to be sure it would stay in place and not slip off the hook. Picture wire should work too, maybe twist the two ends together so it doesn’t get loose.
Thanks so much for posting your tip. I’ve been having a hard time with these frames. I attached a sawtooth hanger to the top of the frame and after a few months it pulled the top of the frame so much that it bowed up and apart from the sides. So everyone else out there, don’t use sawtooths.
My question for you: I was wondering how your frames are holding up since you’ve posted this?
Thanks.
The frame itself is still straight, no bow. I checked the back as well and it’s fine, I was afraid it could bend being pulled towards the wall but it’s still perfectly flat. I have 9 of these frames and they’re all good.
Brilliant fix but IKEA now seem to have changed the spec of the Ribba again and made the problem even worse! Instead of the hinged sawtooth hanger (as your photos show), the frame now has a fixed sawtooth bracket. There’s about a 4mm slot between the bracket and the hardboard with no scope for adjustment at all. I might try your wire fix or a very long screw but, more likely, I’ll return the Ribbas and get some frames that are easier to hang. The Ribba is a good looking frame with simple, clean lines and is a good price but its set up for hanging is not practical.
I’ve just noticed the same thing — my ‘bending tab’ snapped off, so bought new frame to use its saw-tooth tab — but the saw-tooth is in a different spot, and now it doesn’t align with my other frames! Gaa! IKEA should have just stuck with the wire/clips; that always worked!
I have the poster frame with the “new” (flatter) style hanger. I found that I could use the braided wire, slip it behind the hanger, and easily create a wider hook, just as you had with solid wire. I was able to hang it on the first try–after having struggled for nearly an hour trying to hang it with the flat hanger. Thanks for a great idea!
You dear person are my hero of the day! haha thank you so much for this solution
Thanks for sharing! Ive spent quite a bit on some new frames and didn’t notice until I’d taken them out of their packaging that the hanging method had changed.
Exactly the solution I was looking for. Thank you! We also just got the frame with the new annoying hardware and i was able to use wire to extend it still. Not ideal…ideal would be IKEA keeping the wire clips from the old Ribba version…but this should do.
FWIW, I also used stranded wire and just wrapped the ends around to secure it. As long as the sawtooth hardware stays attached to the back the wire should be fine:
Photo of the new hardware with wire wrap: https://dl.dropboxusercontent.com/s/zijl034lyo3unnx/ikea-ribba-hack-crop.jpg
Beautiful, job done! Thank you so much!
Great minds think alike! I got the new fixed sawtooth, worse than the foldable one. Anyway, I made a loop from a wire and hook that to the picture hanger on the wall. I notice one problem though. It’s almost impossible to hang multiple frames side by side on the same level, for the lengths of the loops will be different from one another. Any thoughts?
Maybe you can make the wire a bit longer and adjust the height by twisting or un-twisting it. I solved the problem by putting all my frames at random heights :-)
Use a picture hanging tool. It’s yellow plastic w a level
and a hook. You place your picture on it and then find your spot on the wall. Then remove the picture frame and can press to mark the spot on the wall to place your nail/hook.