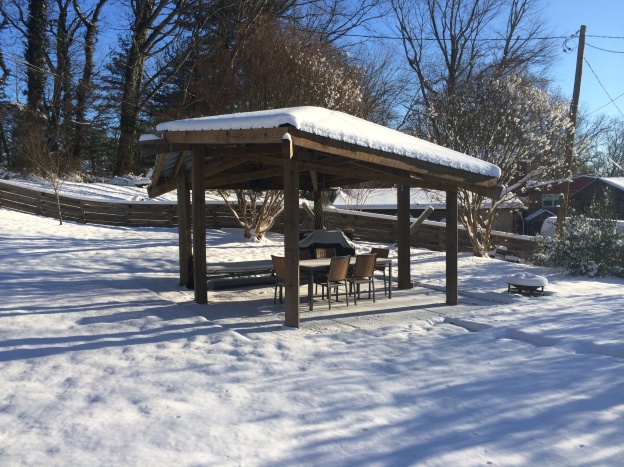
I used to have a deck on the side of my house. It was 25+ years old and falling apart. Furthermore, the darn thing was against the house and above a few downstairs windows so my bedroom felt like a cave. Instead of a deck, I decided to build a patio with a nice cover. Less maintenance and I could use it even under a summer storm (or snow storm). I took me a day to turn the deck into a pile of planks, two months to get rid of said planks and two years to finish the patio cover.
Once I had decided that I wanted a patio cover, things quickly got out of control. I wanted the shape to be a bit original, i.e. not just a plain wedge on sticks. A hexagon was a good start but I added a small offset to one of the diagonals, just for fun.
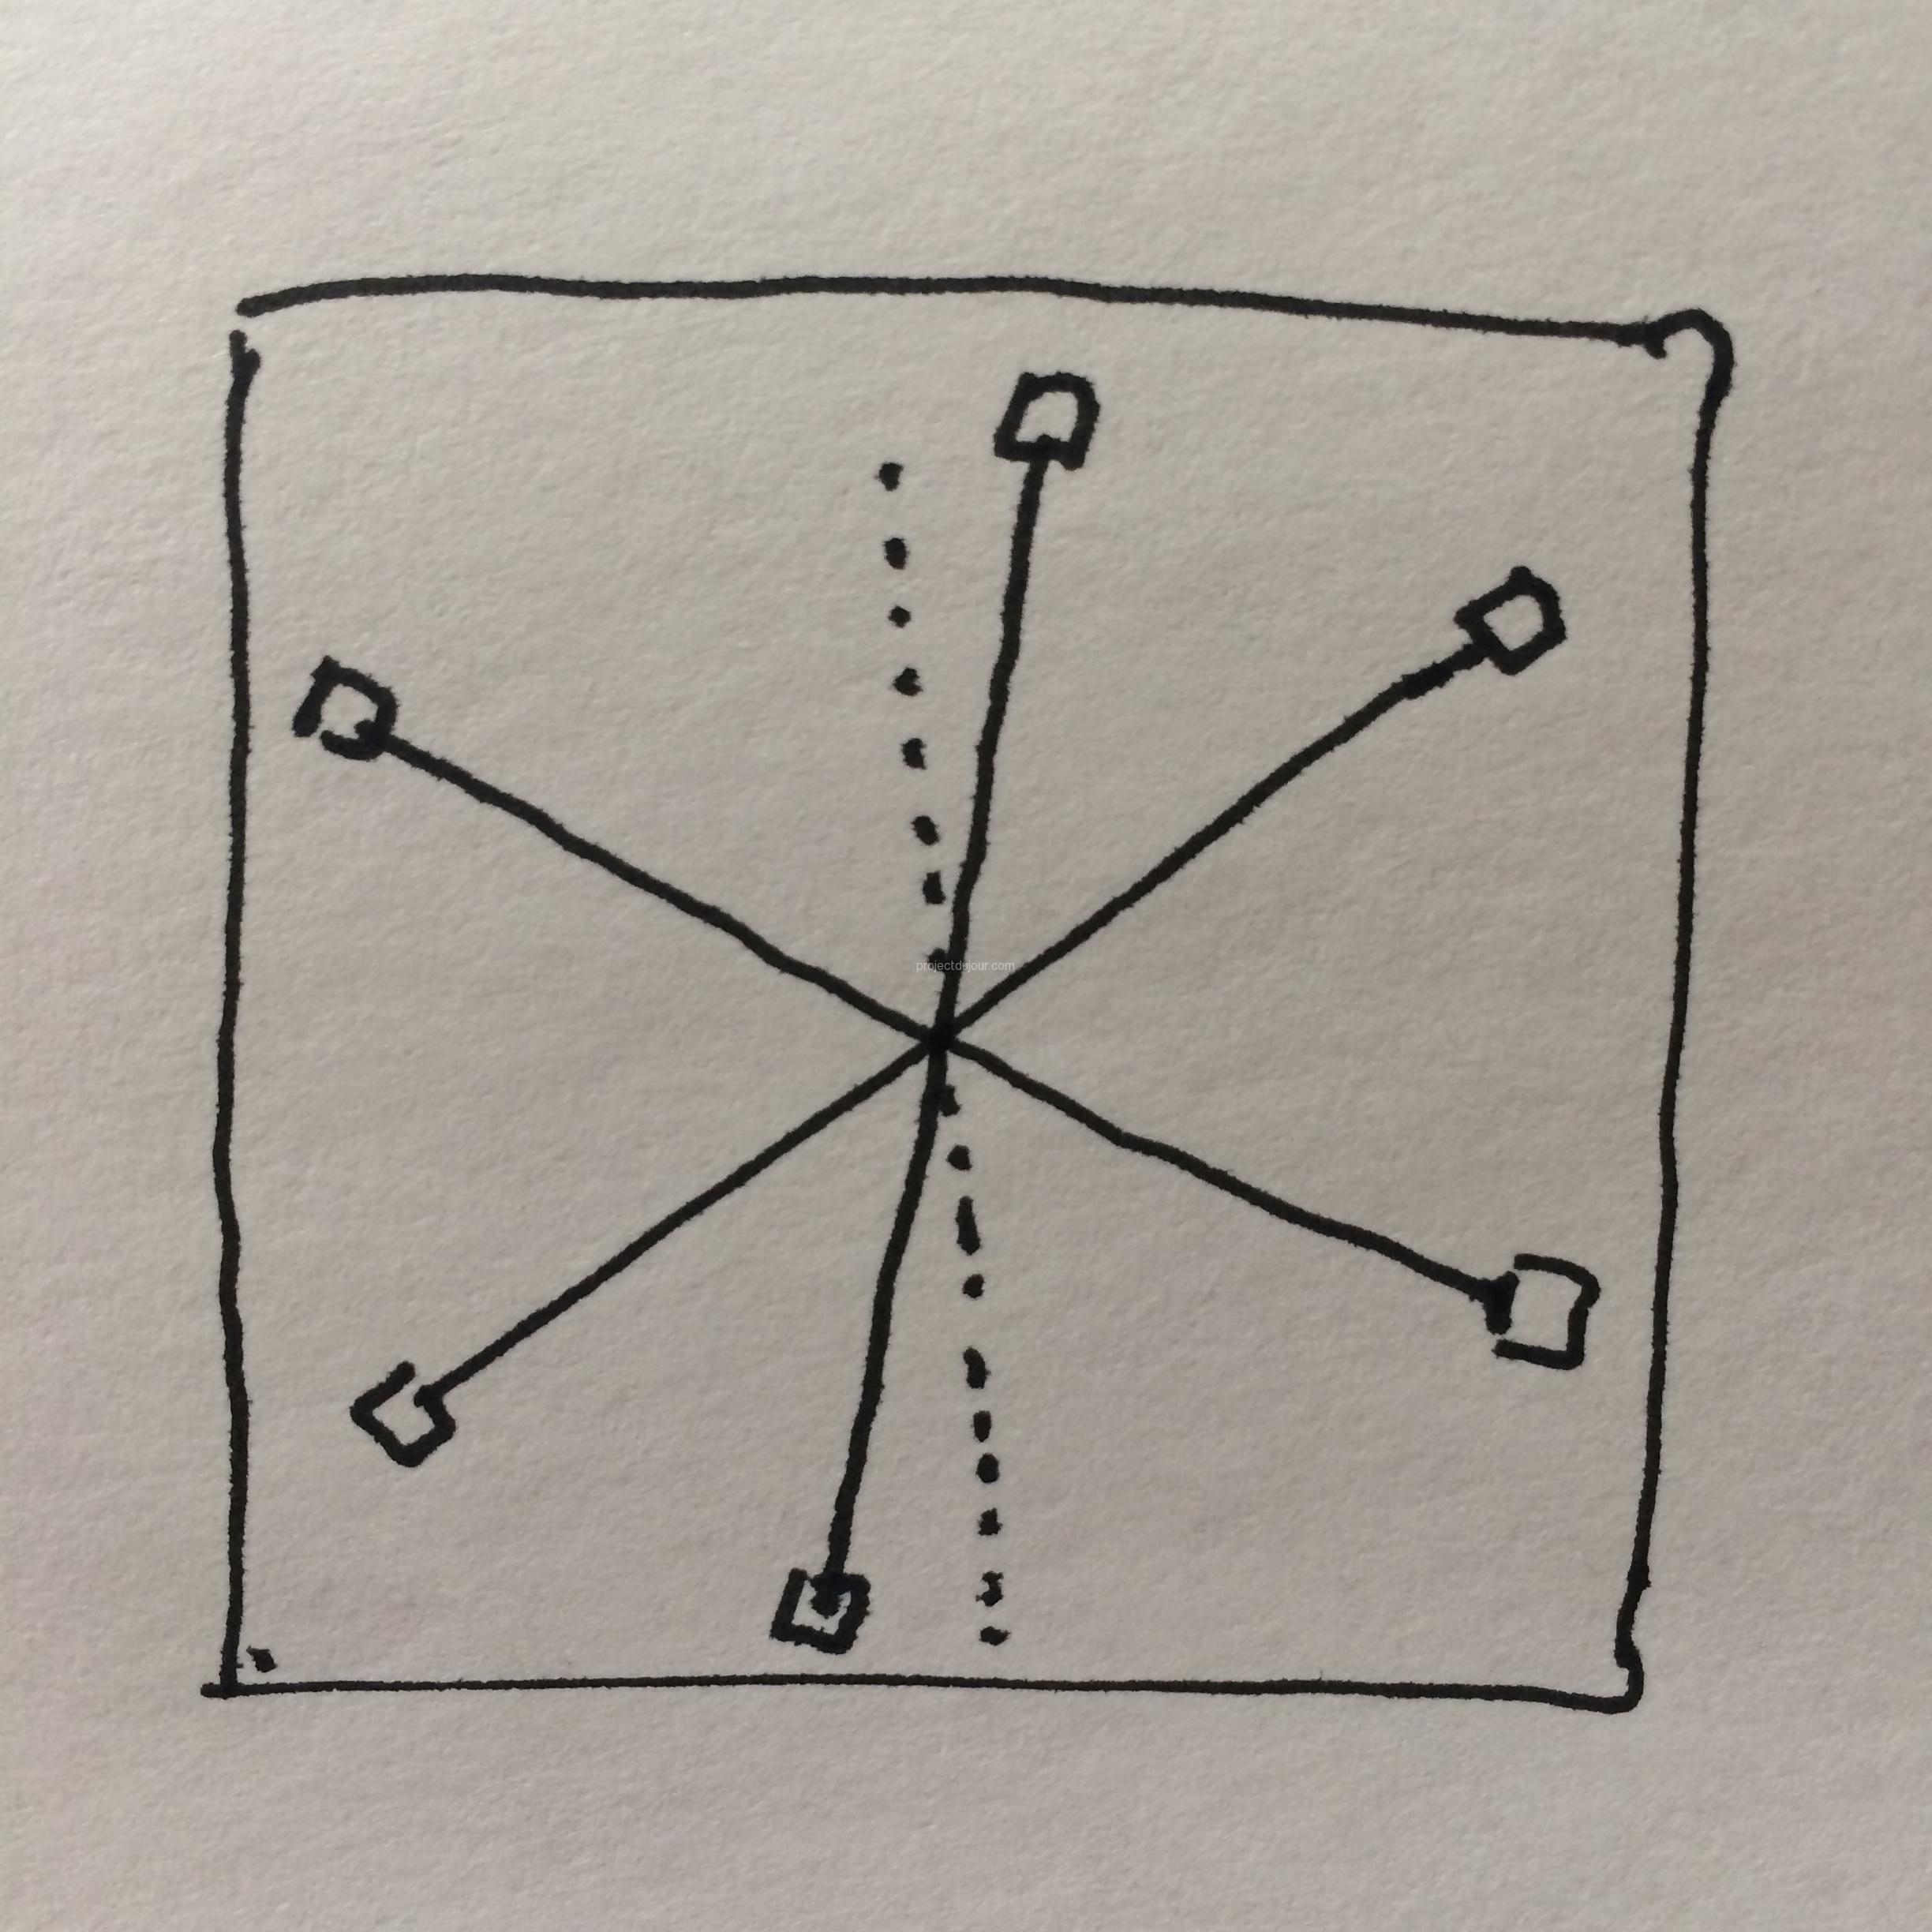
Overall layout, hexagon with a slanted diagonal
For the roof, I decided to use scissor trusses. I like the look of these and they provide a fair amount of strength while keeping enough space over the patio. The challenge was then to make 3 sets of trusses intersect in the middle. Obviously the top of the trusses had to be at the same height but I wanted to lower part to intersect on top of each other. To lower the height of the middle point, I had to make the overall truss more “acute”. To do this, I just had to lower the end points of each truss. It took a bit of math (I can’t remember it now, sorry) but it wasn’t too complicated.
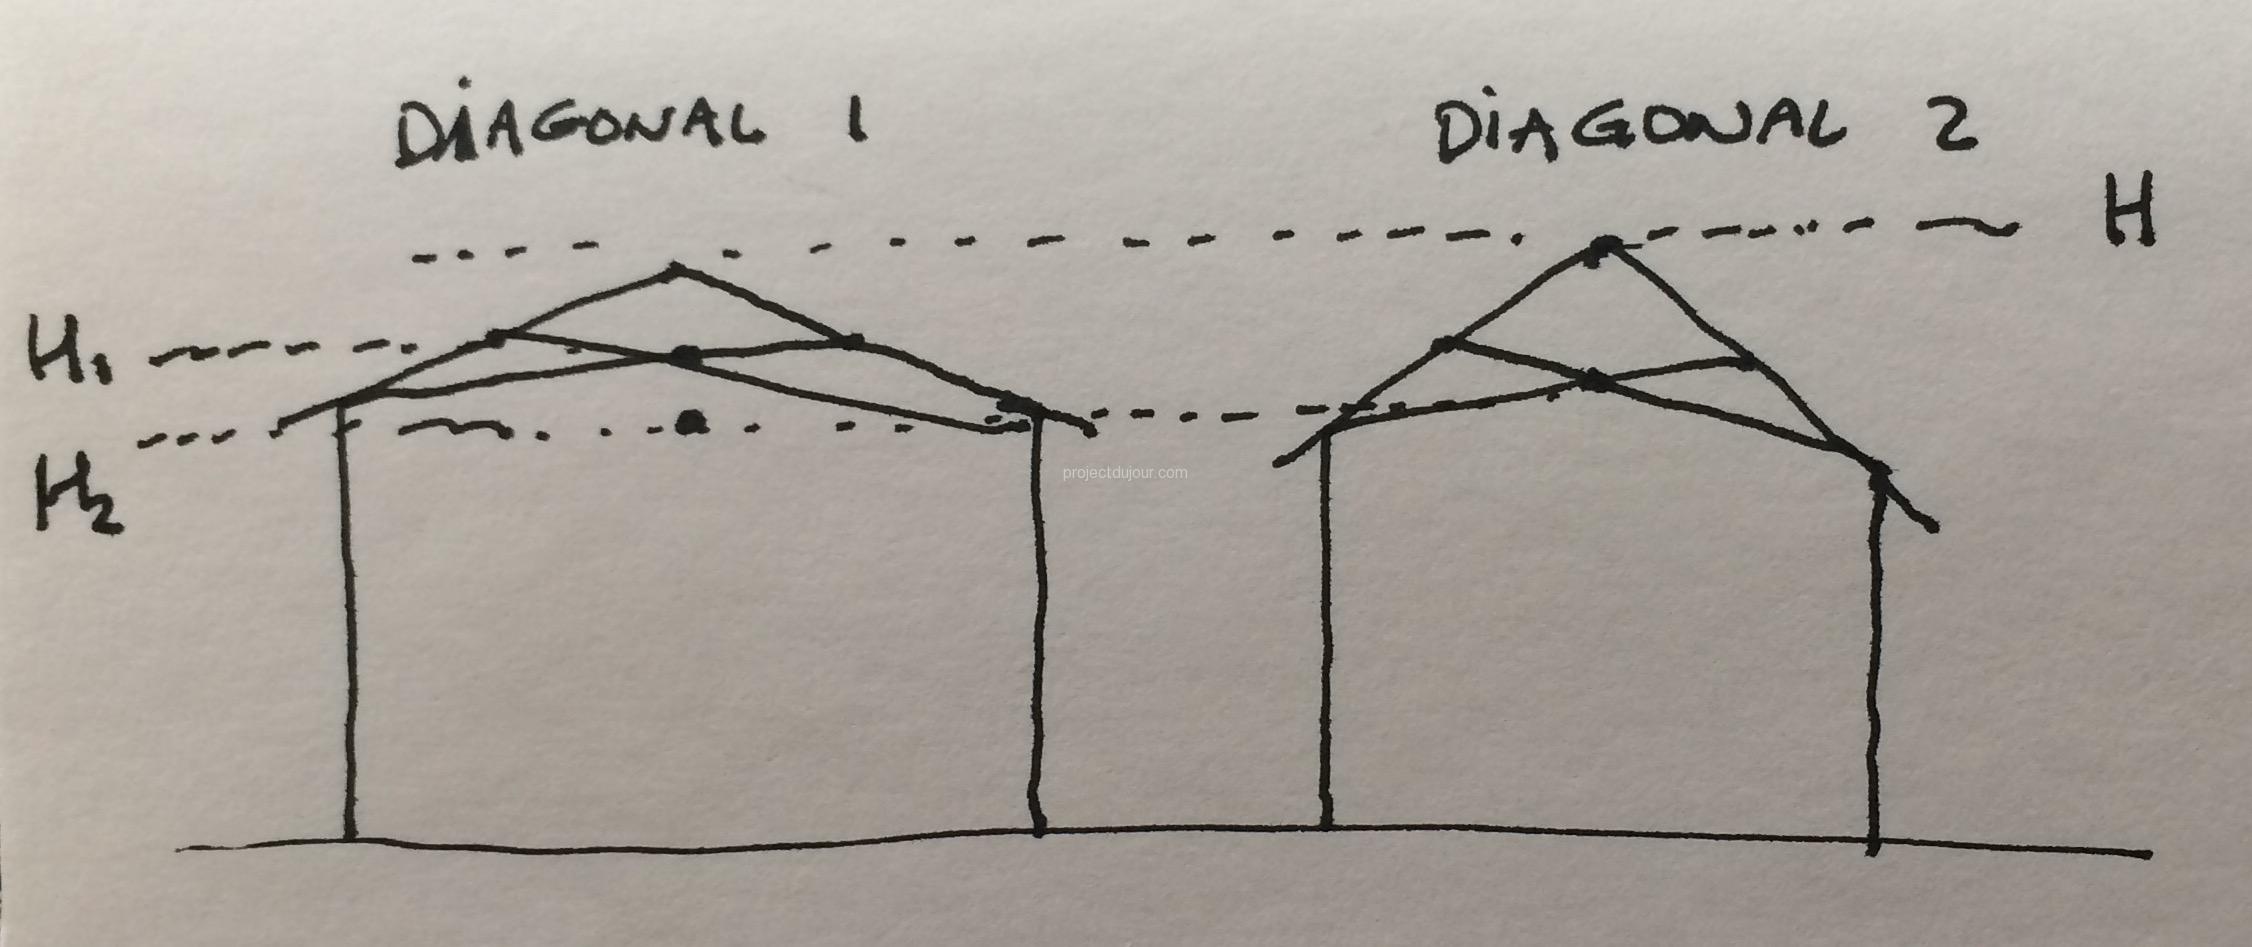
Figuring out how to intersect scissor trusses
I then used Google Sketch to draw a stick figure so I would get a sense of the proportions. That also helped to estimate the amount of lumber needed.
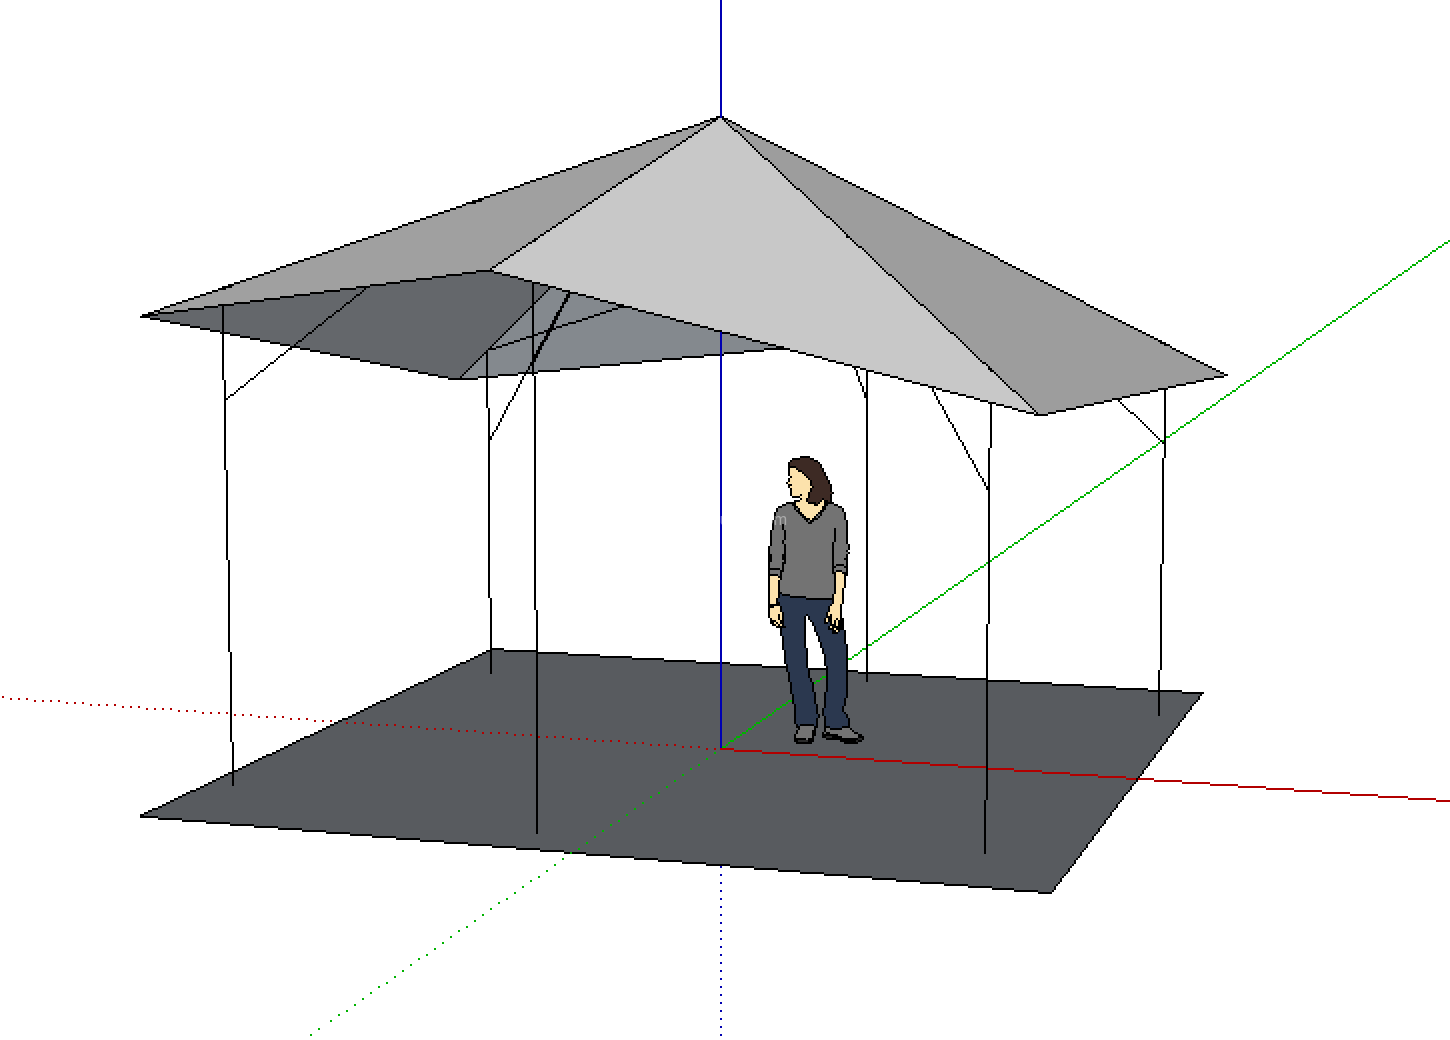
Google Sketchup simplistic model
At that point, my landscaper suggested I use rough cut lumber, “it would look more solid” he said. I think, maybe, I went a bit overboard. I decided the posts would be 8″ by 8″, the top beams 4″ by 10″, the lower part of the scissor trusses 4″ by 6″ and the rafters 2″ by 8″. I ordered the lumber, 6 concrete tube forms (2′ diameter, 4′ depth), some concrete (about 9 80 lbs bag per post if I remember well) and plenty of 5/8 galvanized bolts. I realized how presumptuous I was when I had to move the 16′ long posts (8″ by 8″ rough) the delivery guy dropped at the bottom of my driveway.
The landscaper came with his bobcat and re-leveled the back yard. My house is a split-level and the lower level was 4′ below grade in the back. It felt a bit too much like a basement in some rooms so I had him lower the ground by a good foot. Using an auger attachement for the bobcat we dug the six holes, 24″ diameter and 4′ deep. We had plenty of fun with some concrete blocks left behind when the below grade pool had been removed.
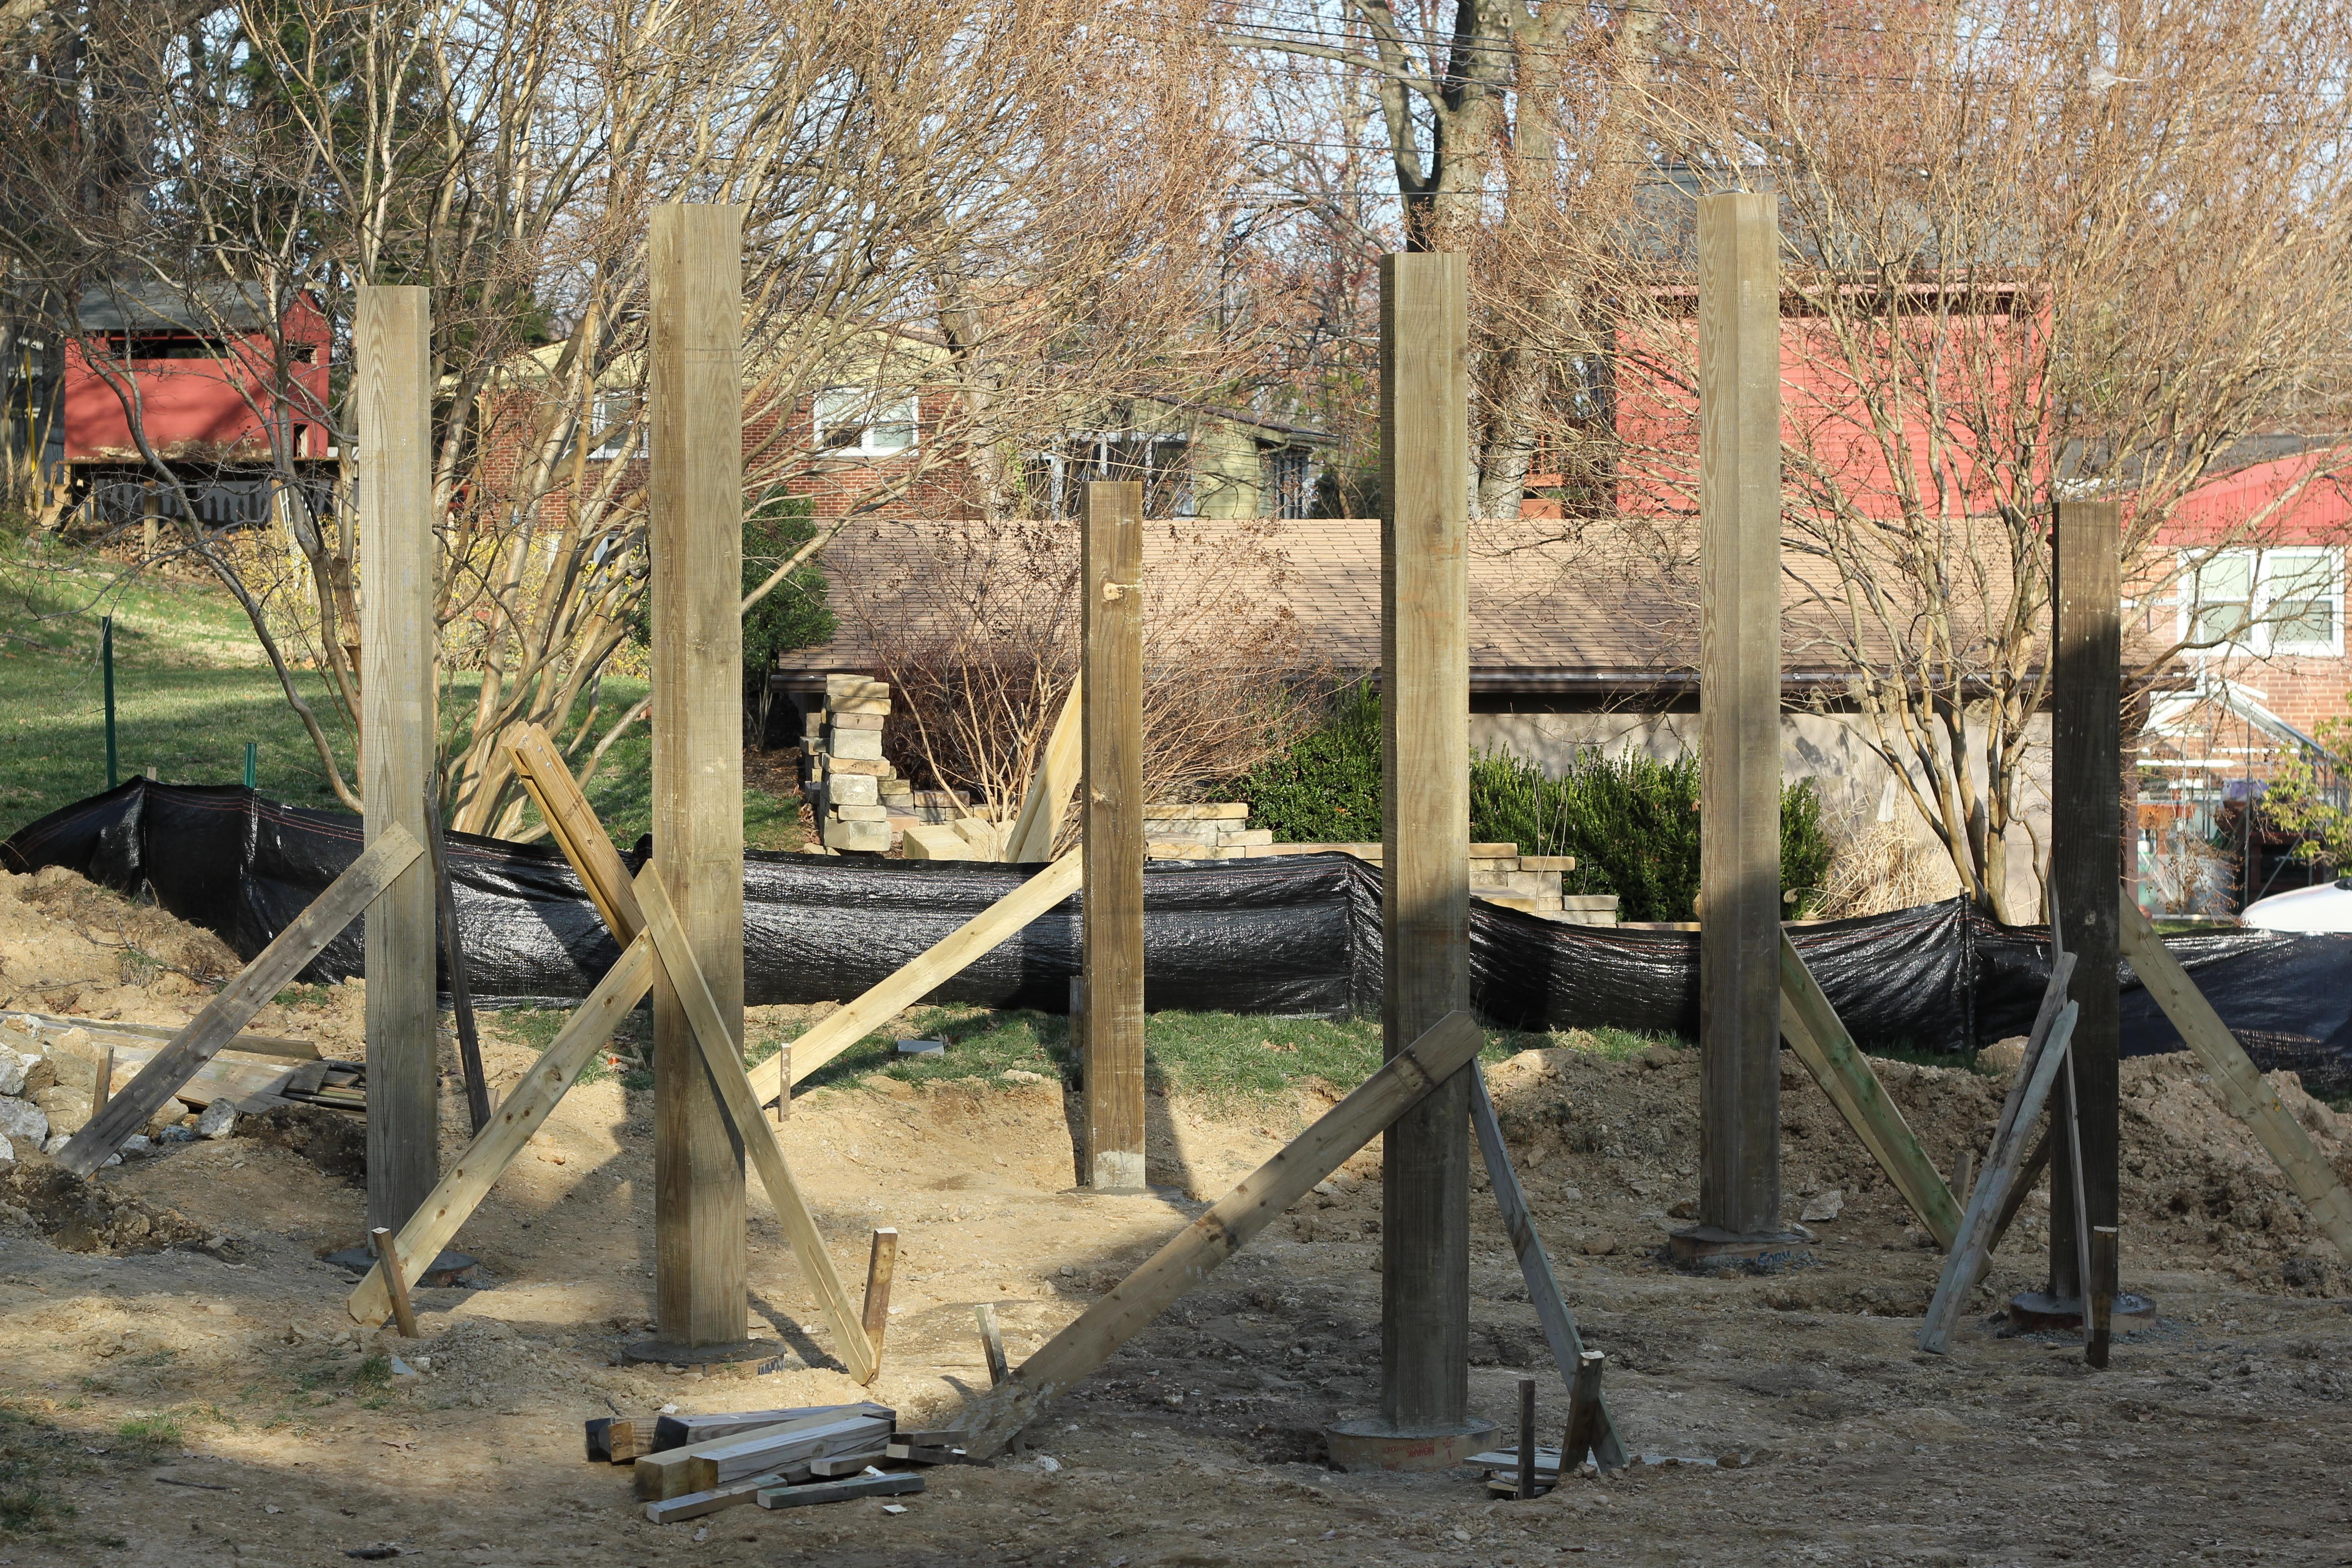
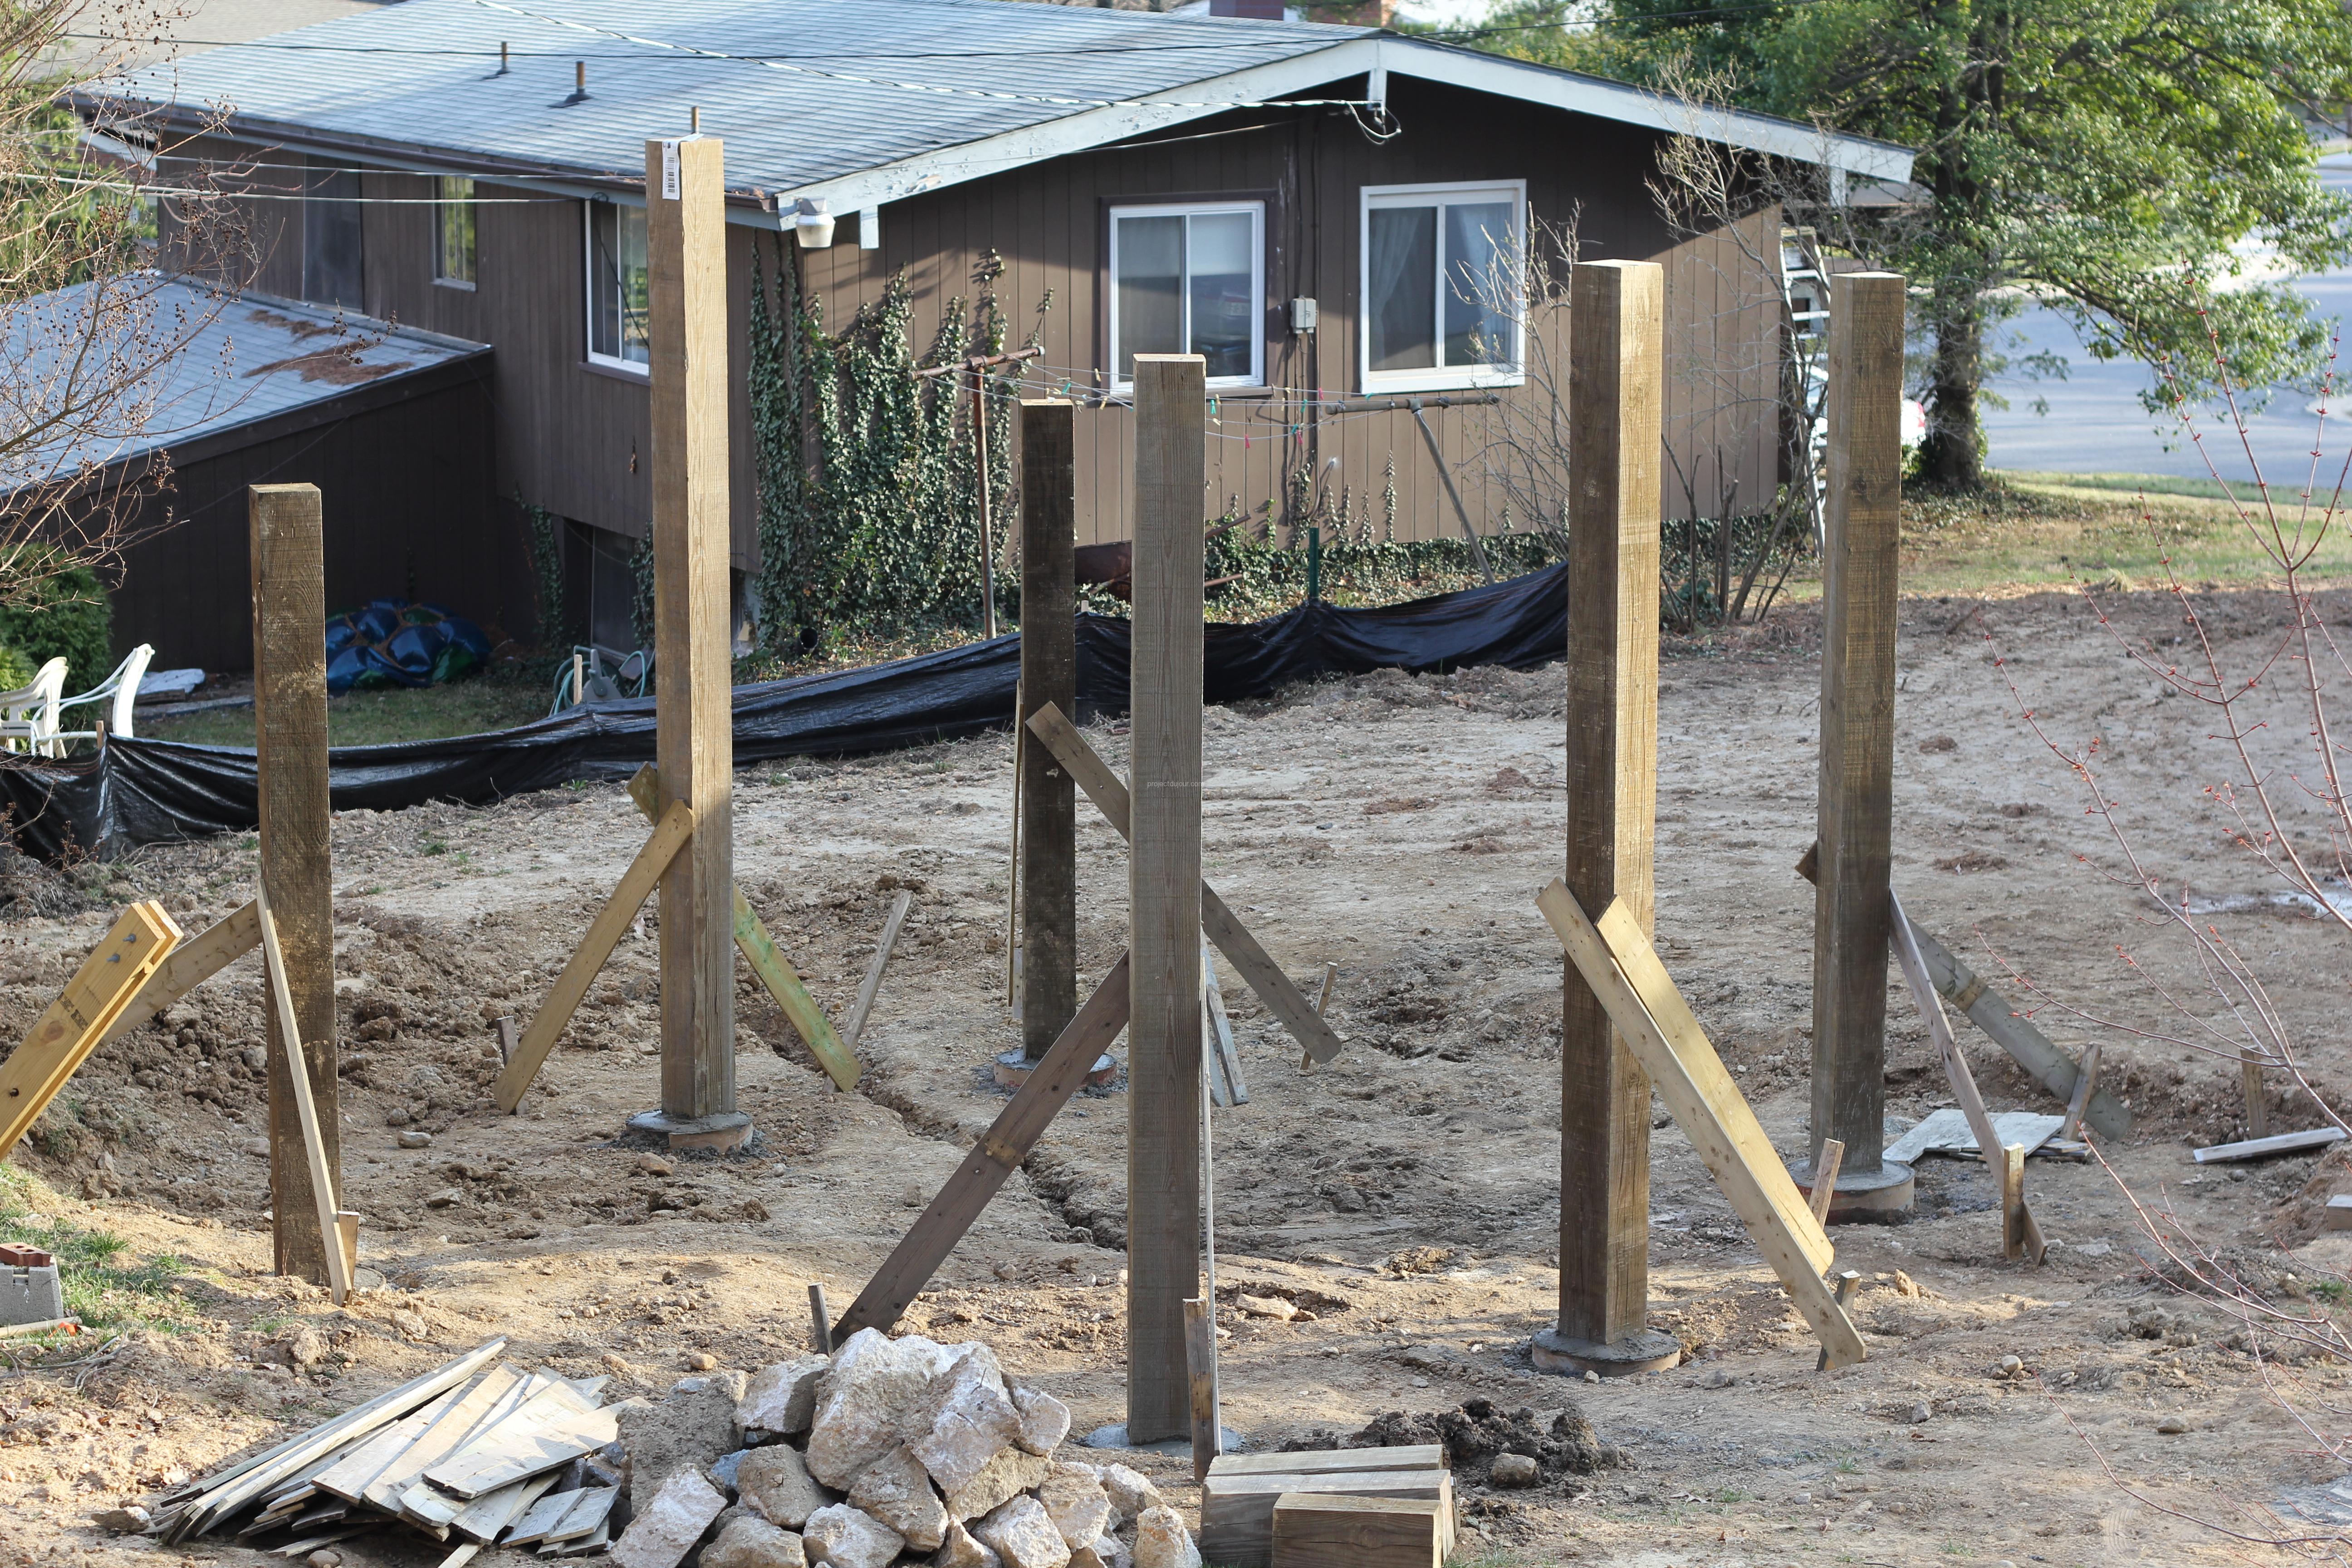
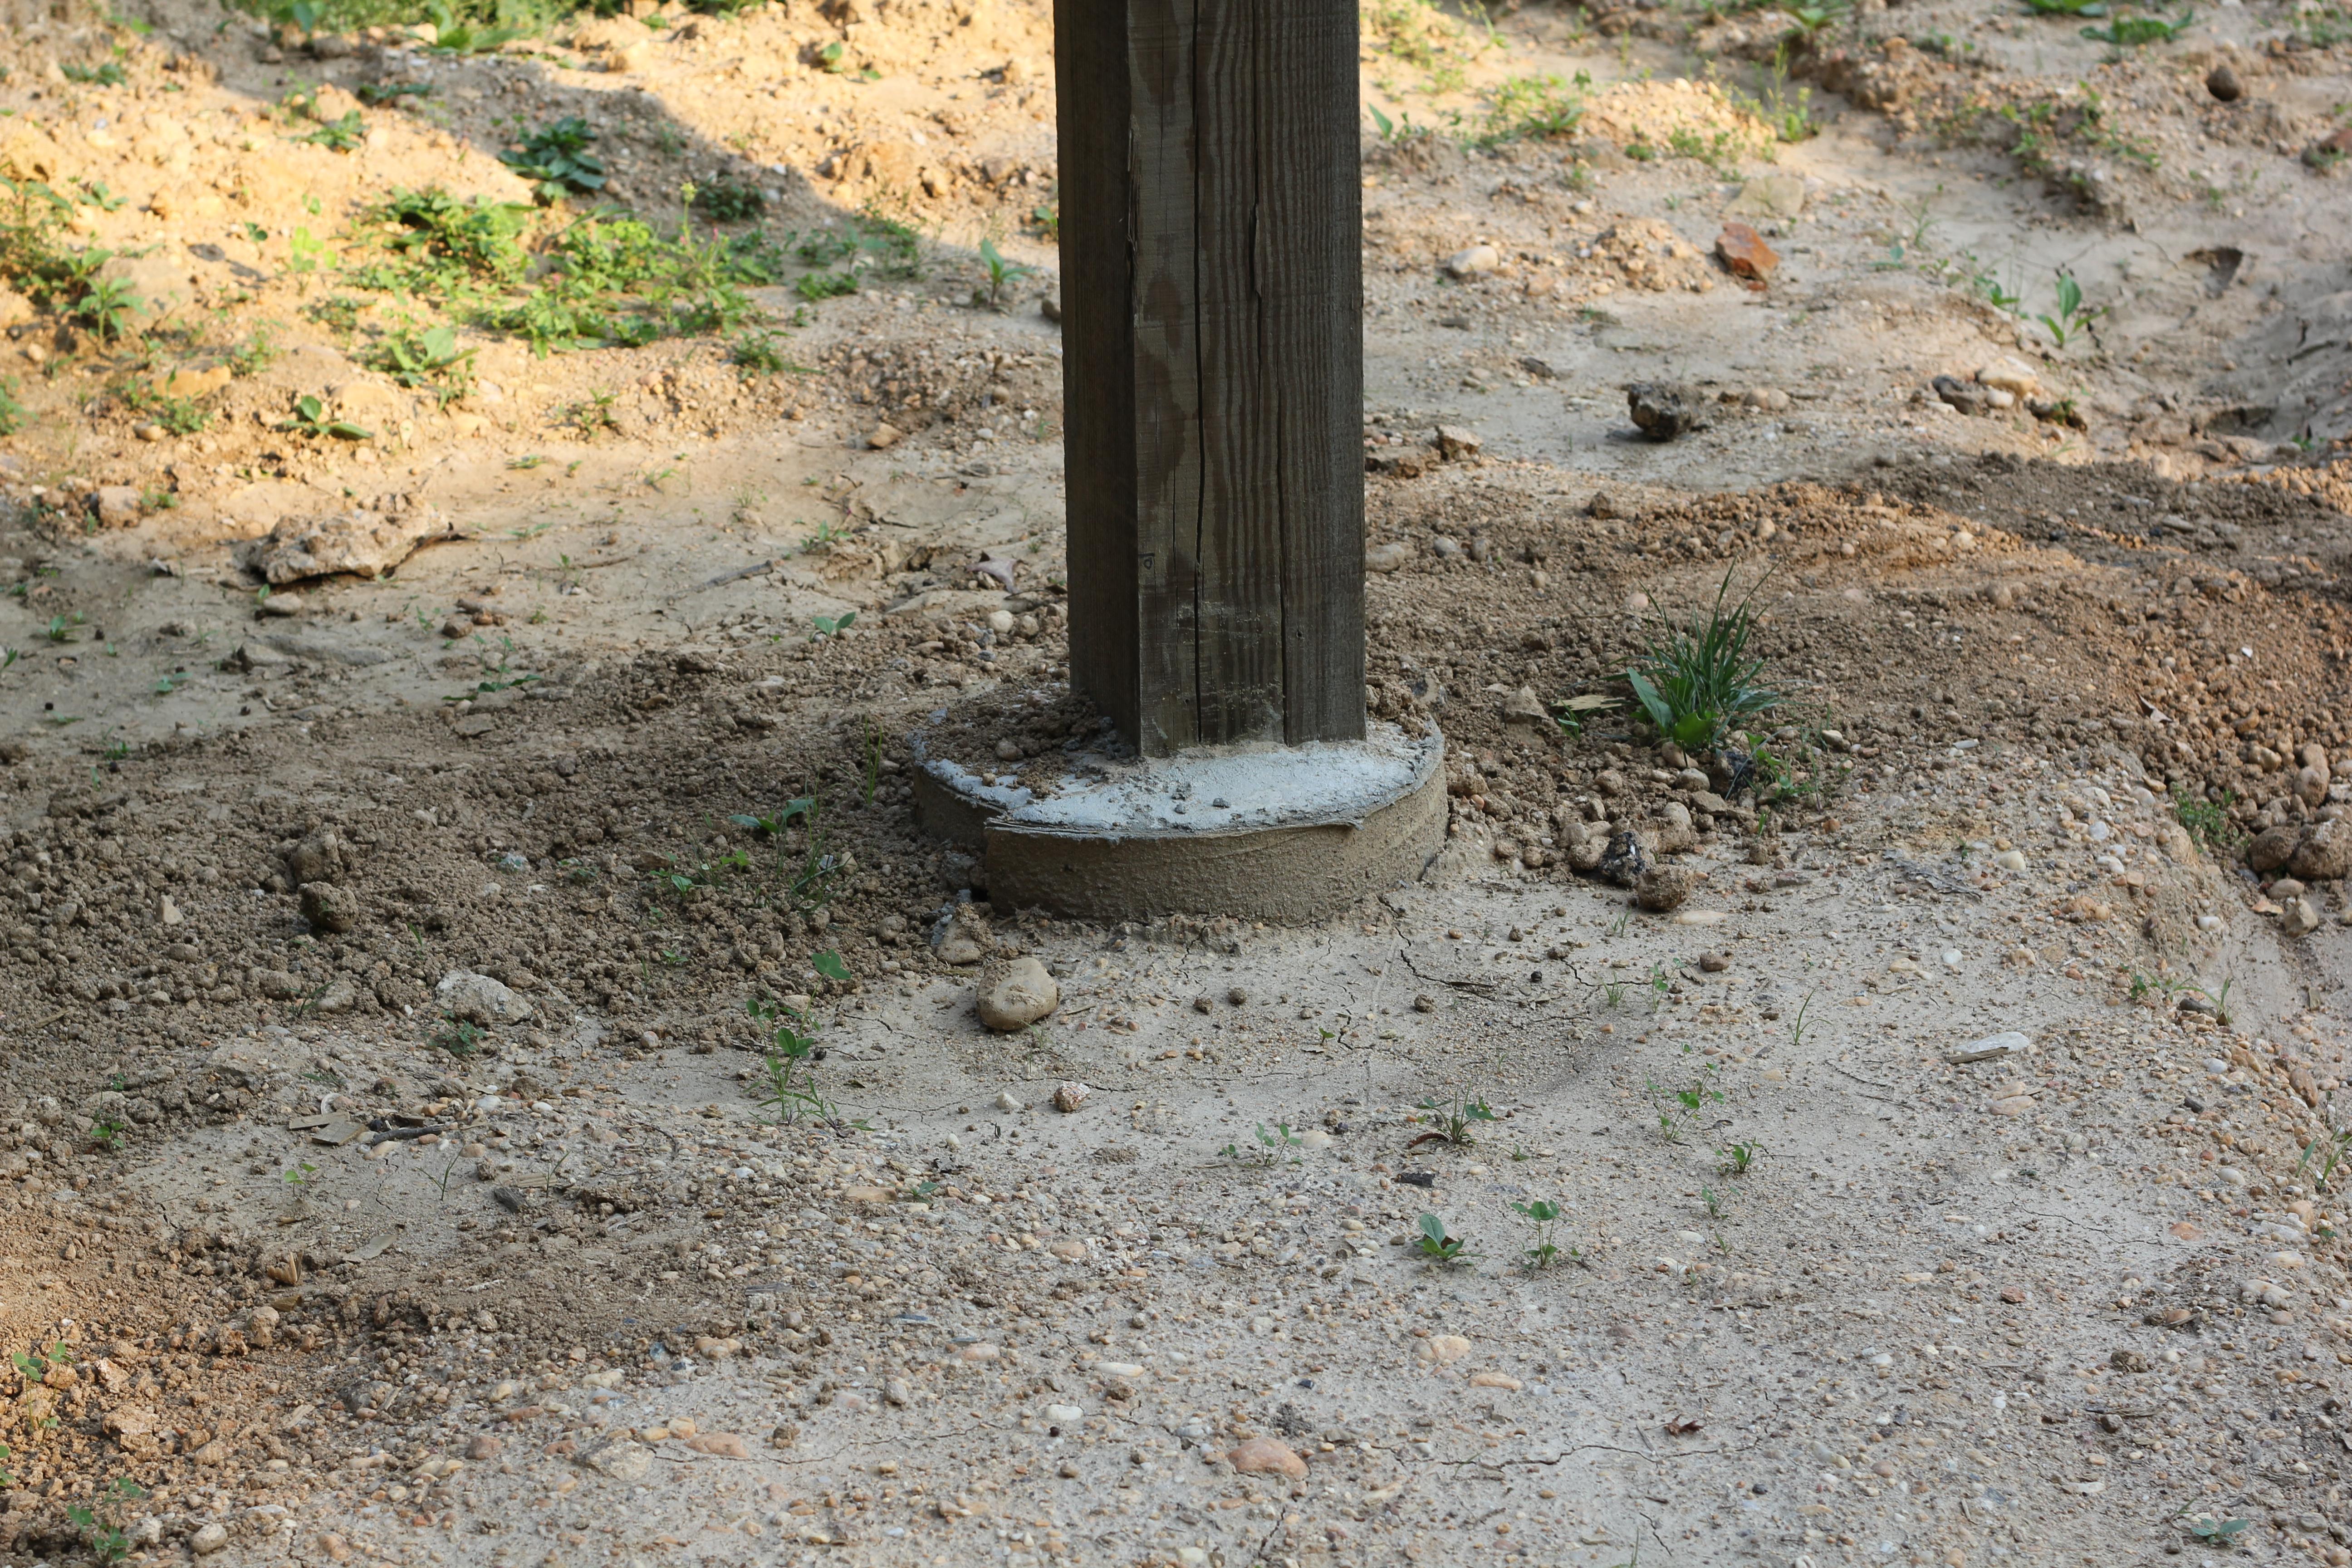
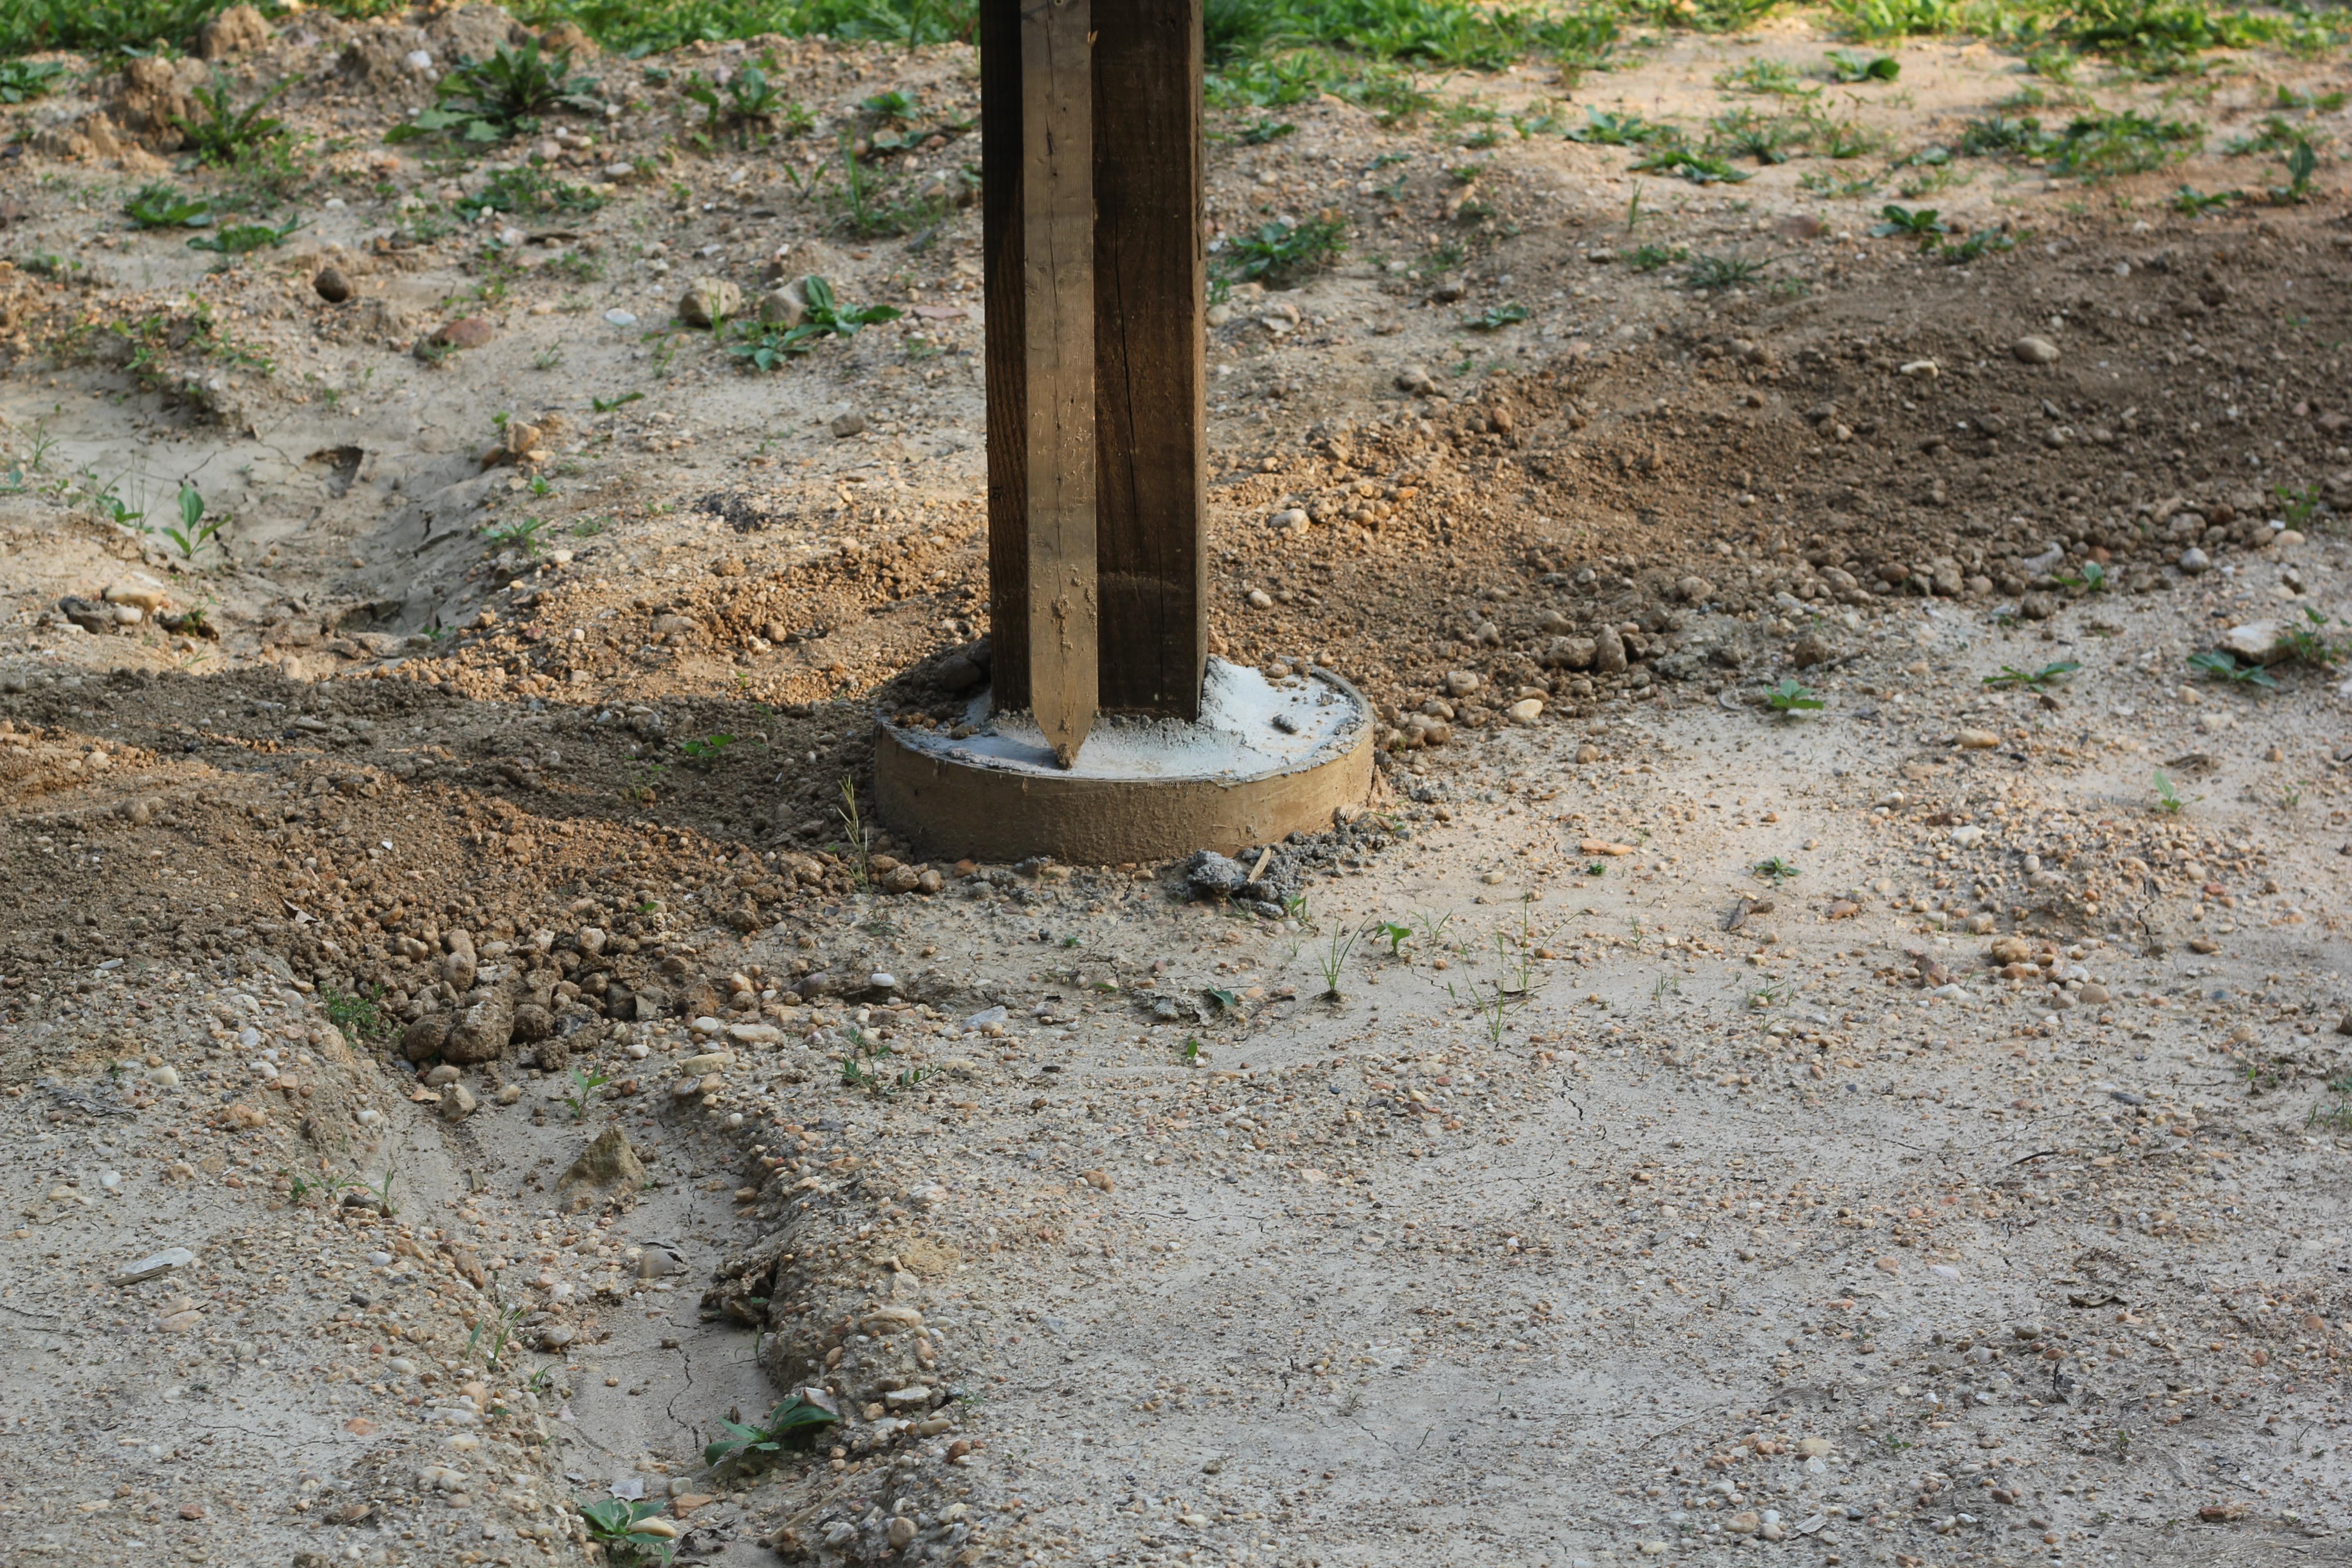
I think there’s about 5000 pounds of concrete holding this thing in place. Since the structure is fairly big, I pulled a permit. The inspector was a bit incredulous.
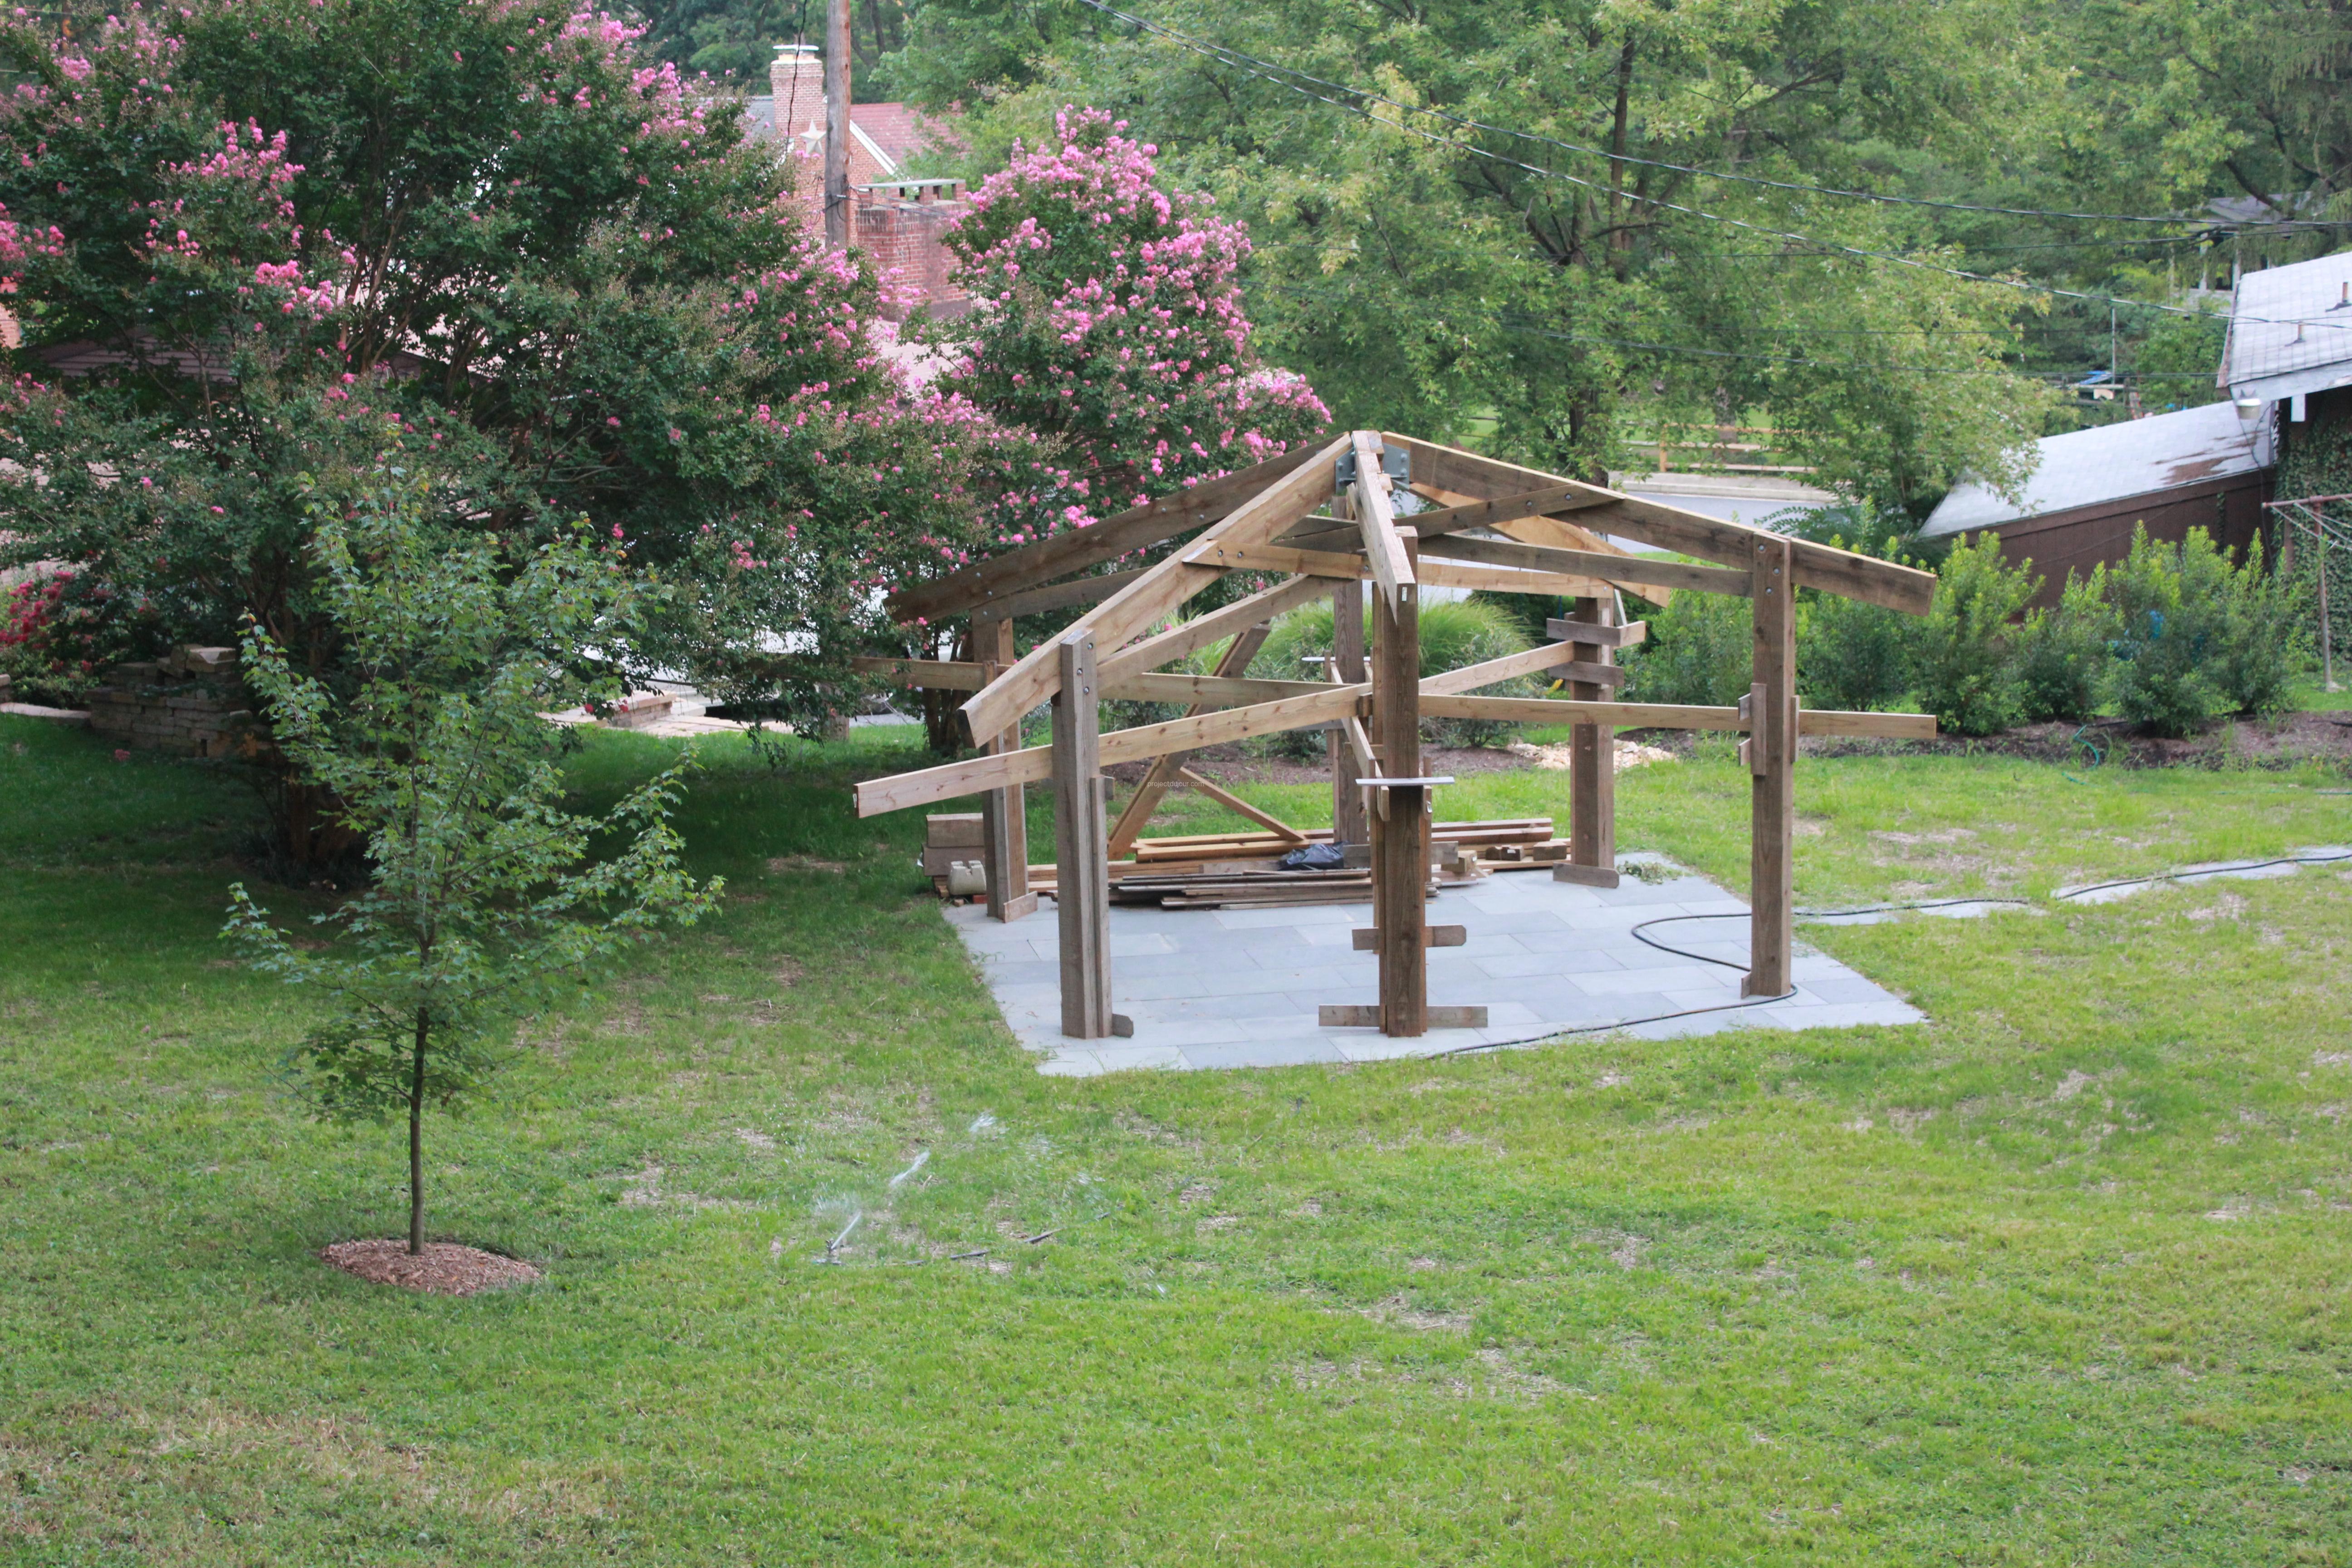
Once I had the posts in place, I built a platform 4′ high so I could work on the trusses. Using 2″ by 4″ instead of the actual beams, I was able to mark all my notches for the scissor trusses. The first diagonal was fairly trivial to install but then I got totally stuck. I was able to install the lower part for the last two trusses but I didn’t have a solution to attach the top beams of the last two trusses to the existing truss. I usually wing it but there’s no improvising with such large beams.
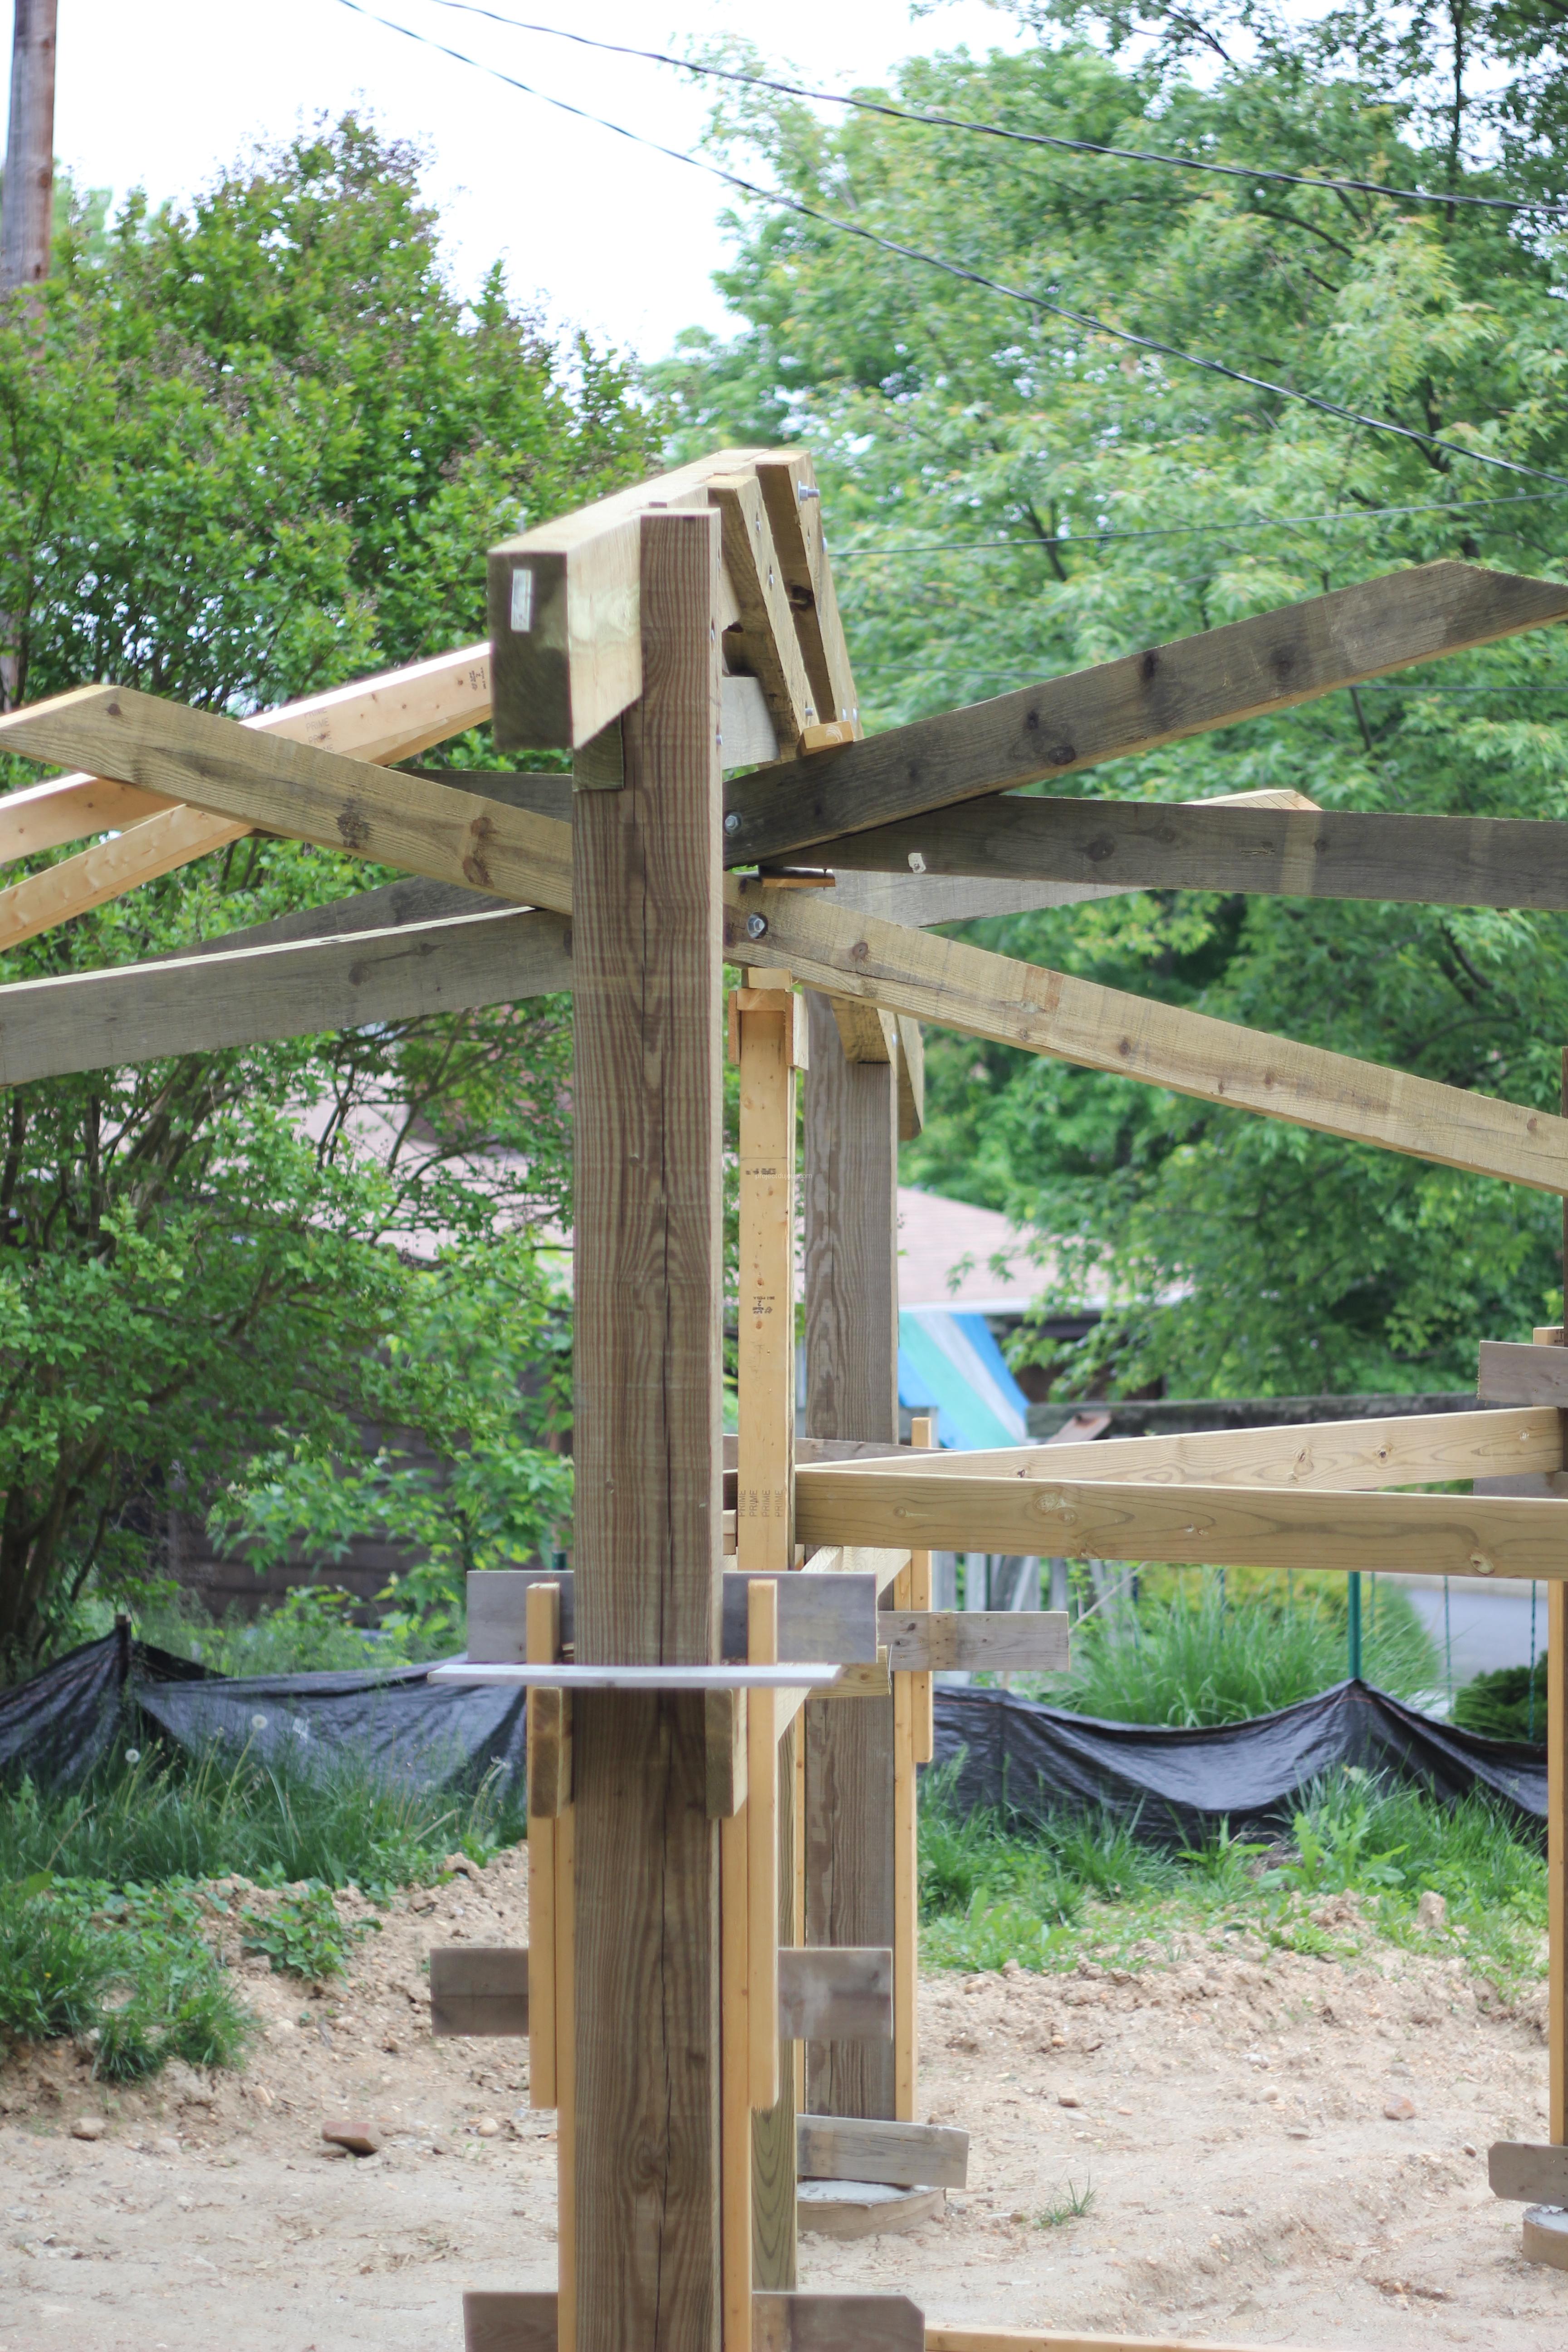
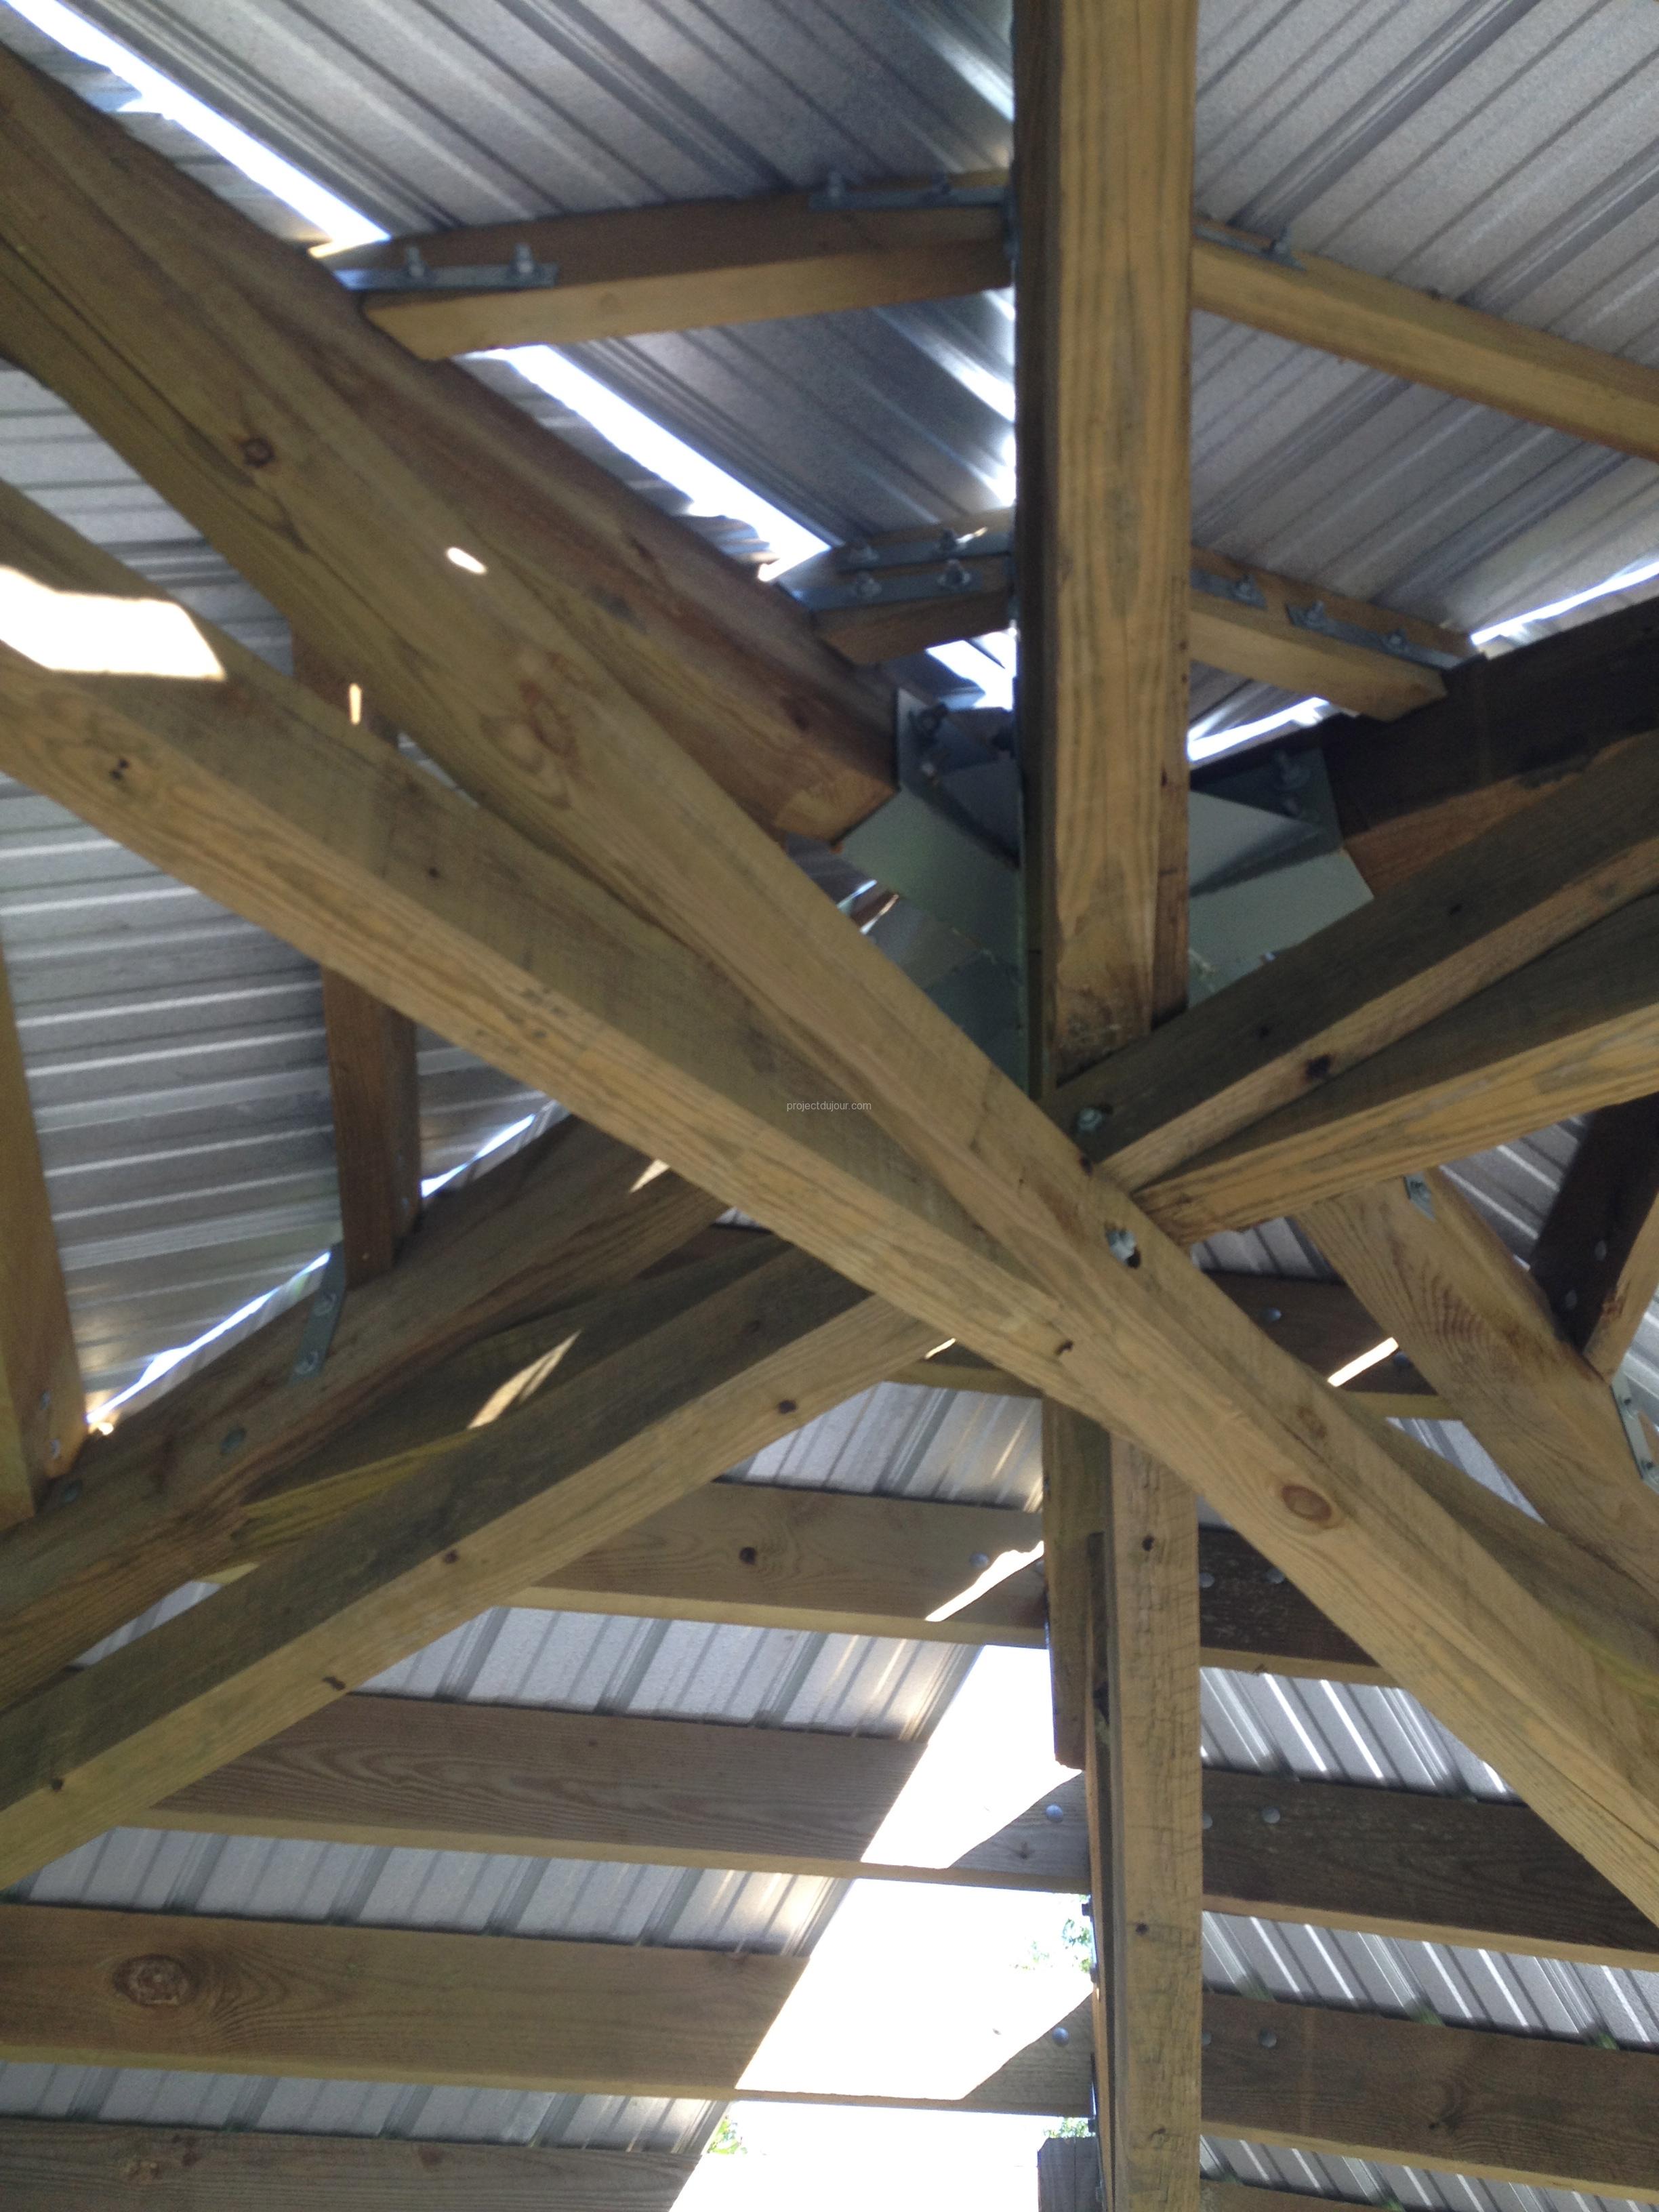
First diagonal in place. The lower parts of the scissor trusses intersect on top of each other, in the middle of the structure!
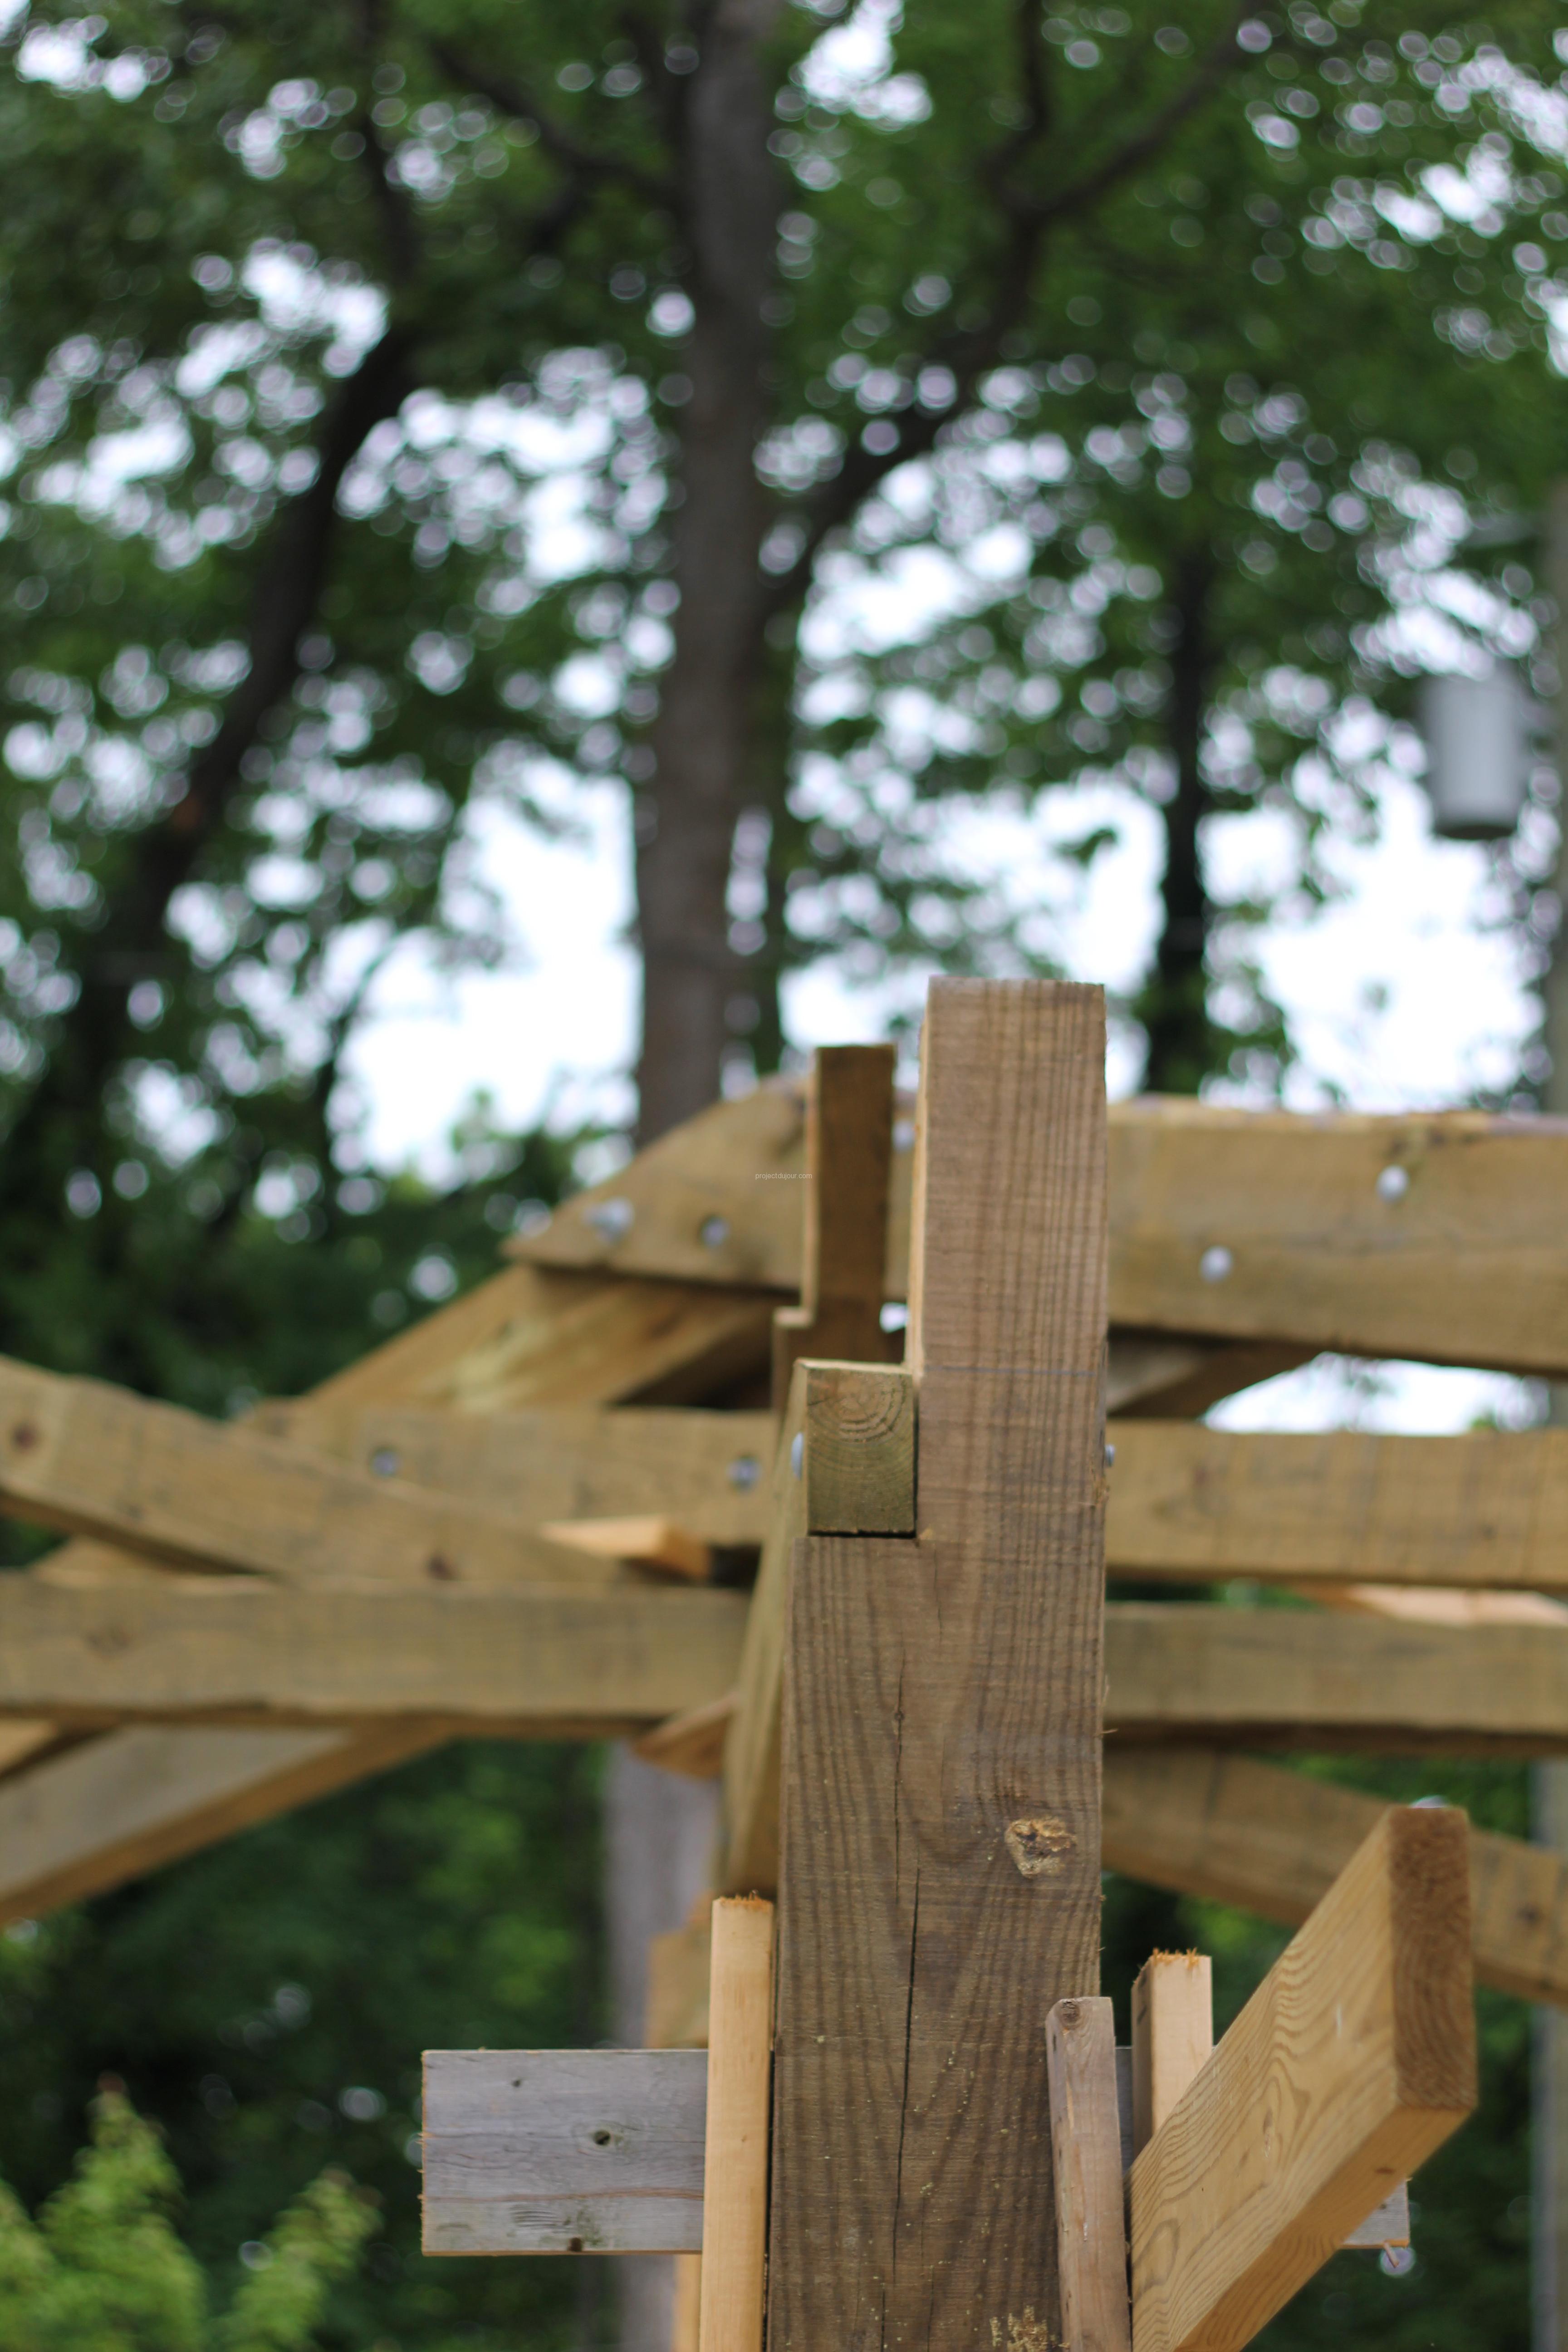
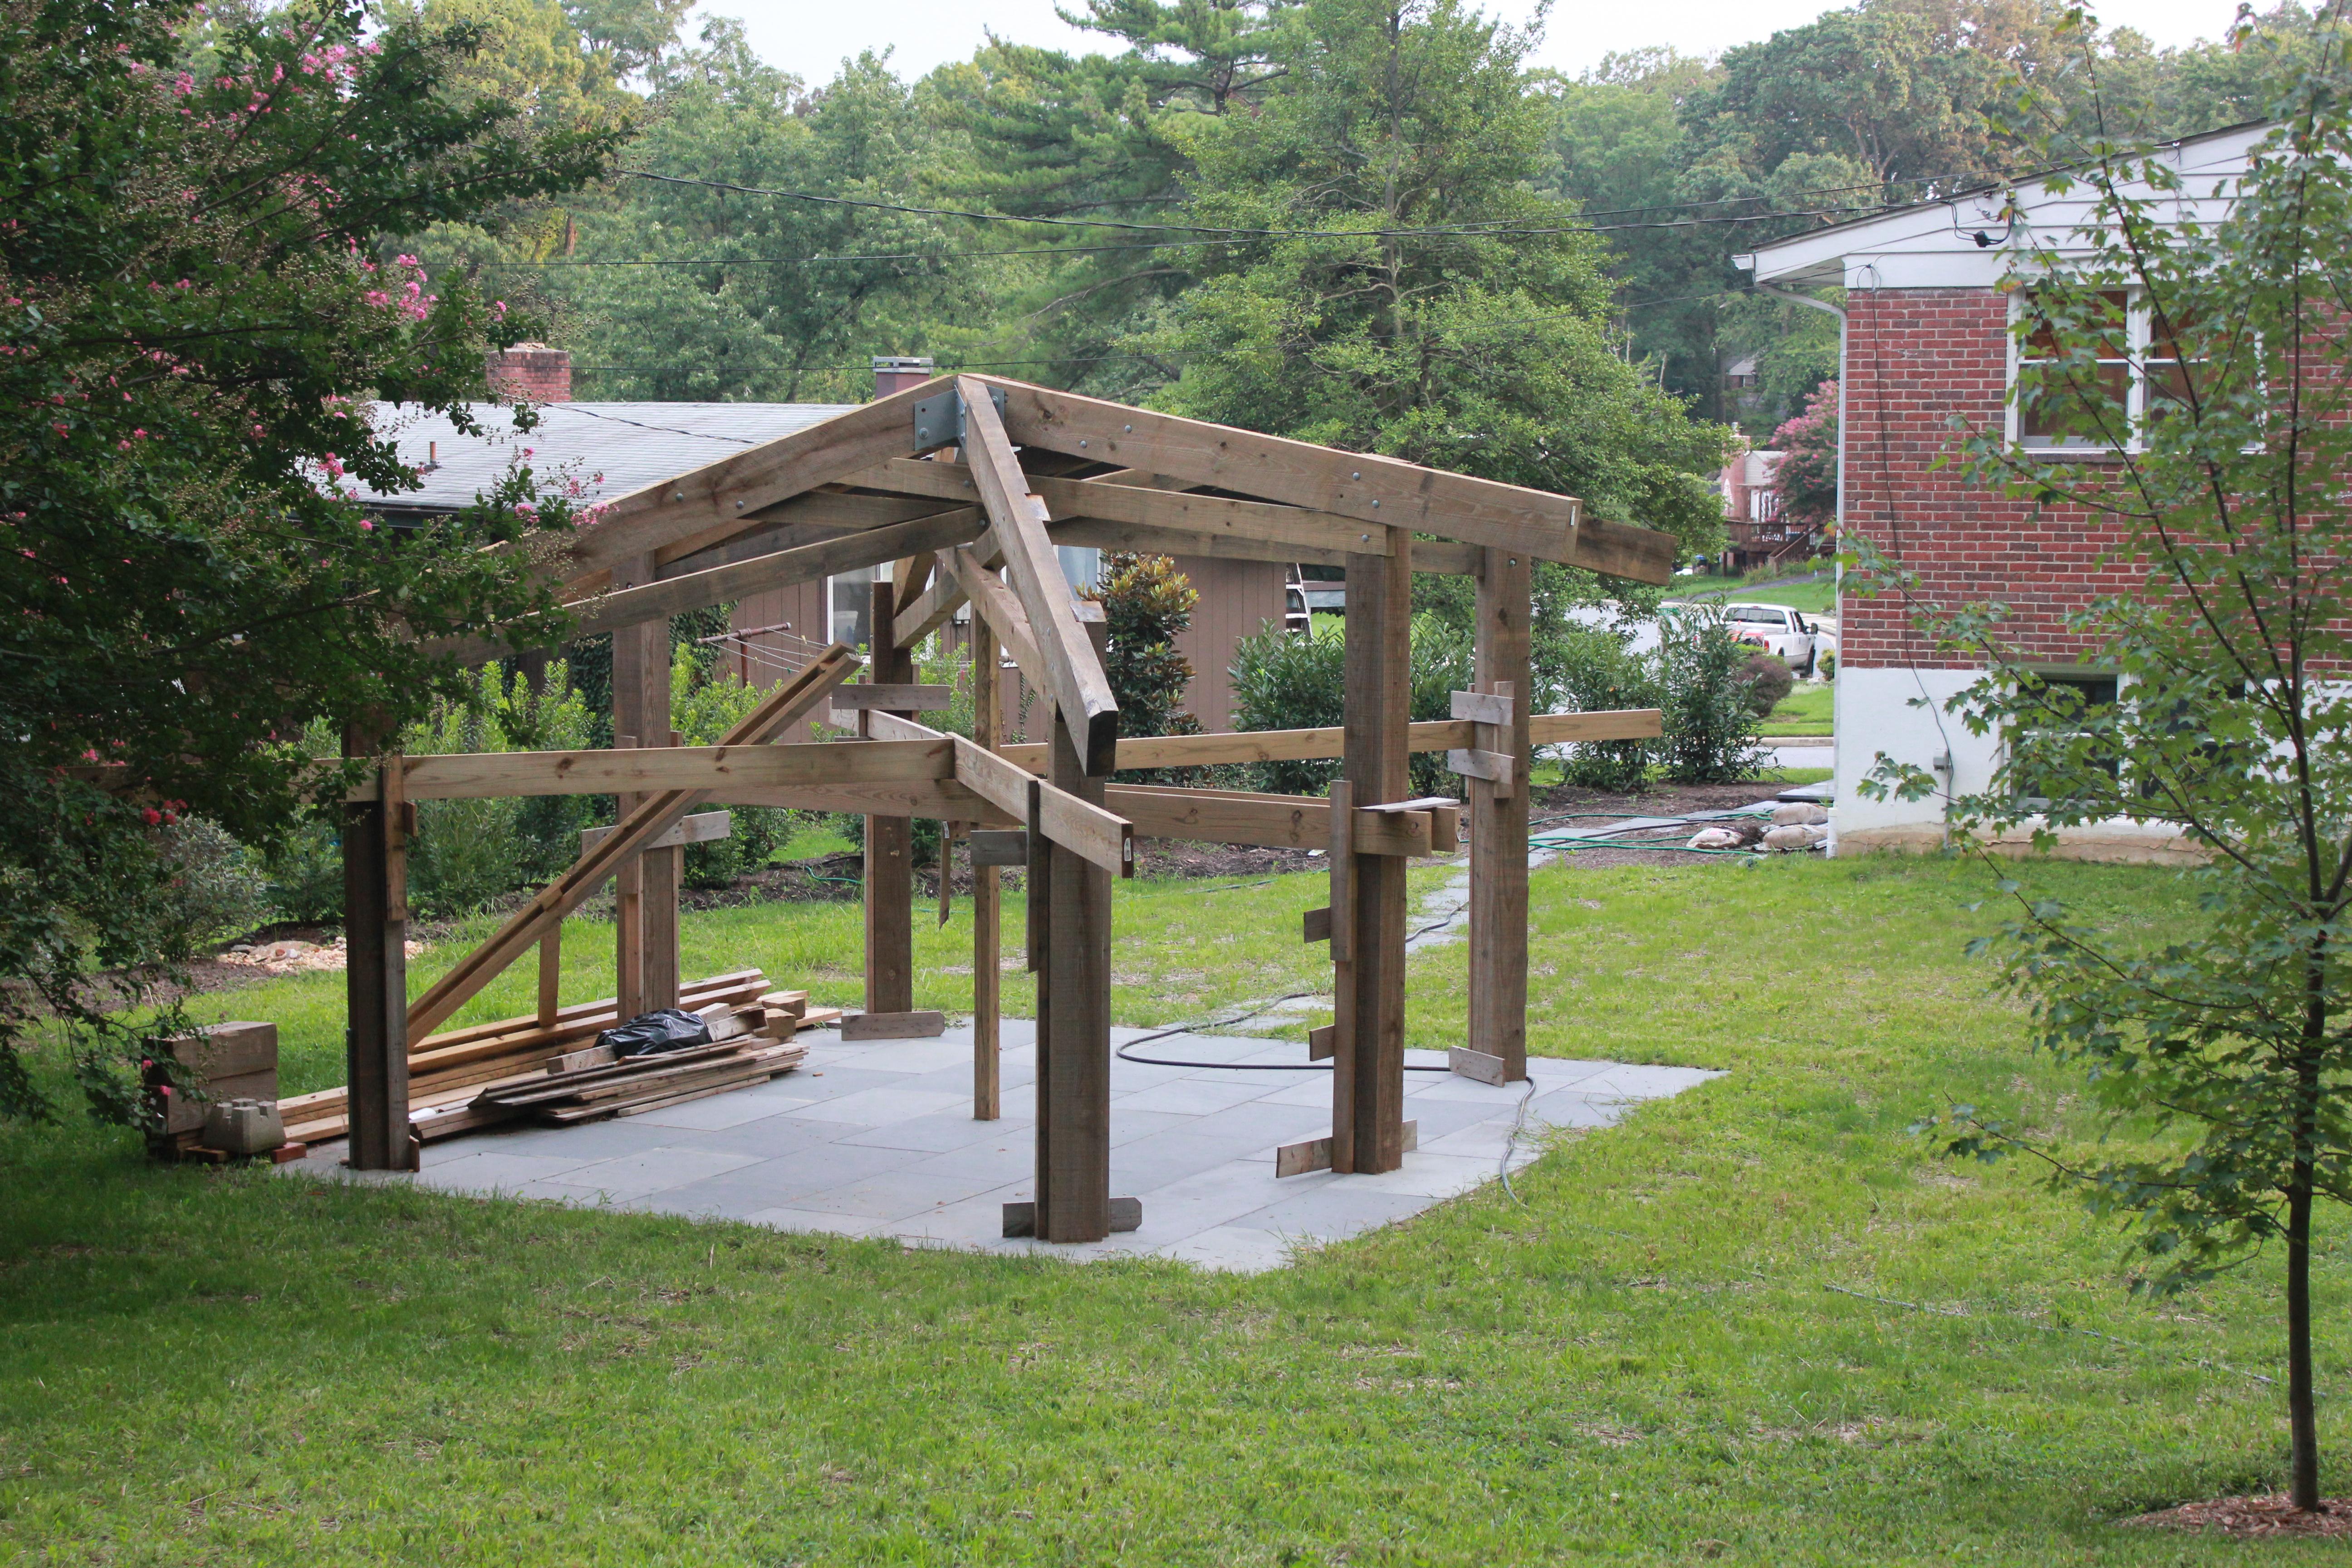
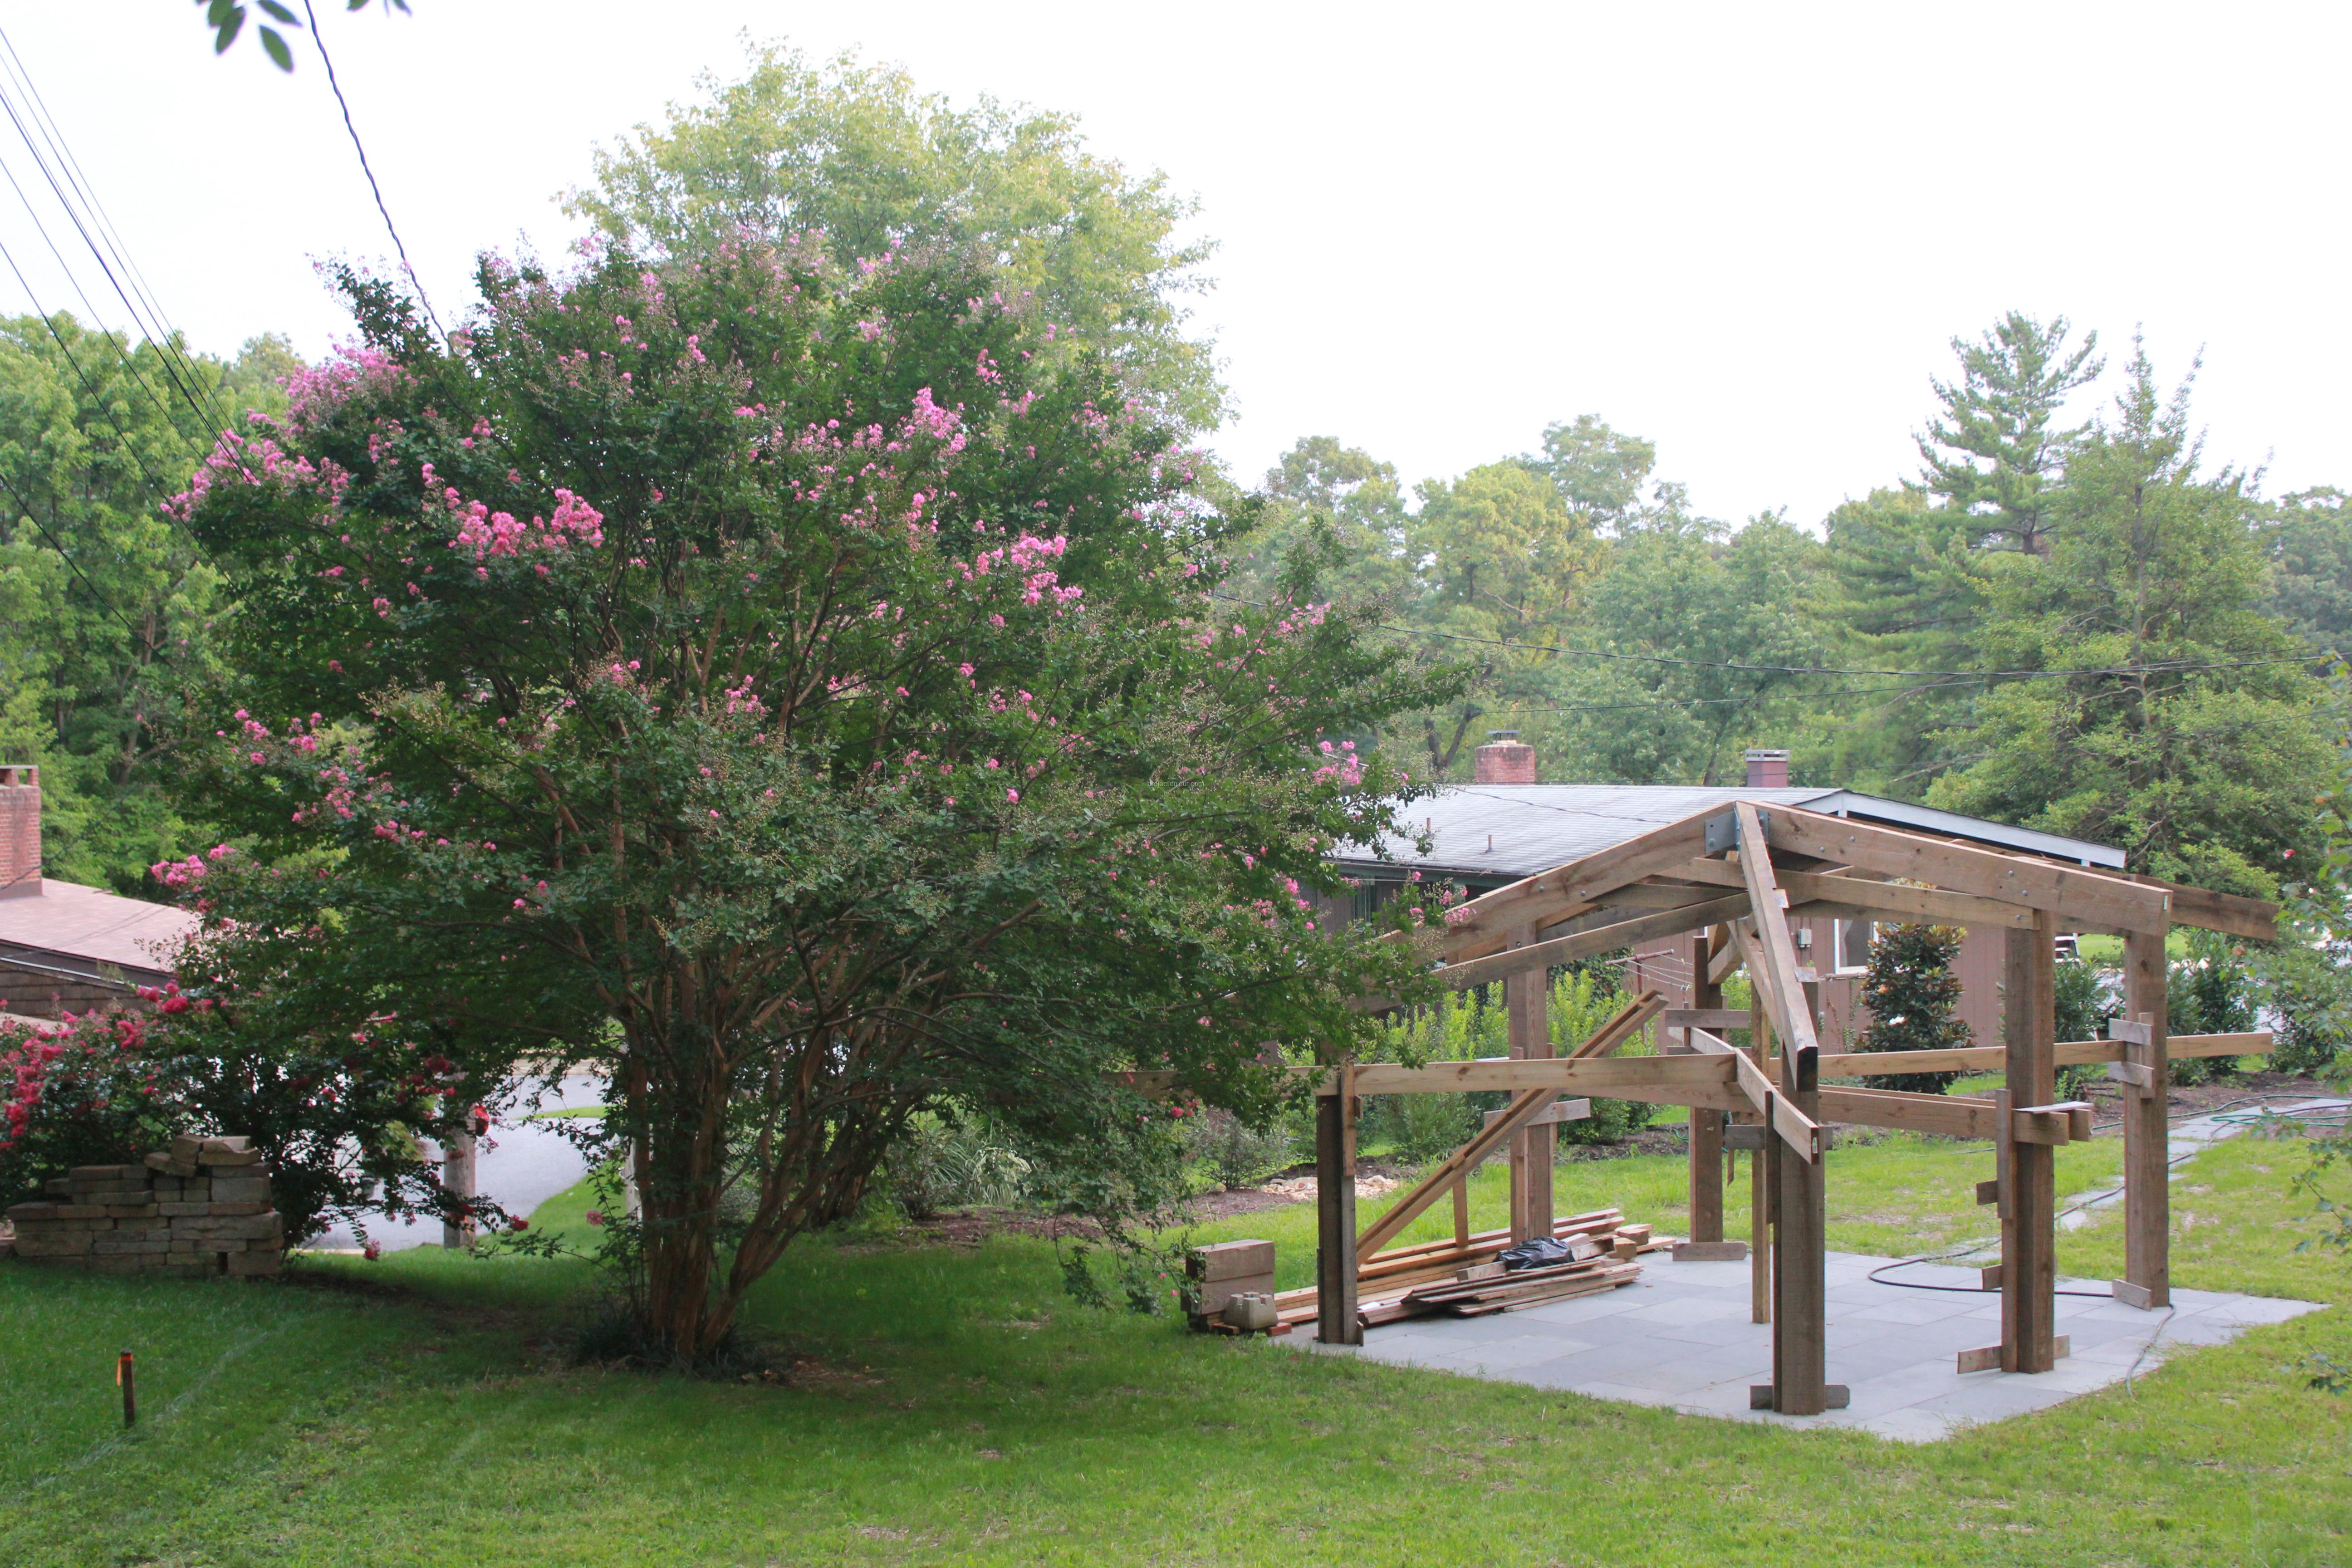
Second diagonal, lower part only!
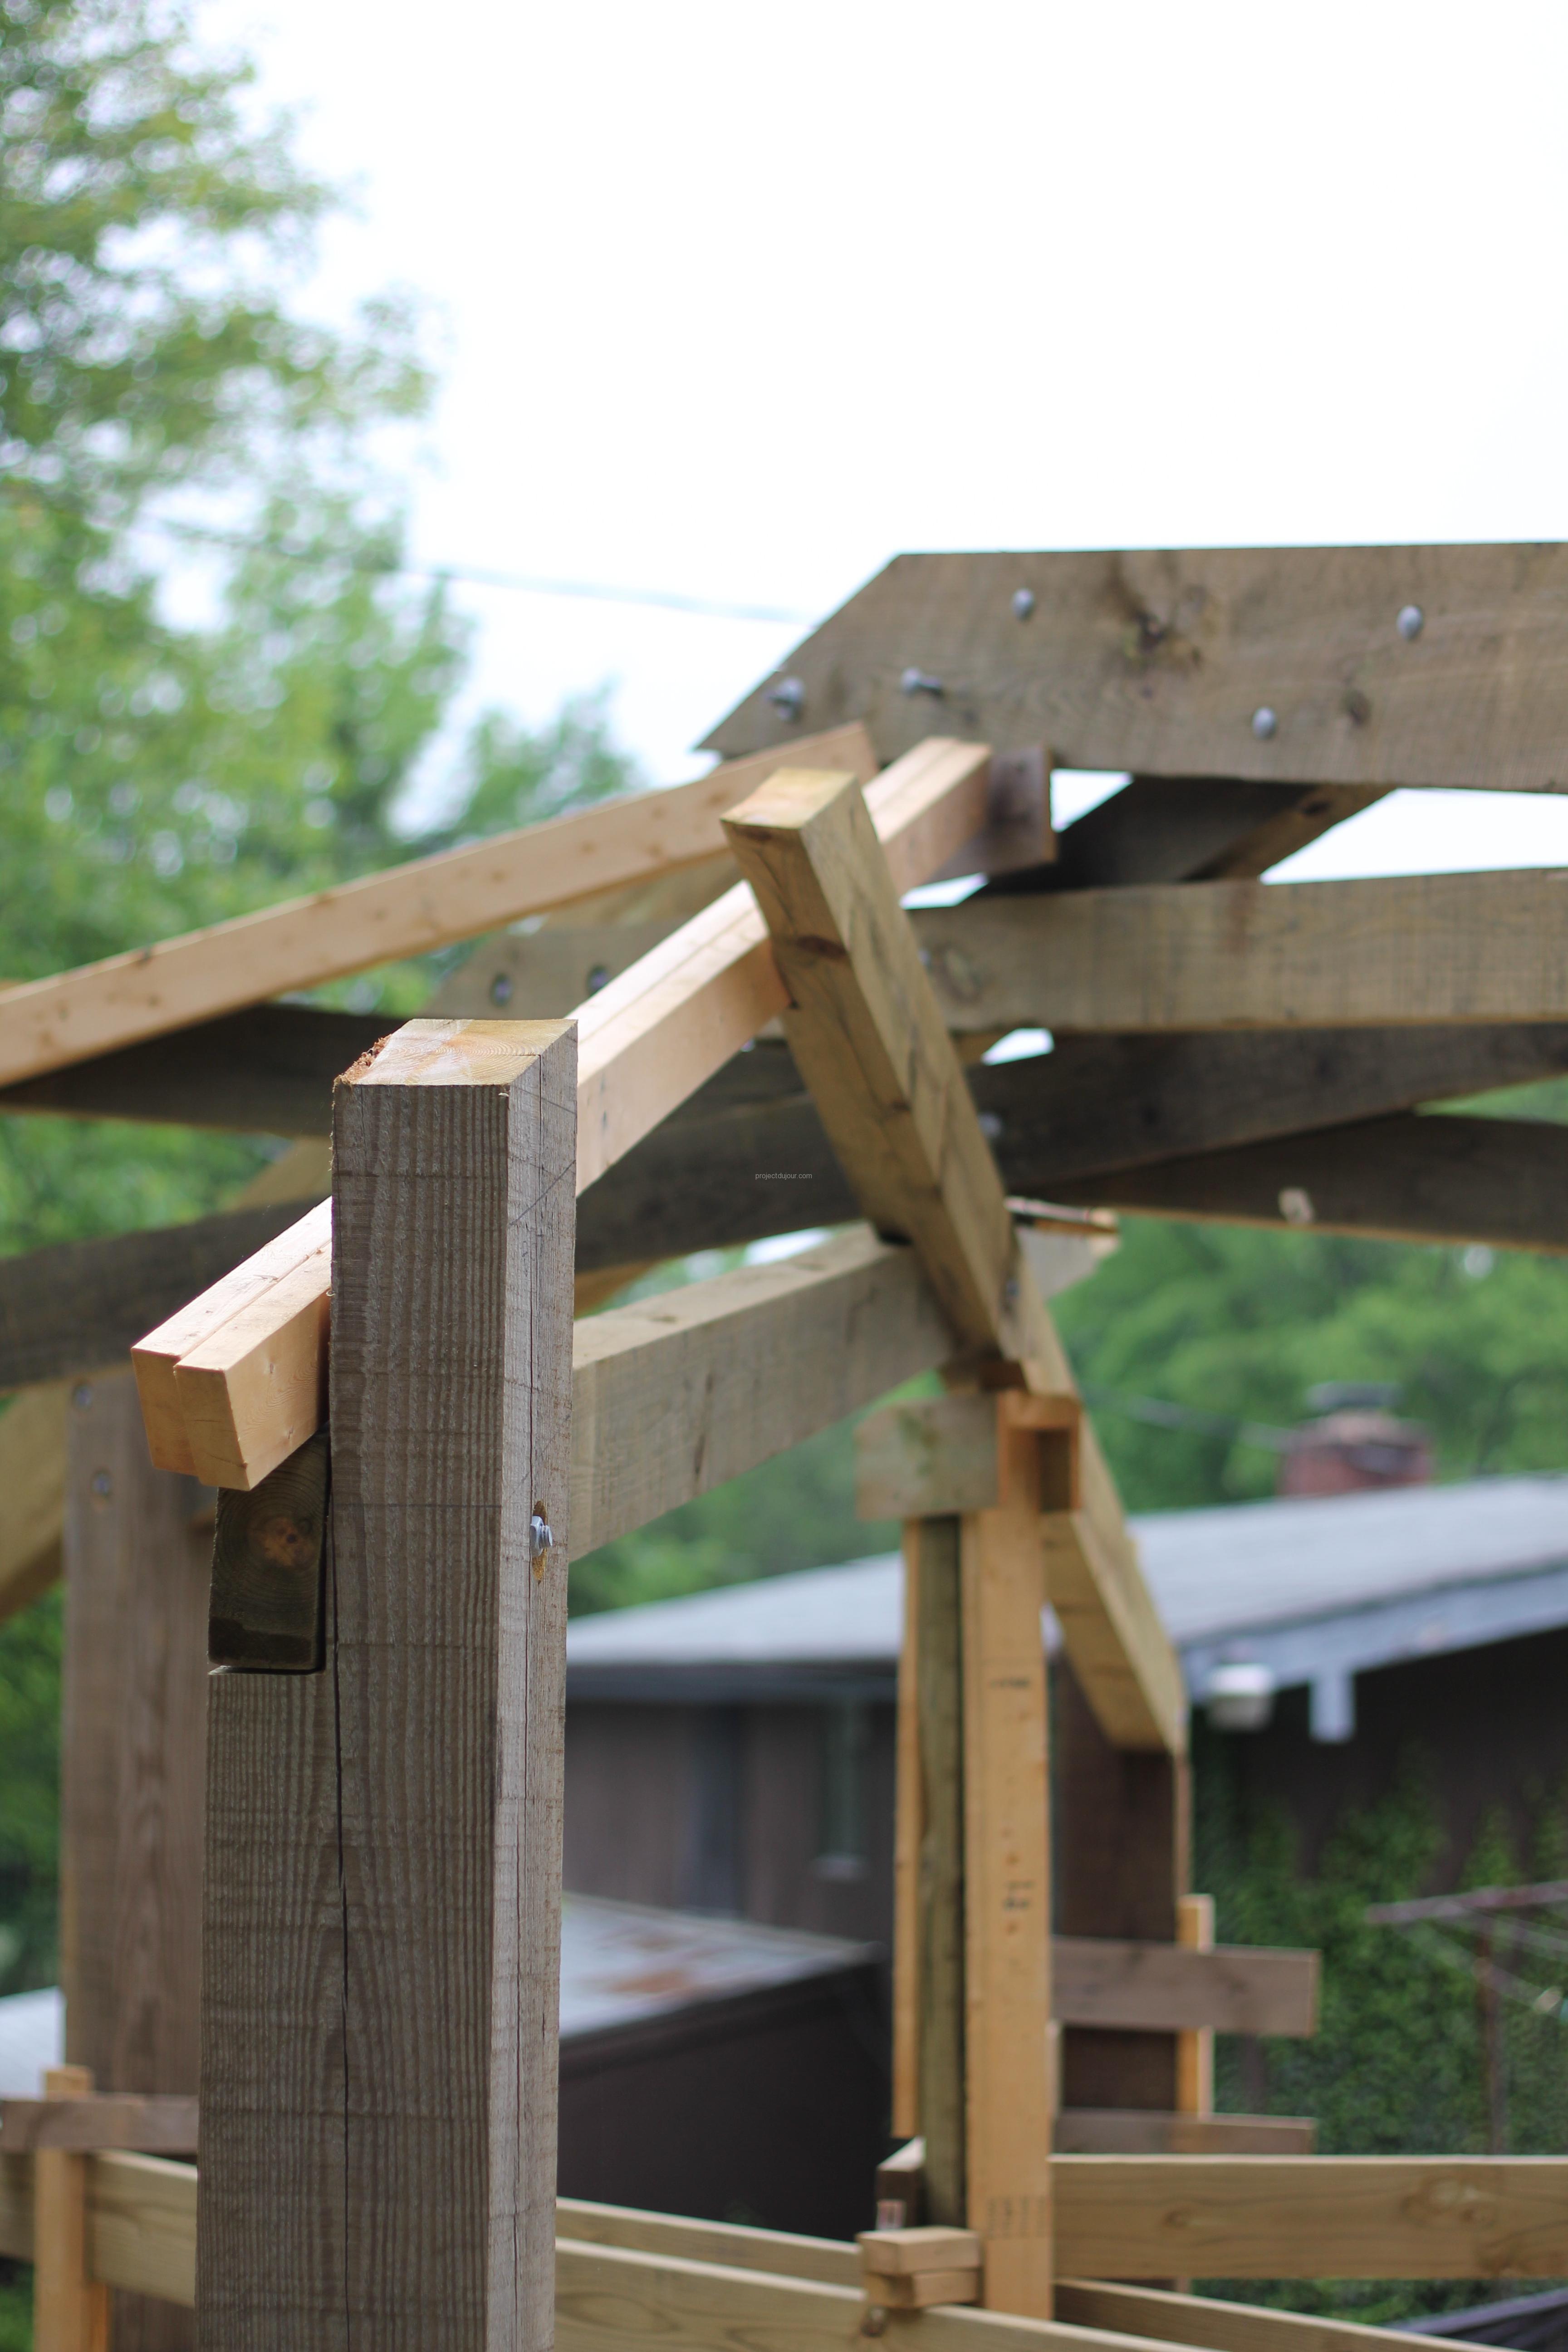
Second diagonal, using 2″ by 4″ to figure out notches on lower part of the scissor truss
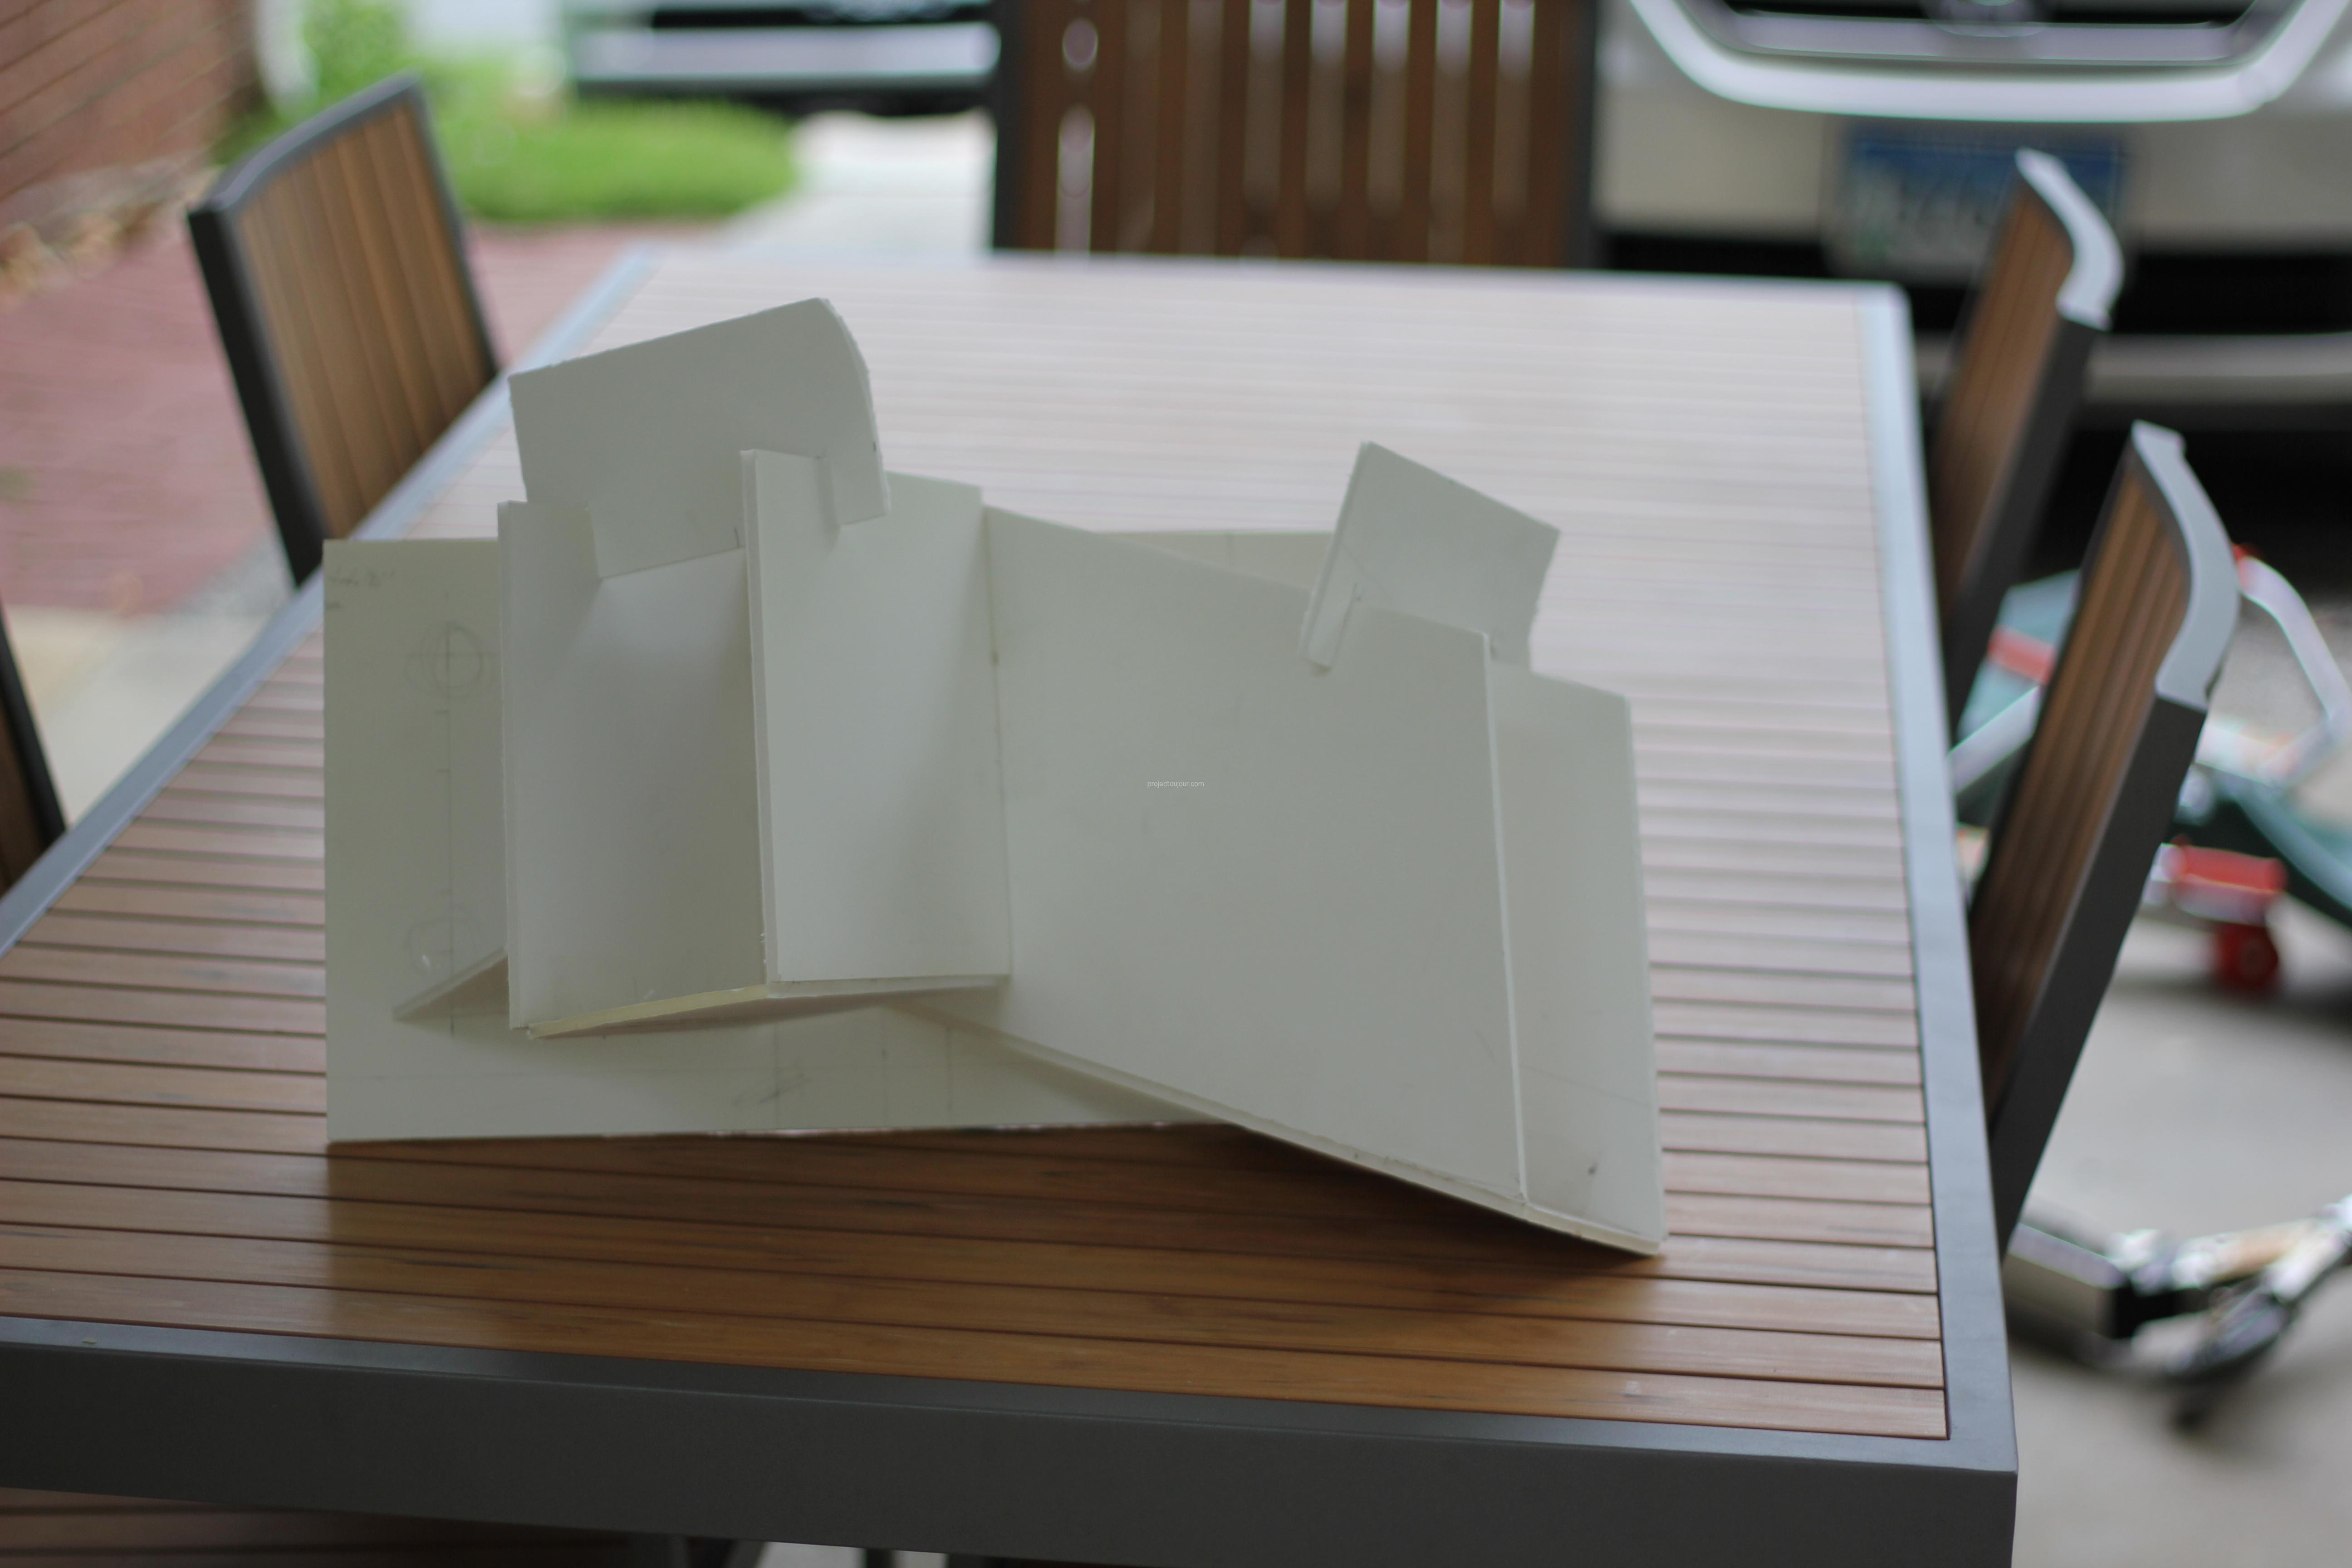
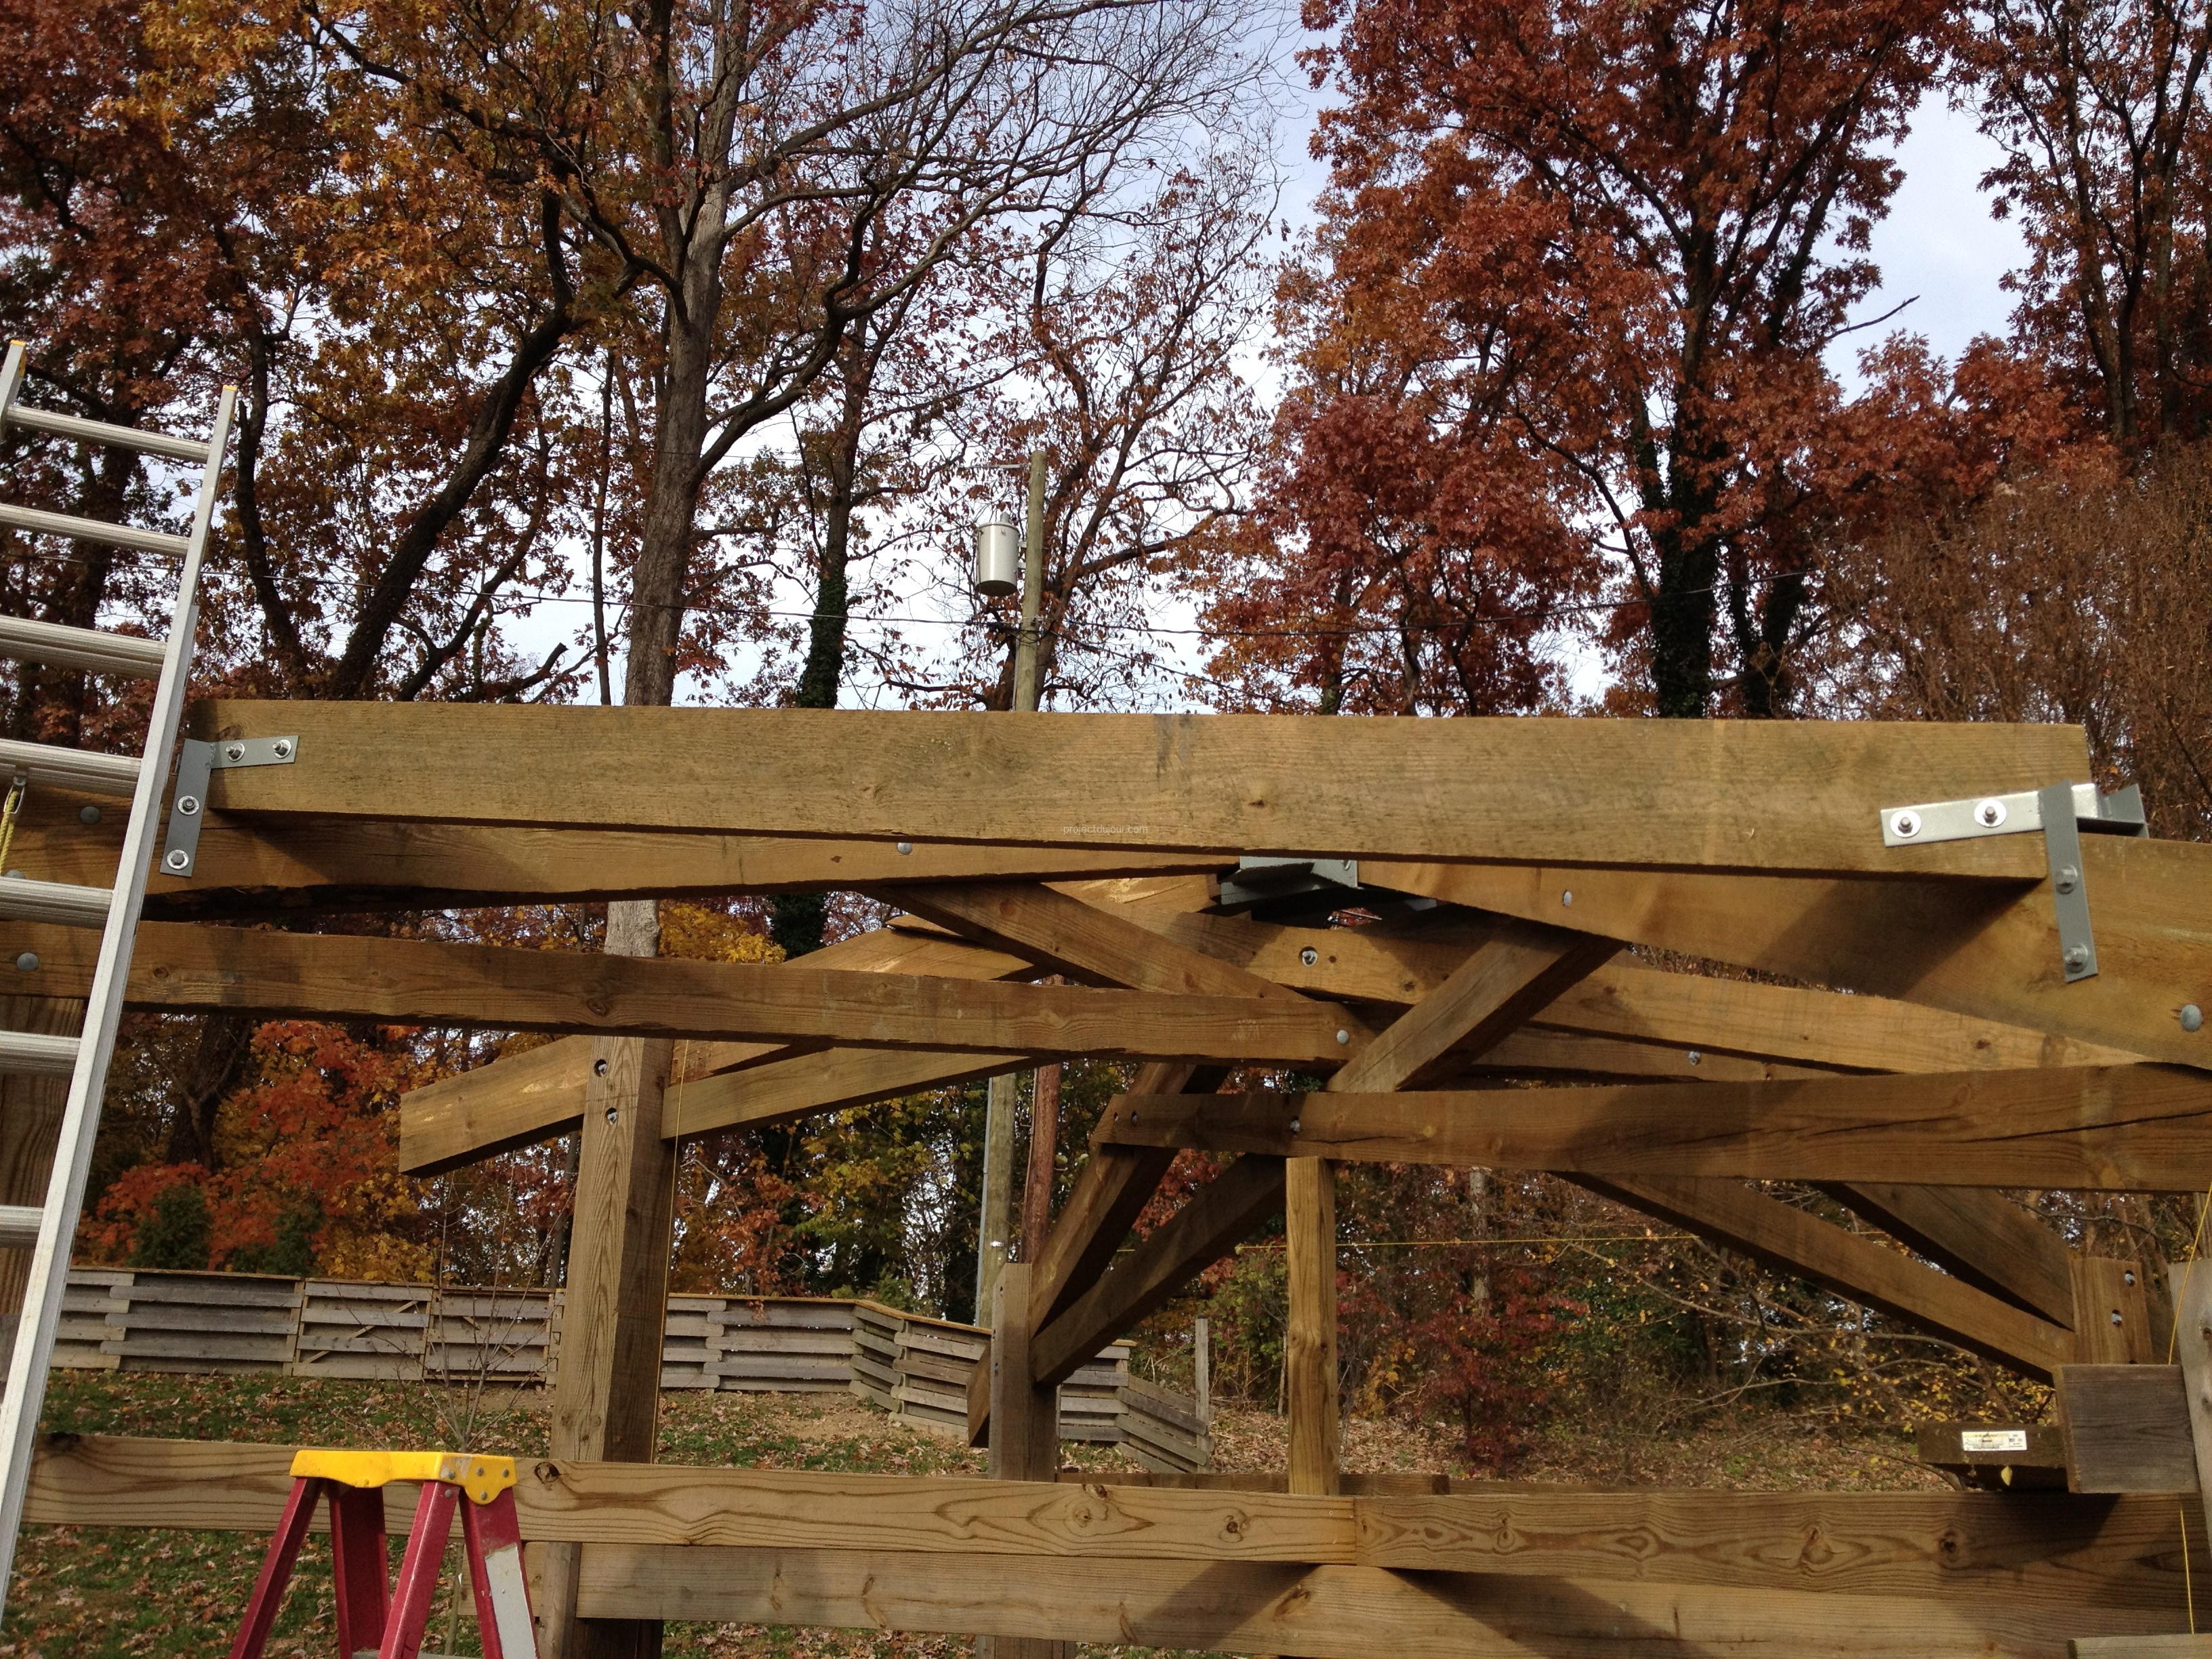
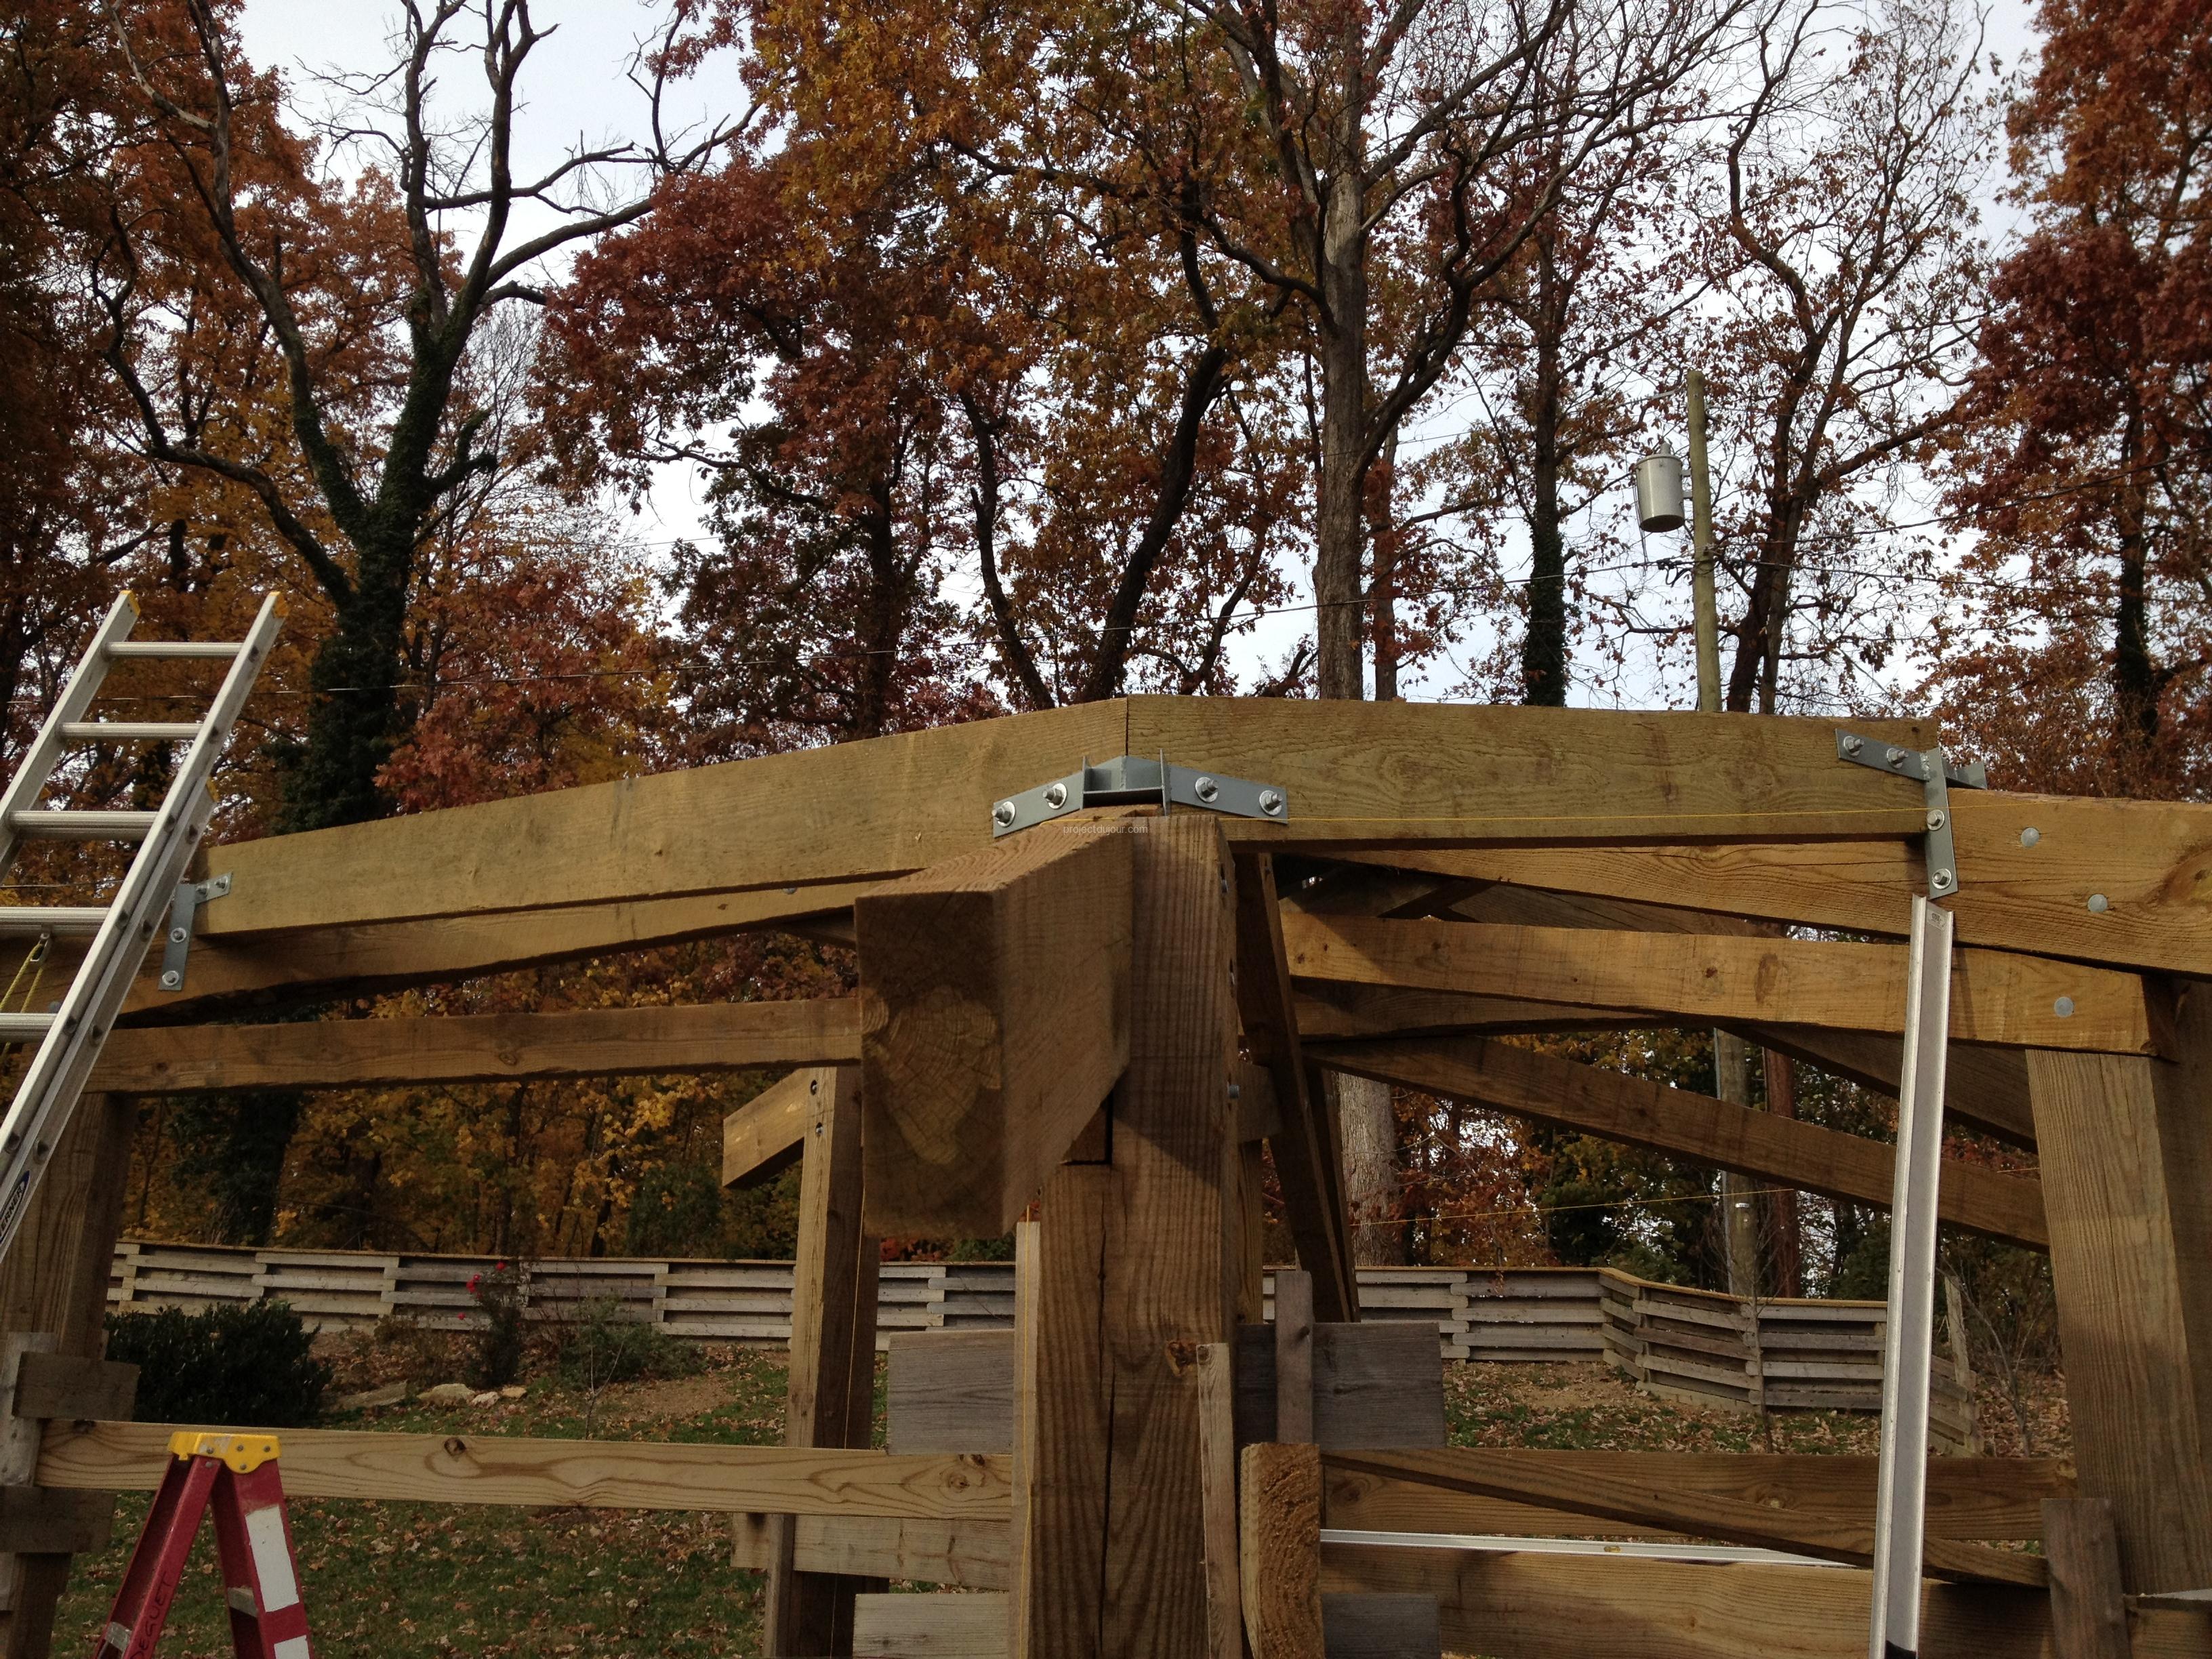
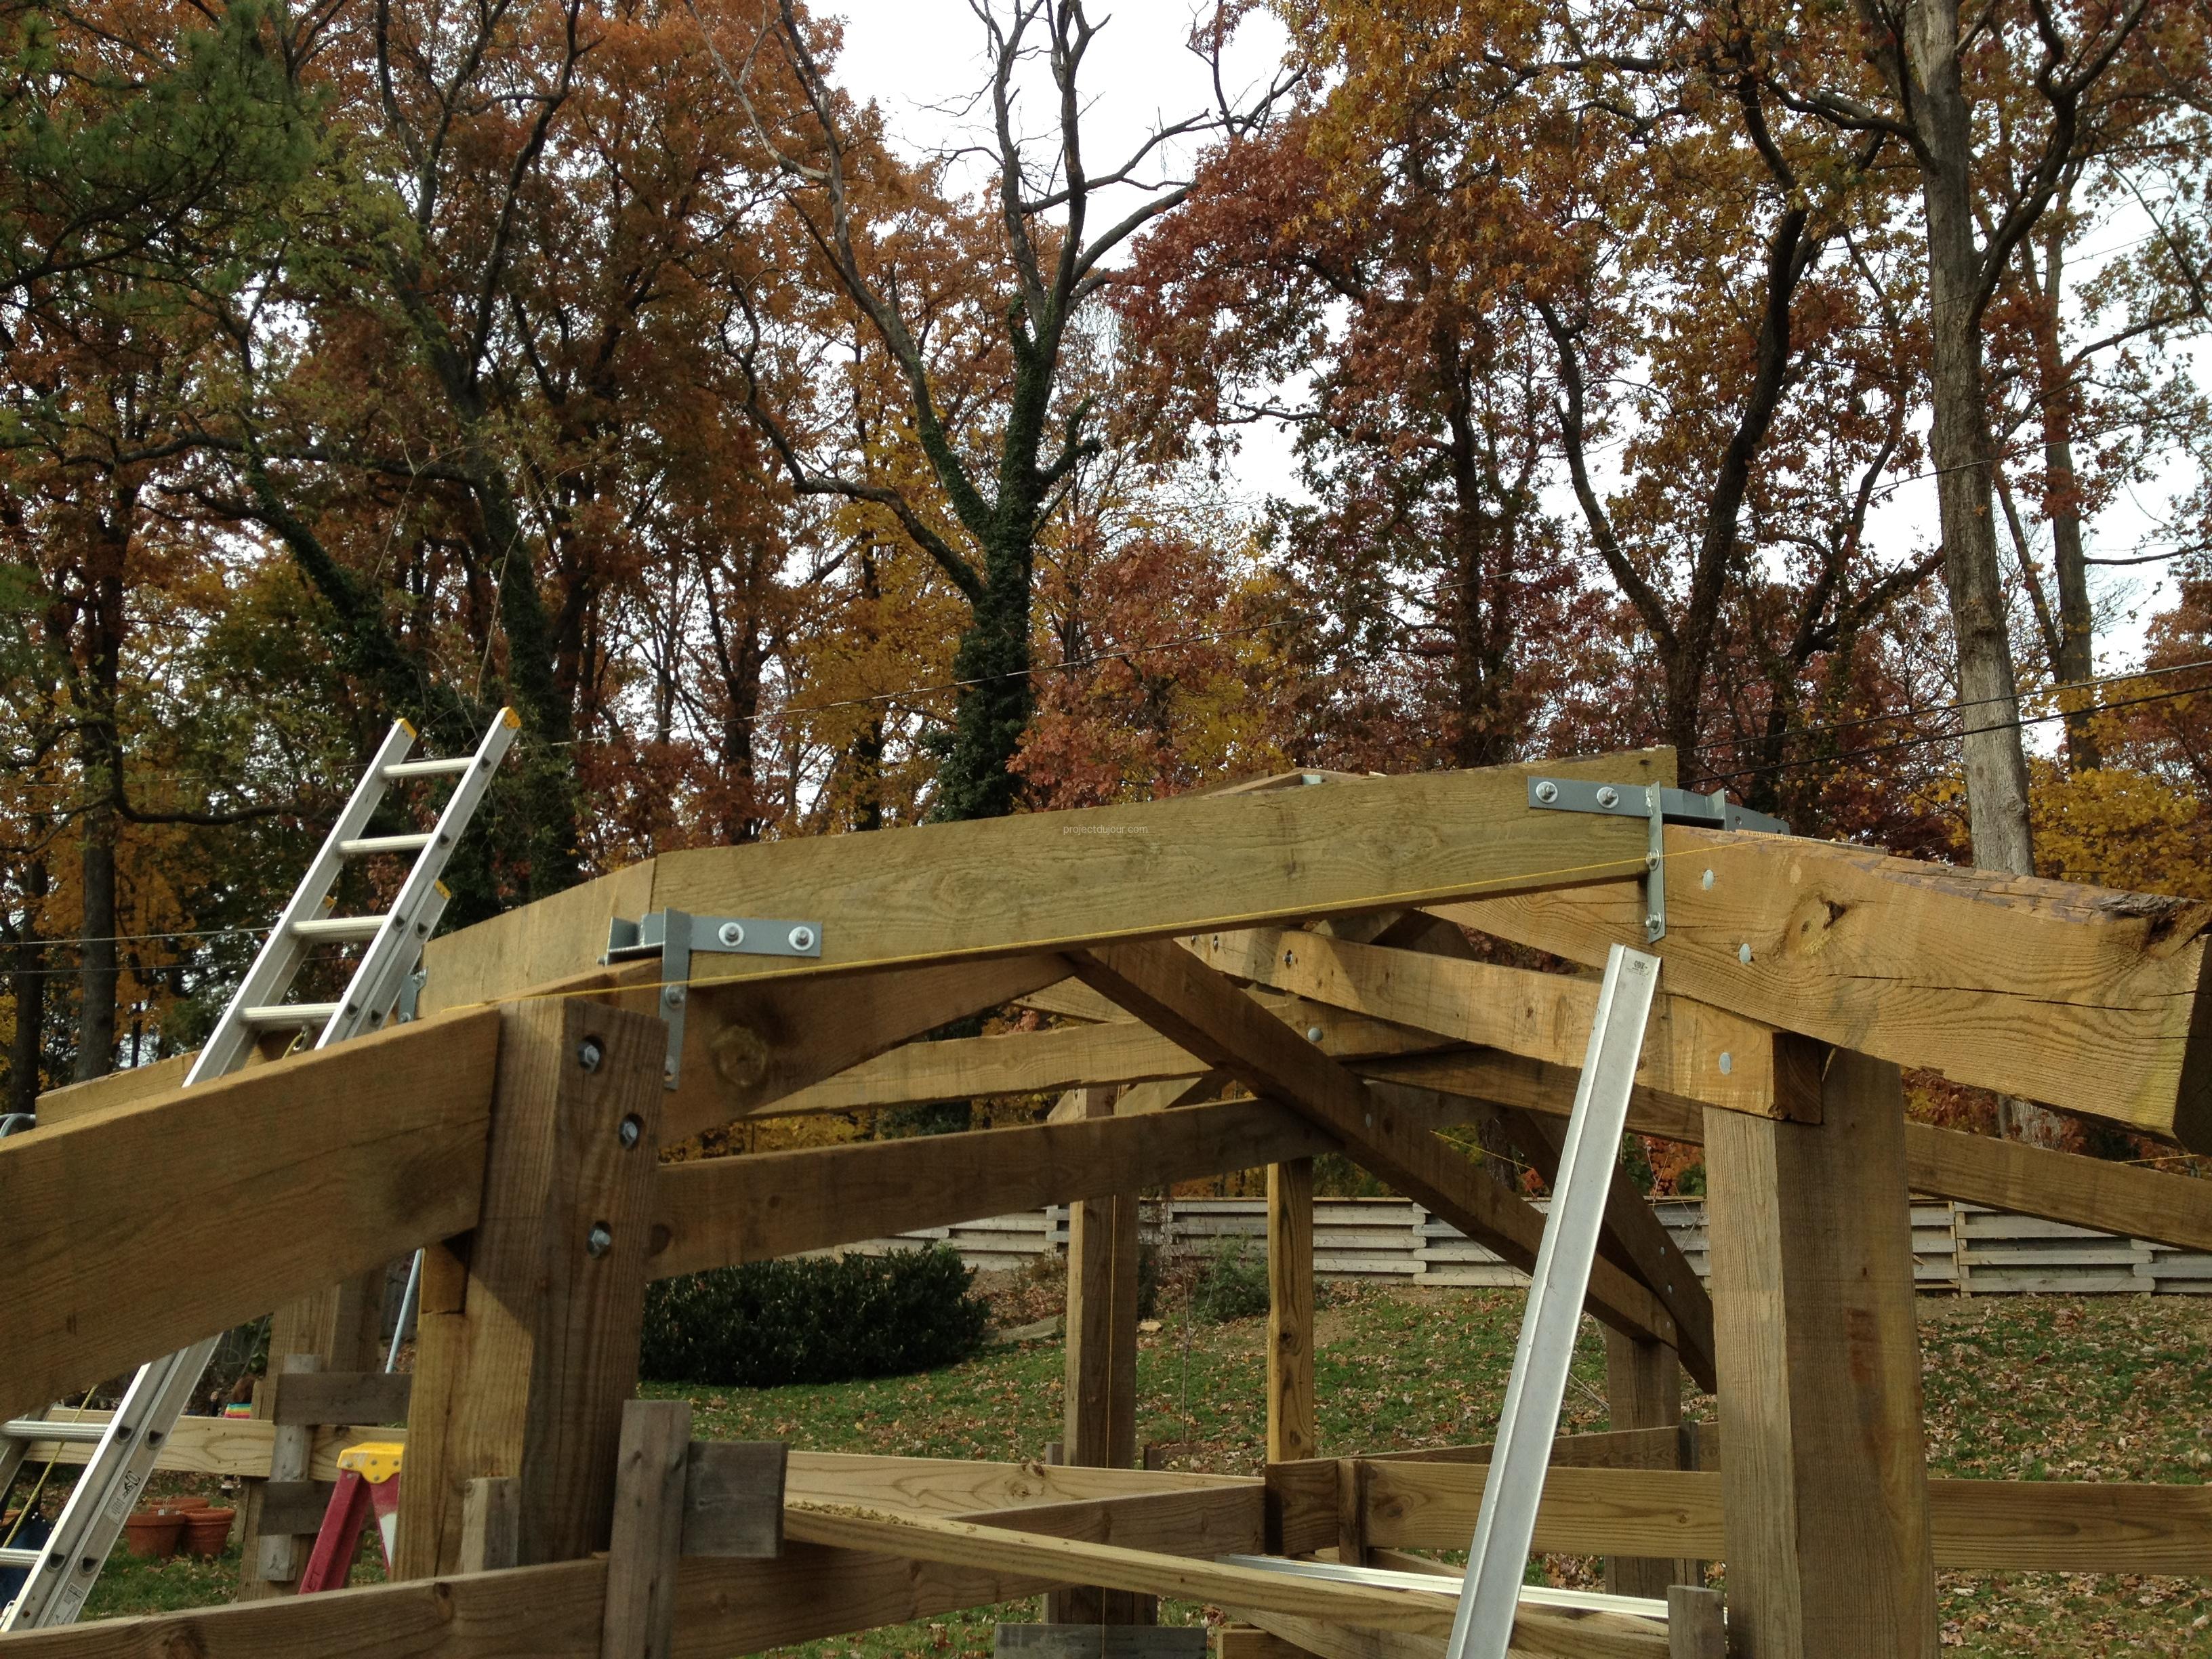
To attach the top beams to the central truss, I decided to use a couple of metal brackets. Since I didn’t use a CAD software to design the darn thing and in any case I wasn’t very careful when putting the posts in concrete, I used the structure itself to design a template out of foam boards.
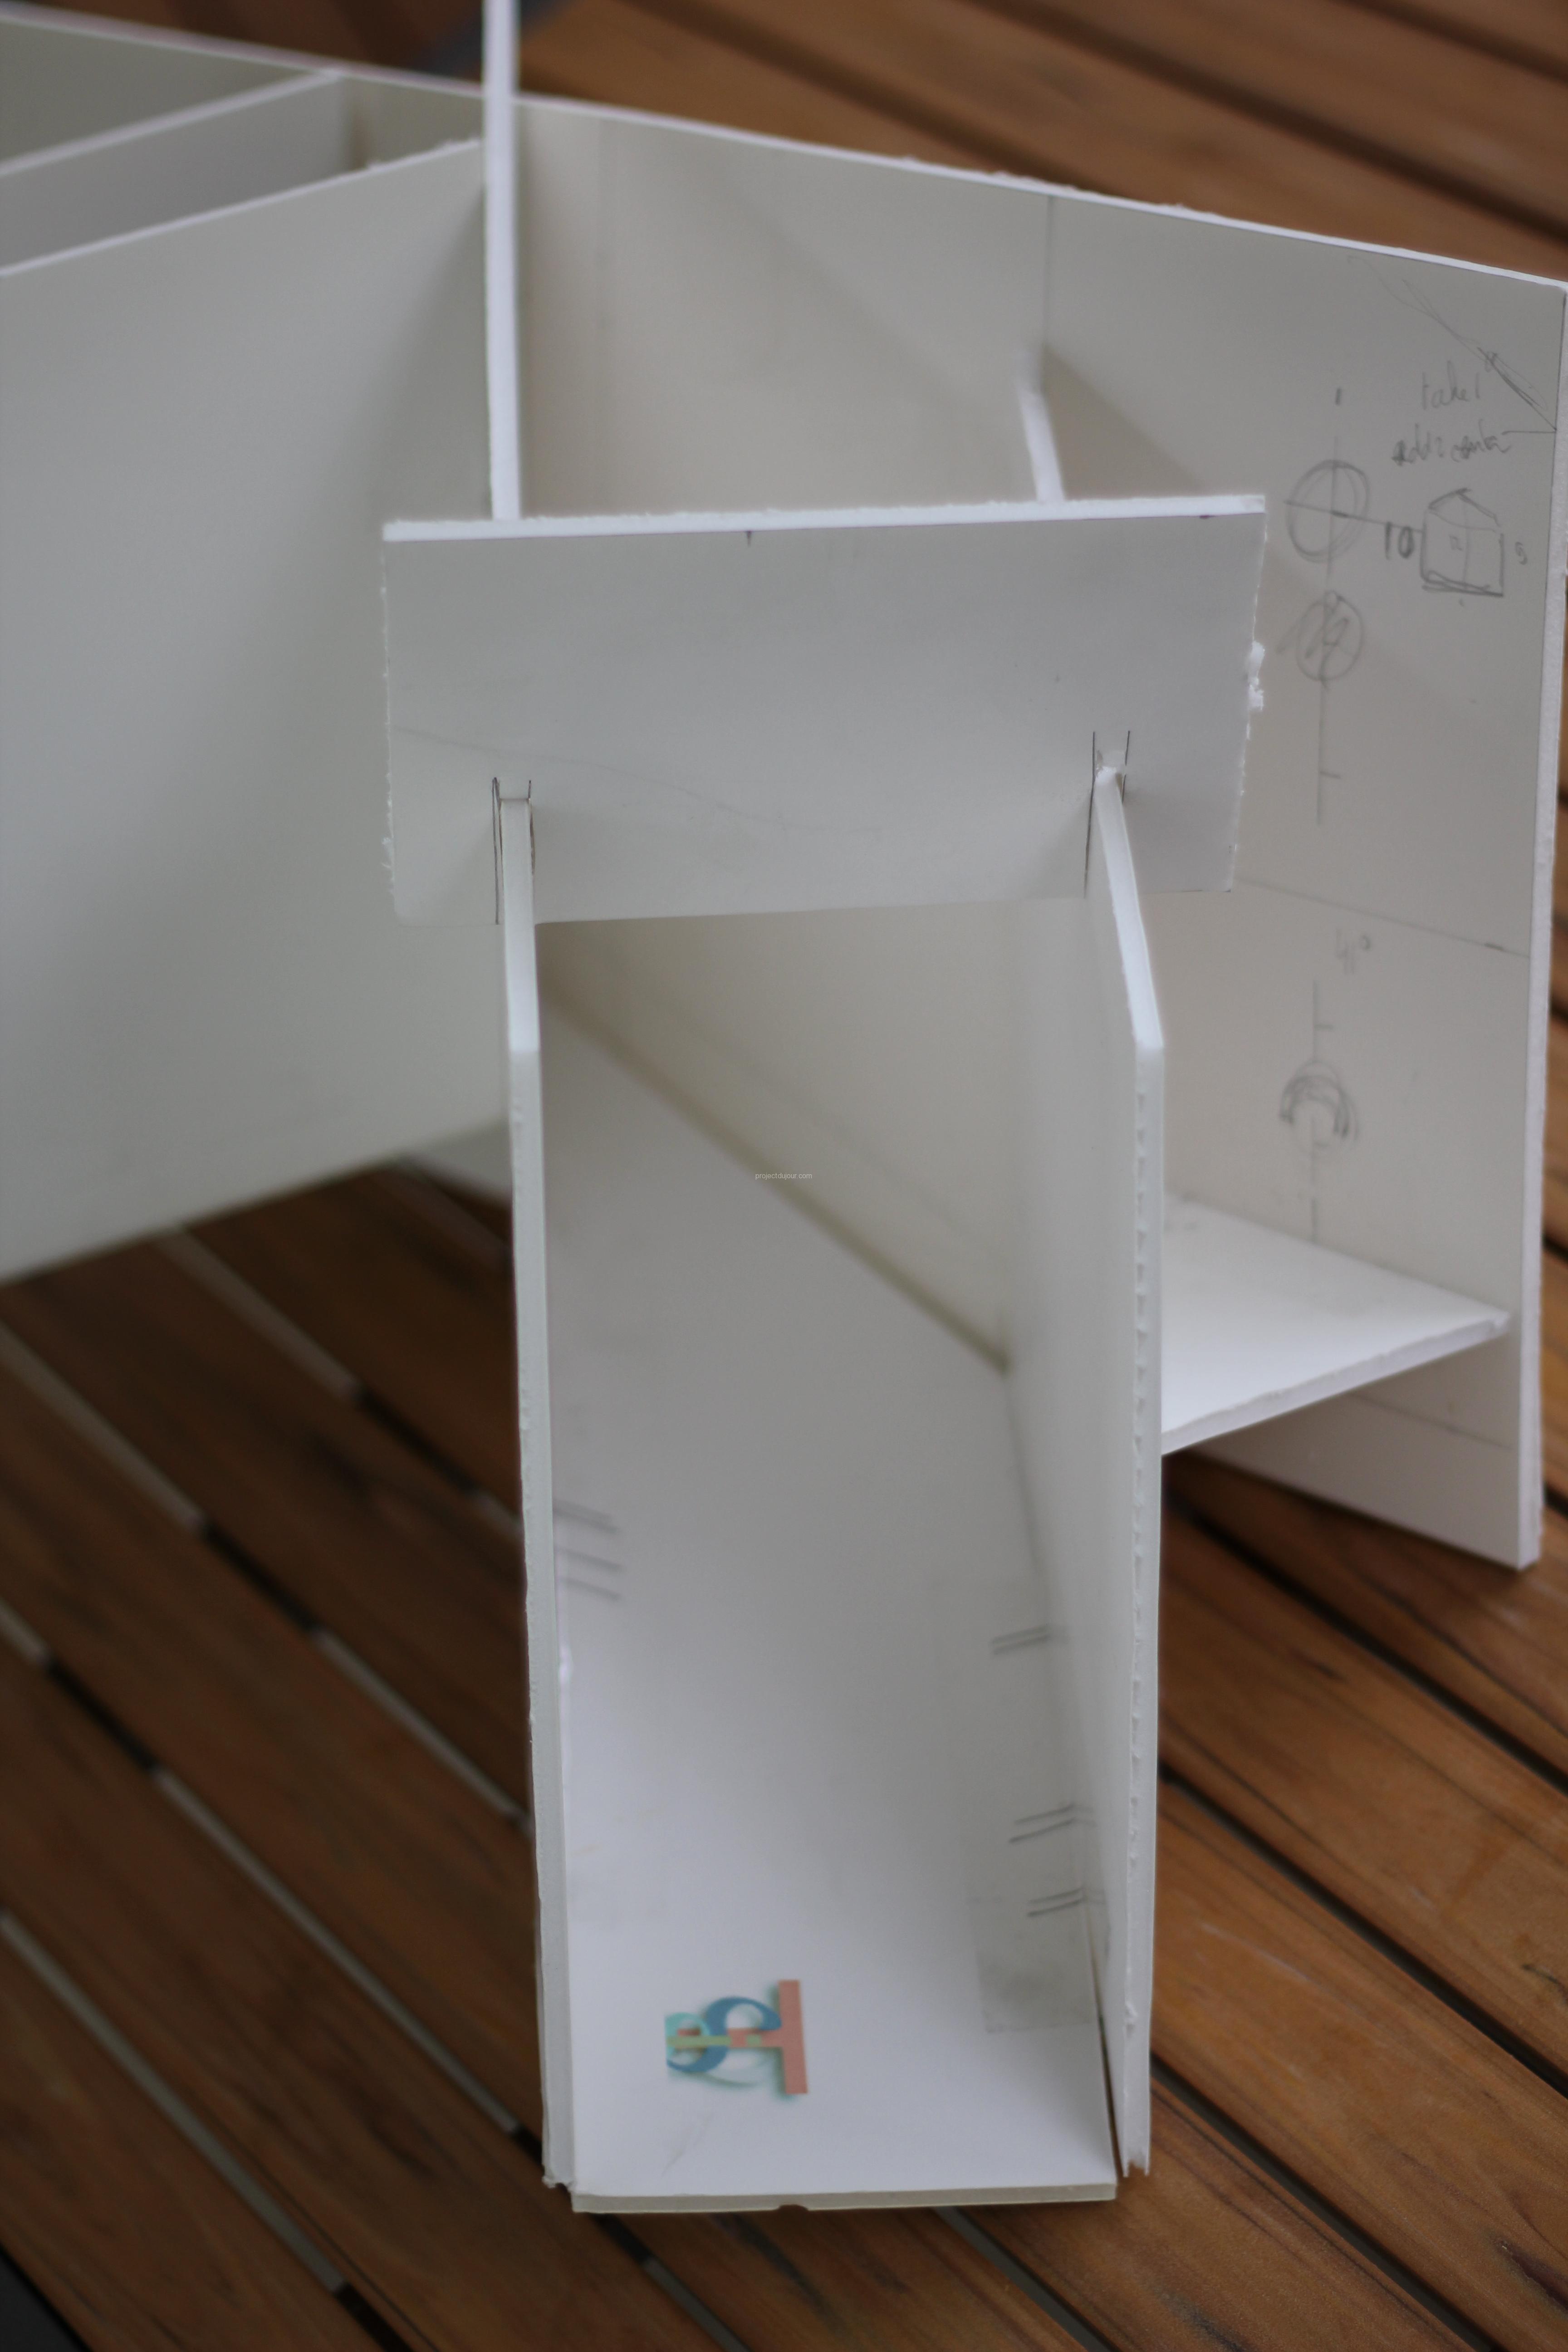
Then I had some fun trying to find a welder willing to deal with my project. I finally found one, a neighbor who lives really close to me and get into all kind of fun projects (see his website). He built it, got it power coated and it worked. It took a lot of hammering, cutting notches and cursing but it worked. I was ready for my landscaper to set the blue stones under that patio. If you pay attention, you can see on the pictures that seasons are passing…

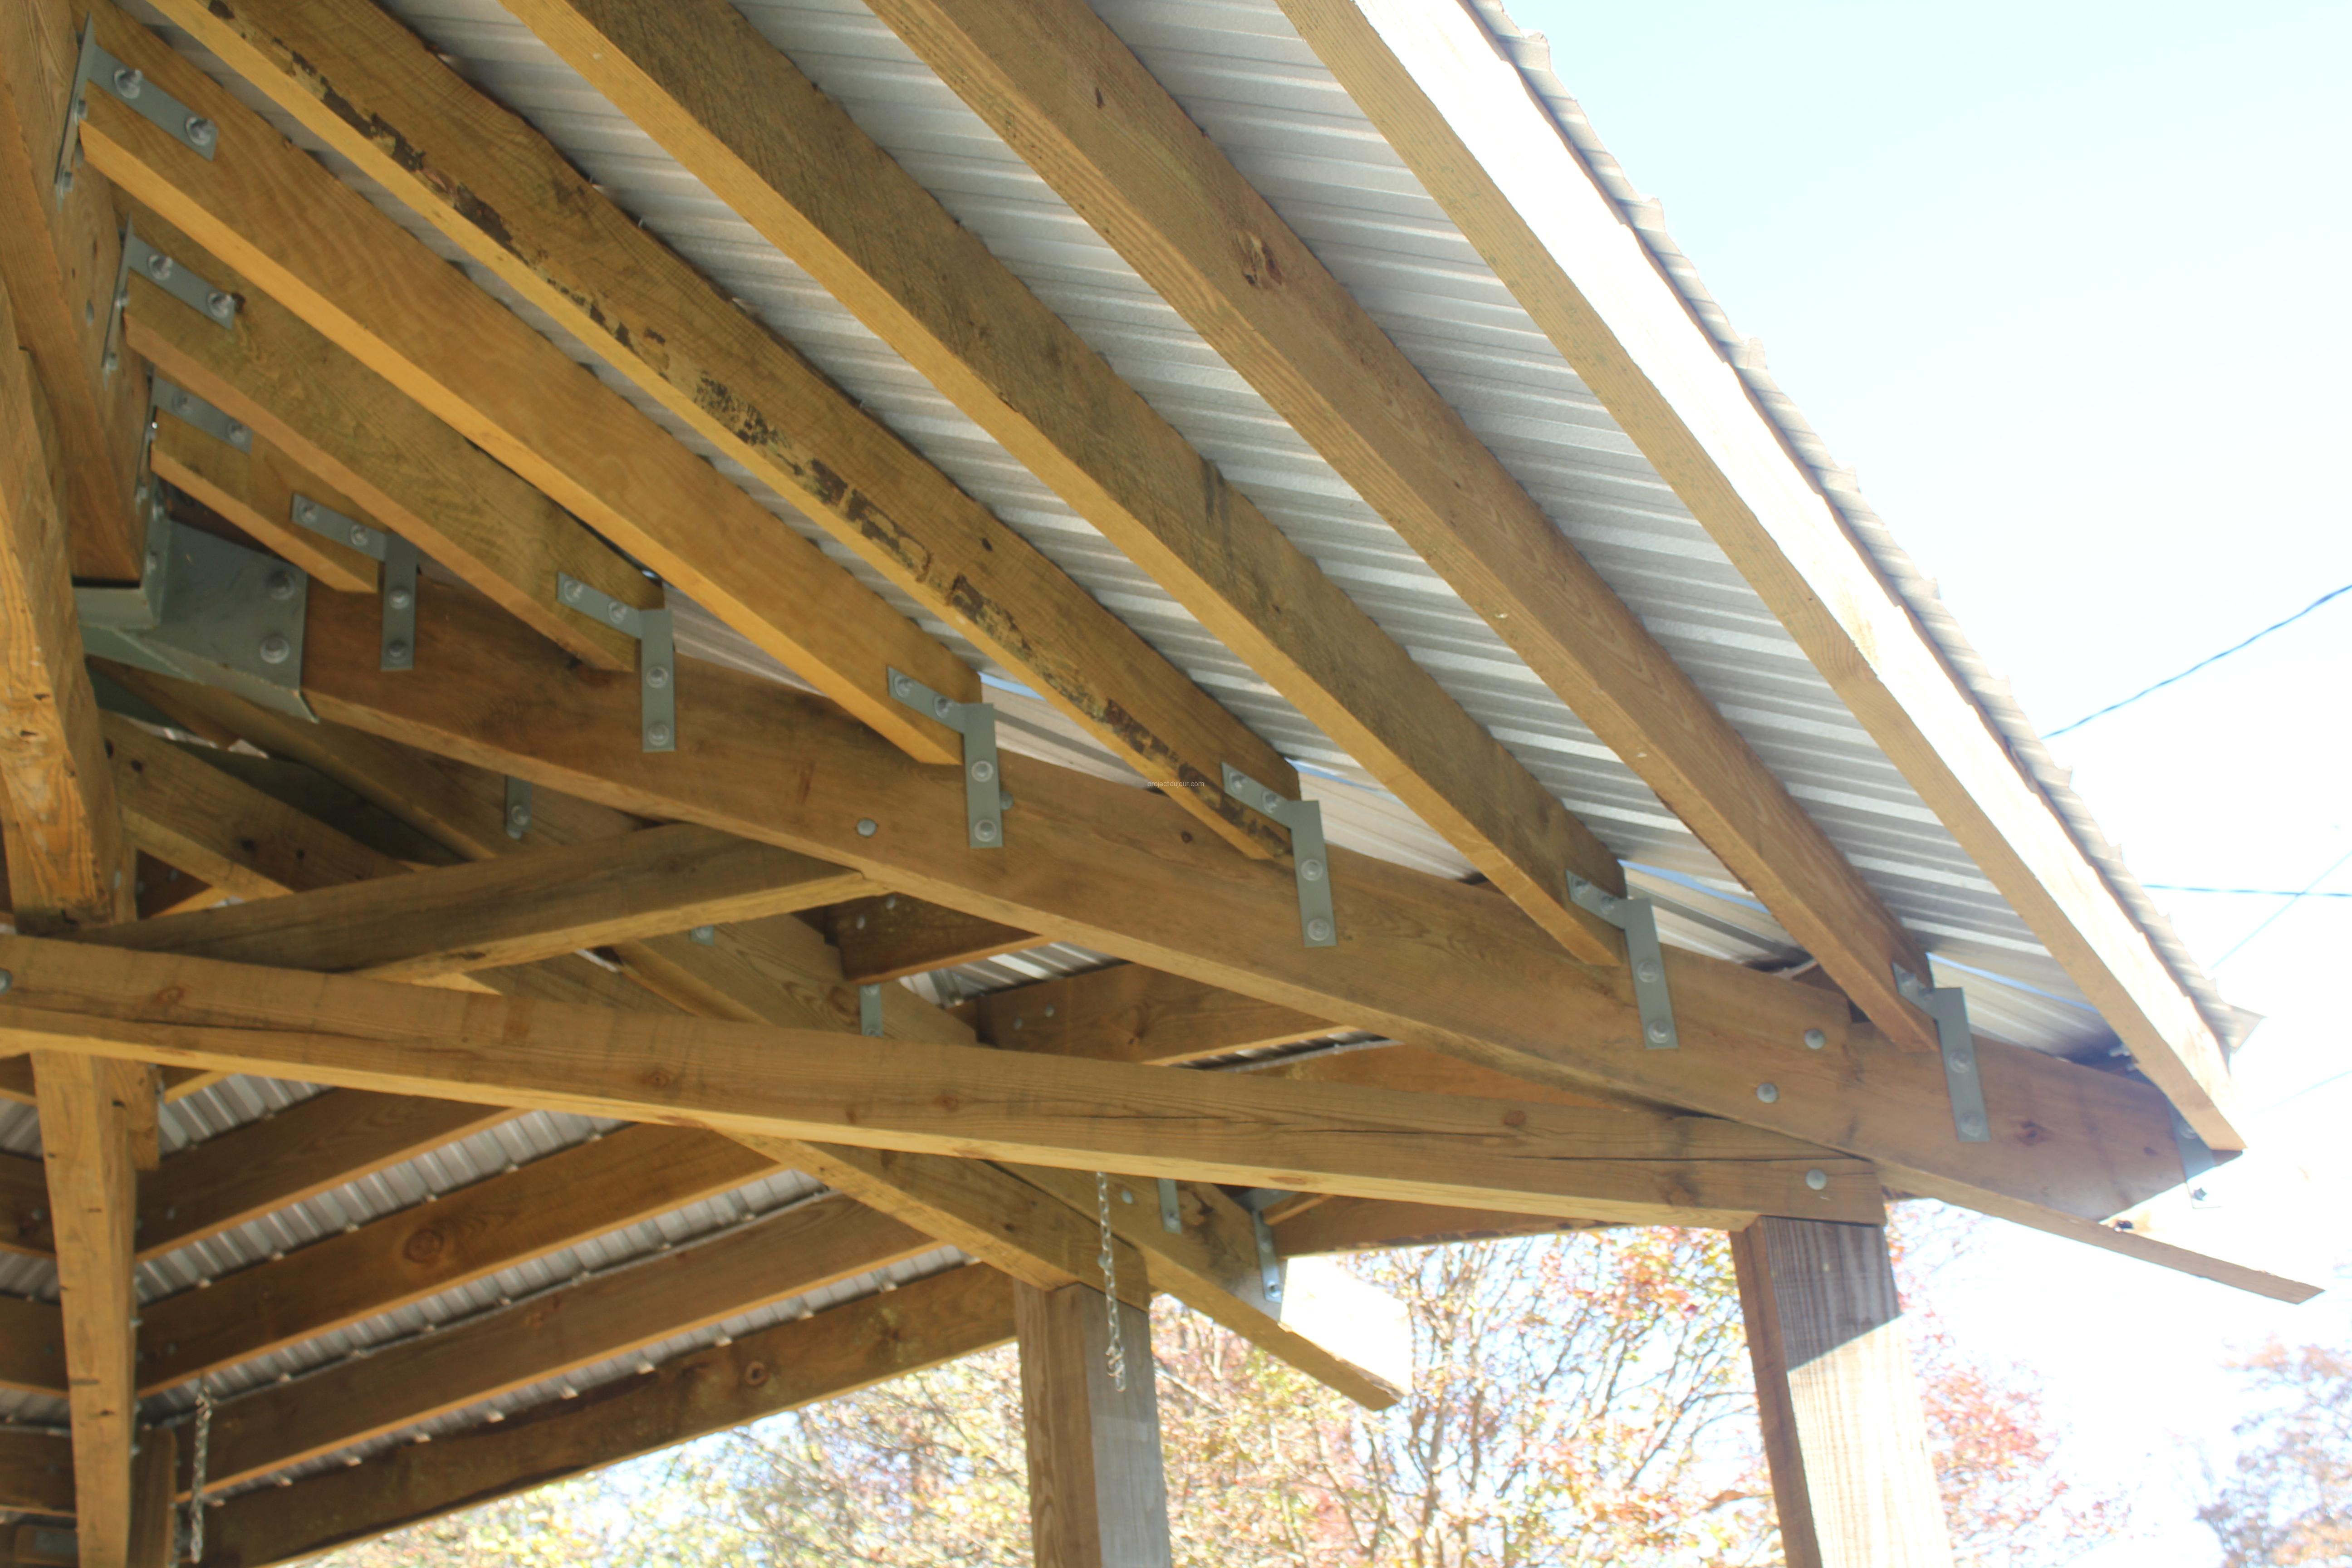
And I was still not done. Being optimistic as usual, I assumed I’d figure out a solution to fix the rafters to the top beams. Turns out there was nothing I could do on my own and I had to design yet another type of metal bracket. It’s funny how one can’t find brackets for hexagonal carpentry in home improvement stores. So, 7 rafters in each triangular part, 6 triangles, that’s 42 steel brackets, all custom.
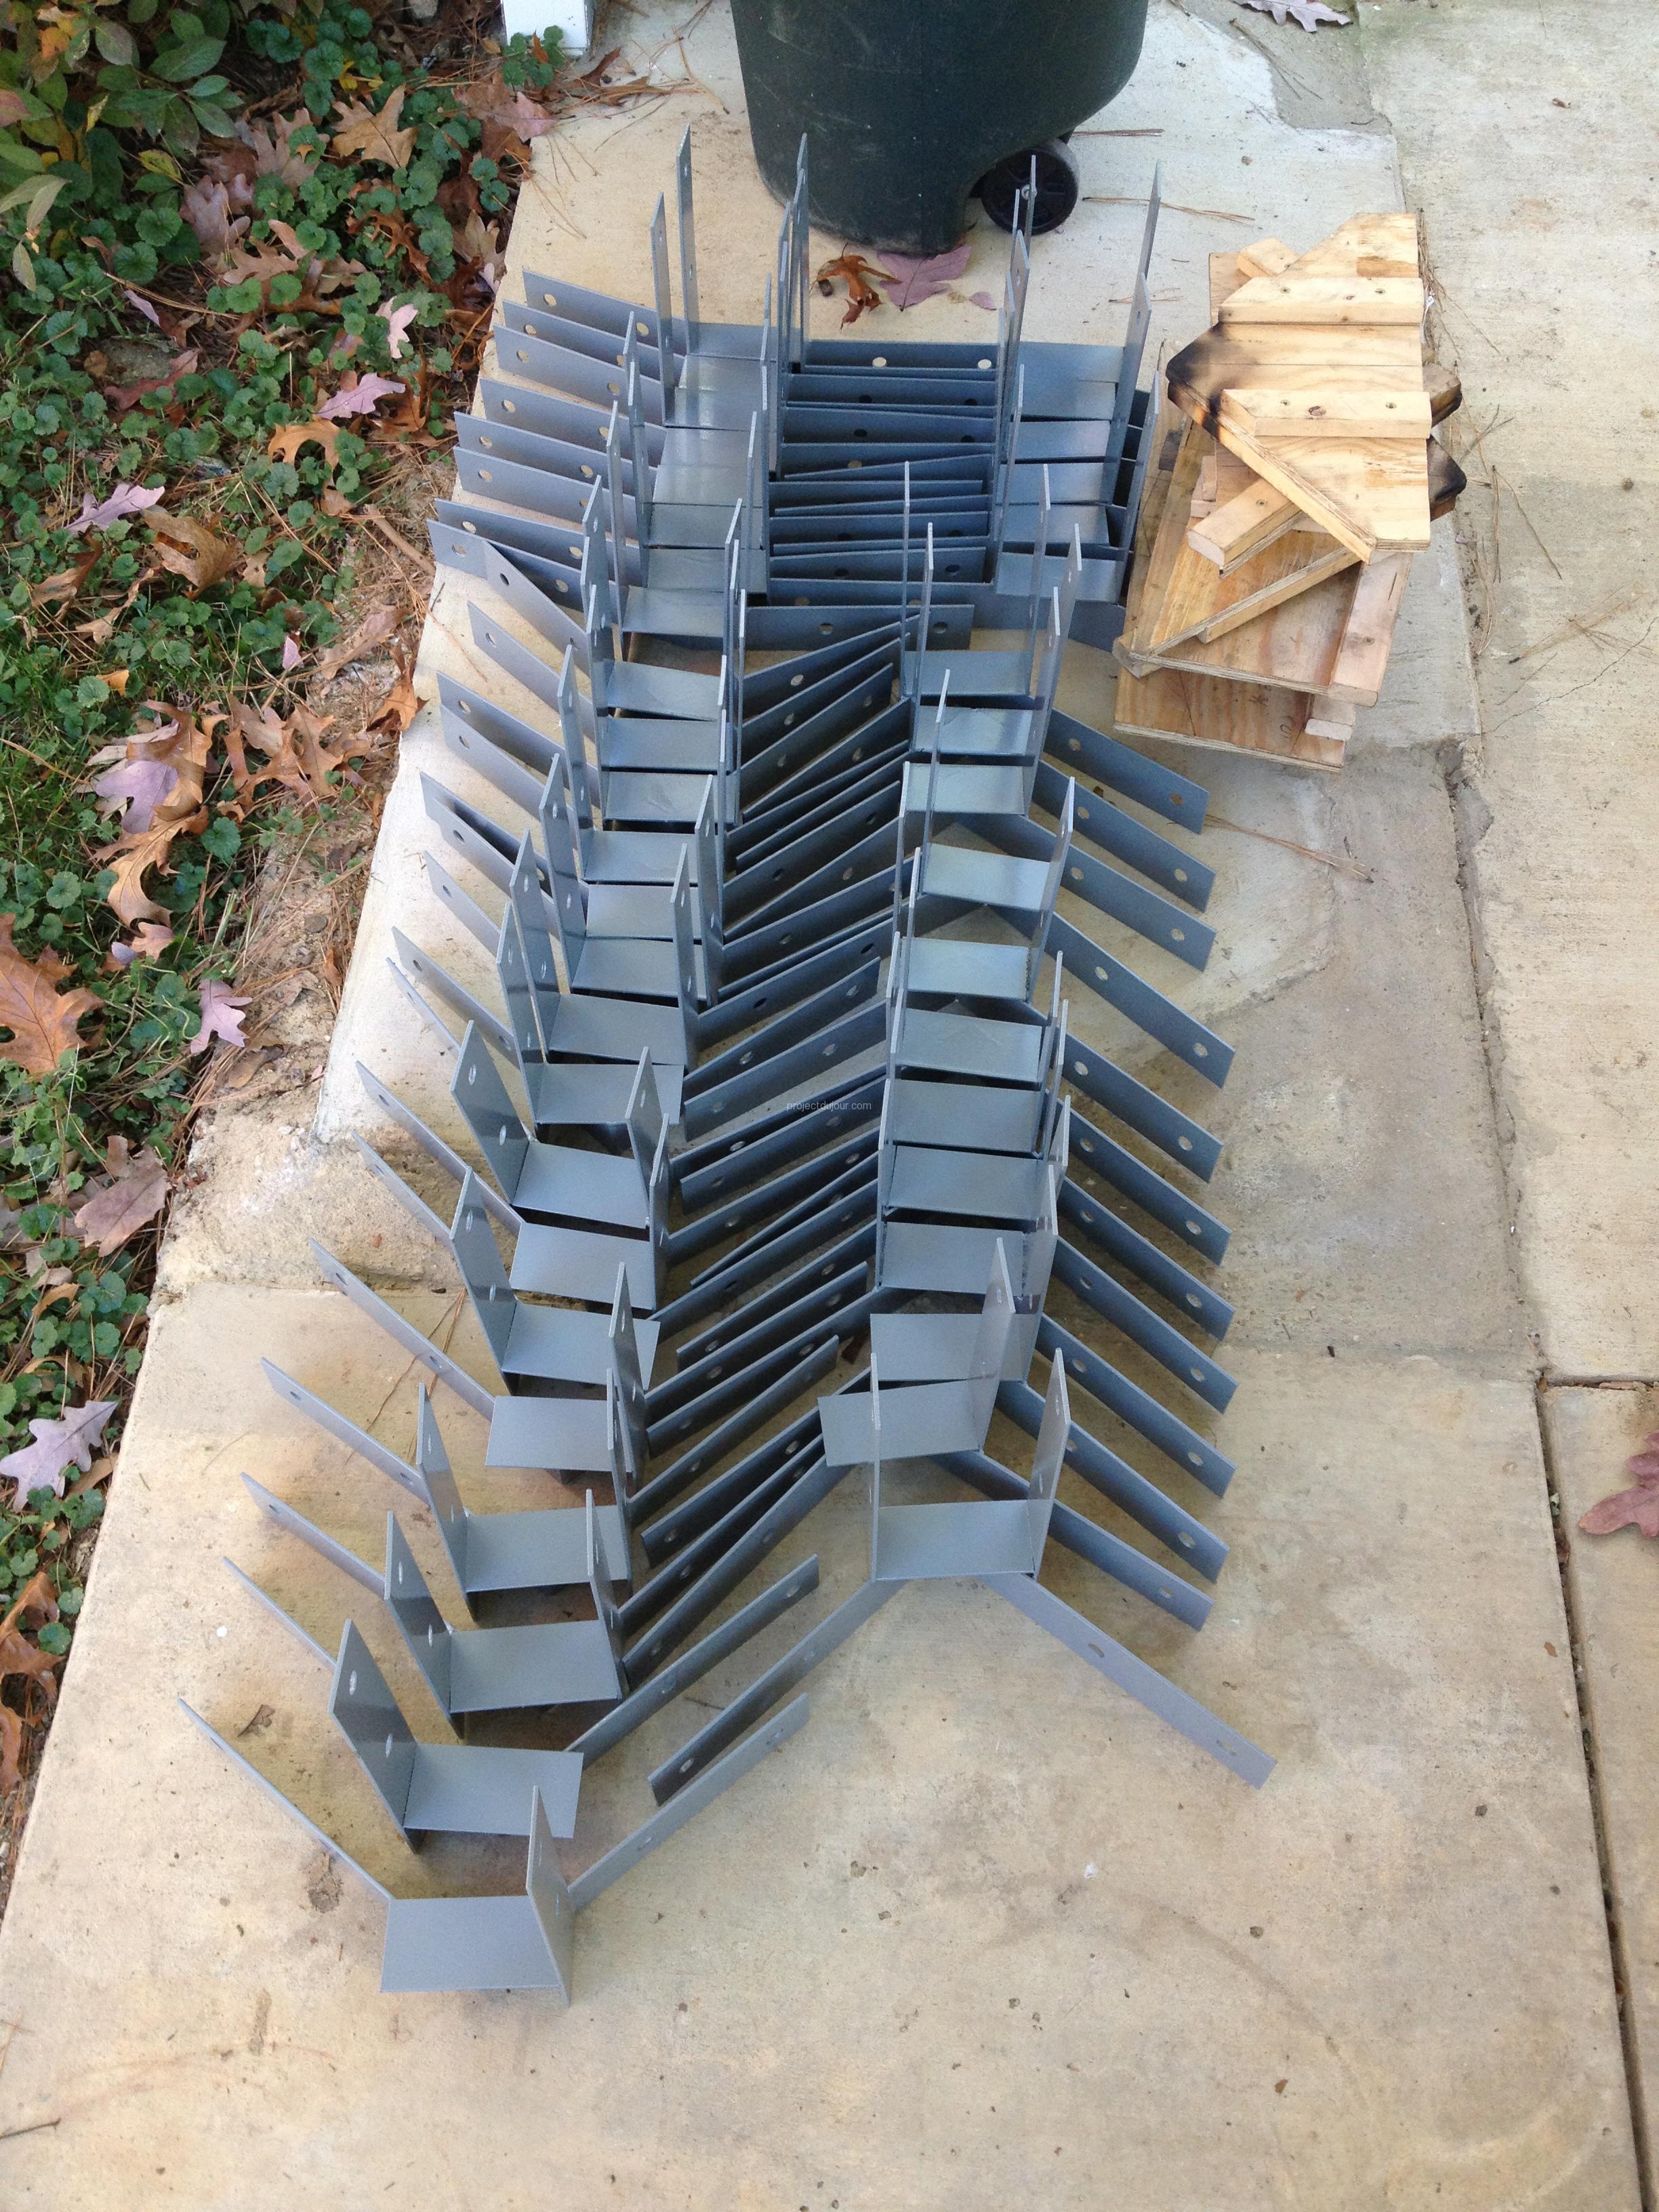
42 custom steel brackets
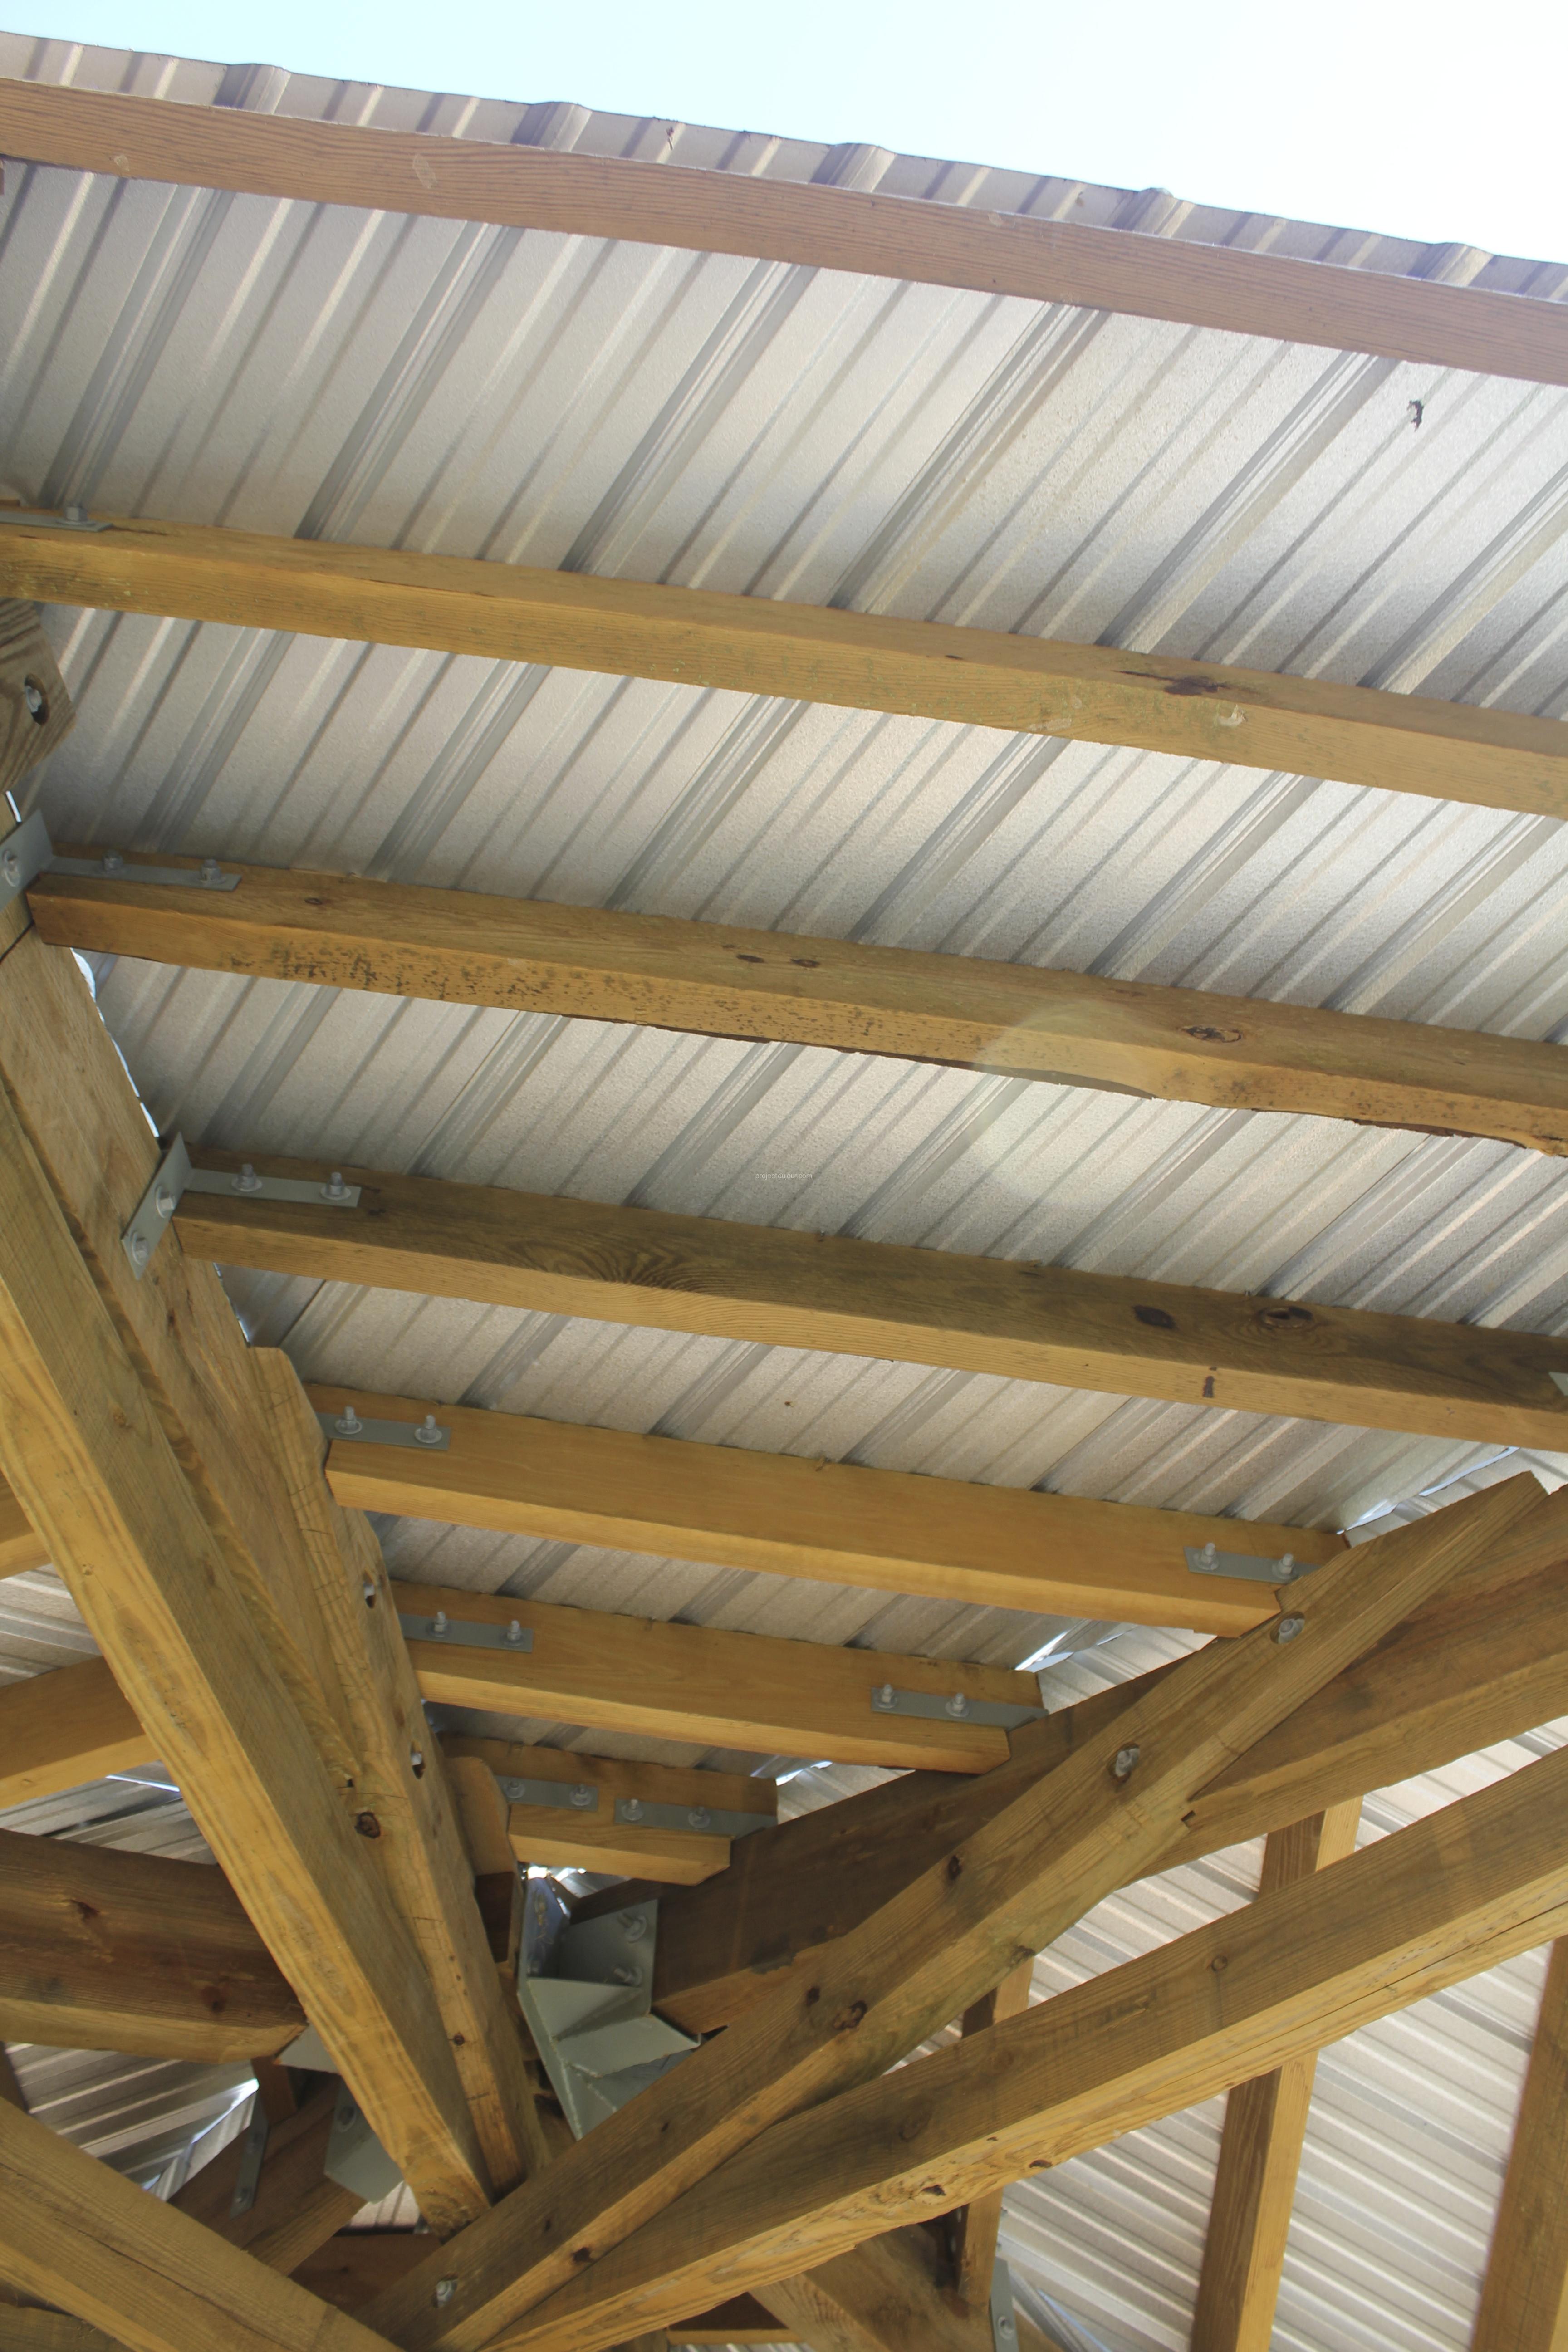
Each bracket is attached over the top beam using two long carriage bolts (42 * 2 = 84) and each rafter is tied to the bracket using two short carriage bolts at each end (42 * 2 * 2 = 168). At that point, I had spend more on bolts, nuts and brackets than wood. Each rafter is cut with a double angle at the end and has a notch to seat on the main beam. The notch had to be sawn by hand since none of the cuts were at a right angle. I also had to cut a small notch on the main beam to have a nice flat place for the rafter to rest on. Overall, I calculated I needed about an hour per rafter… 42 of them.
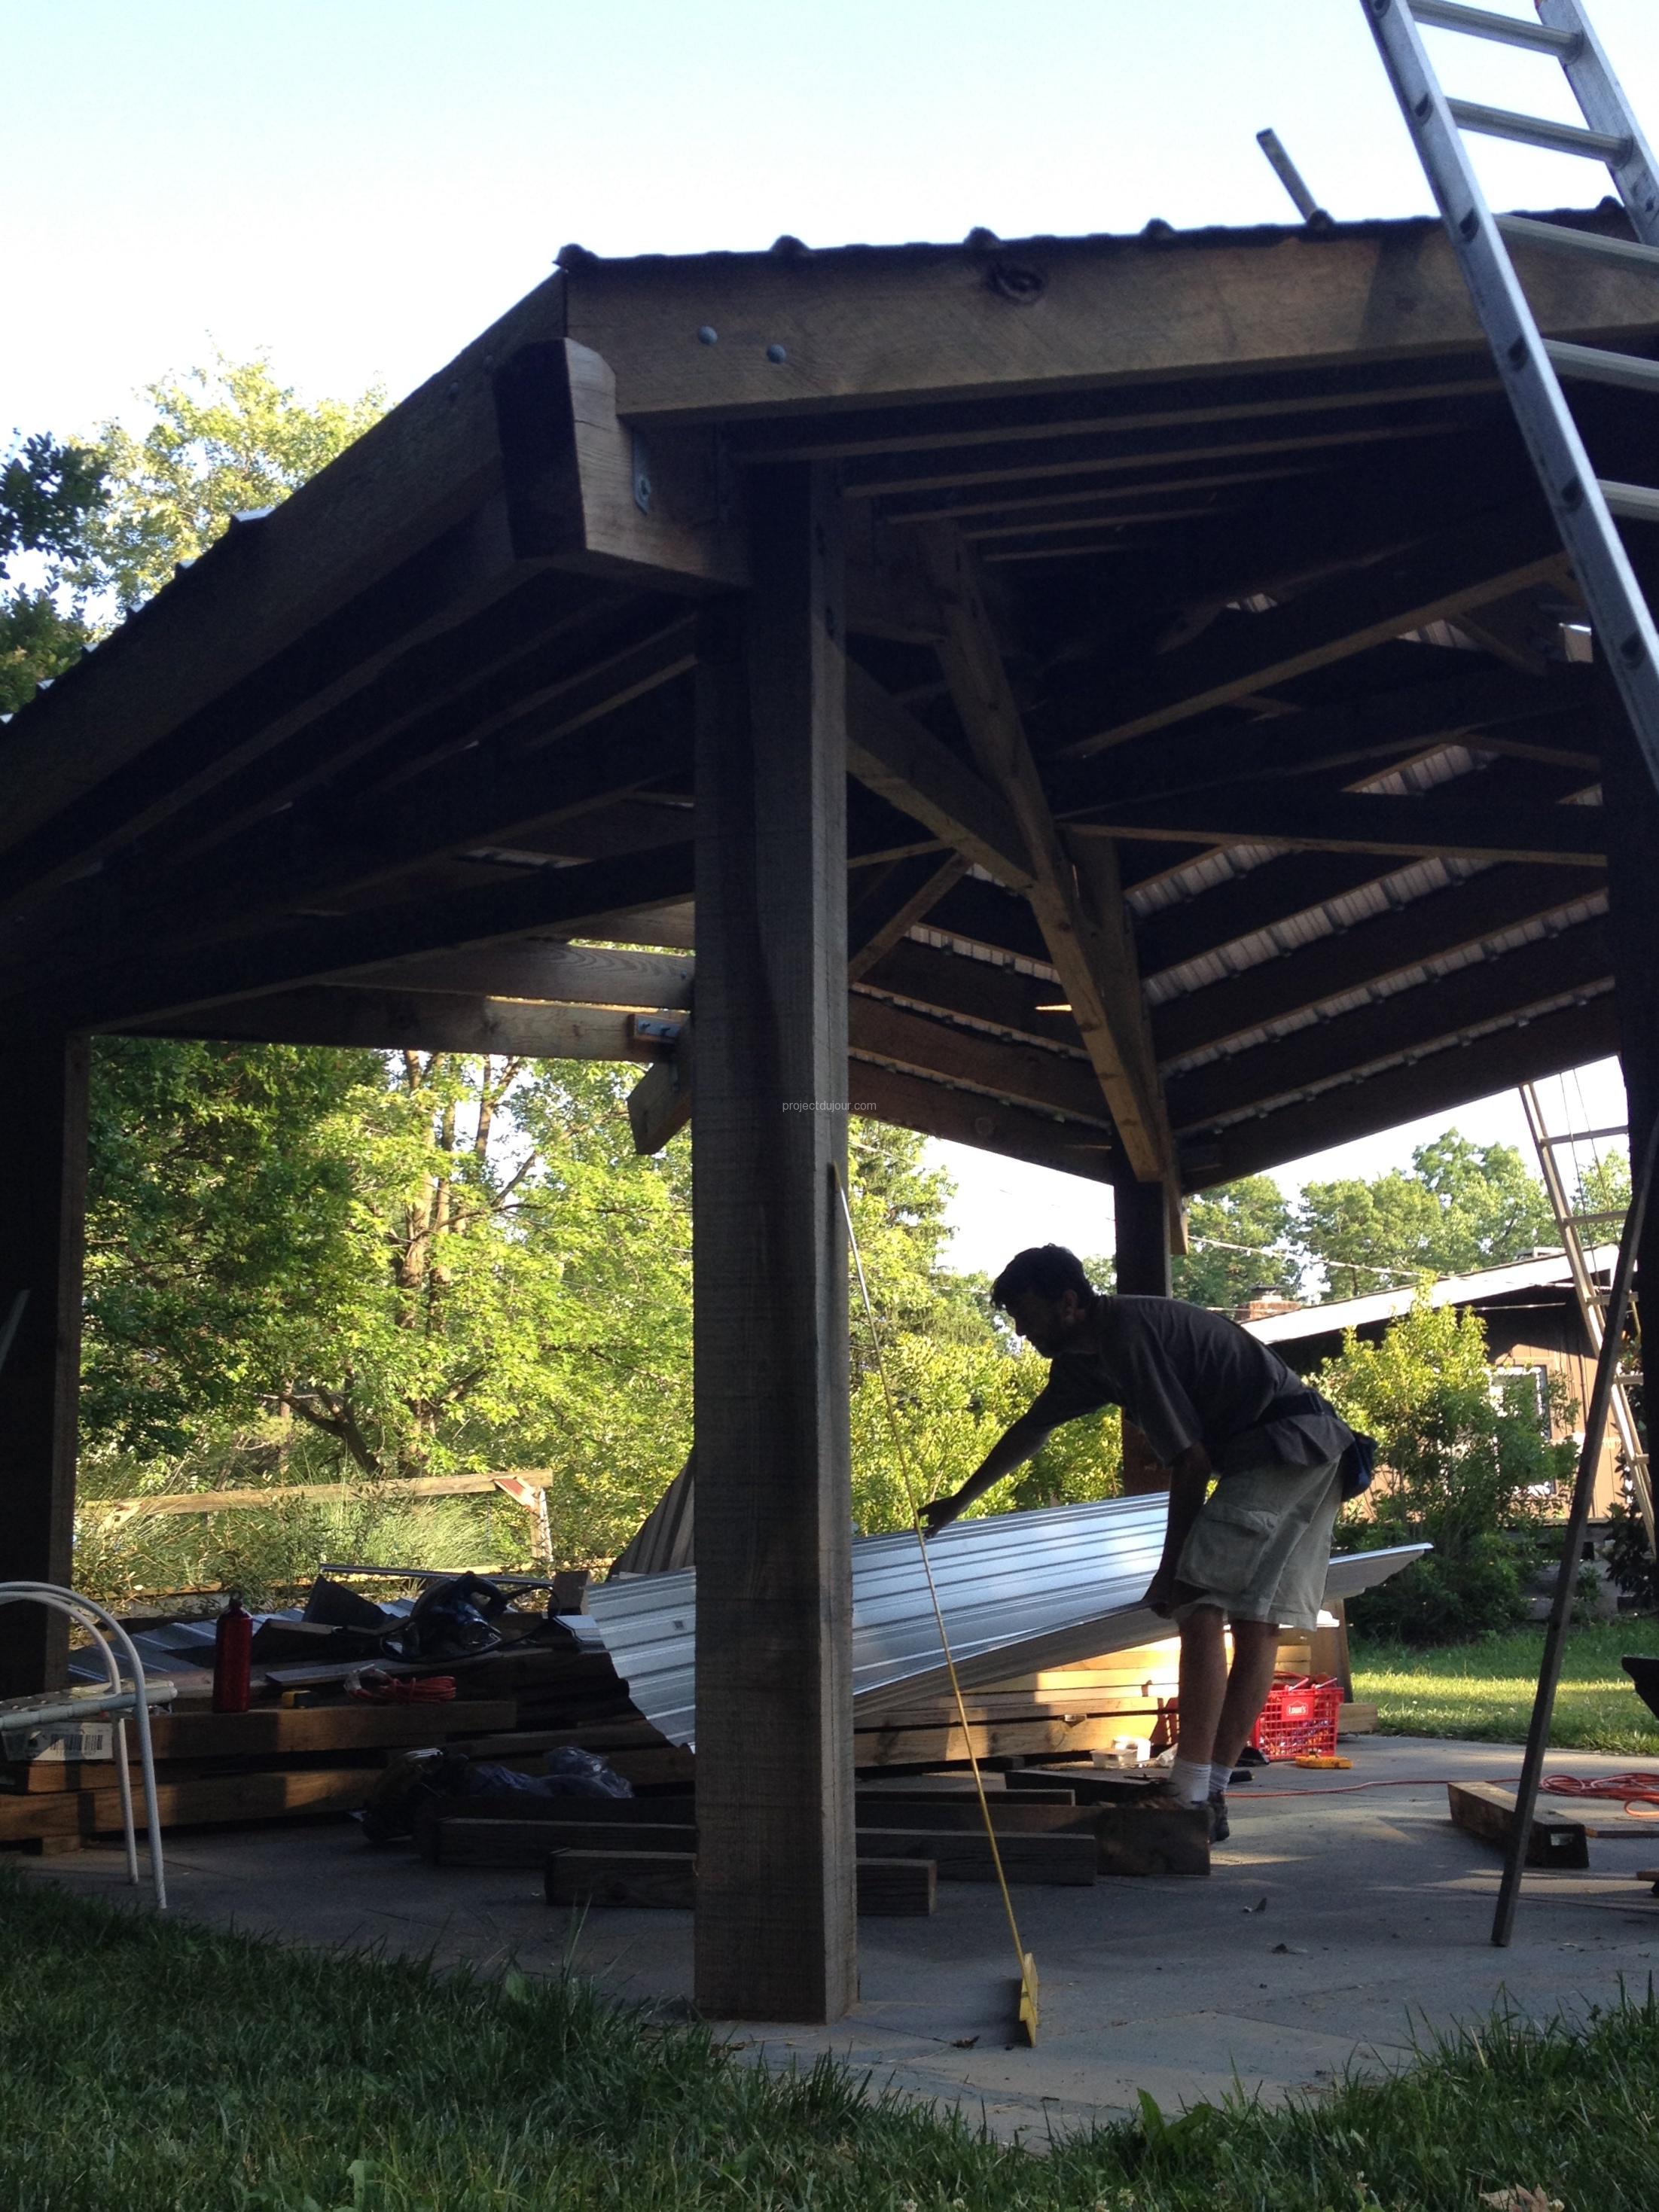
For the roof, I simply used galvanized steel sheets. All the angles were a pain but overall it was fairly easy except for the ridge covers. Since nothing was perfectly aligned the ridges don’t meet at the same point, not even the same height.
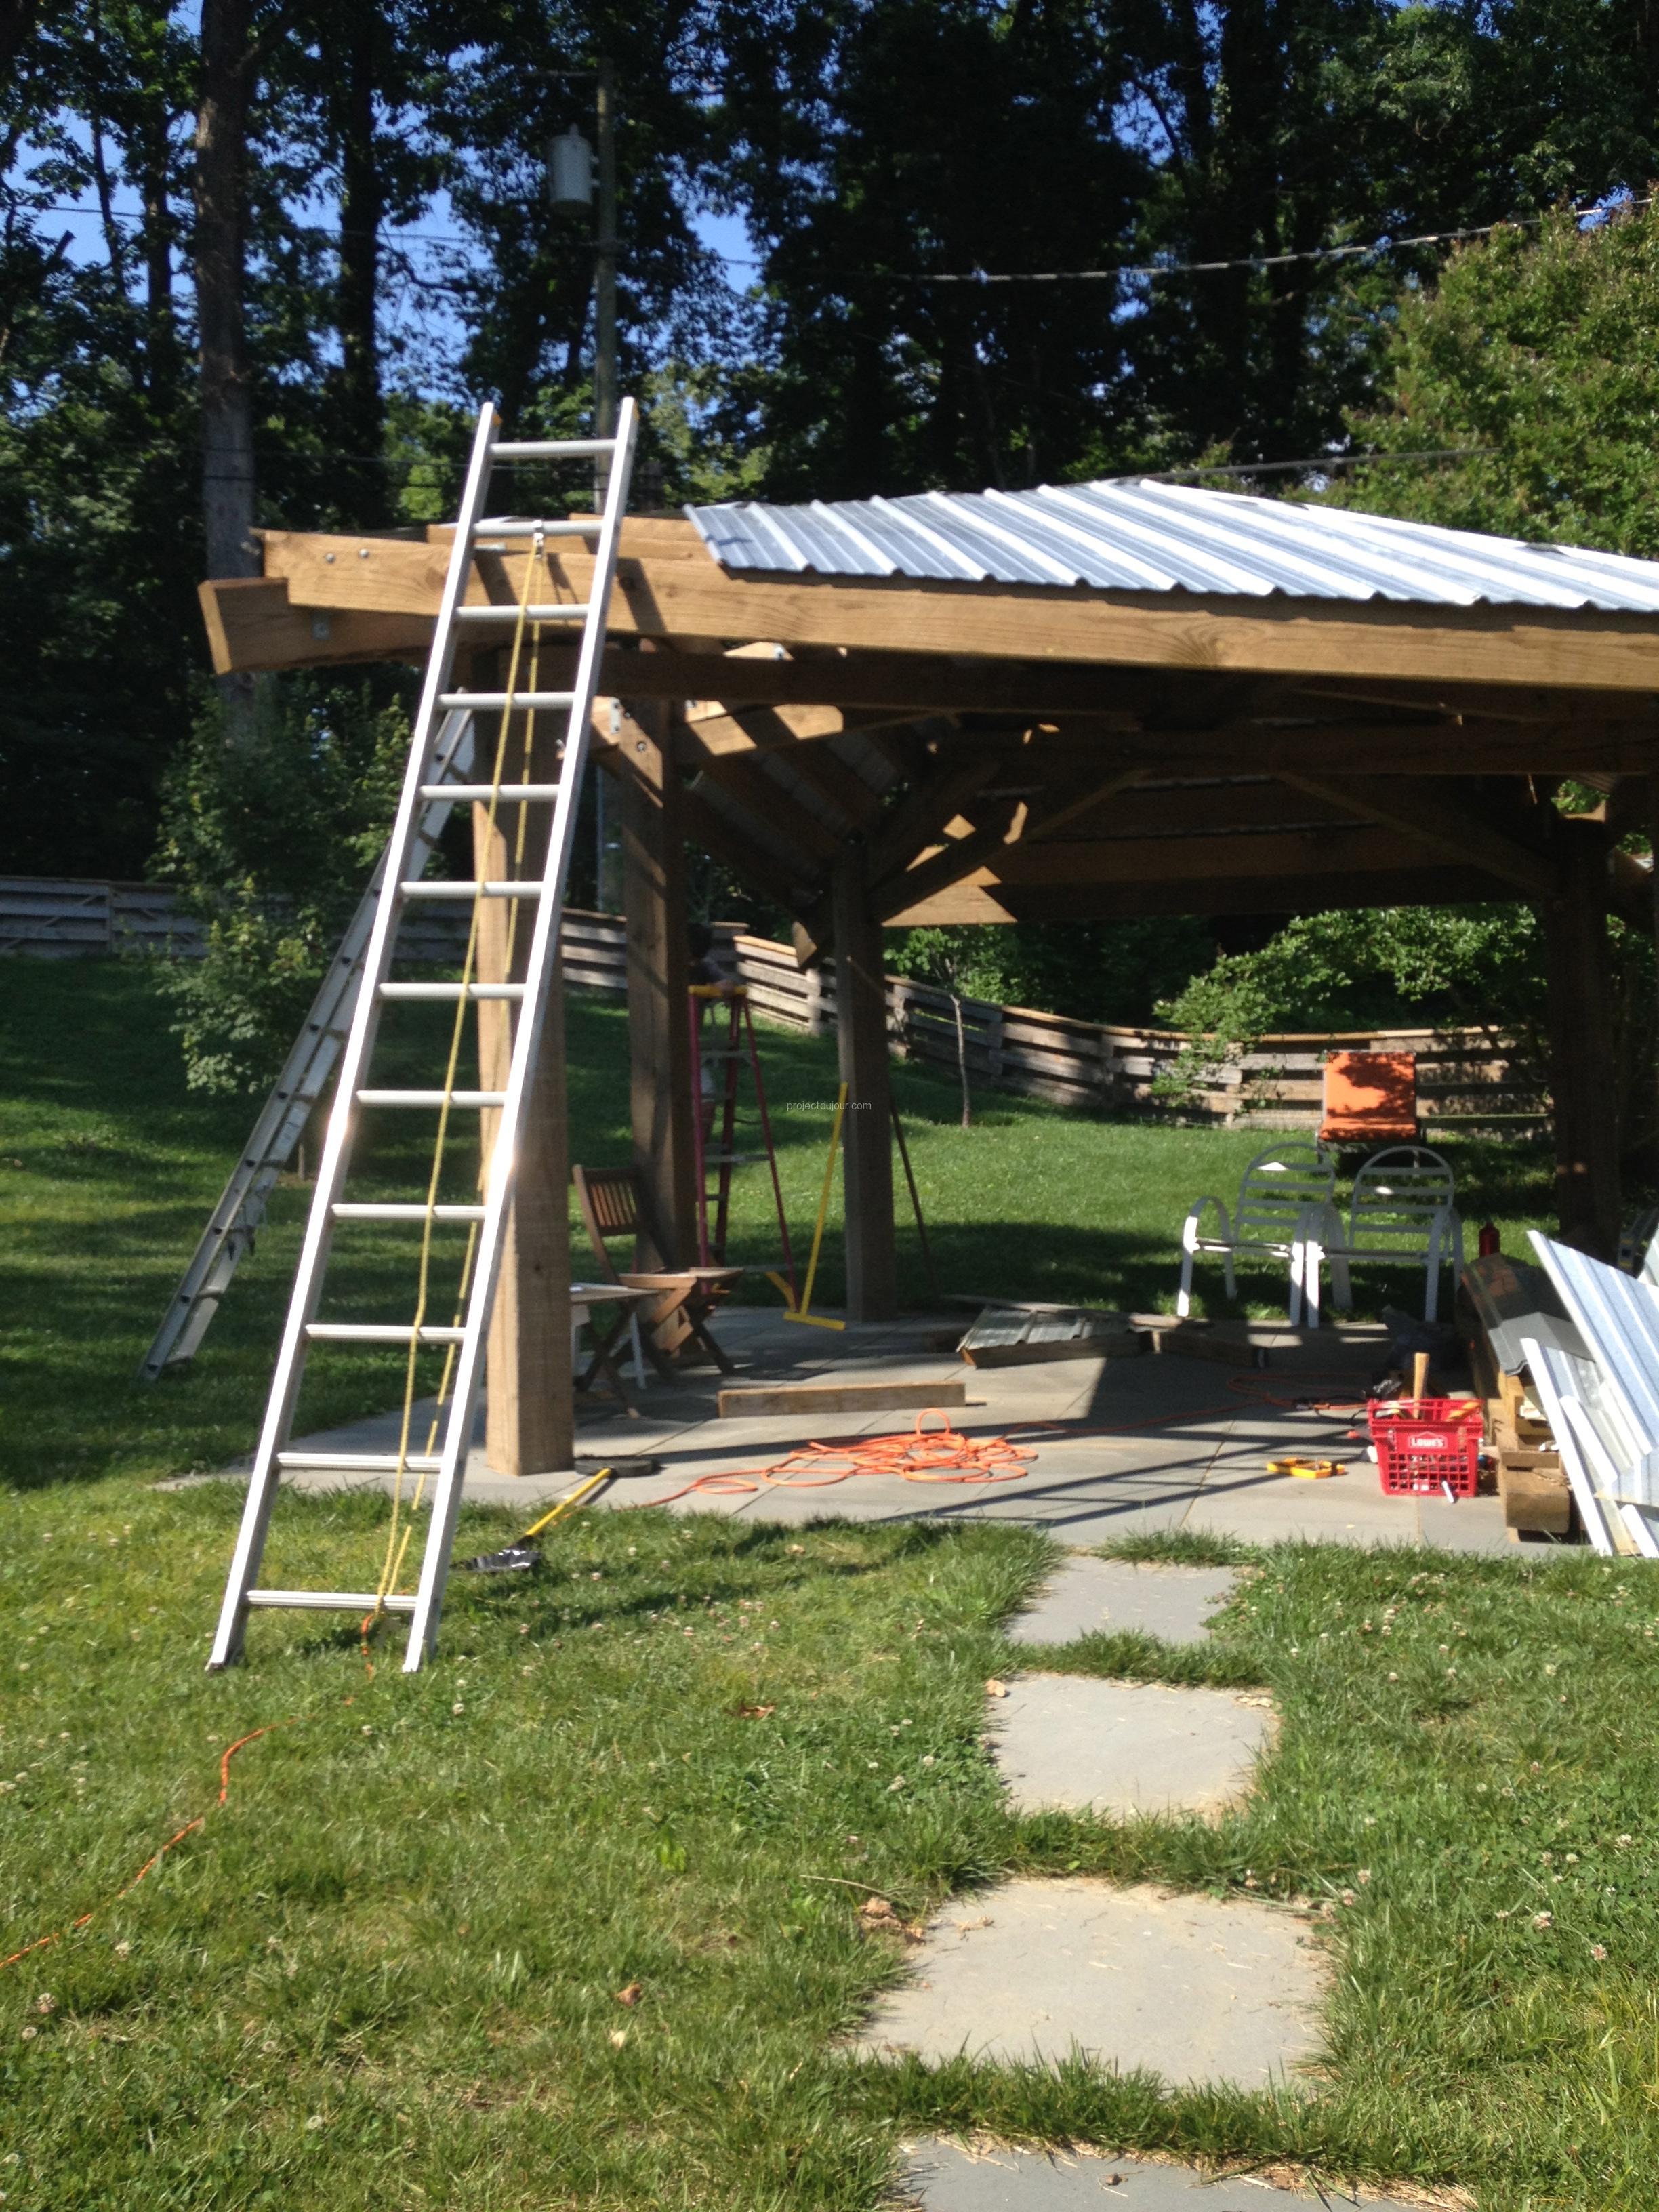

The top is not fantastic but it’s not too visible from the ground.
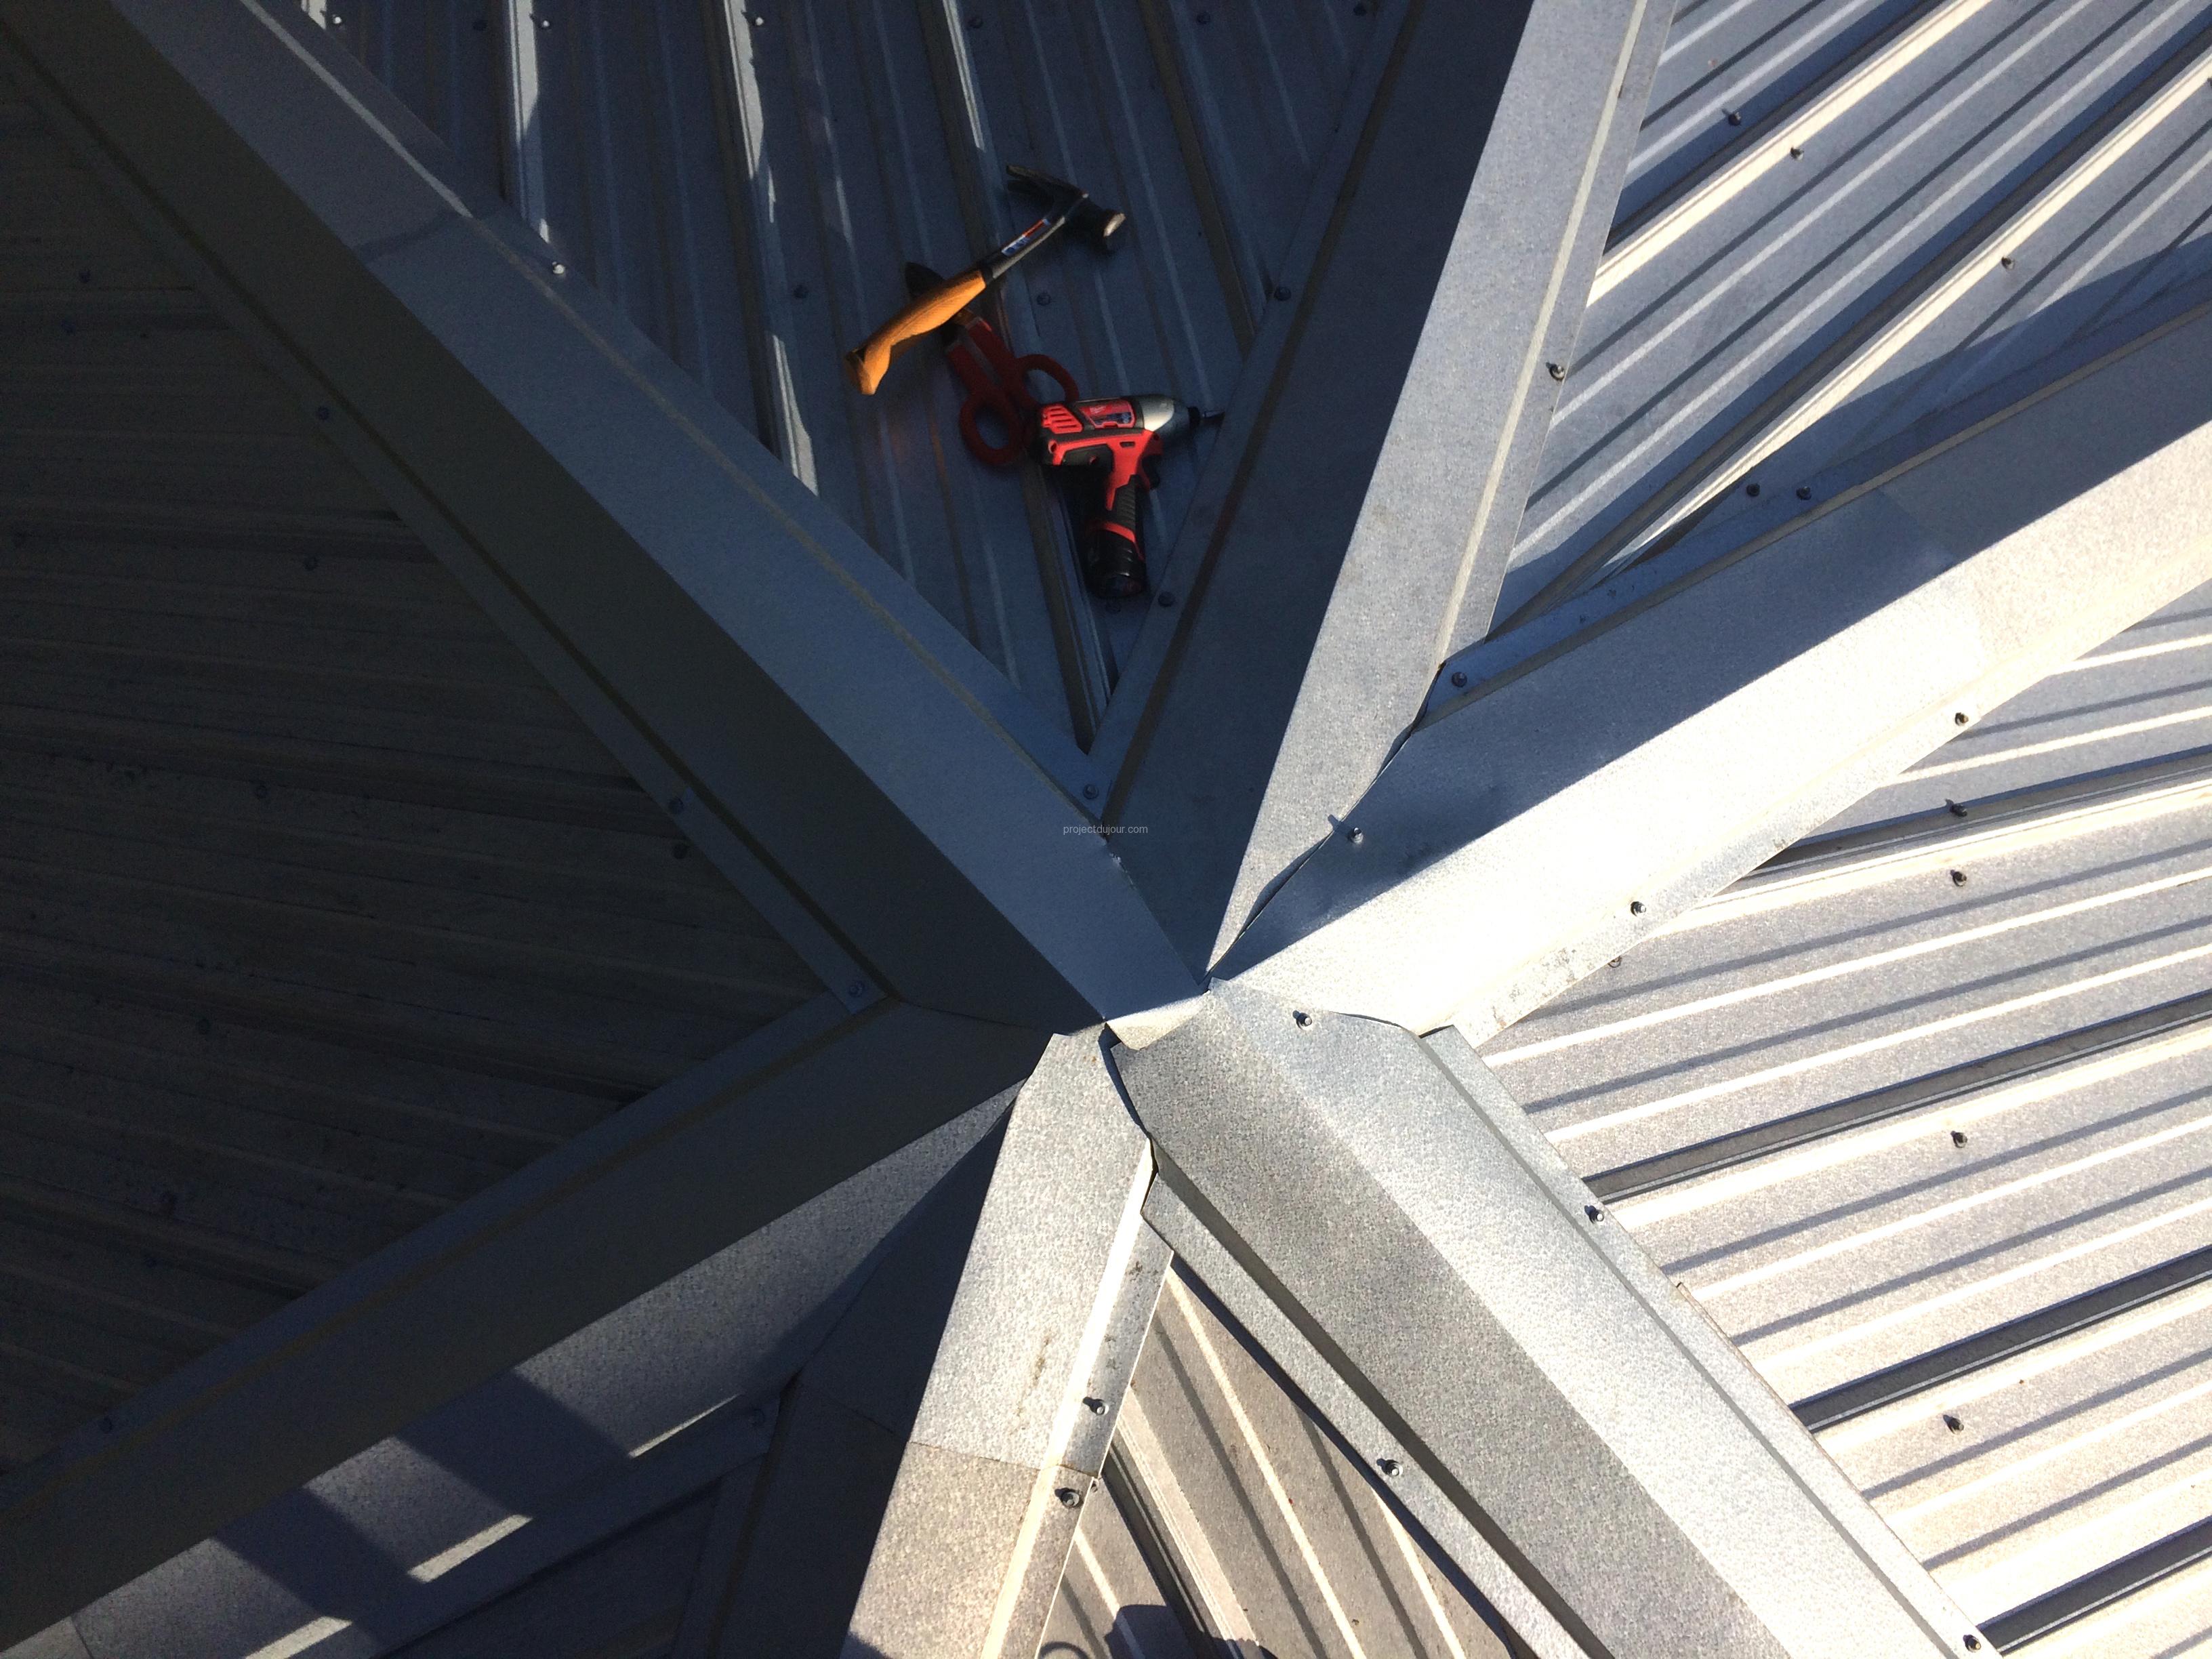
Ridges, it’s a good thing galvanized steel can be bent into whatever shape
That’s it. Never again. The main thing I would do differently (besides not doing it at all), would be to use a proper CAD software to figure out all the dimensions and cuts. It would have greatly simplified the design of all the brackets I needed.
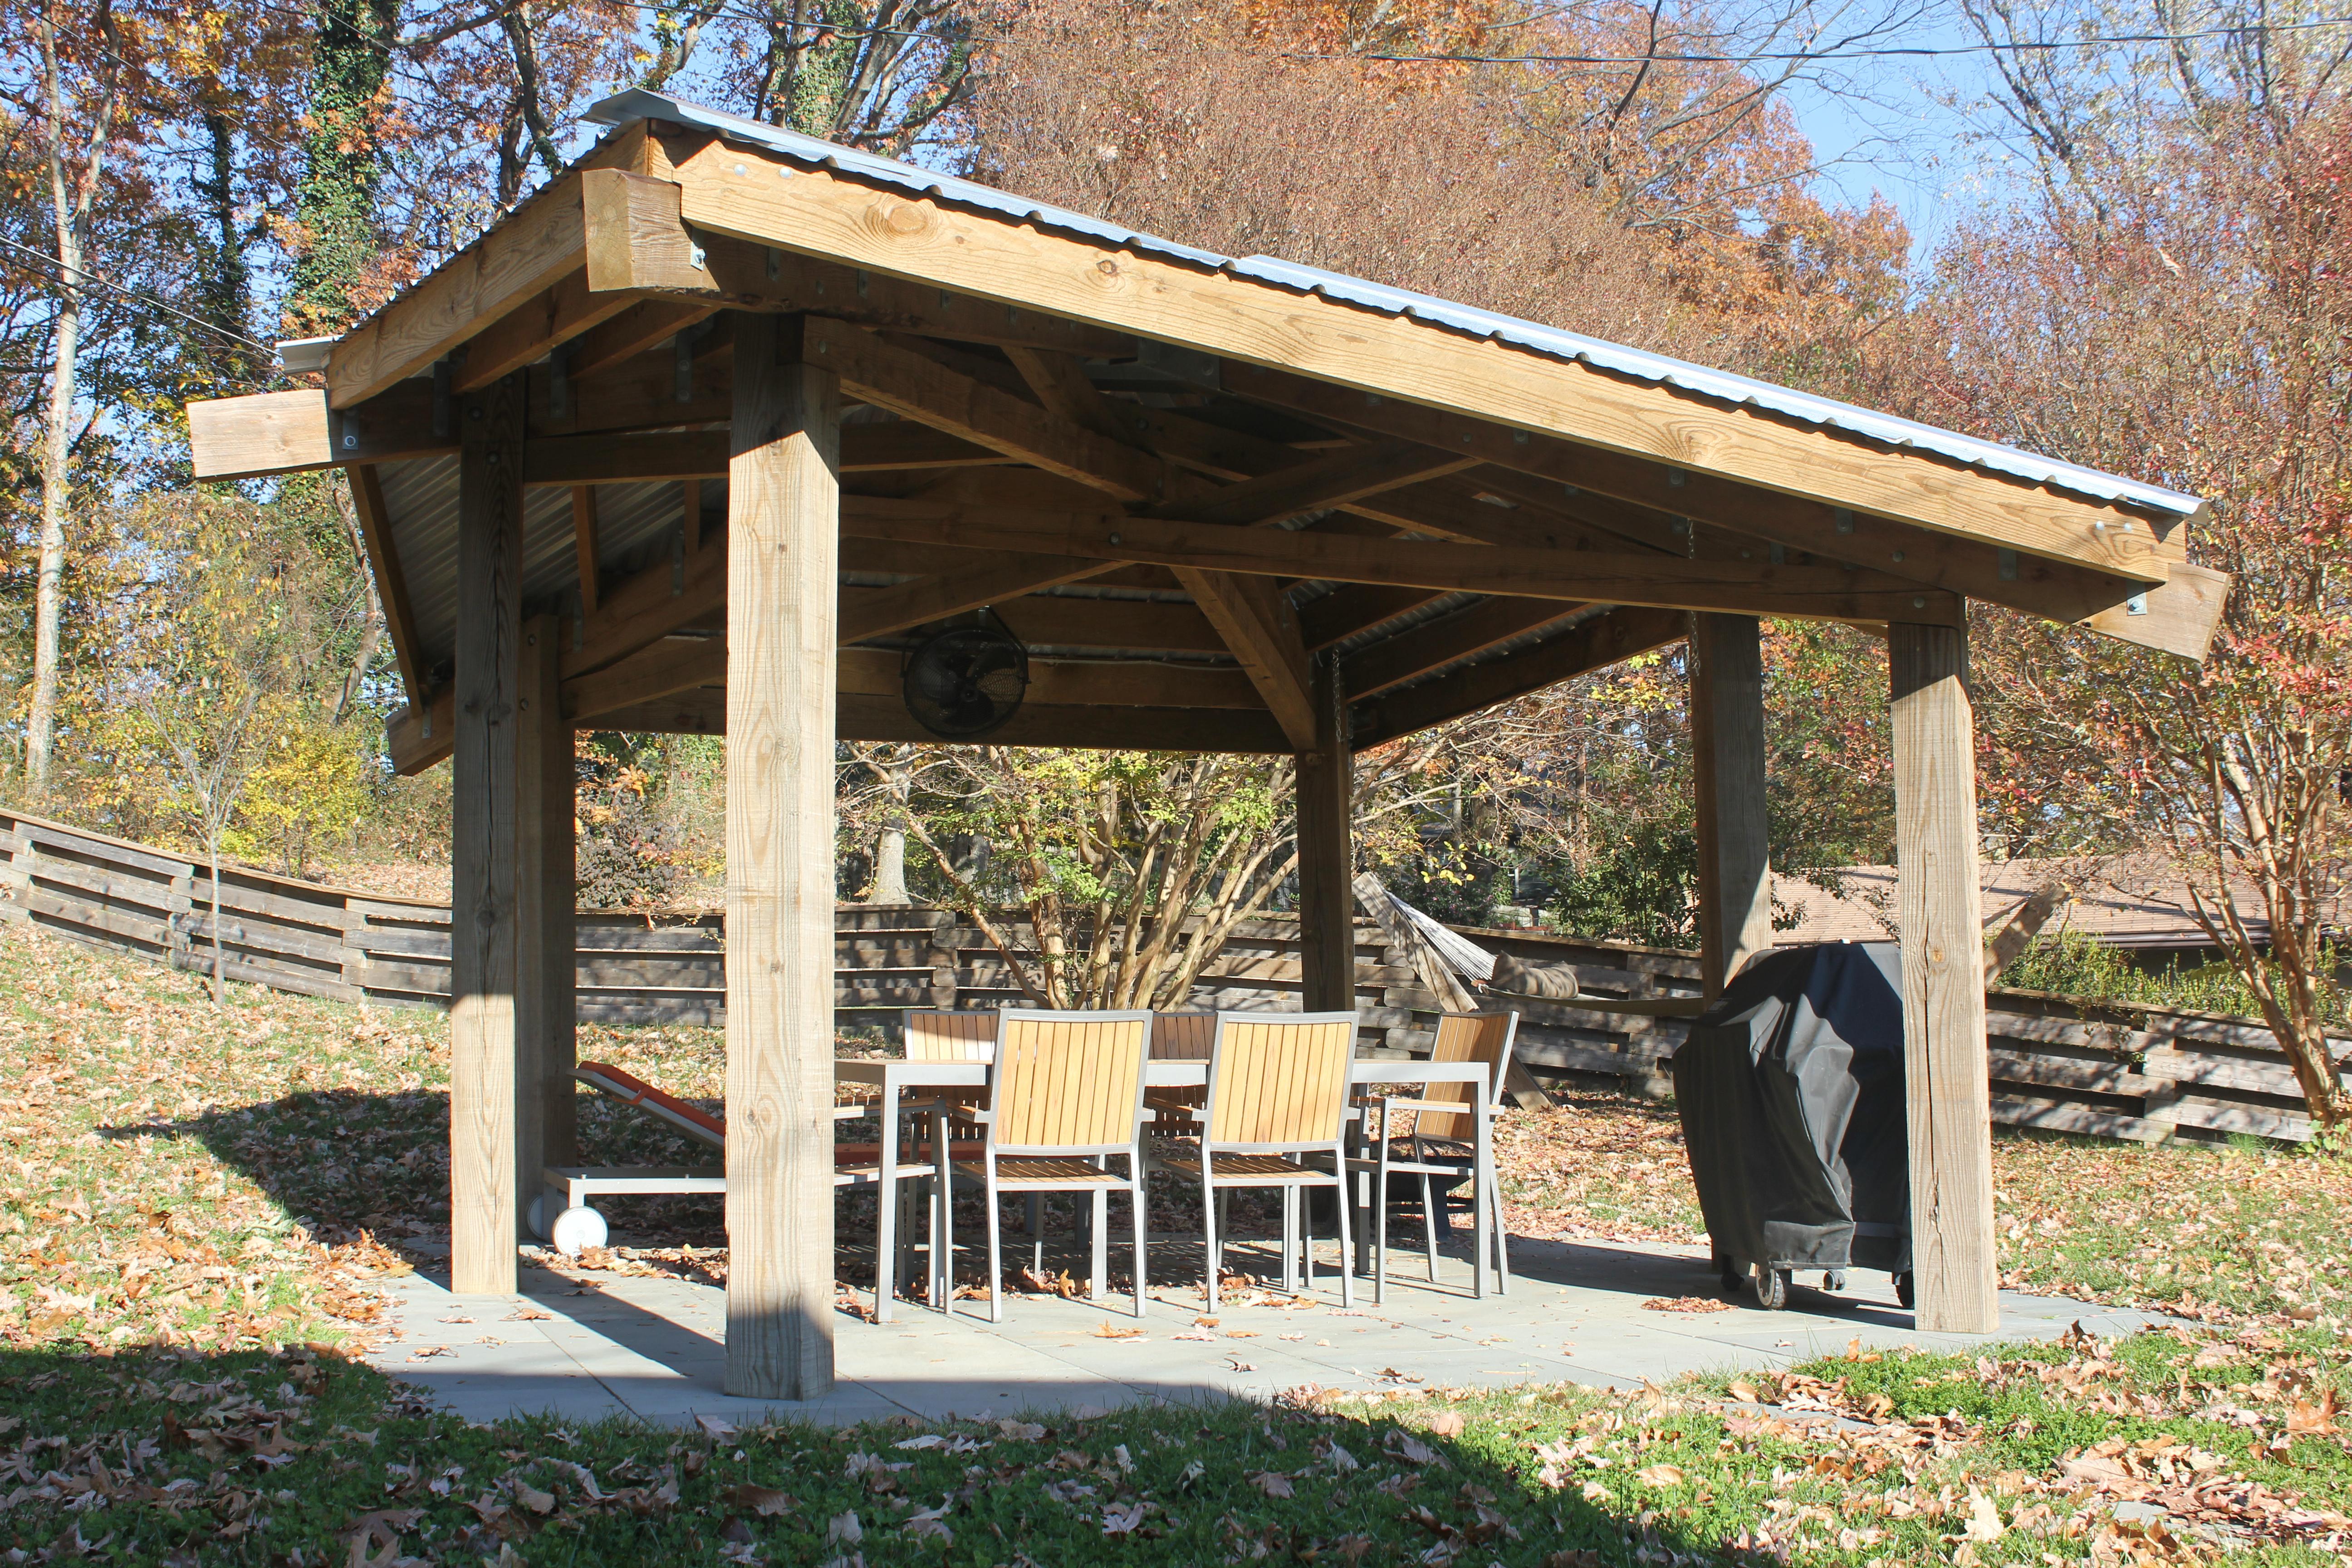

Later on I added a couple of fans and some lights.
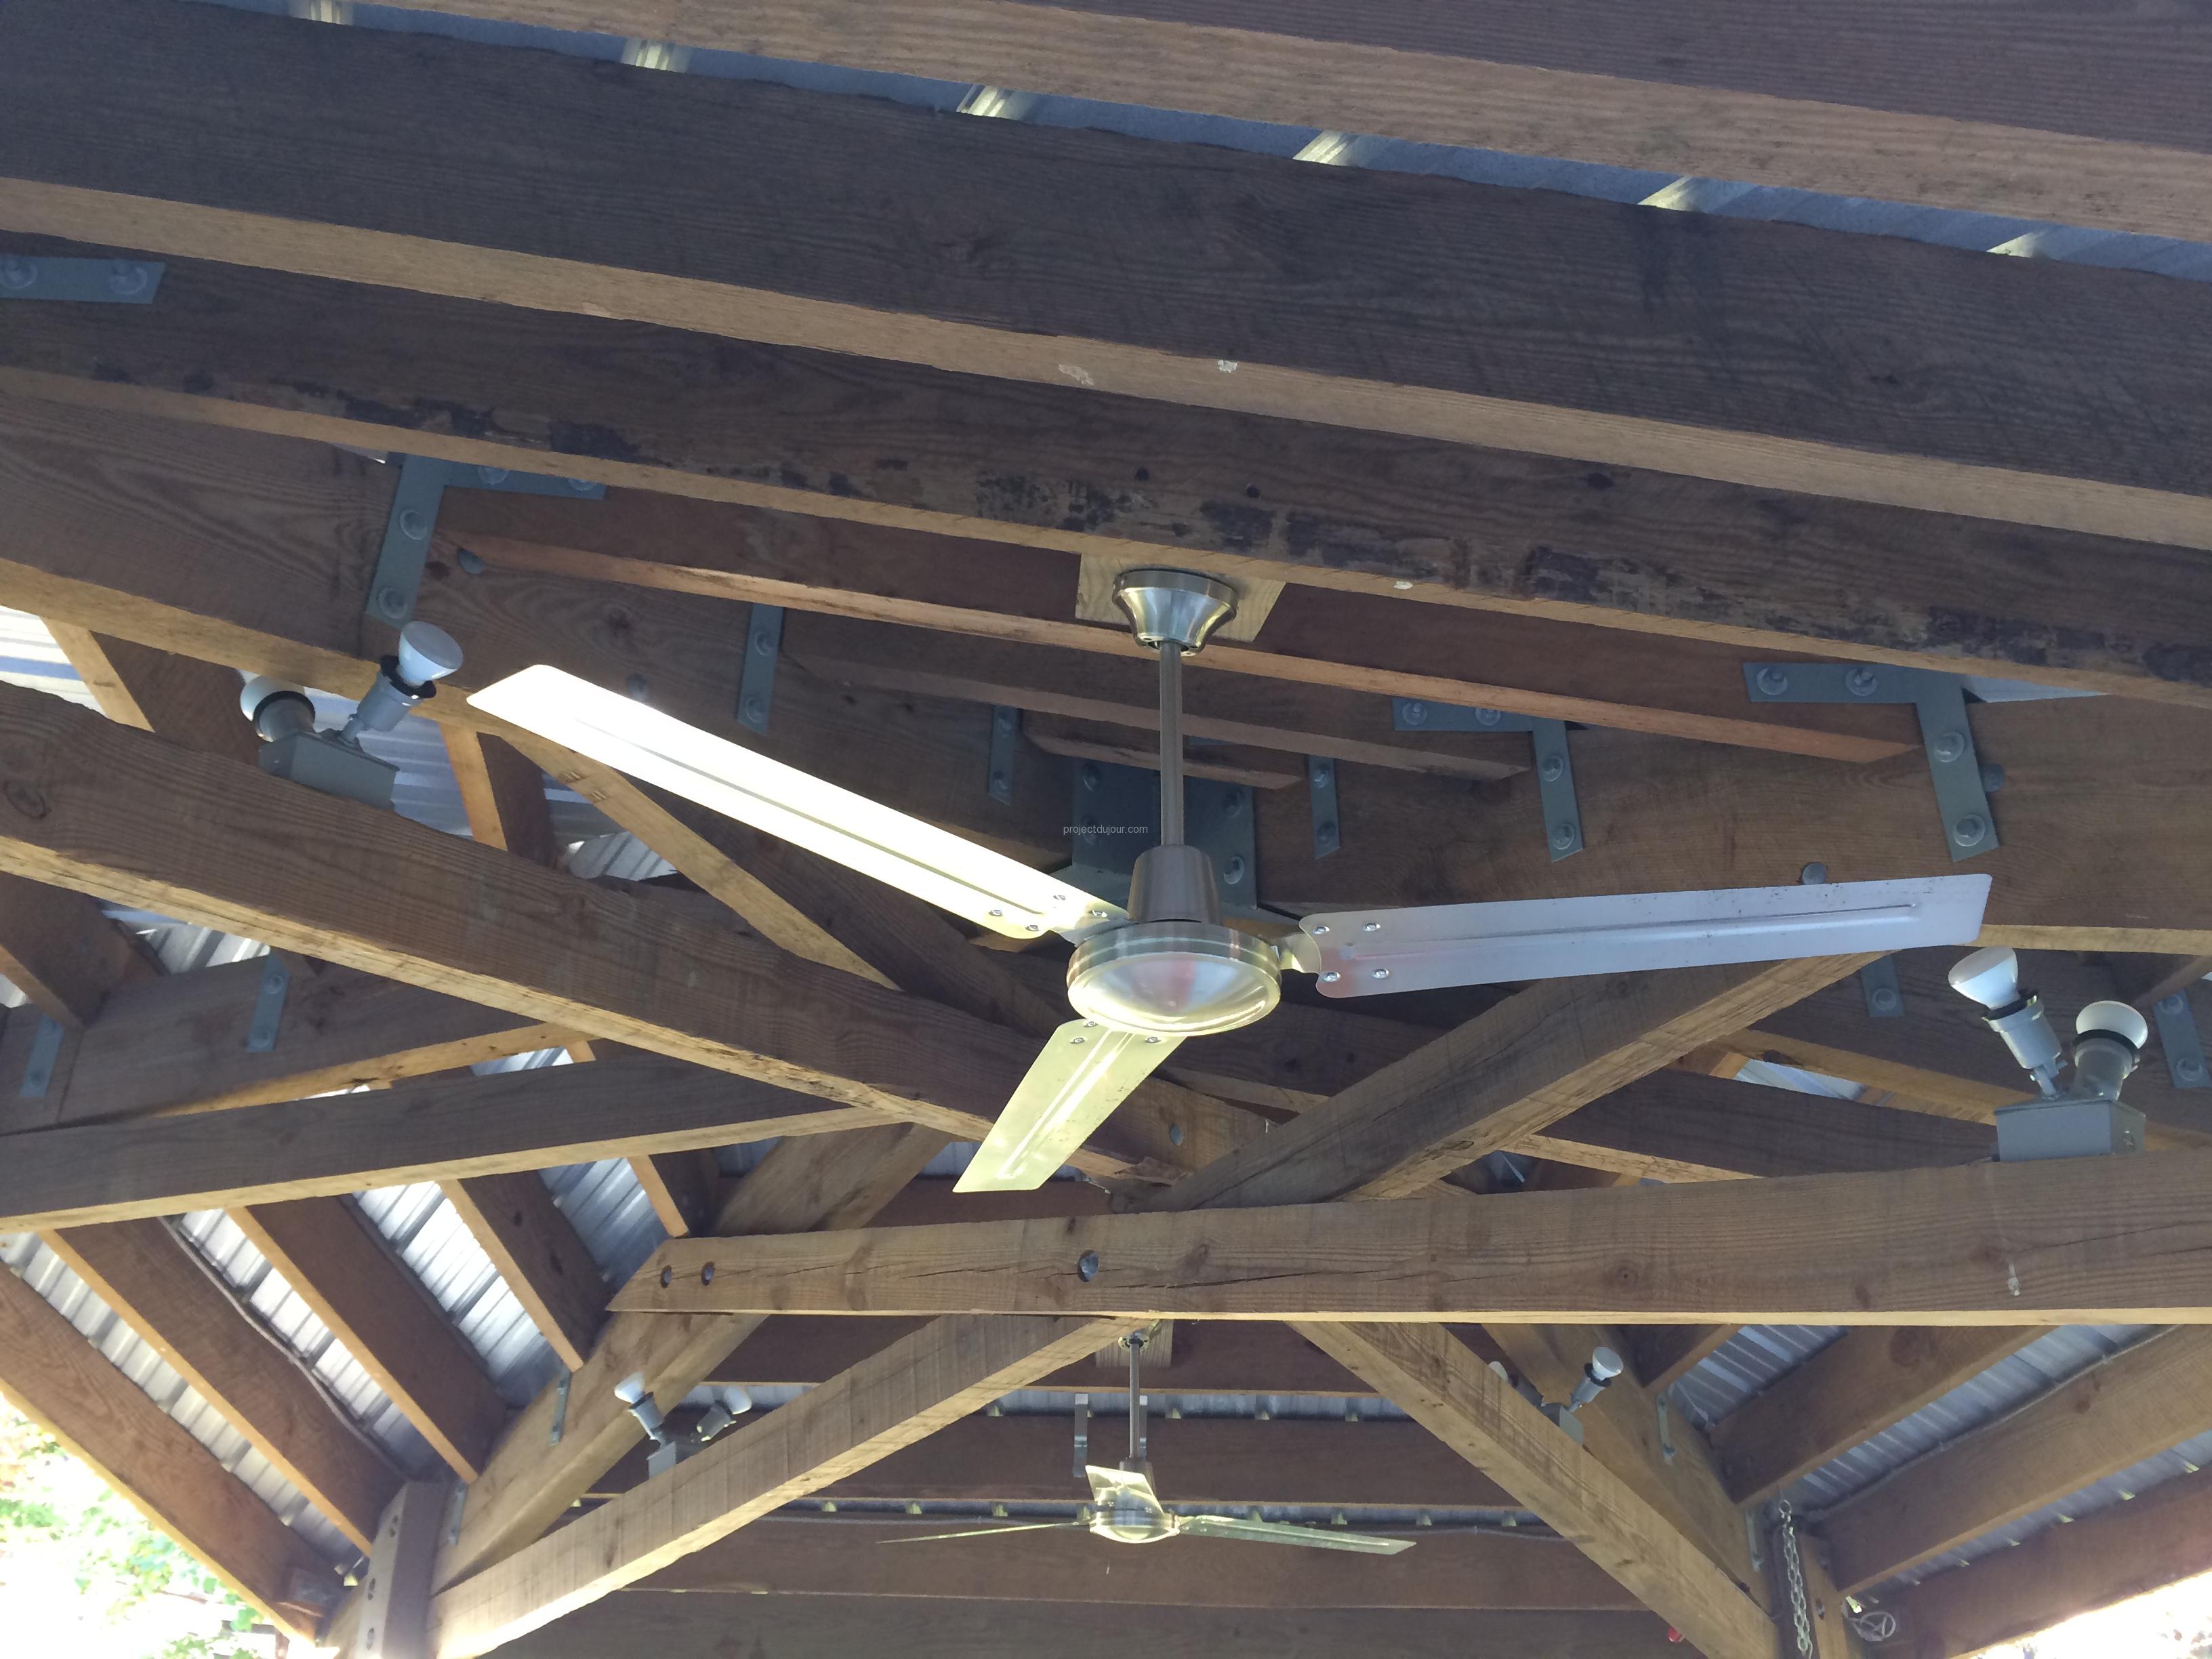
Ceiling fans and lights
