
I have a pair of speakers that have been sitting on the floor for many years. I wanted to raise them a bit so they wouldn’t get dinged when I vacuum, to improve the look and hopefully get a better sound. There are many speaker stands available but I wanted to play with a recently bought dowel jig so I headed to the store and bought a 6 feet oak board.
The speakers are about 11″ 1/2 deep so a 12″ standard board was perfect. The speaker stands are simple boxes, the height and width are 9″ 1/4 to match the speakers width. I cut all the pieces to length using a miter saw. For the dowels, I used a jig from Wolfcraft (Wolfcraft 3751405 Dowel Pro Doweling Jig Kit). I read the instructions and kept being confused so I designed my own strategy. To get started, I used some masking tape on all the pieces to mark the front edges of the pieces and label the joints. My daughter was helping and felt that numbers or letters would be boring so we ended up with flowers, stars and smileys.
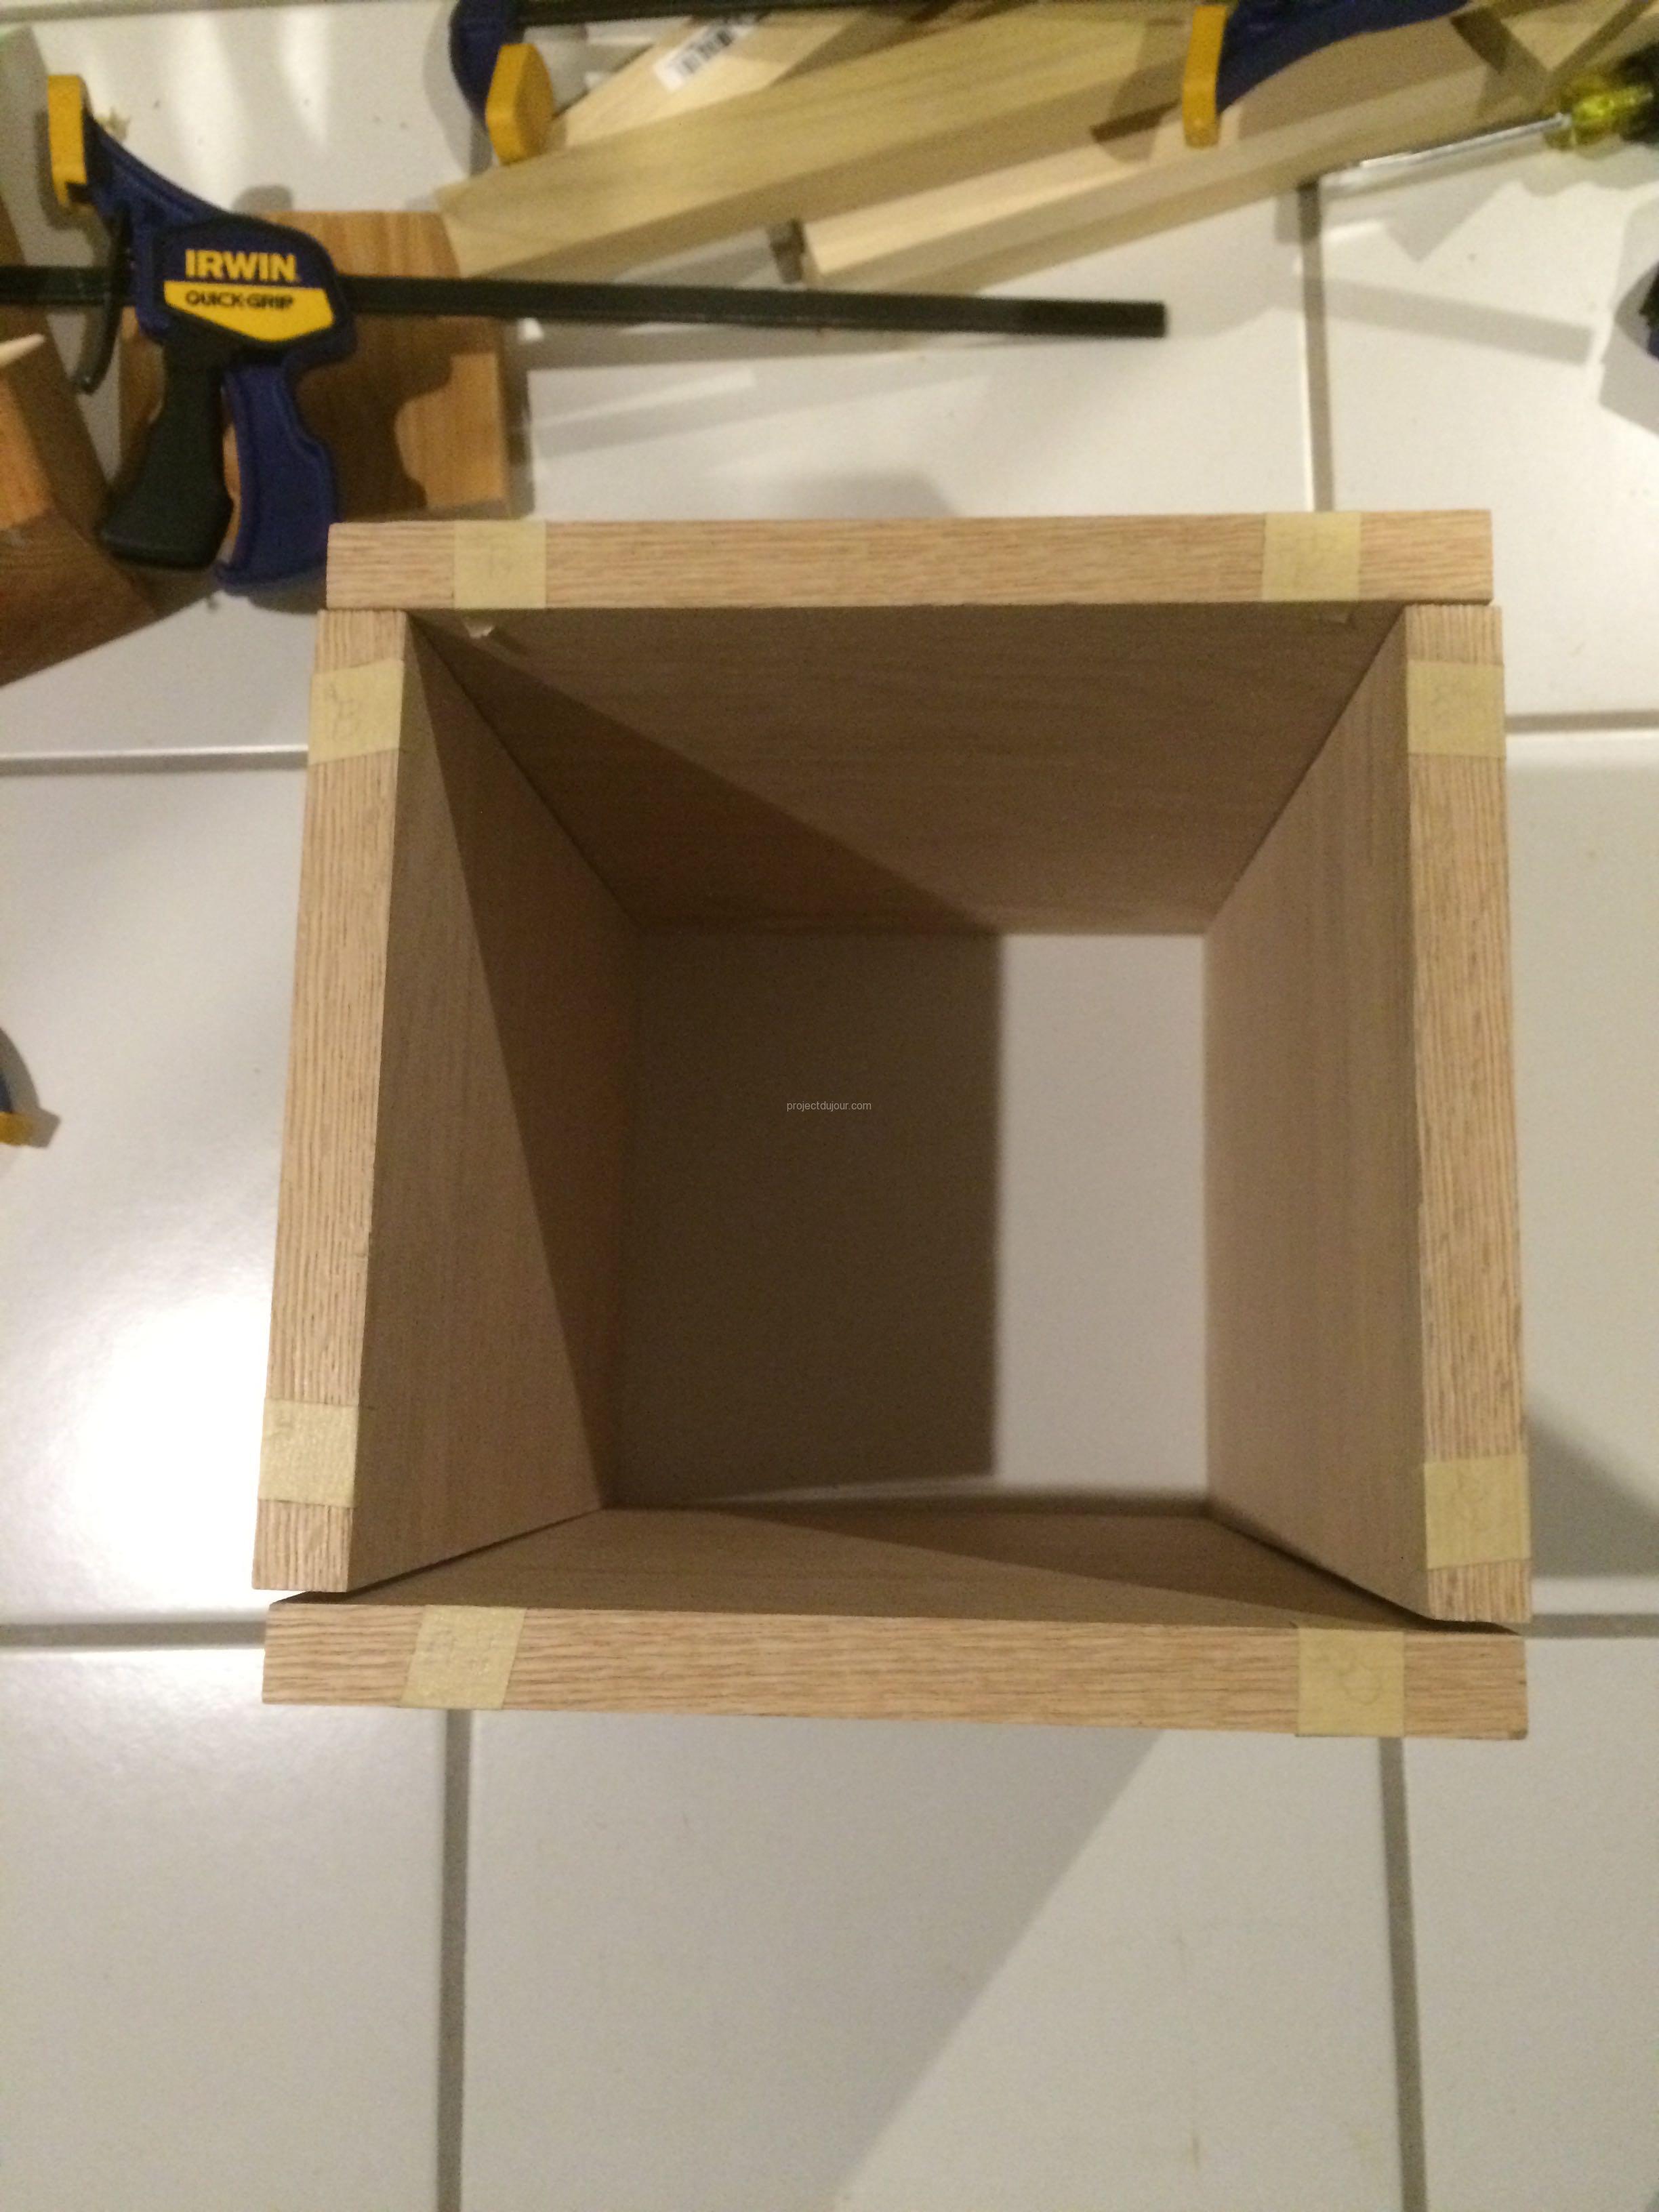
Front with labels on masking tape
Flowers are better than letters or numbers.
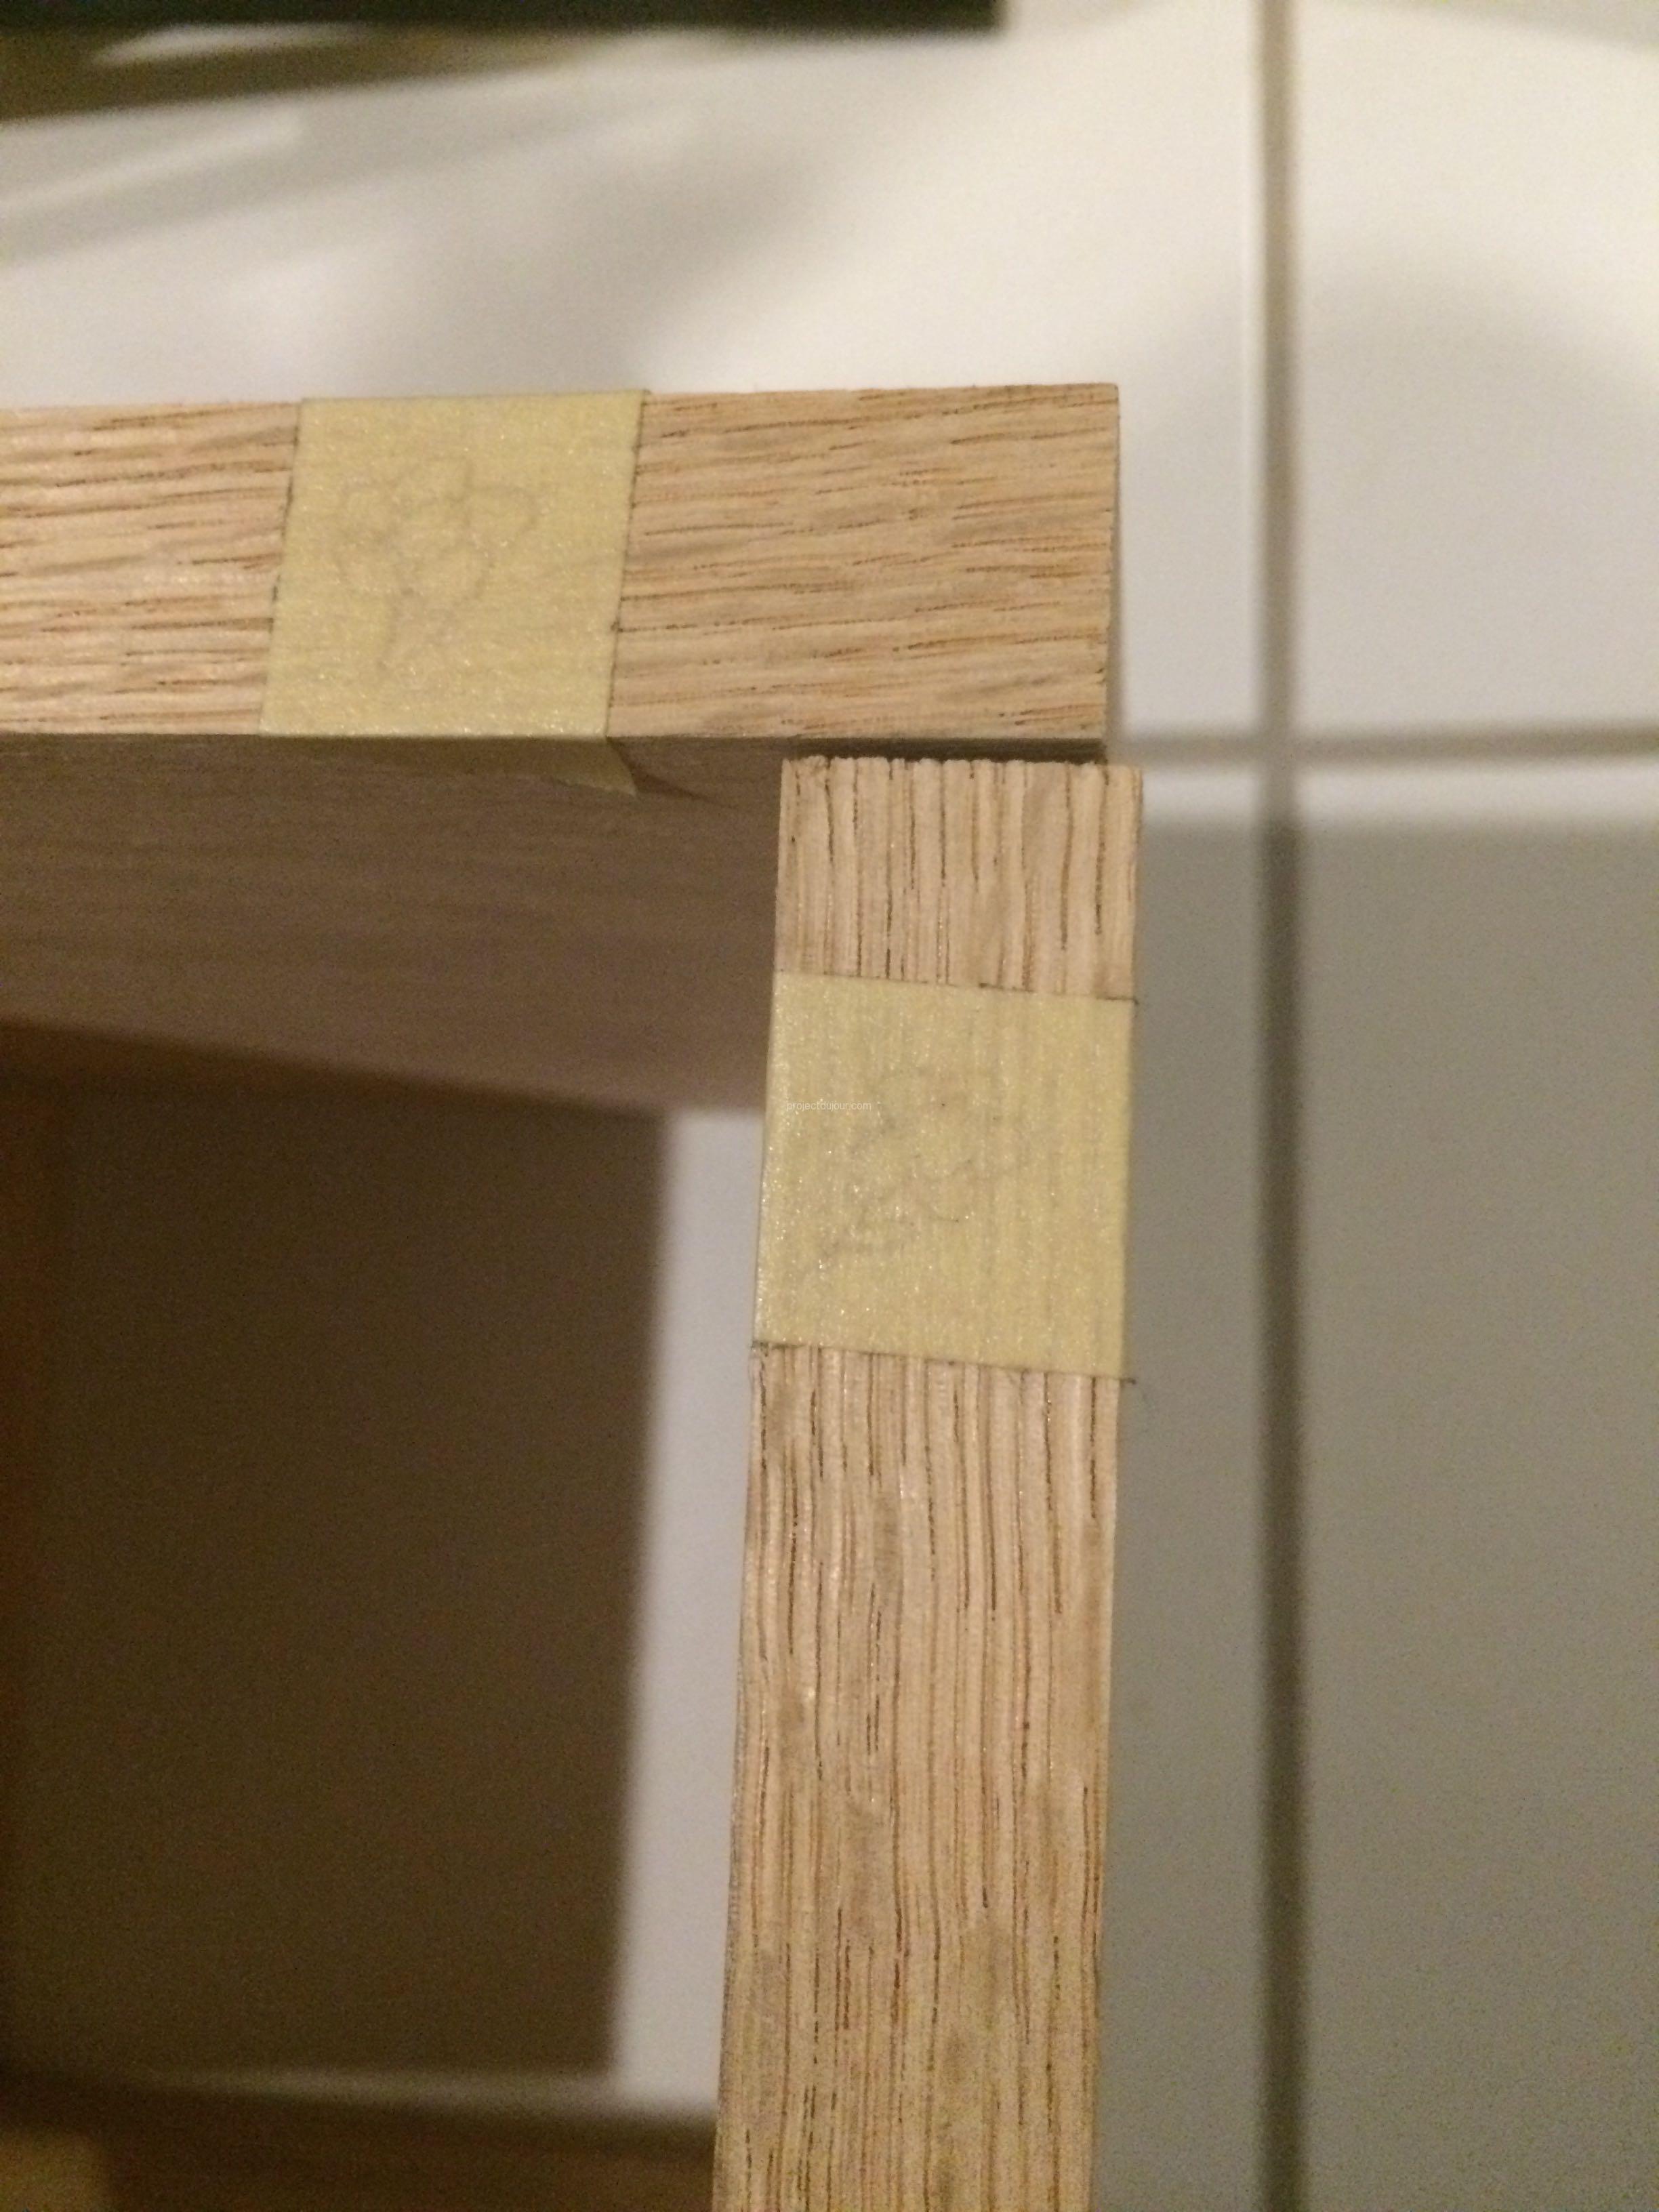
Once I had labeled the fronts, I marked the edges with a pencil, i.e. the areas that will ultimately be drilled for the dowels and glued together.
Marking the edges to be drilled and glues
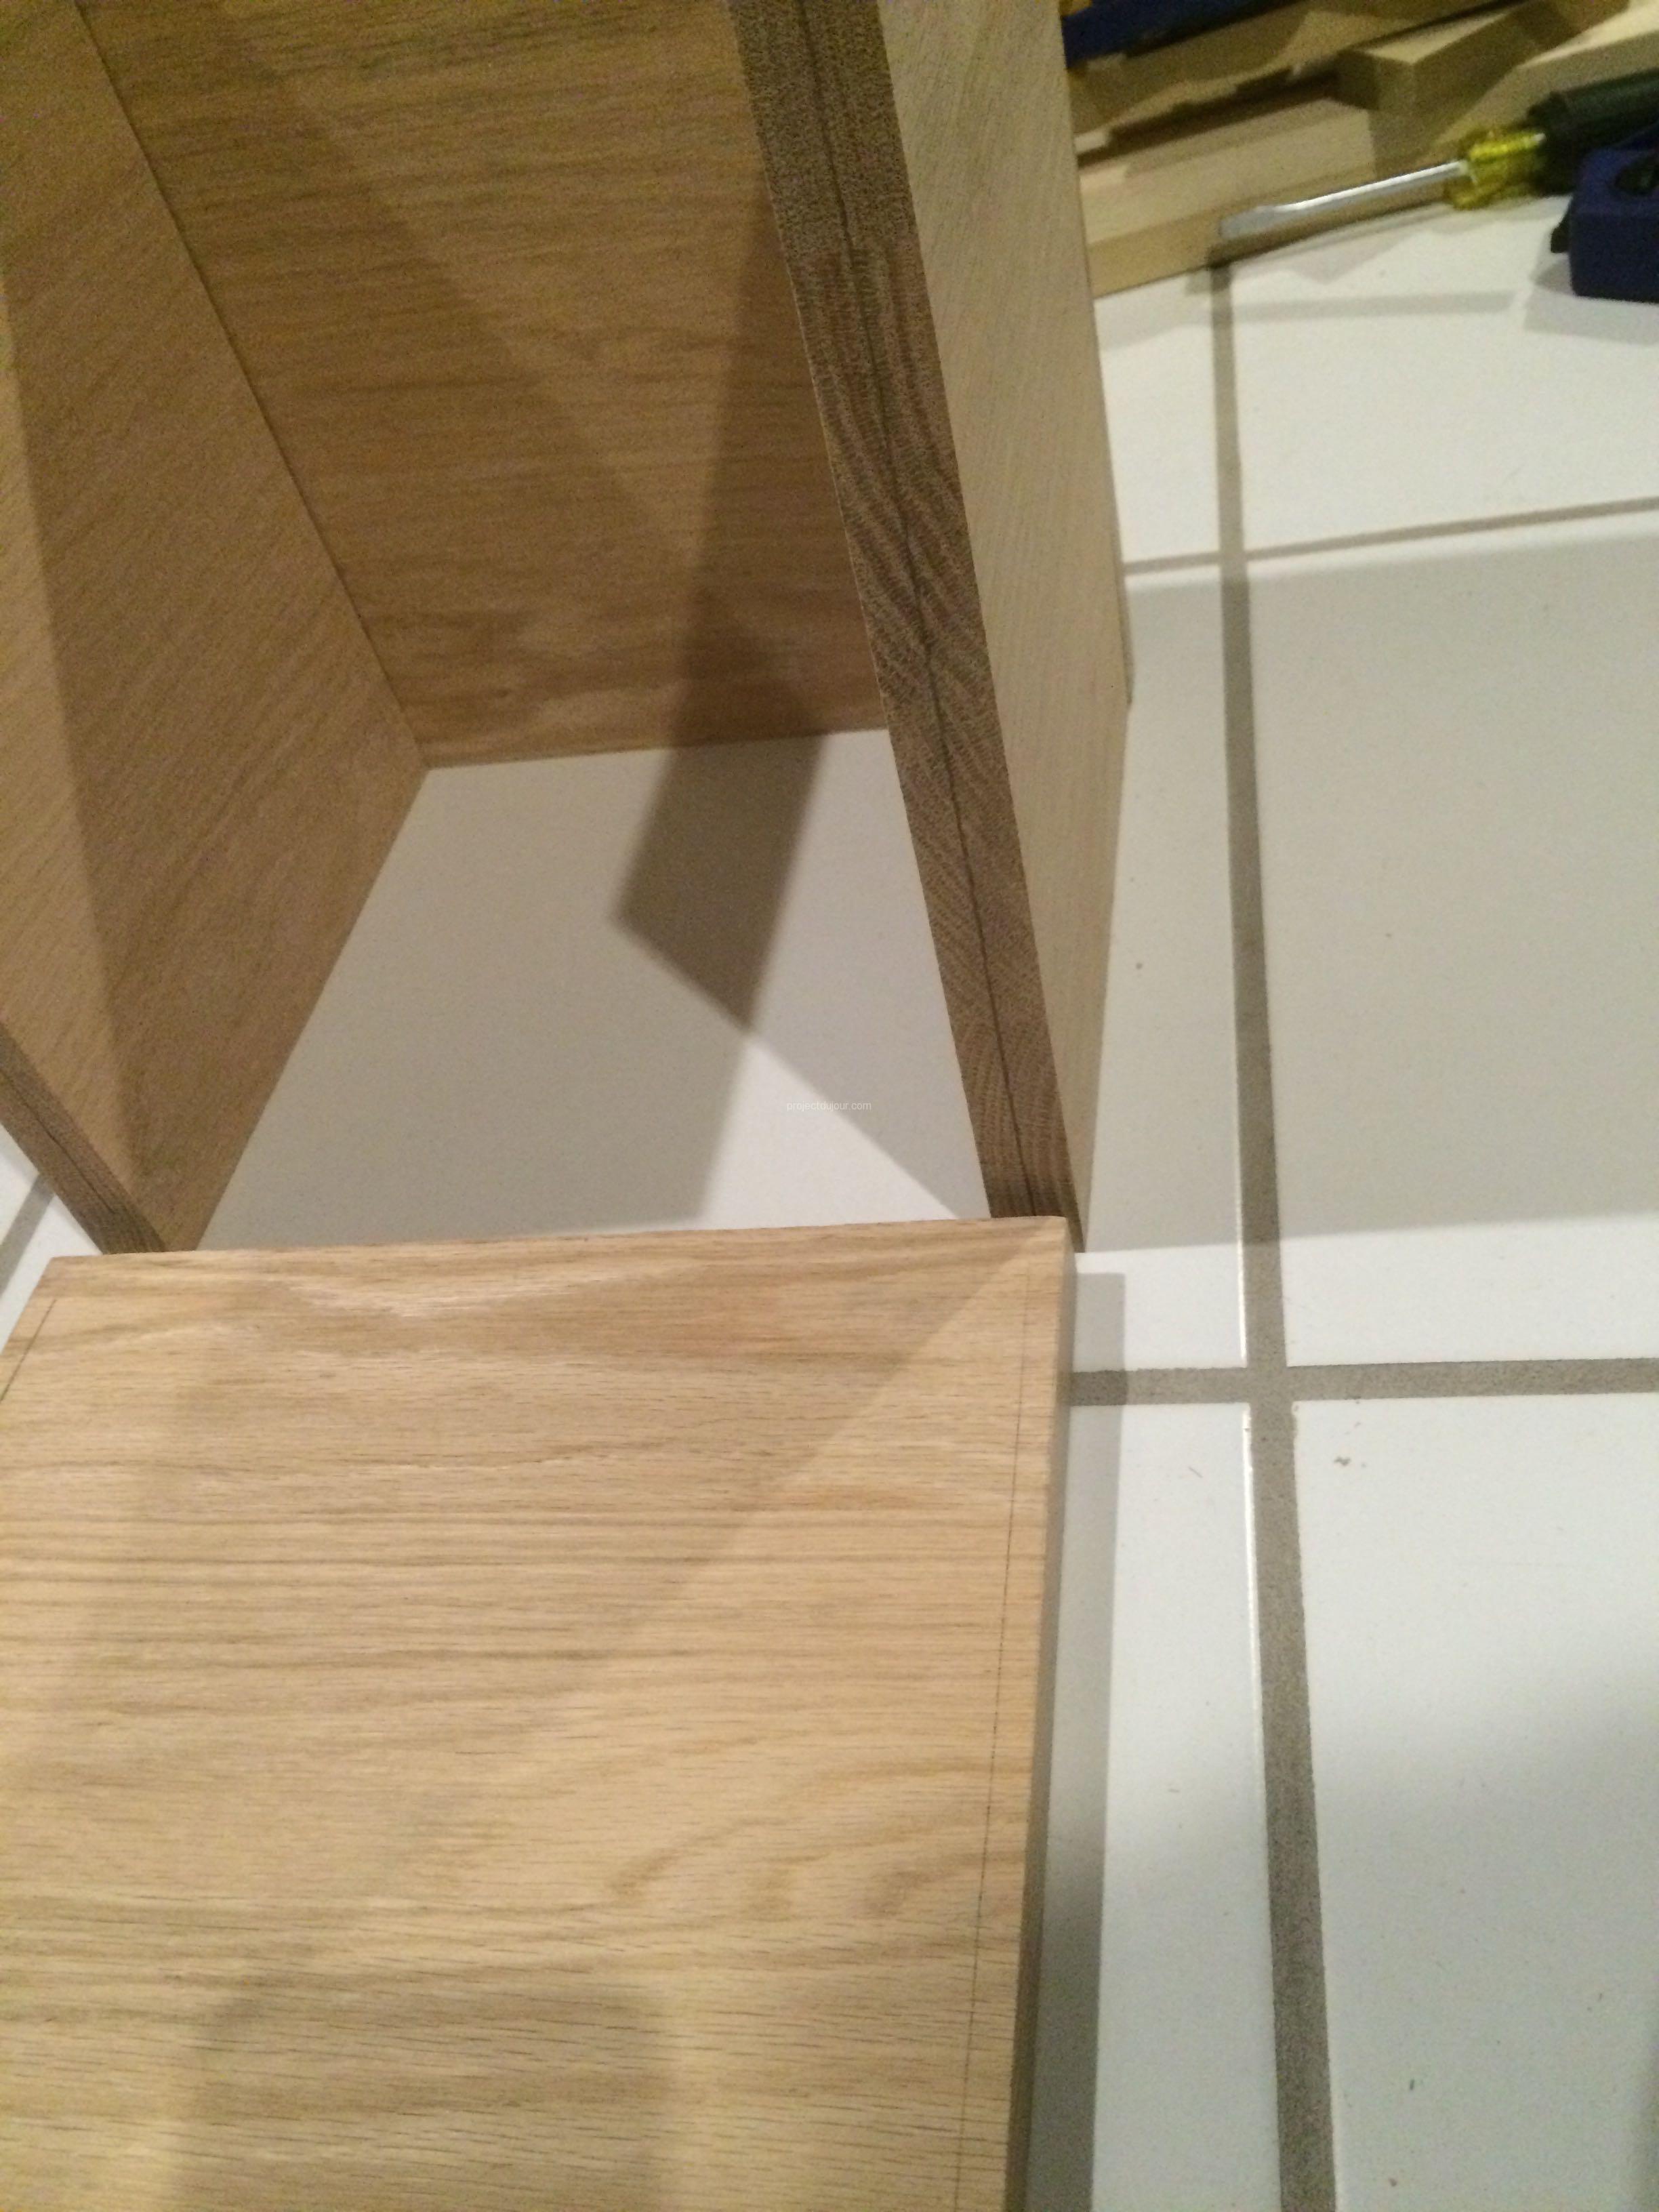
The main trick for the dowel jig is to present the two joining wood pieces together and then “open up” the joint by rotating one of the pieces by 180 degrees.
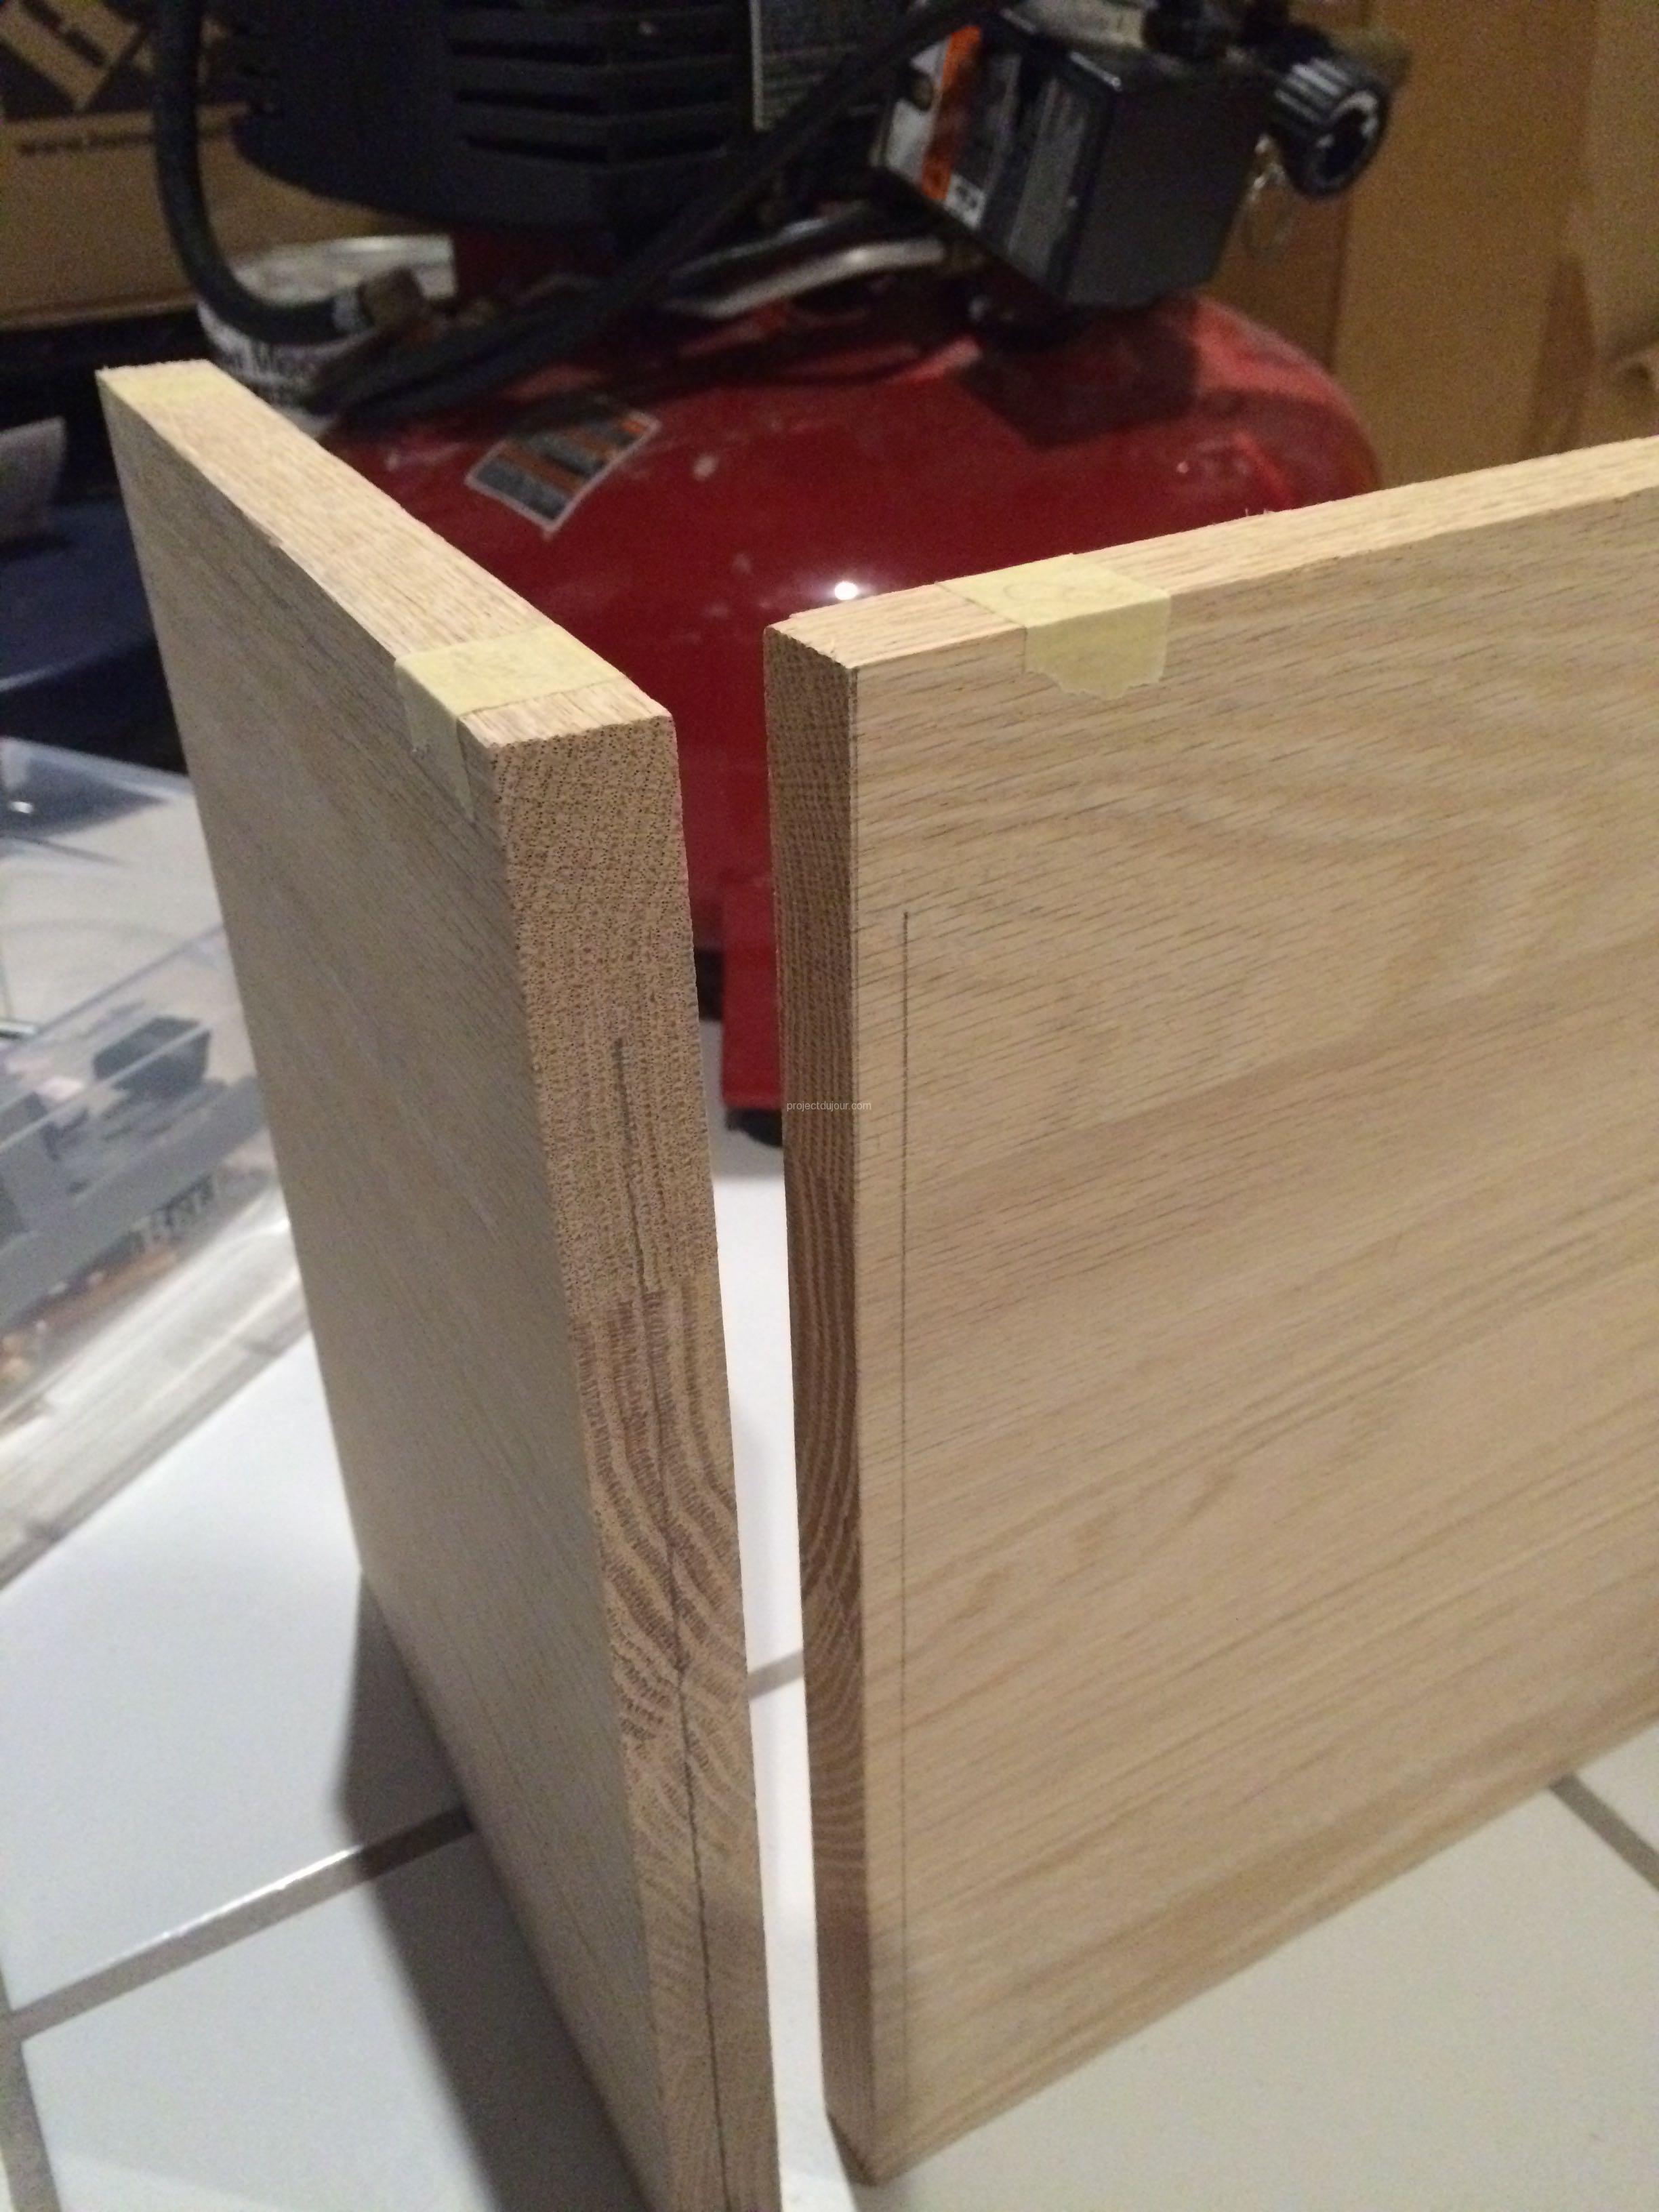
Pieces to be joined, one piece rotated 180 degrees
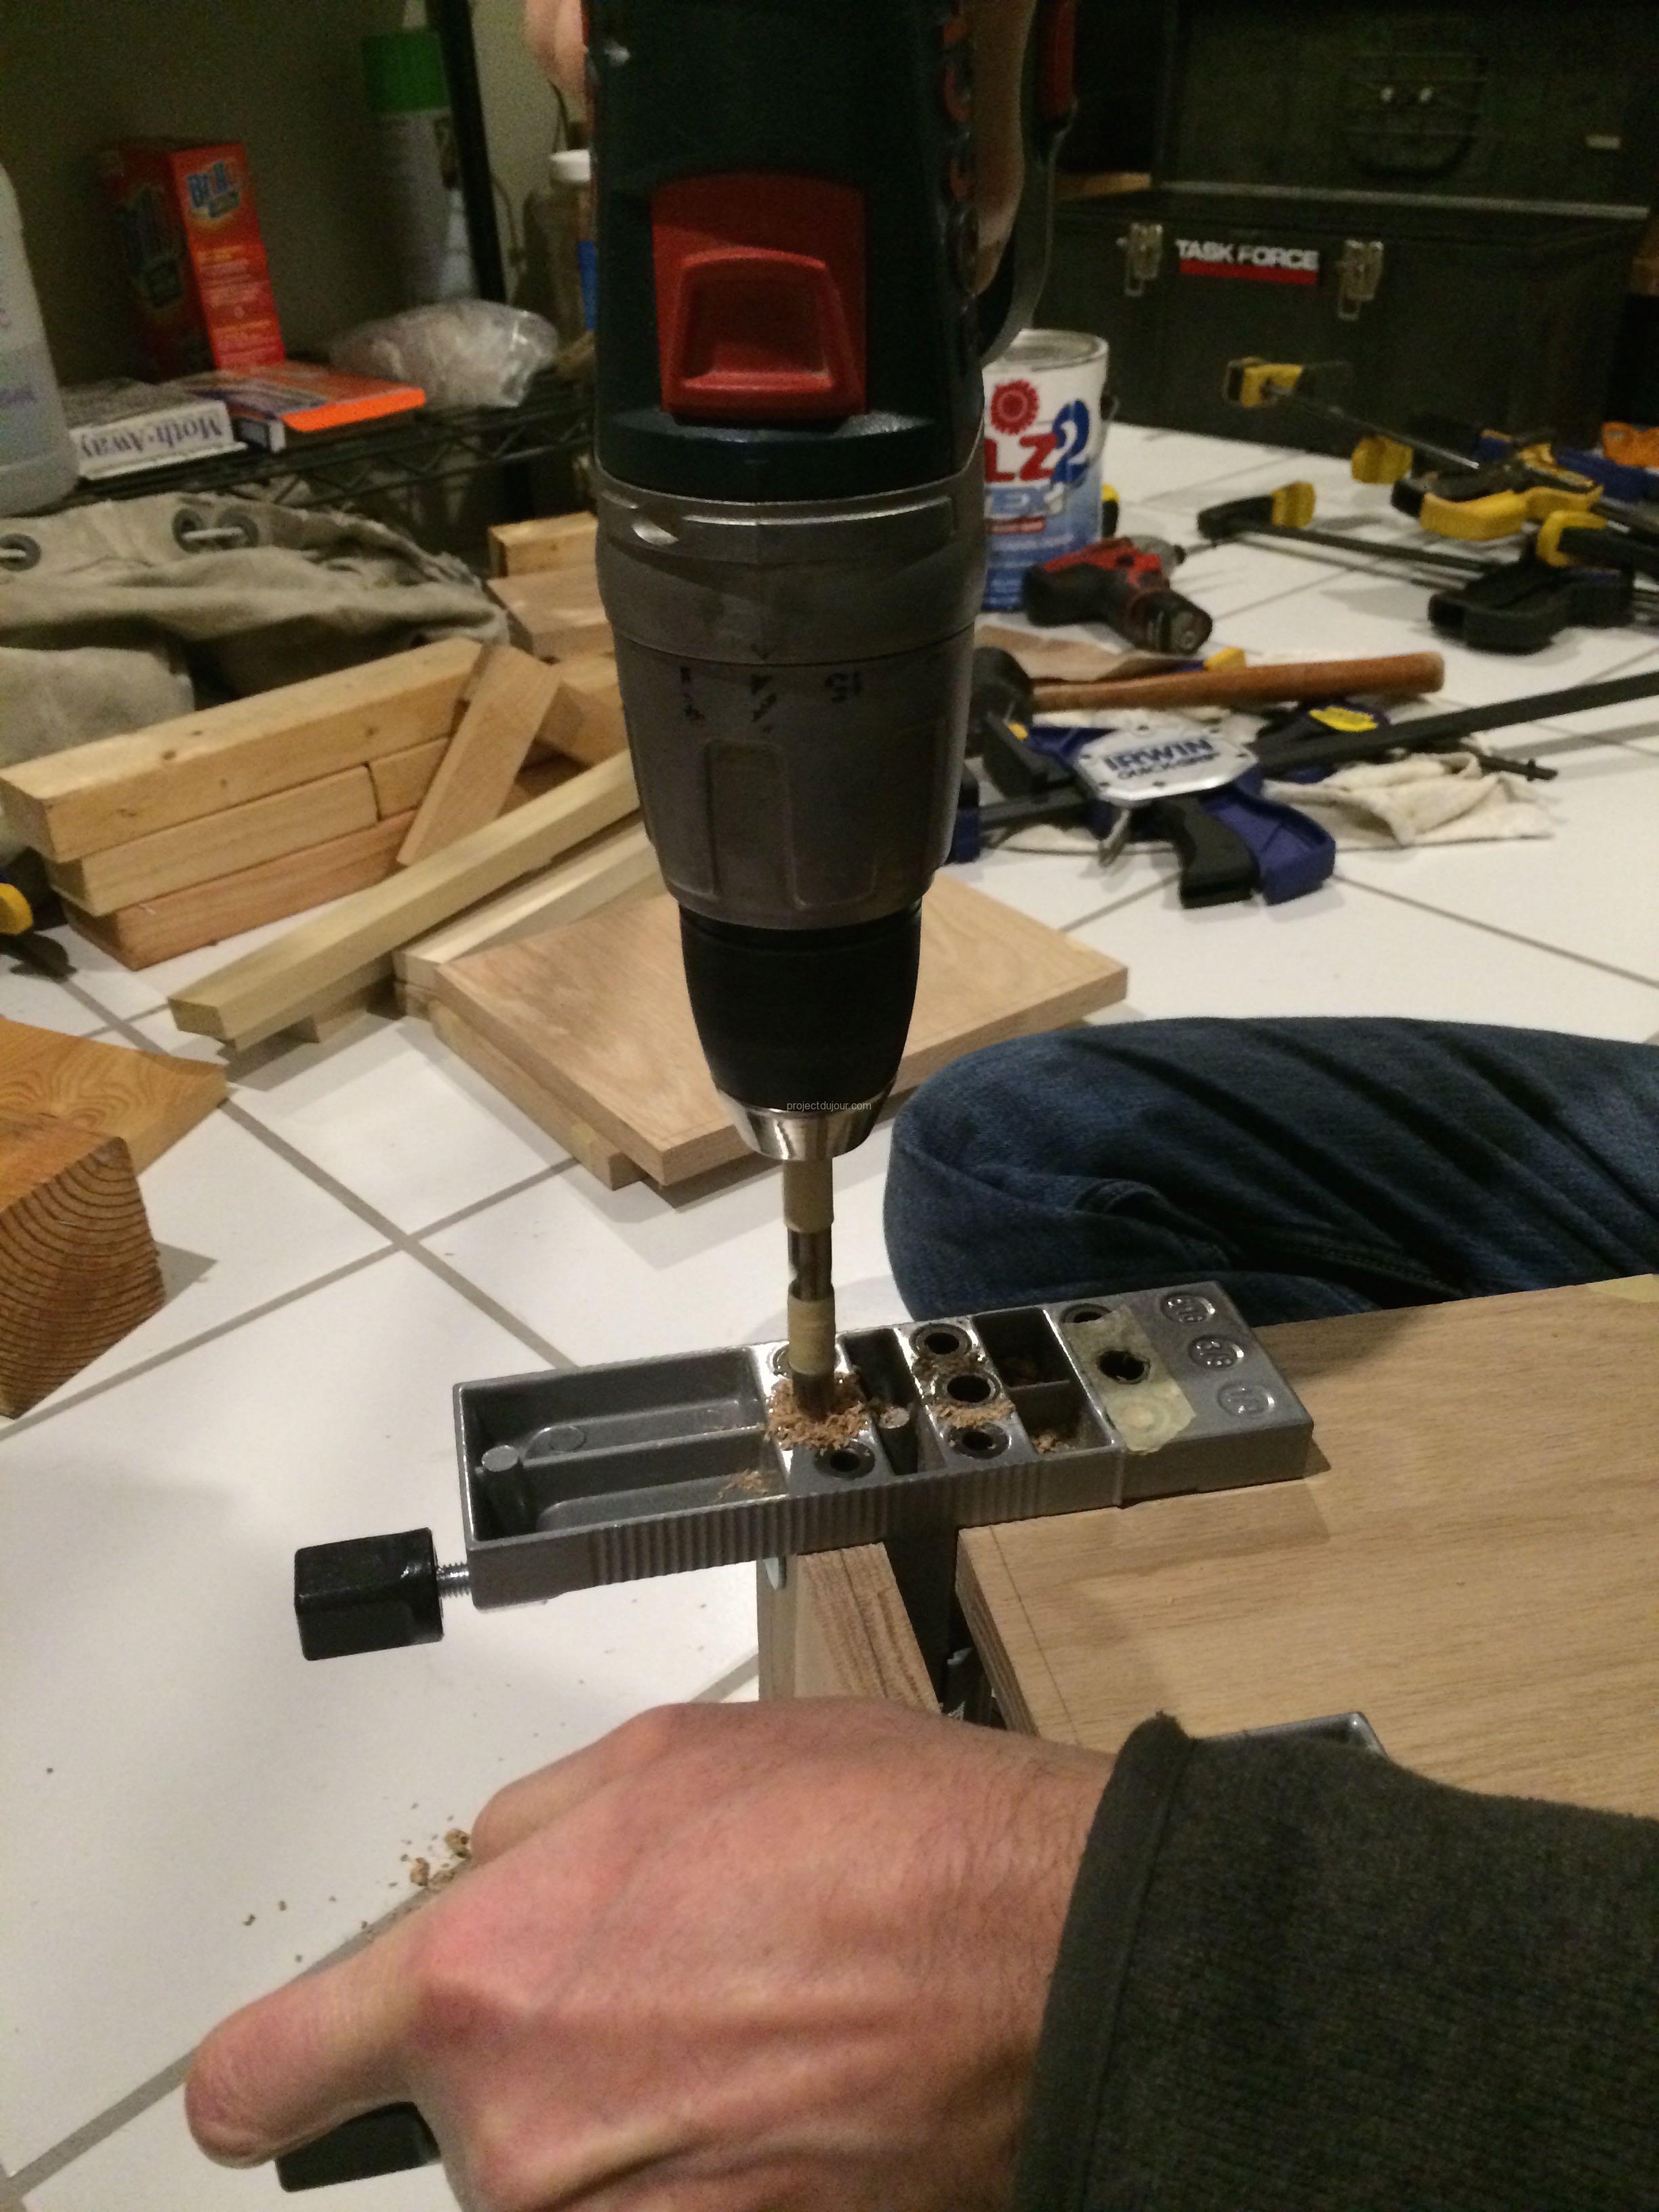
The Wolfcraft kit comes with two jigs, one with holes and one without. I used four dowels per edge so I decided to place the jig without holes in the middle and keep it there while I moved the jig with holes along the edge. When tightening the jig, I made sure the planks were butting against the jig using a rubber mallet to push the wood all the way in.
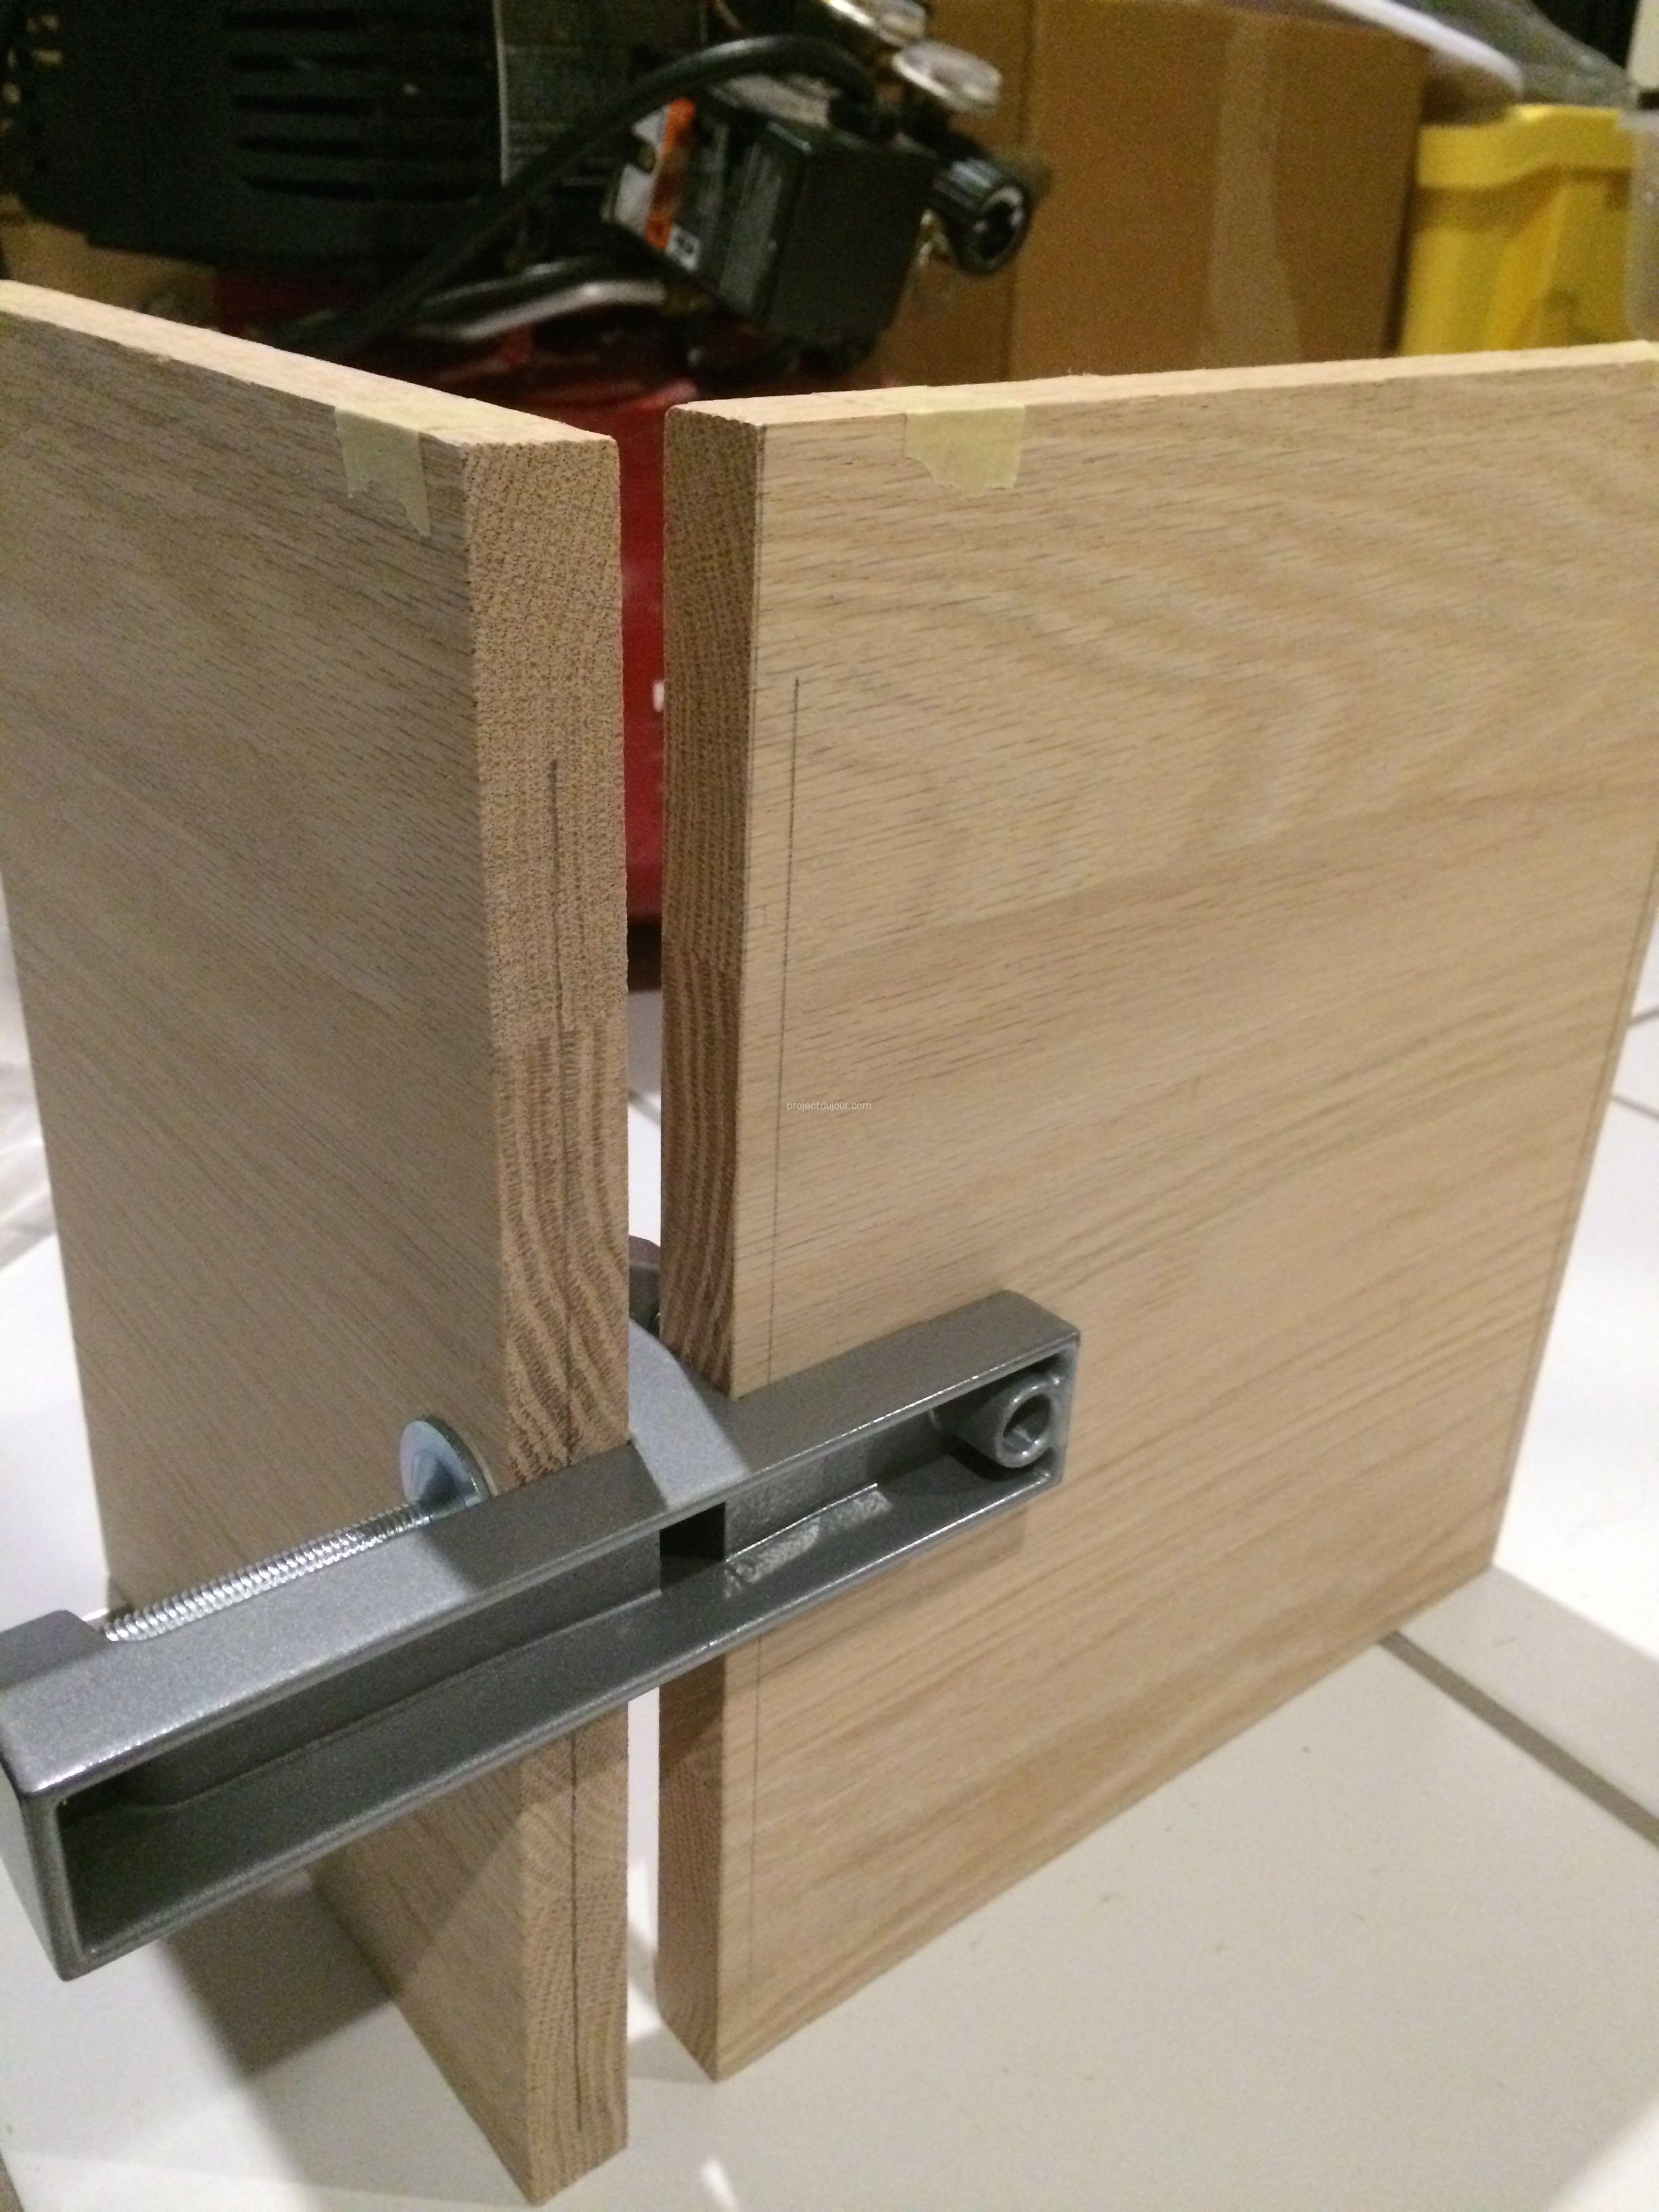
Holding jig in the middle
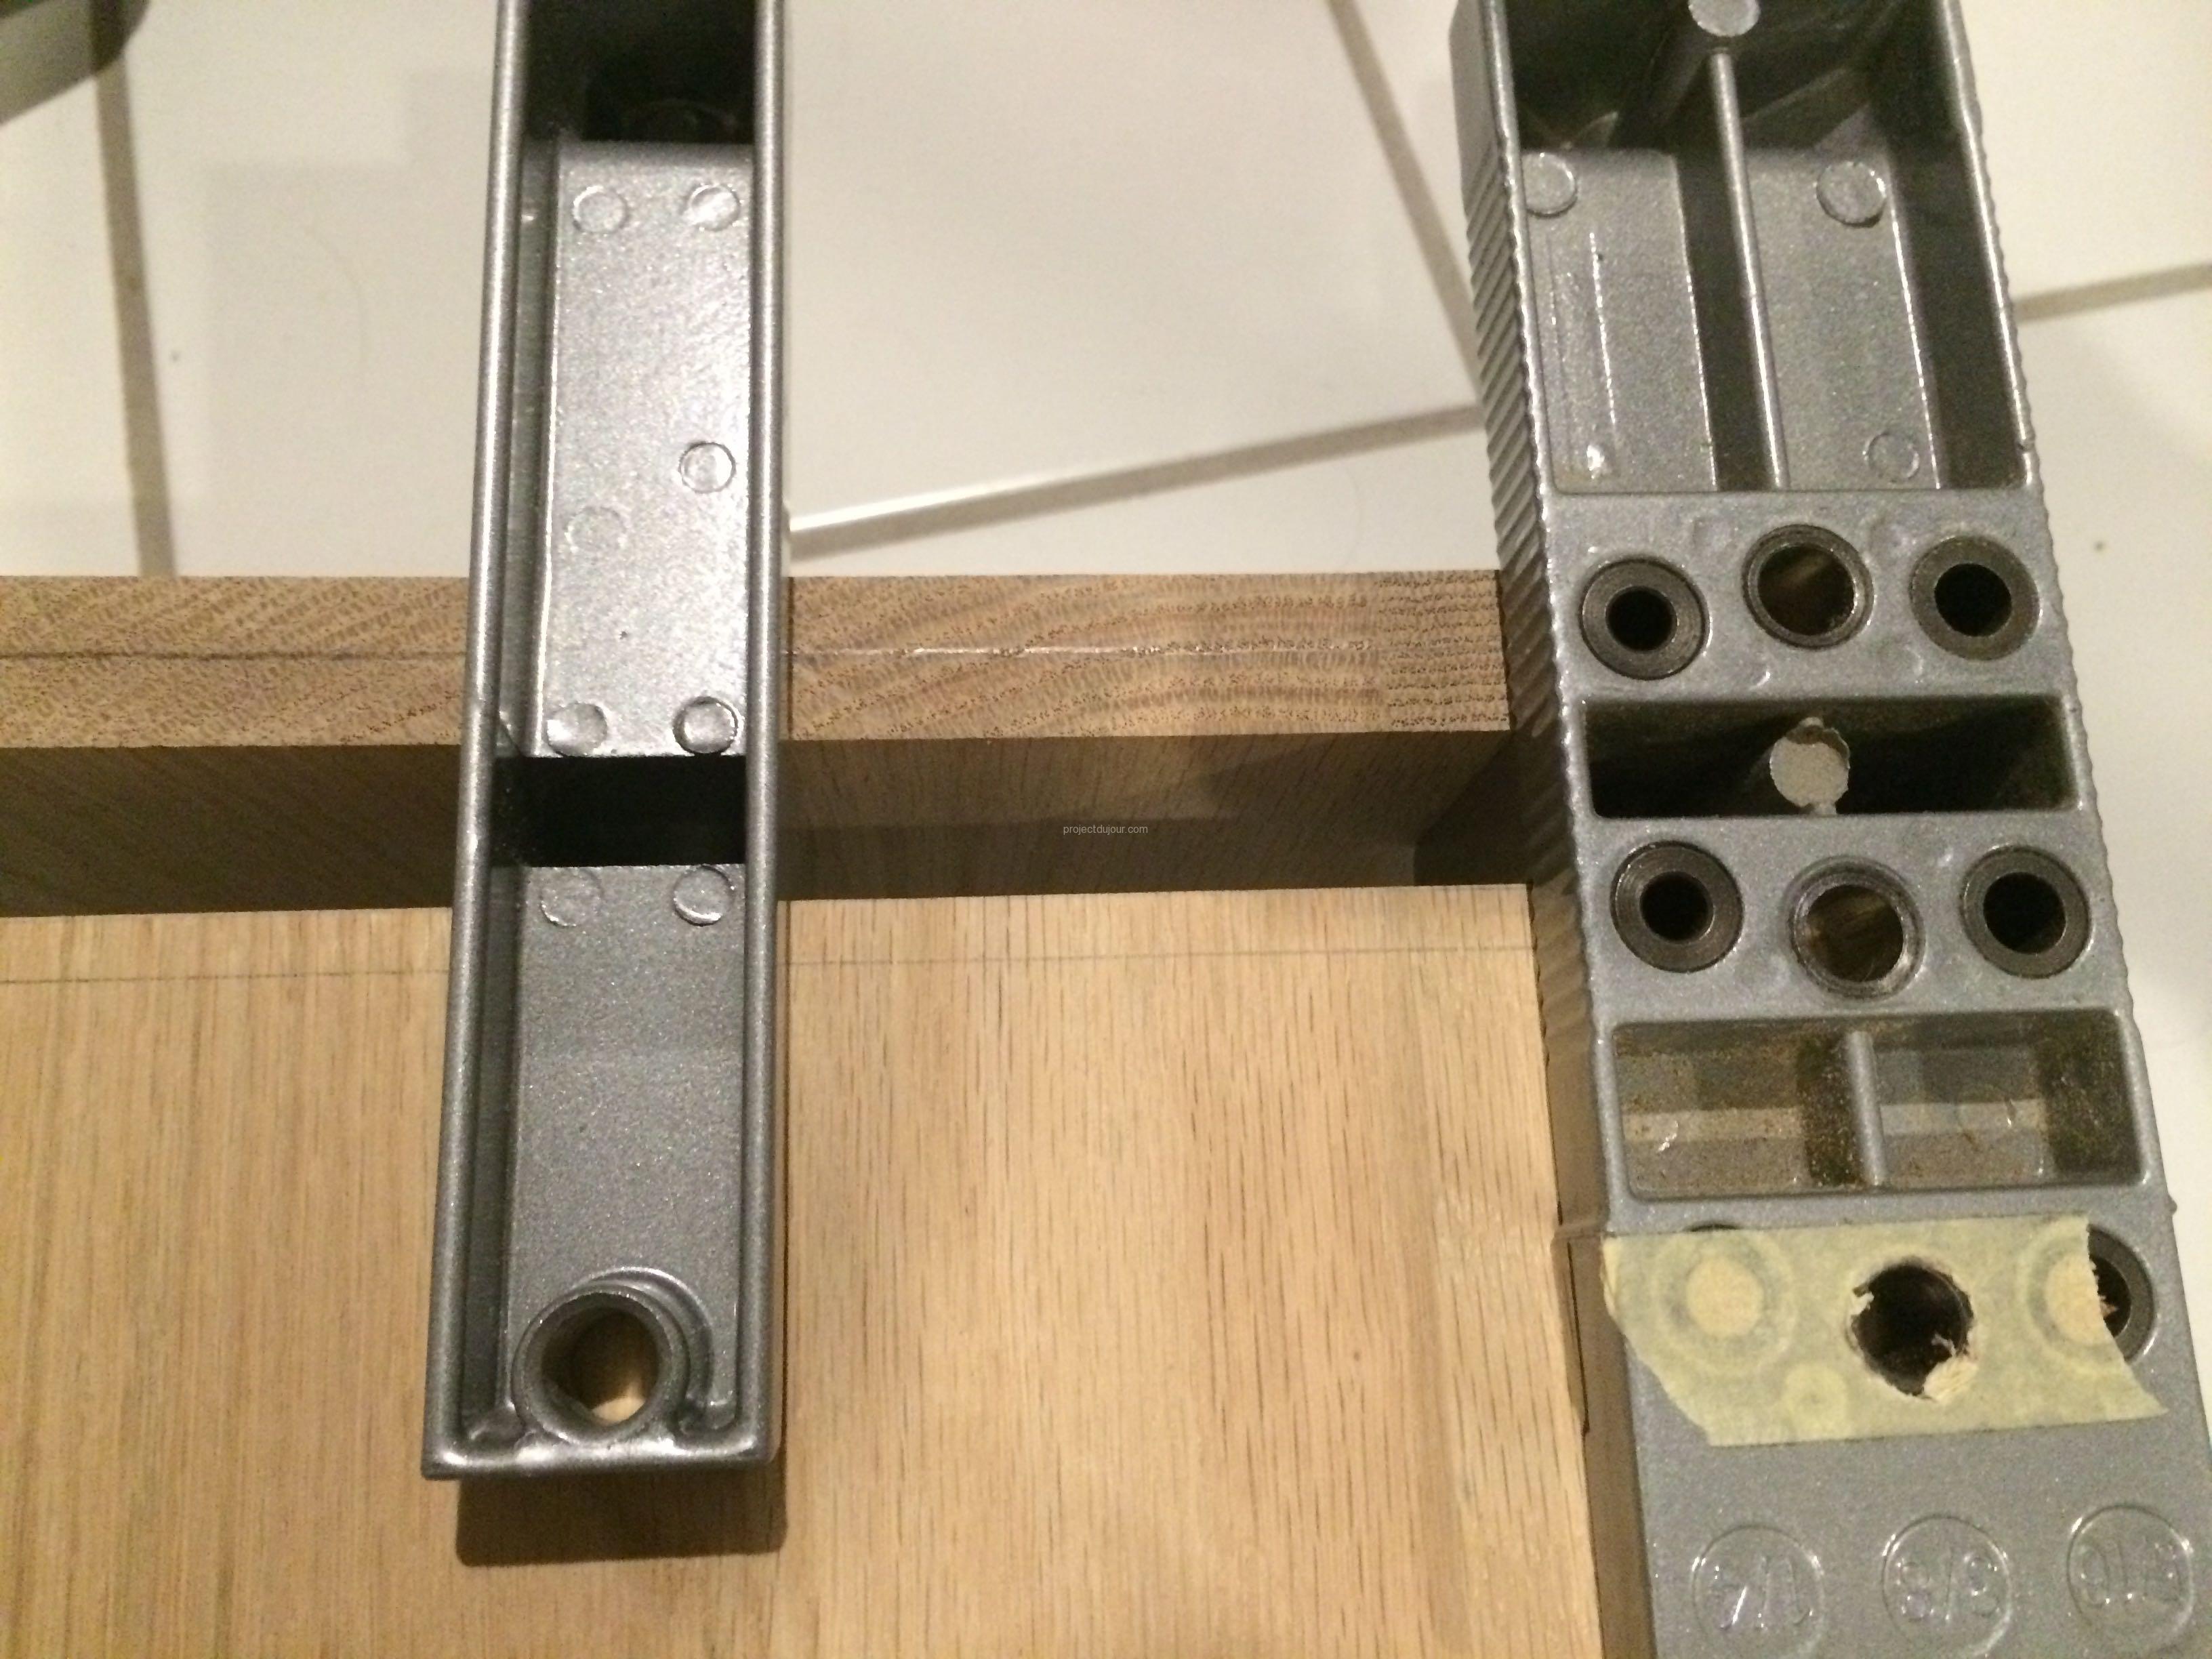
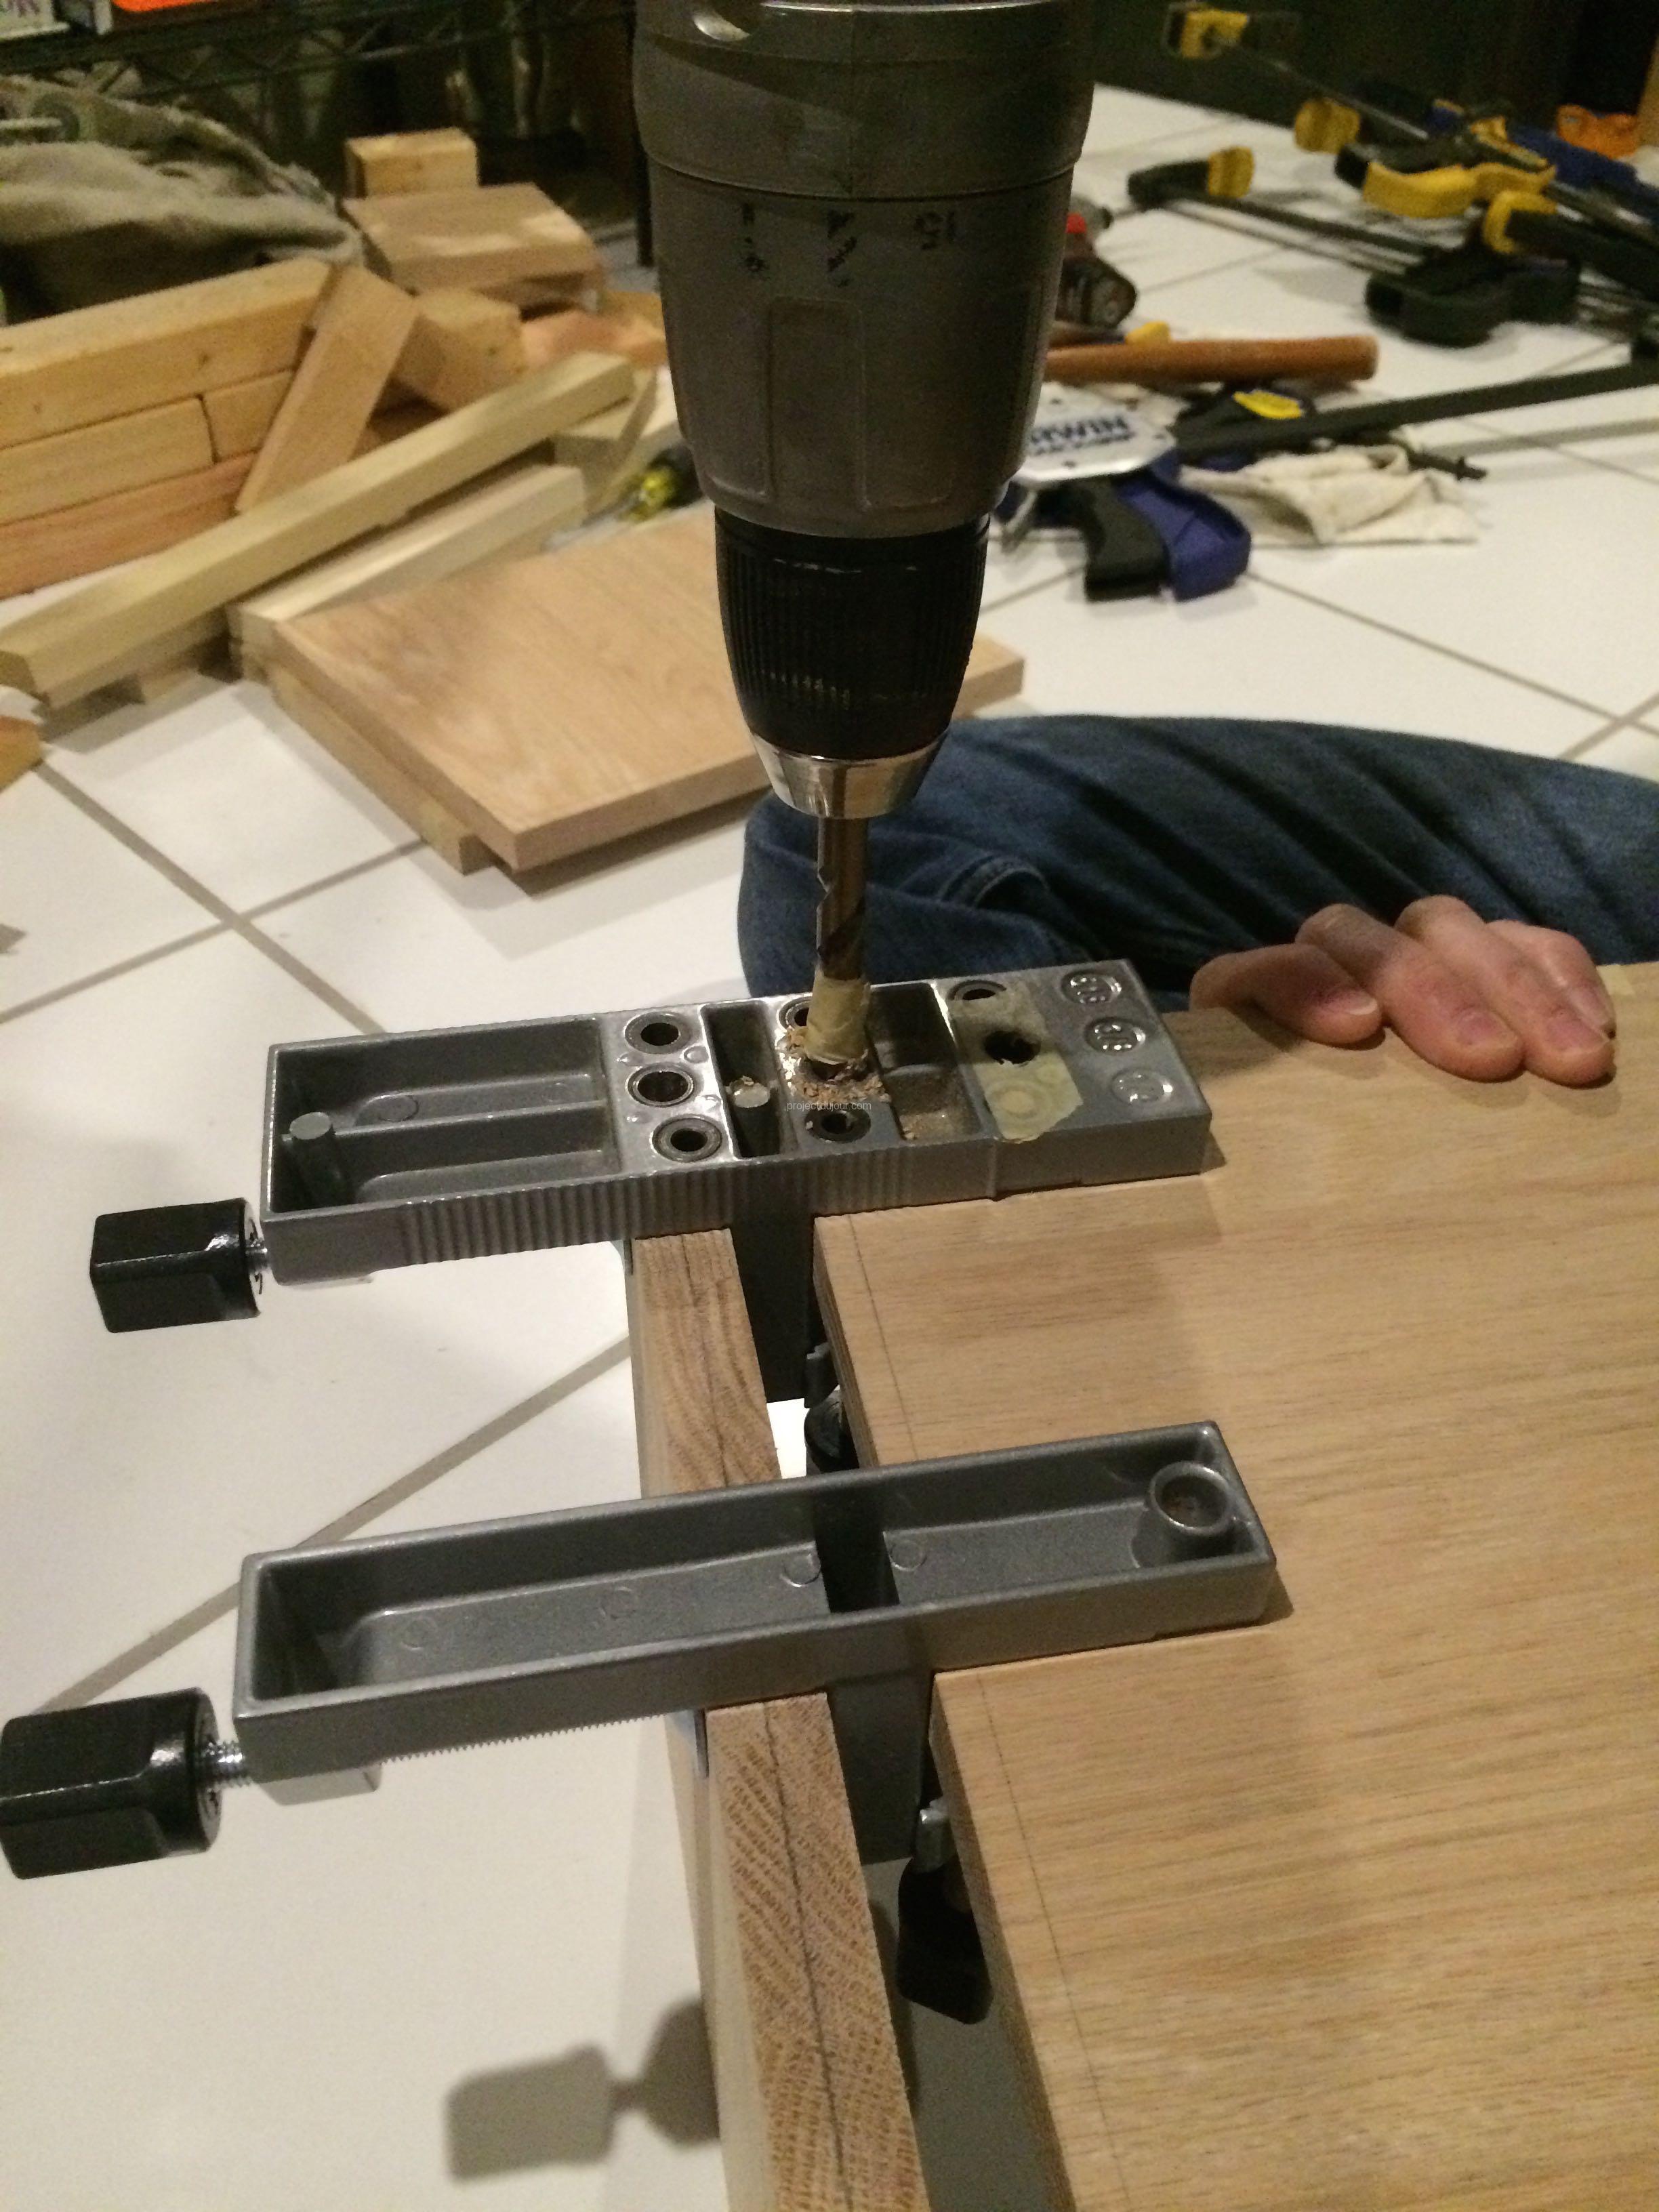
Drilling jig on end of joint
Before drilling, I always checked that the piece underneath was marked with a trace of pencil. The kit comes with a depth gage; a metal ring that can be screwed on the drill bit. I found it very unpractical and it got loose a couple of times so I decided to use masking tape to mark the depth. Since I needed two different depth, one for the holes in the edges and one for the holes on the surfaces, I bought two drill bits (3/8″) and marked each one differently.
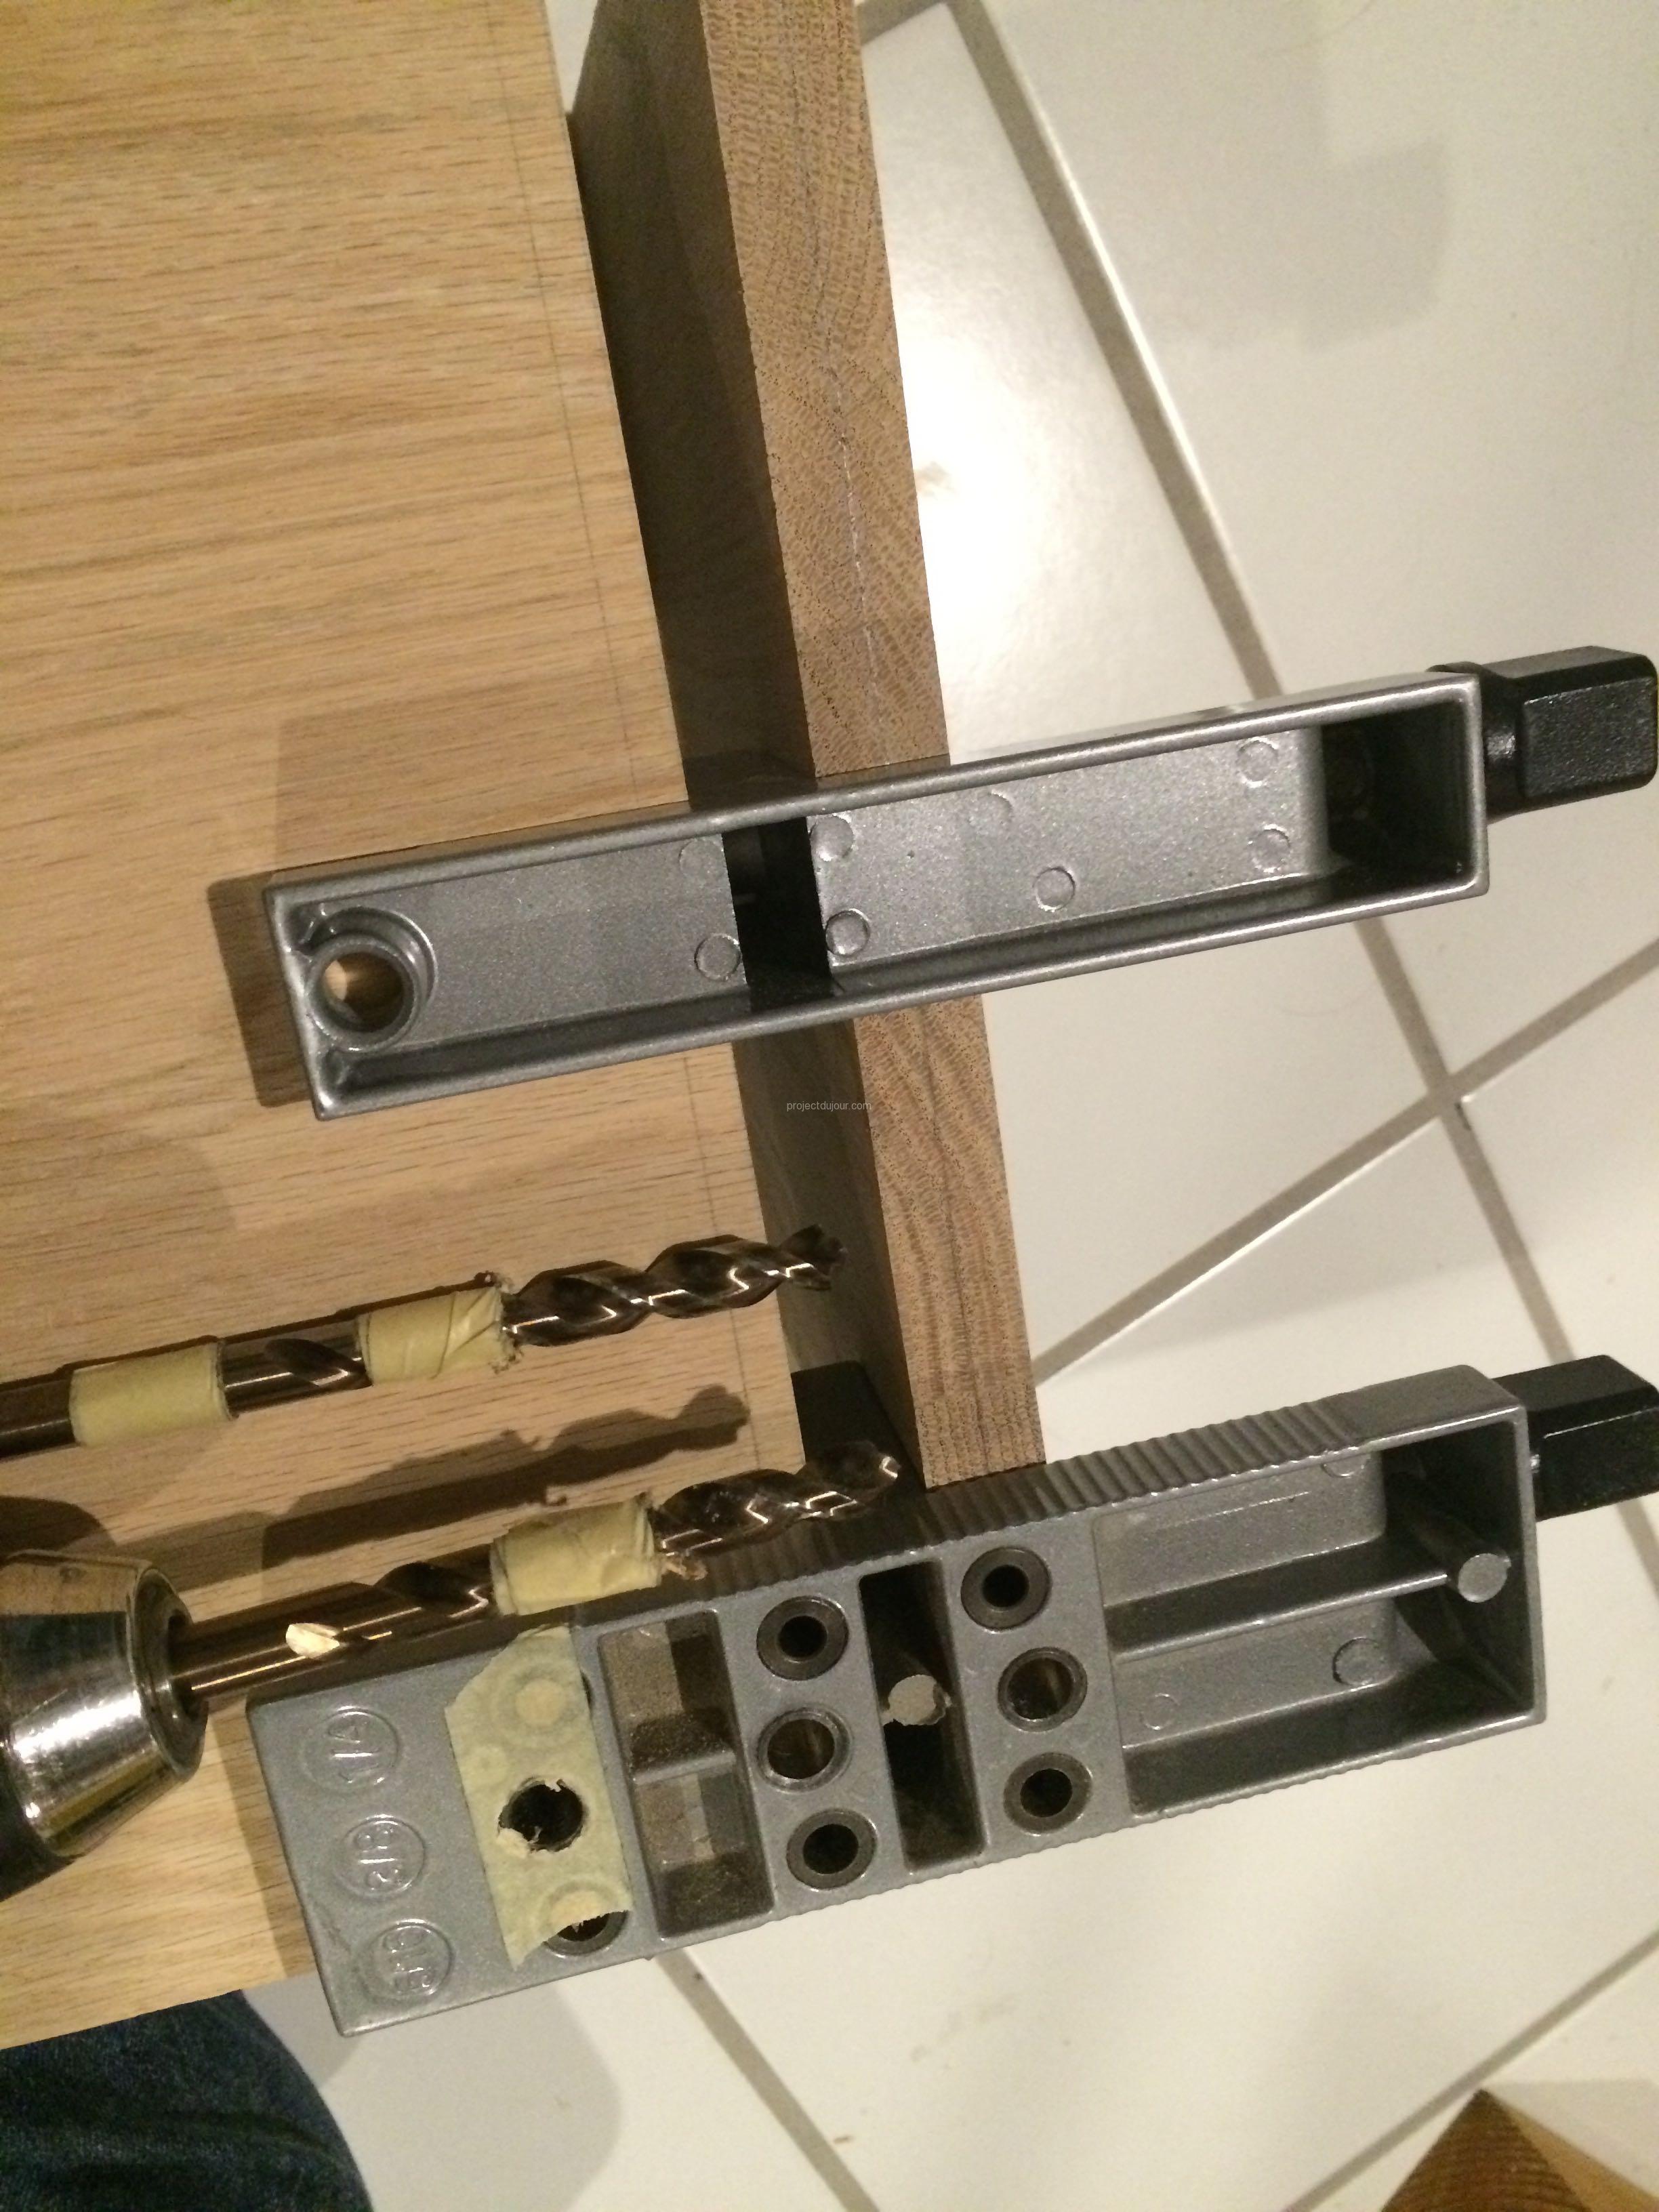
Masking tape to mark the depth on bits
I have a drill with a quick release system so it’s not too challenging to swap the bits back and forth.
Shallow holes on surface
Deep holes on edges
Once all the holes were drilled, I glued all the joints at once with the dowels and clamped the box for a couple hours. For the finish, I decided to use wood wax.
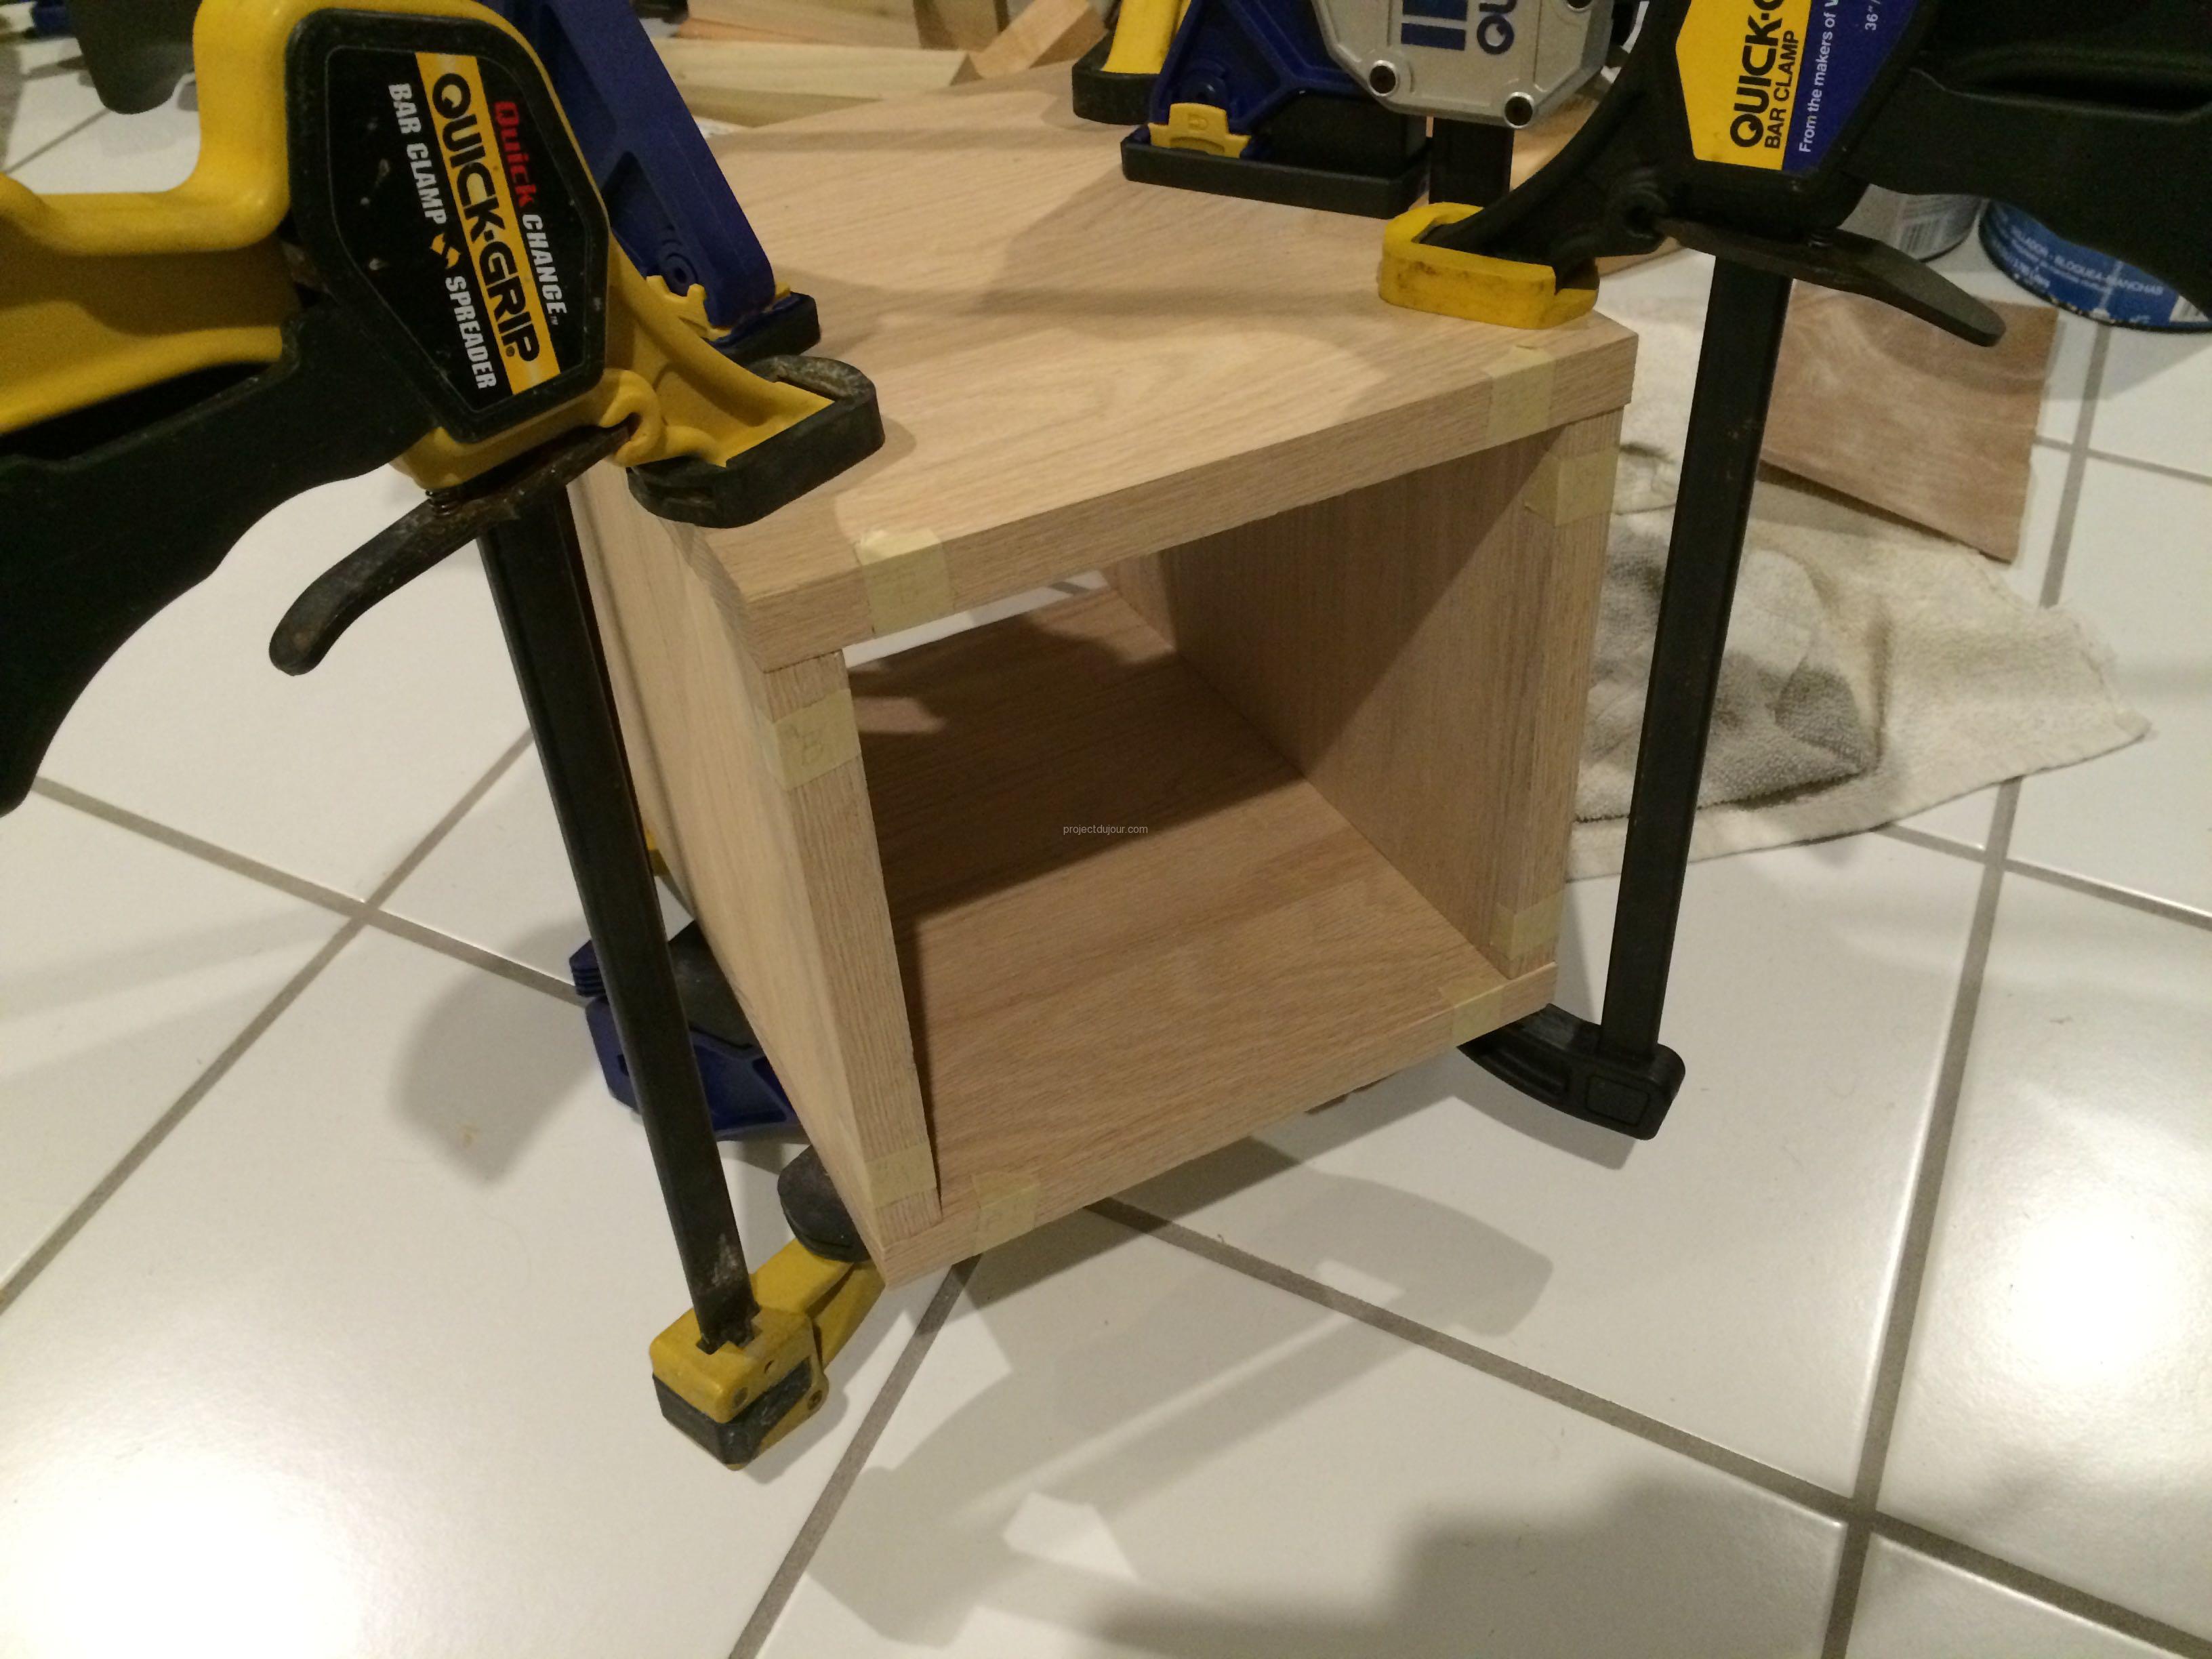
Dowels and glue all clamped together
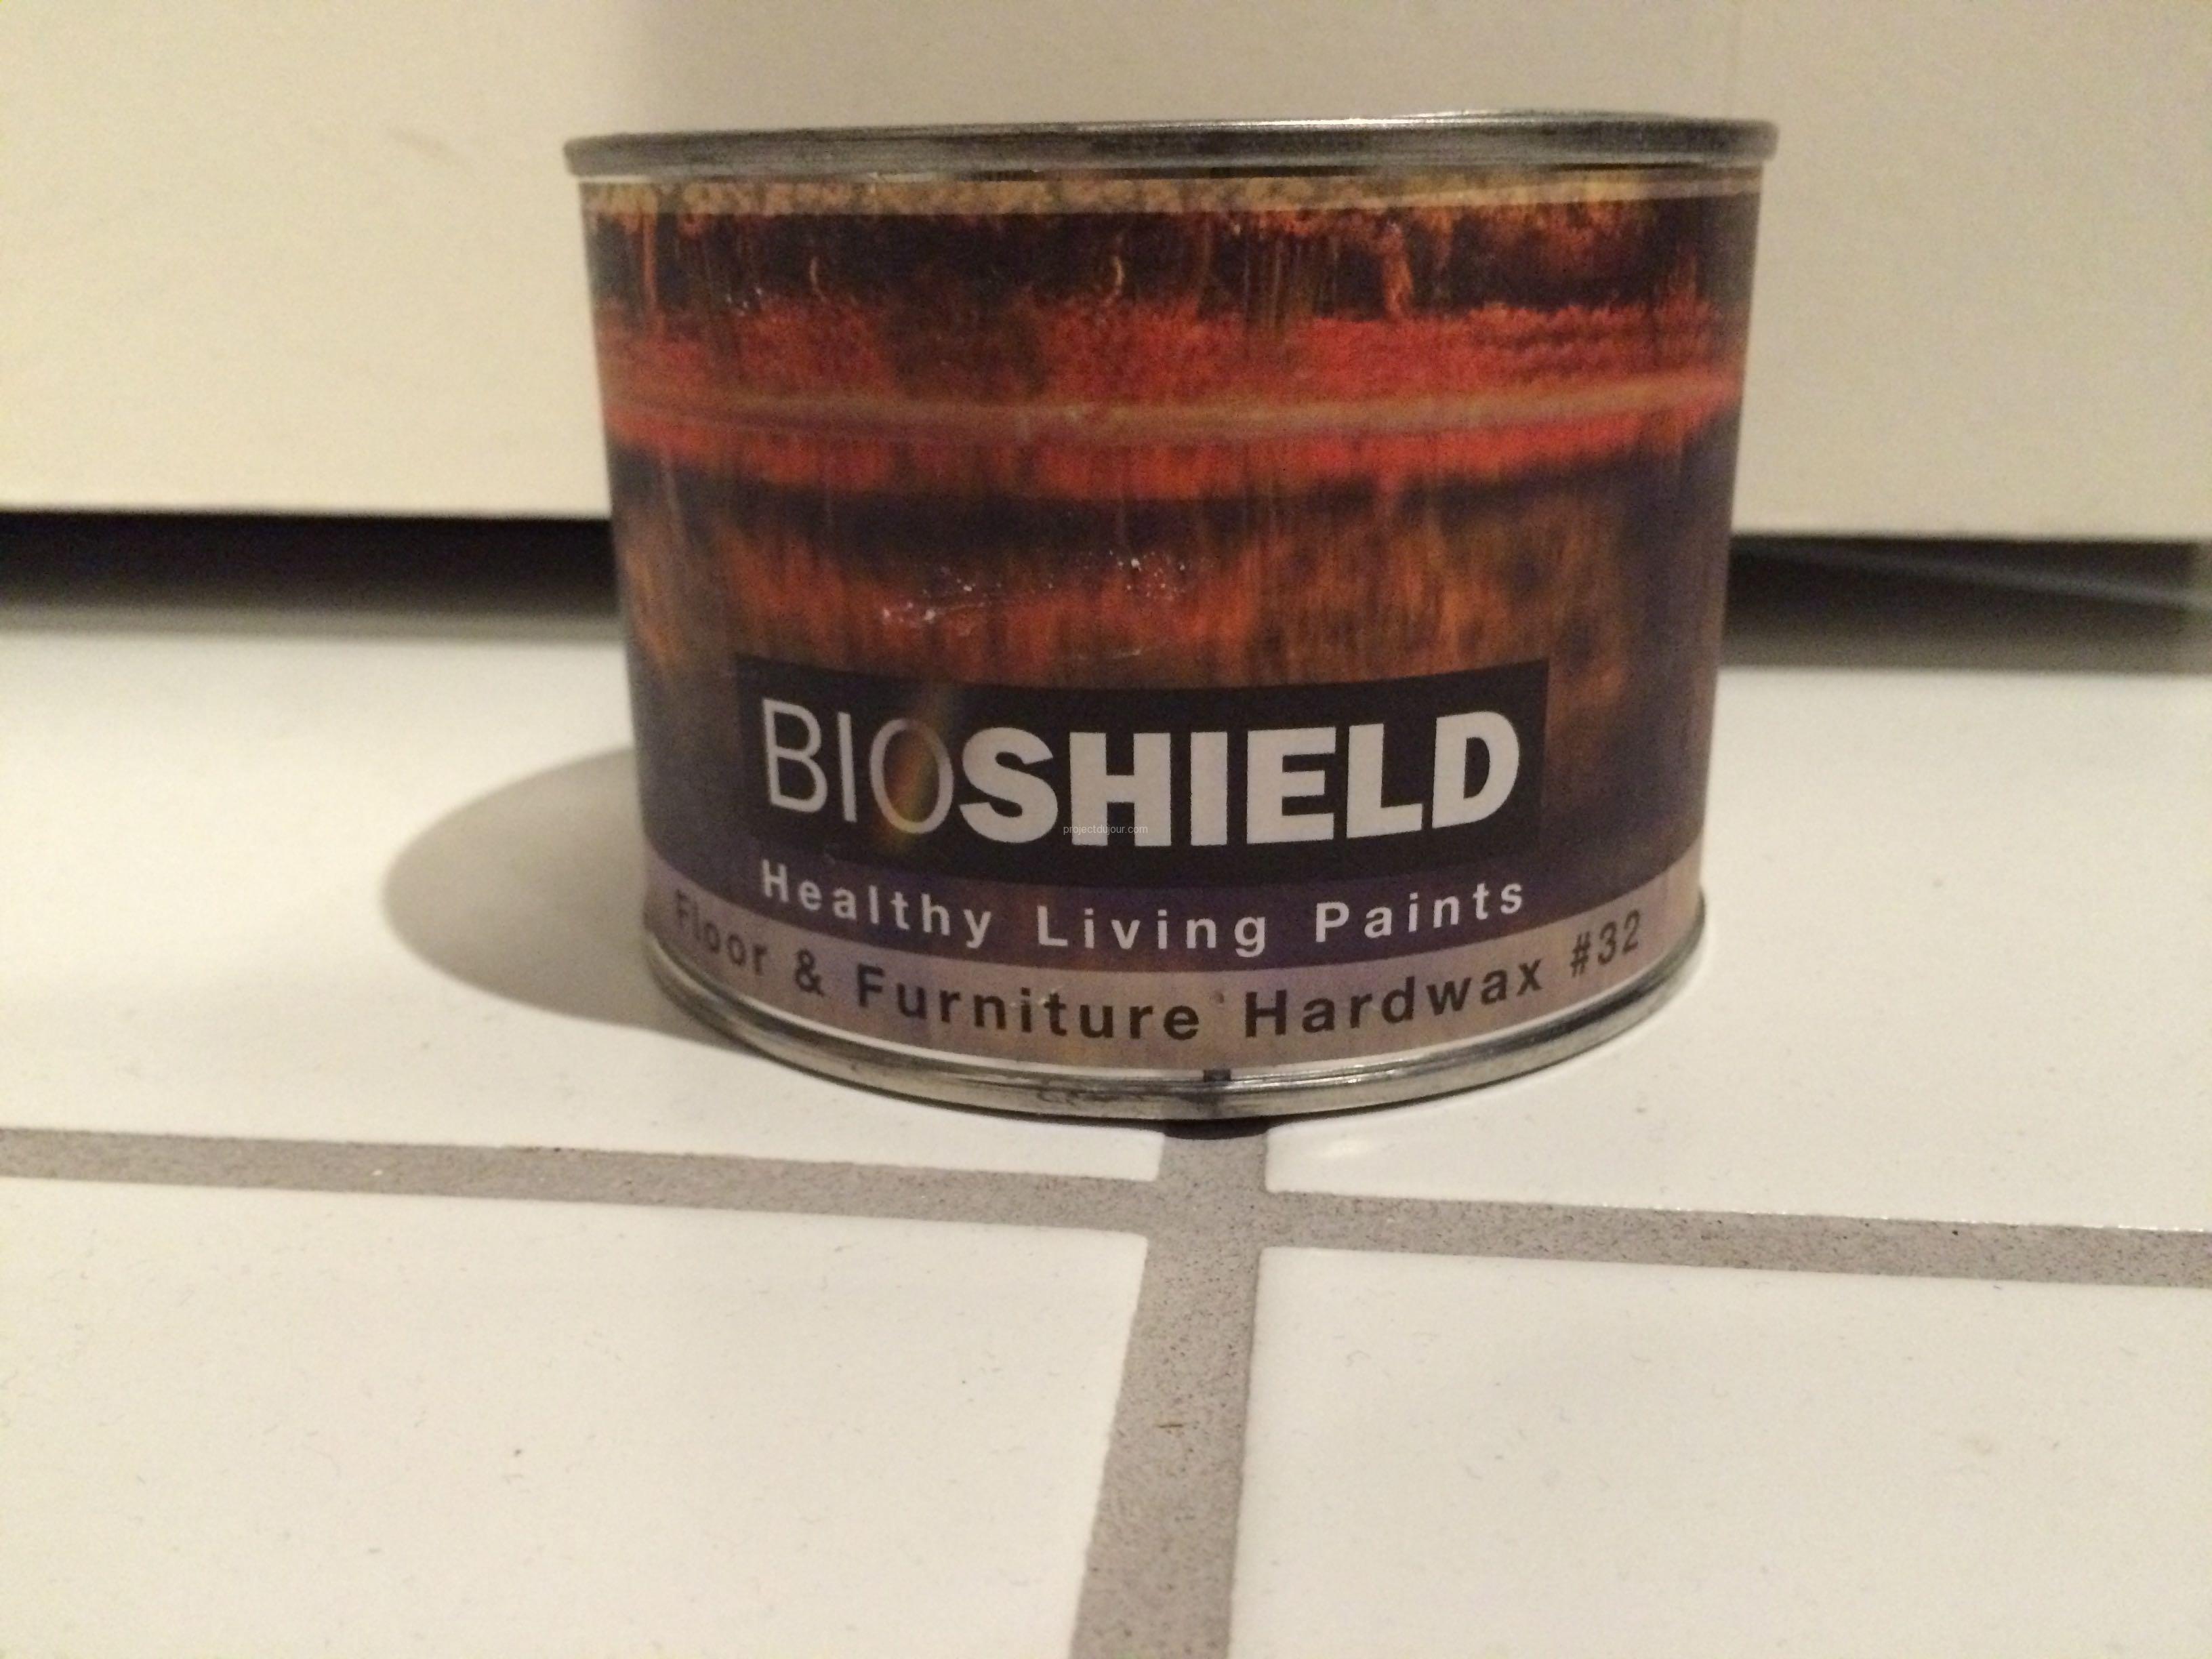
Wood wax
I added some thick rubber feet found on Amazon (Reliable Hardware Company RH-1606-8-A 1.50-Inch Diameter Rack Rubber Foot/Bumper). These provide a bit of insulation for the speakers vibrations.
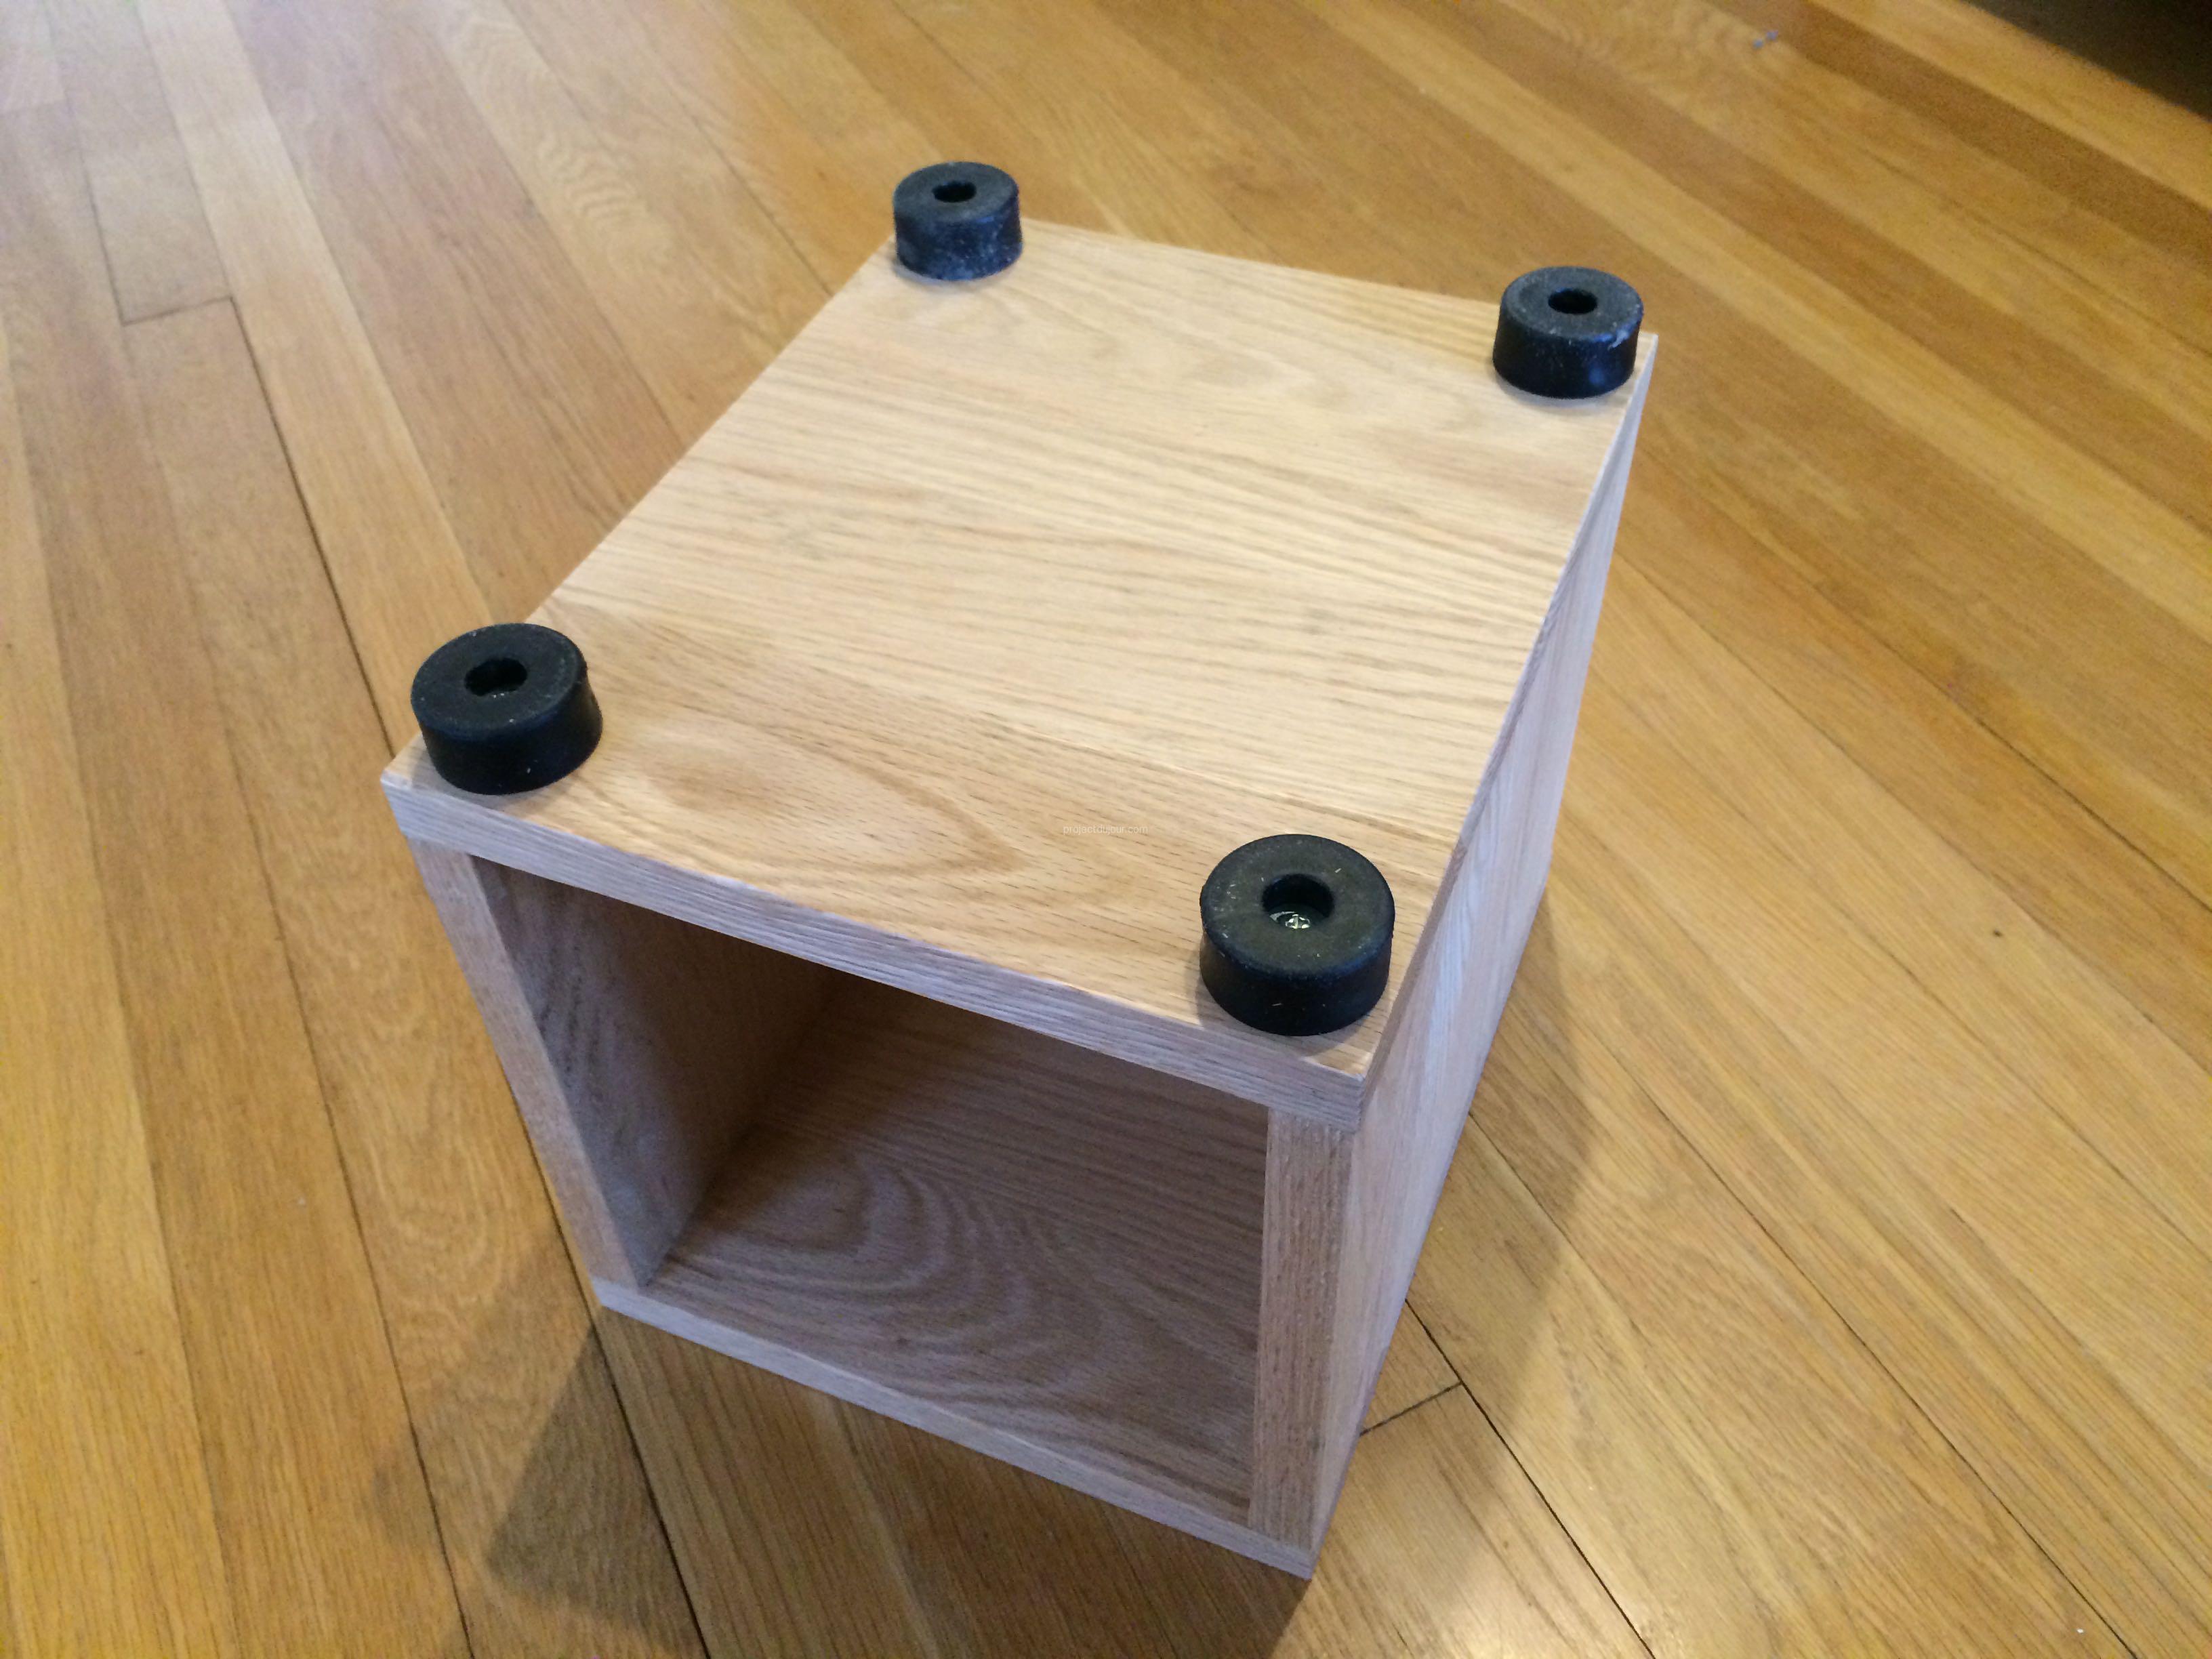
Rubber feet
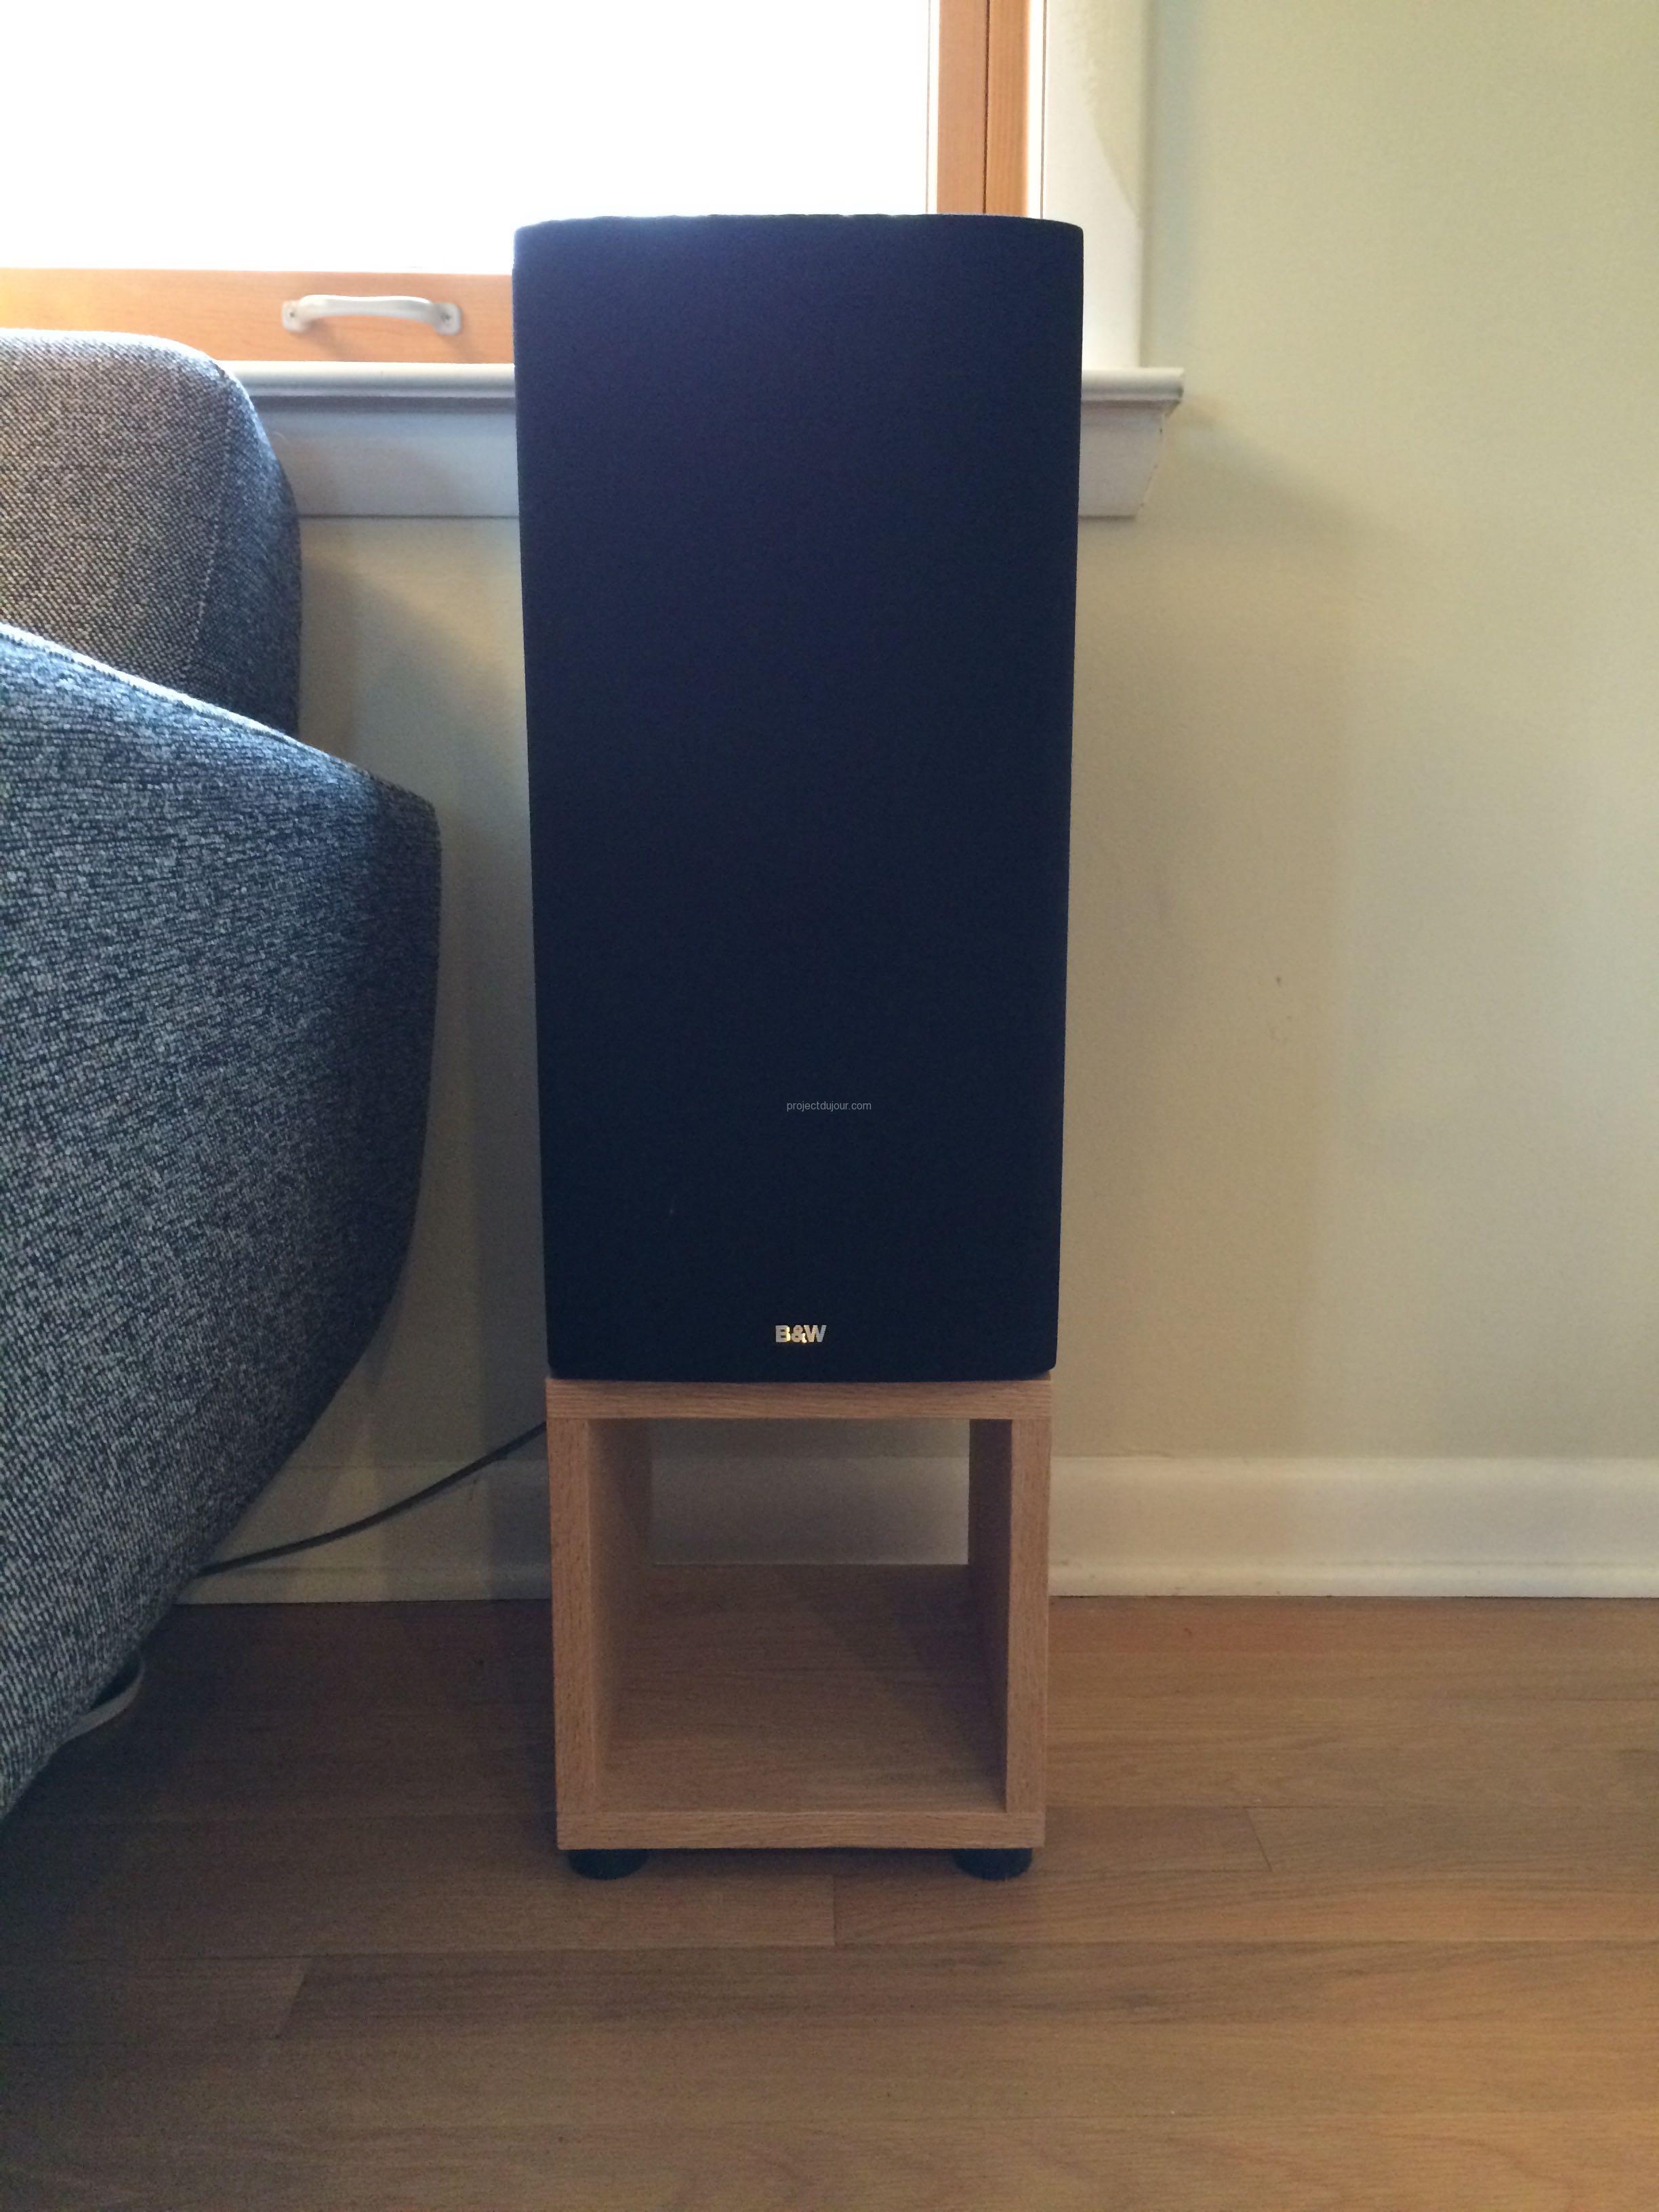
Oak speaker stand! Aka just a plain box with rubber feet and a speaker on top.
Shameless plug: if you read this post all the way to the end, maybe you could click on an ad or two on this site. It would be greatly appreciated and maybe one day it’ll cover the cost of web hosting.

%%
Here is my website: link building services