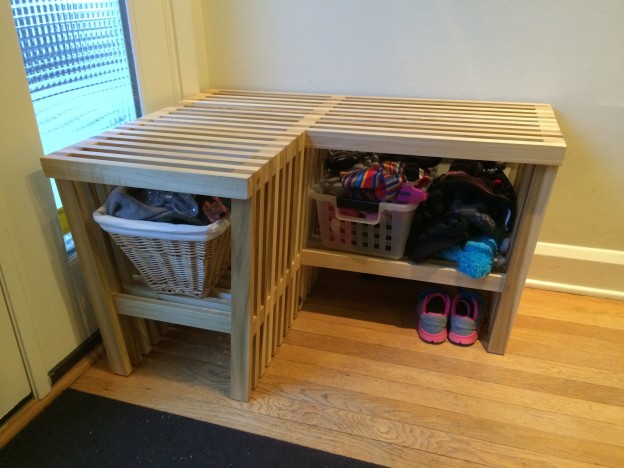
I have a split foyer with a small landing. There’s always a stack of shoes, school back packs and coats on the floor. To organize the mess I thought of either a column of shelves or a bench with some storage under the seat. I searched a bit and found a few nice options but they were always too large for the space I have (Teca bench from Crate and Barrel). So I had a perfect excuse to do it myself.
For this project I wanted to try a new assembly technique, using slats (2″ by 1″ stock lumber) glued and nailed together in layers.
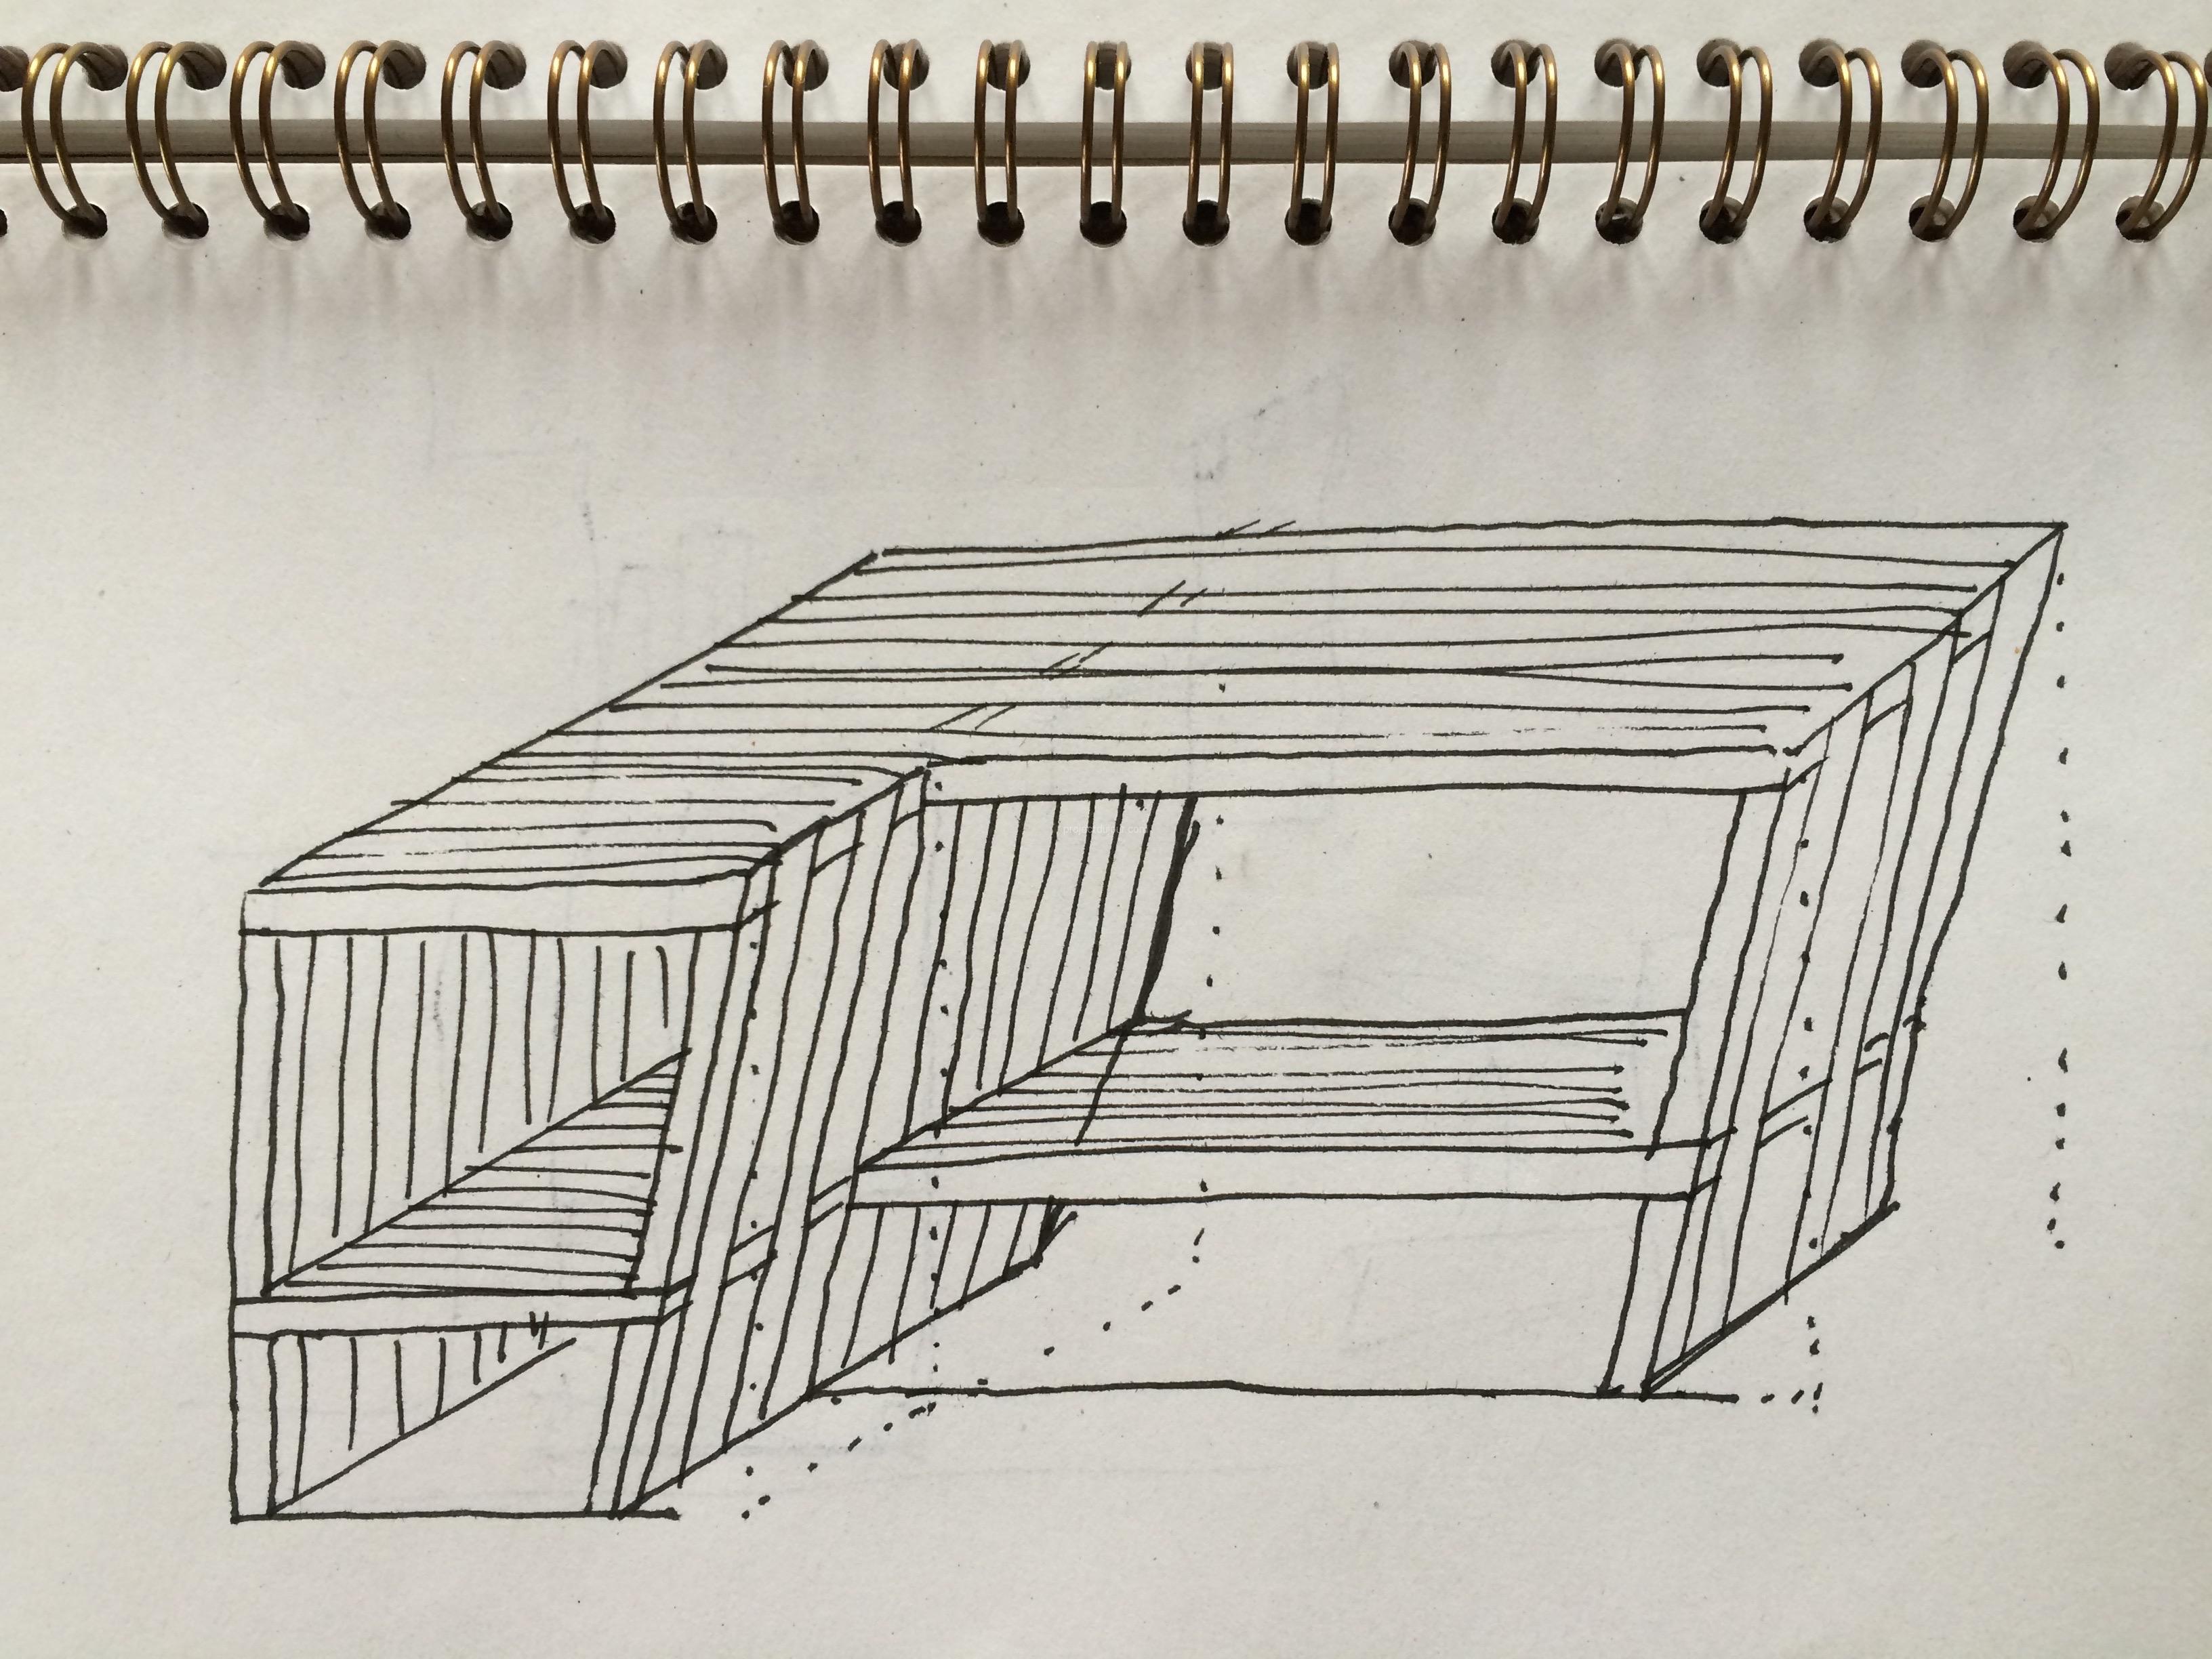
L shape slatted bench
The bench is L shaped to fit in a corner. The feet (or vertical parts) are titled inward both for style and to free up some space at the ground level. The initial design had vertical feet against the wall (left part on drawing) but I ultimately decided to preserve the symmetry and all vertical pieces are tilted inward (it also helps with the miter saw adjustments since all pieces are cut with the same angle). I experimented with some scrap wood to figure out the angle I wanted and ended up choosing 5 degrees.
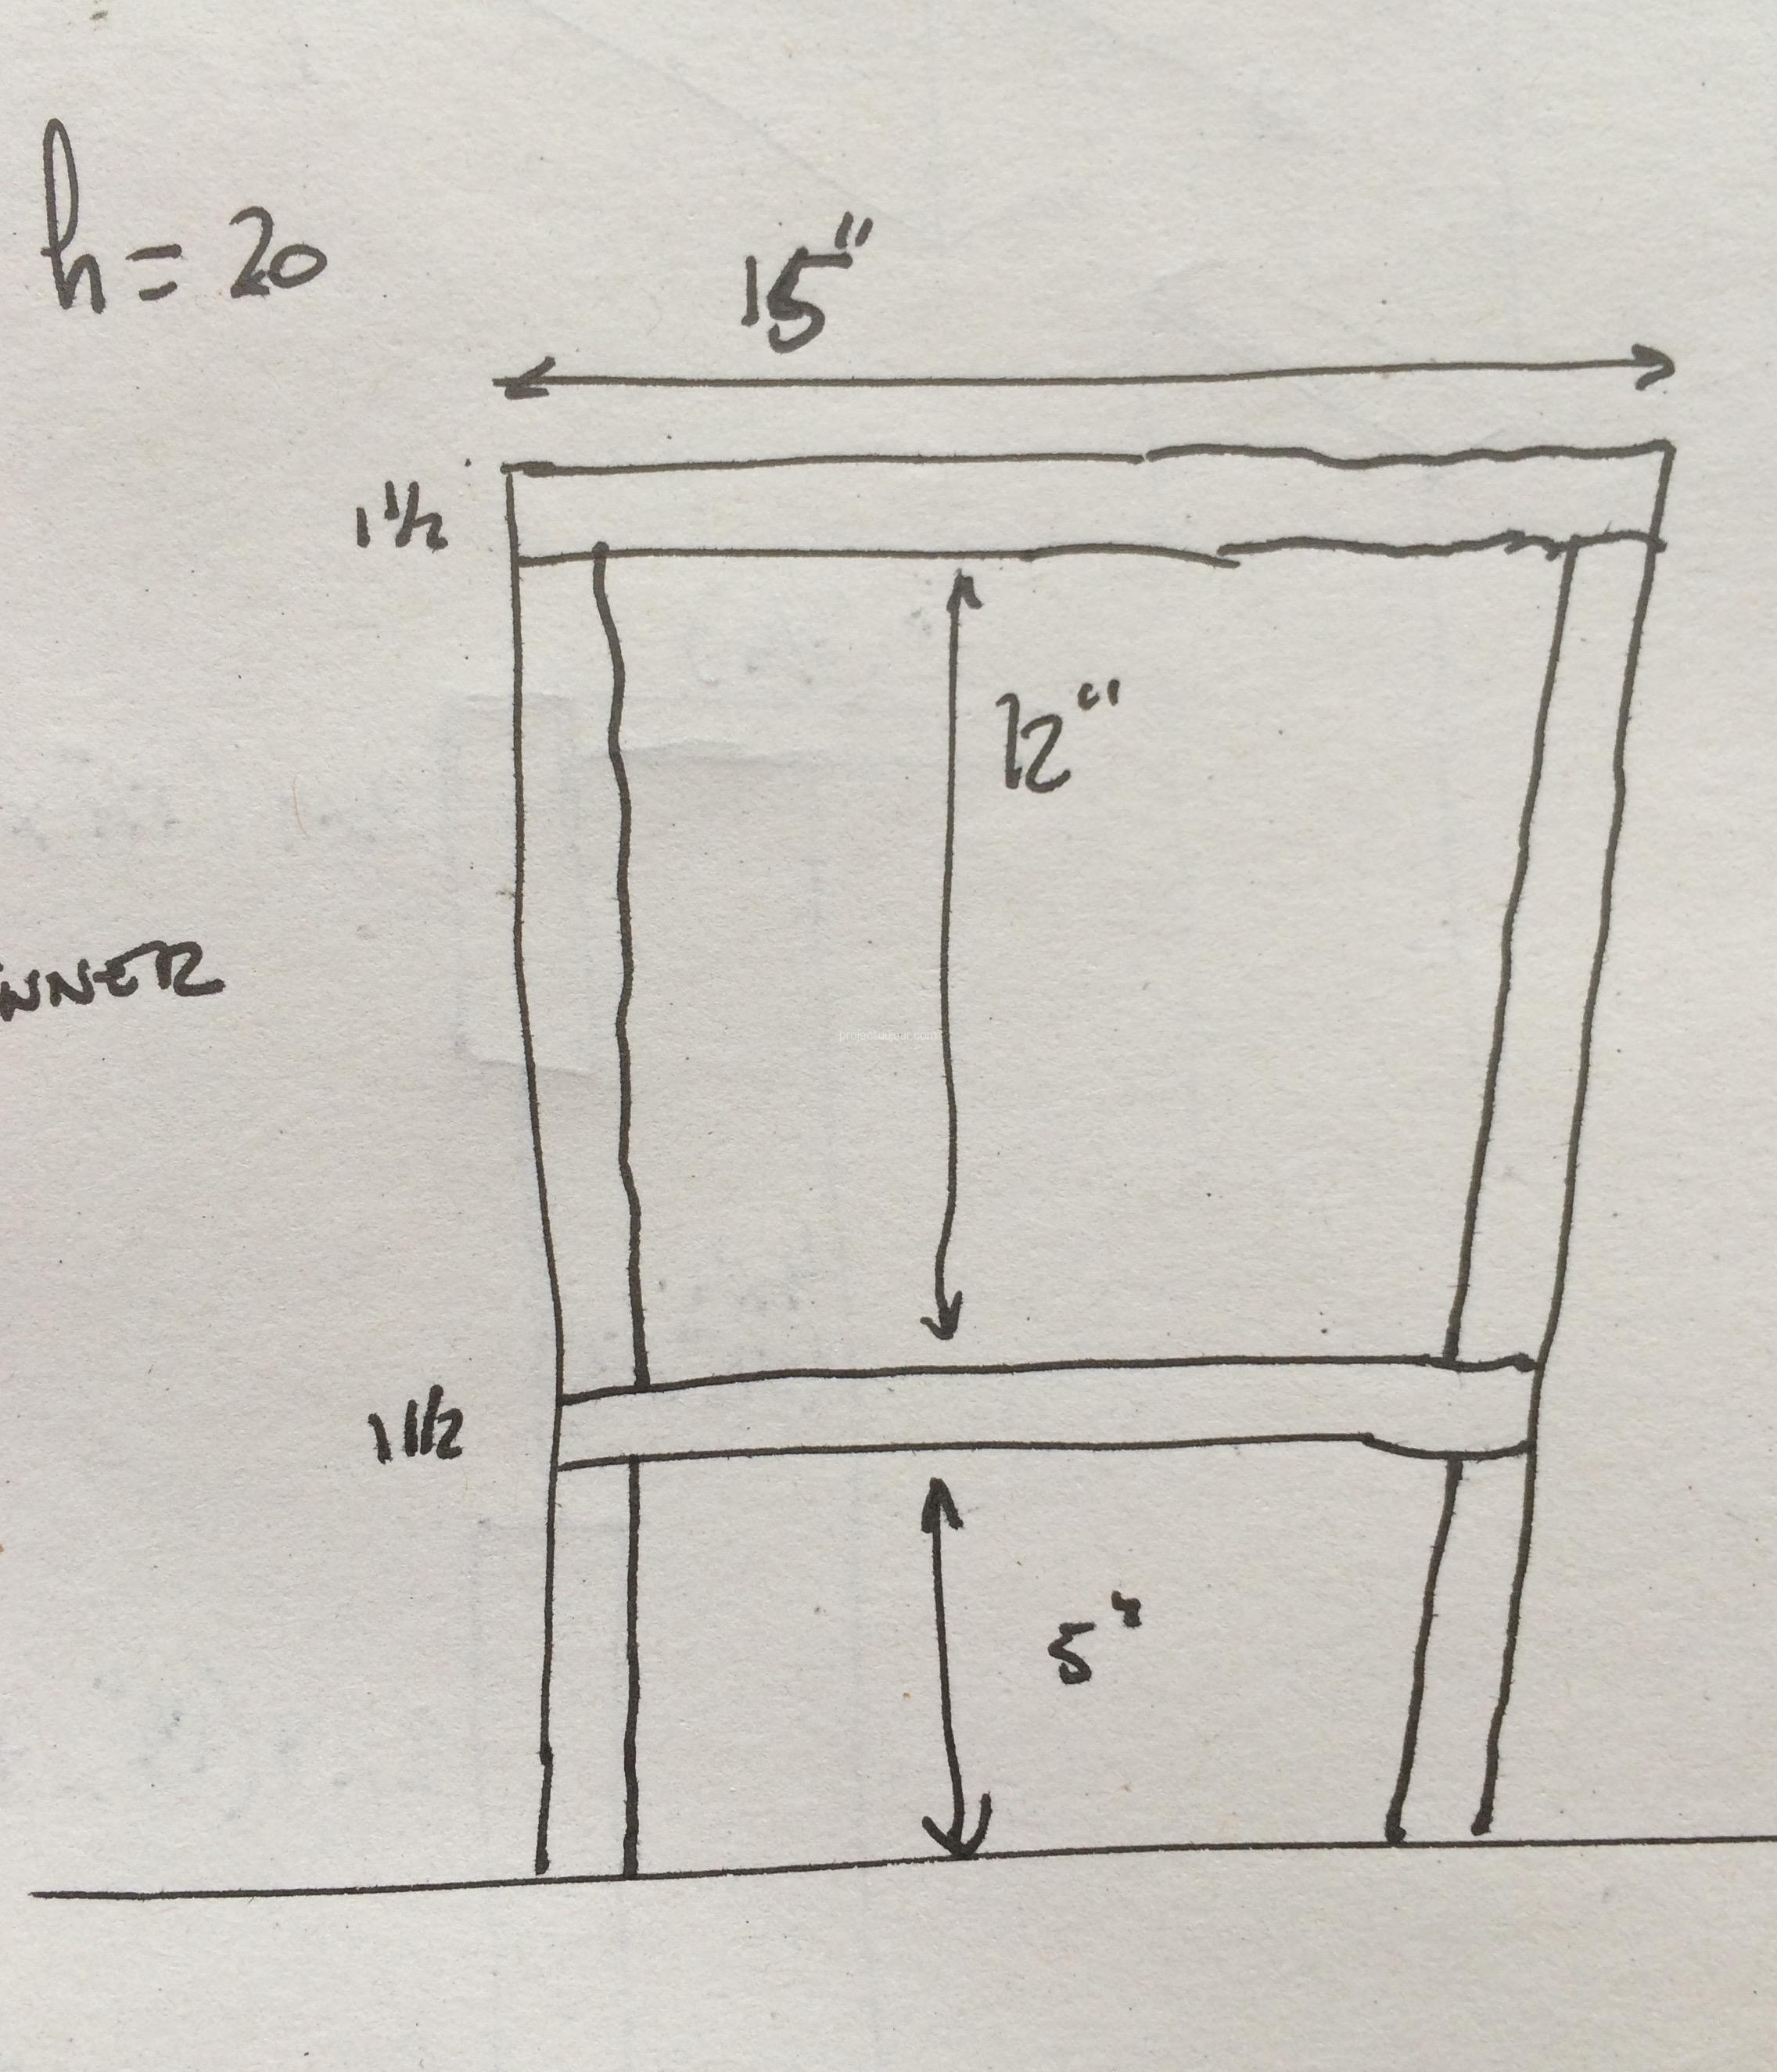
Approximative dimensions
The height is 20″, a bit higher than a standard chair. The bottom shelf is 5″ high so I can still vacuum under the bench. I have honestly no clue if this will withhold the test of time. I’m hoping that since all the vertical pieces support some weight, the force on each glued point is mostly in the shear direction.
I picked poplar for this project. For one thing, it seems that all my projects are made of maple so that provides a bit of diversity. Furthermore, poplar has different hues and I find that this complements the shadows and changes of colors between the slats.
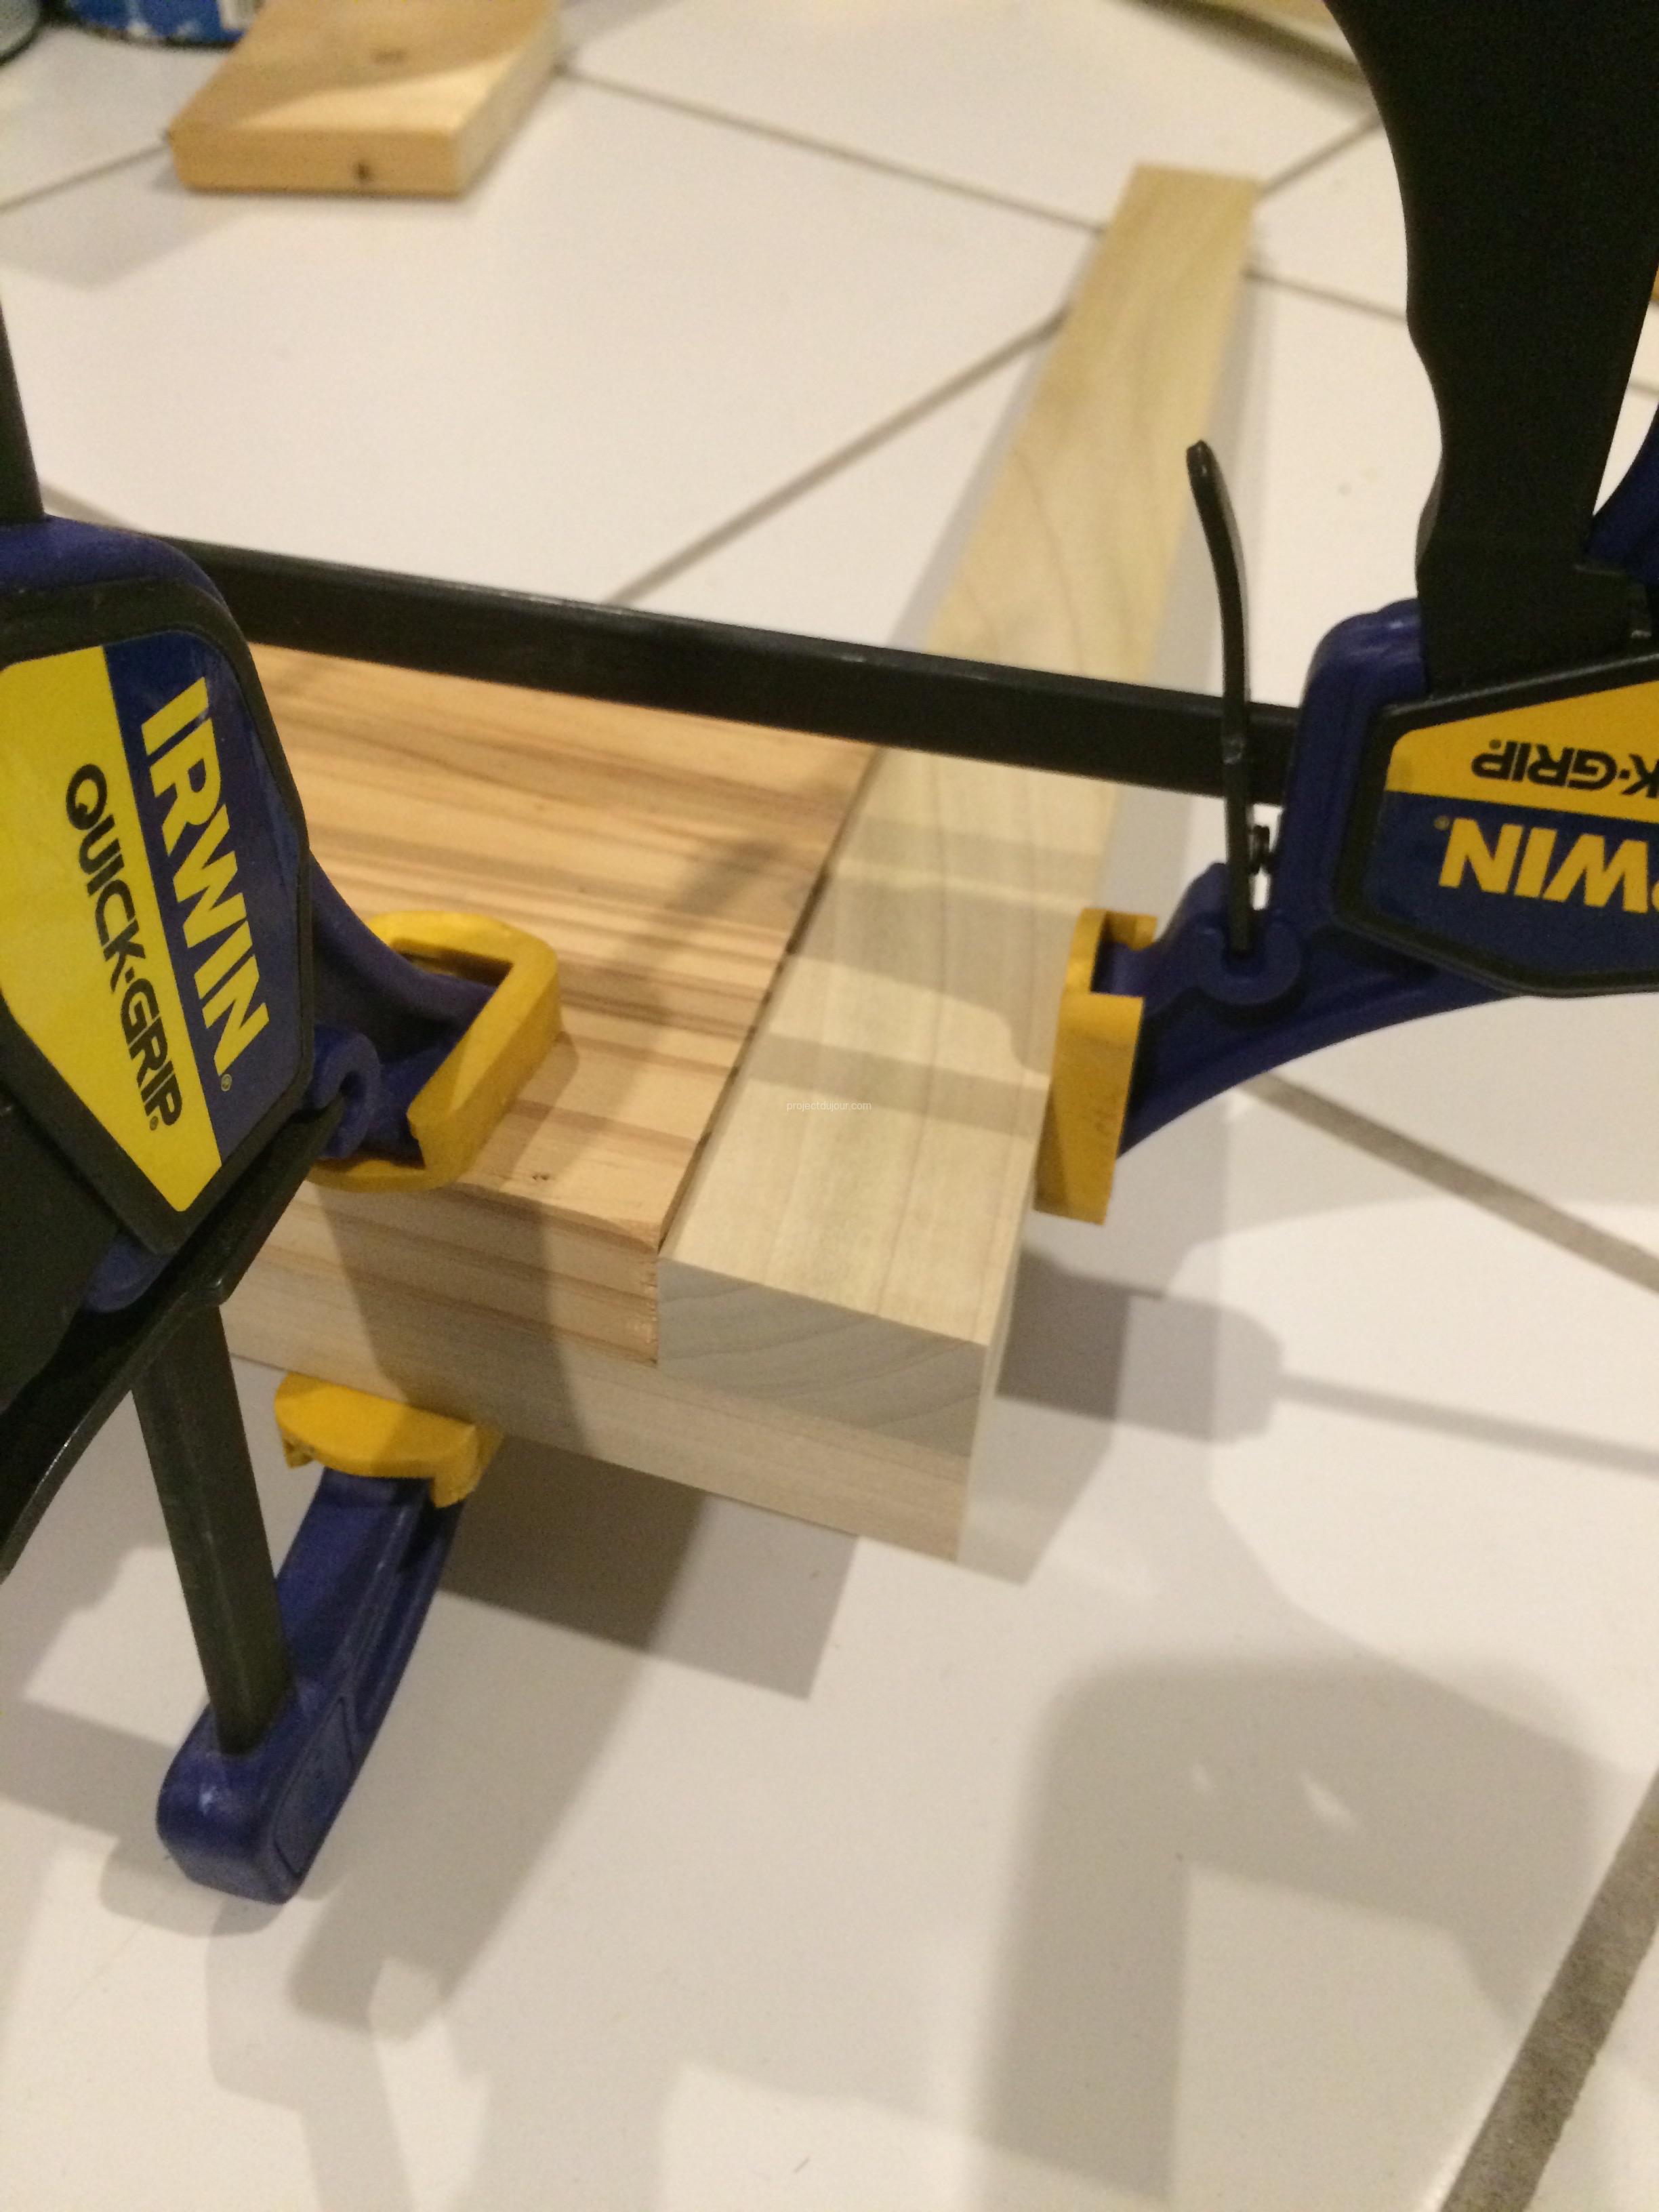
To get started, I cut a couple of corner pieces at 5 degrees and clamped them to the first top piece. I double checked every angle and dimension since all the layers are based on the first one.
Corner template against top piece
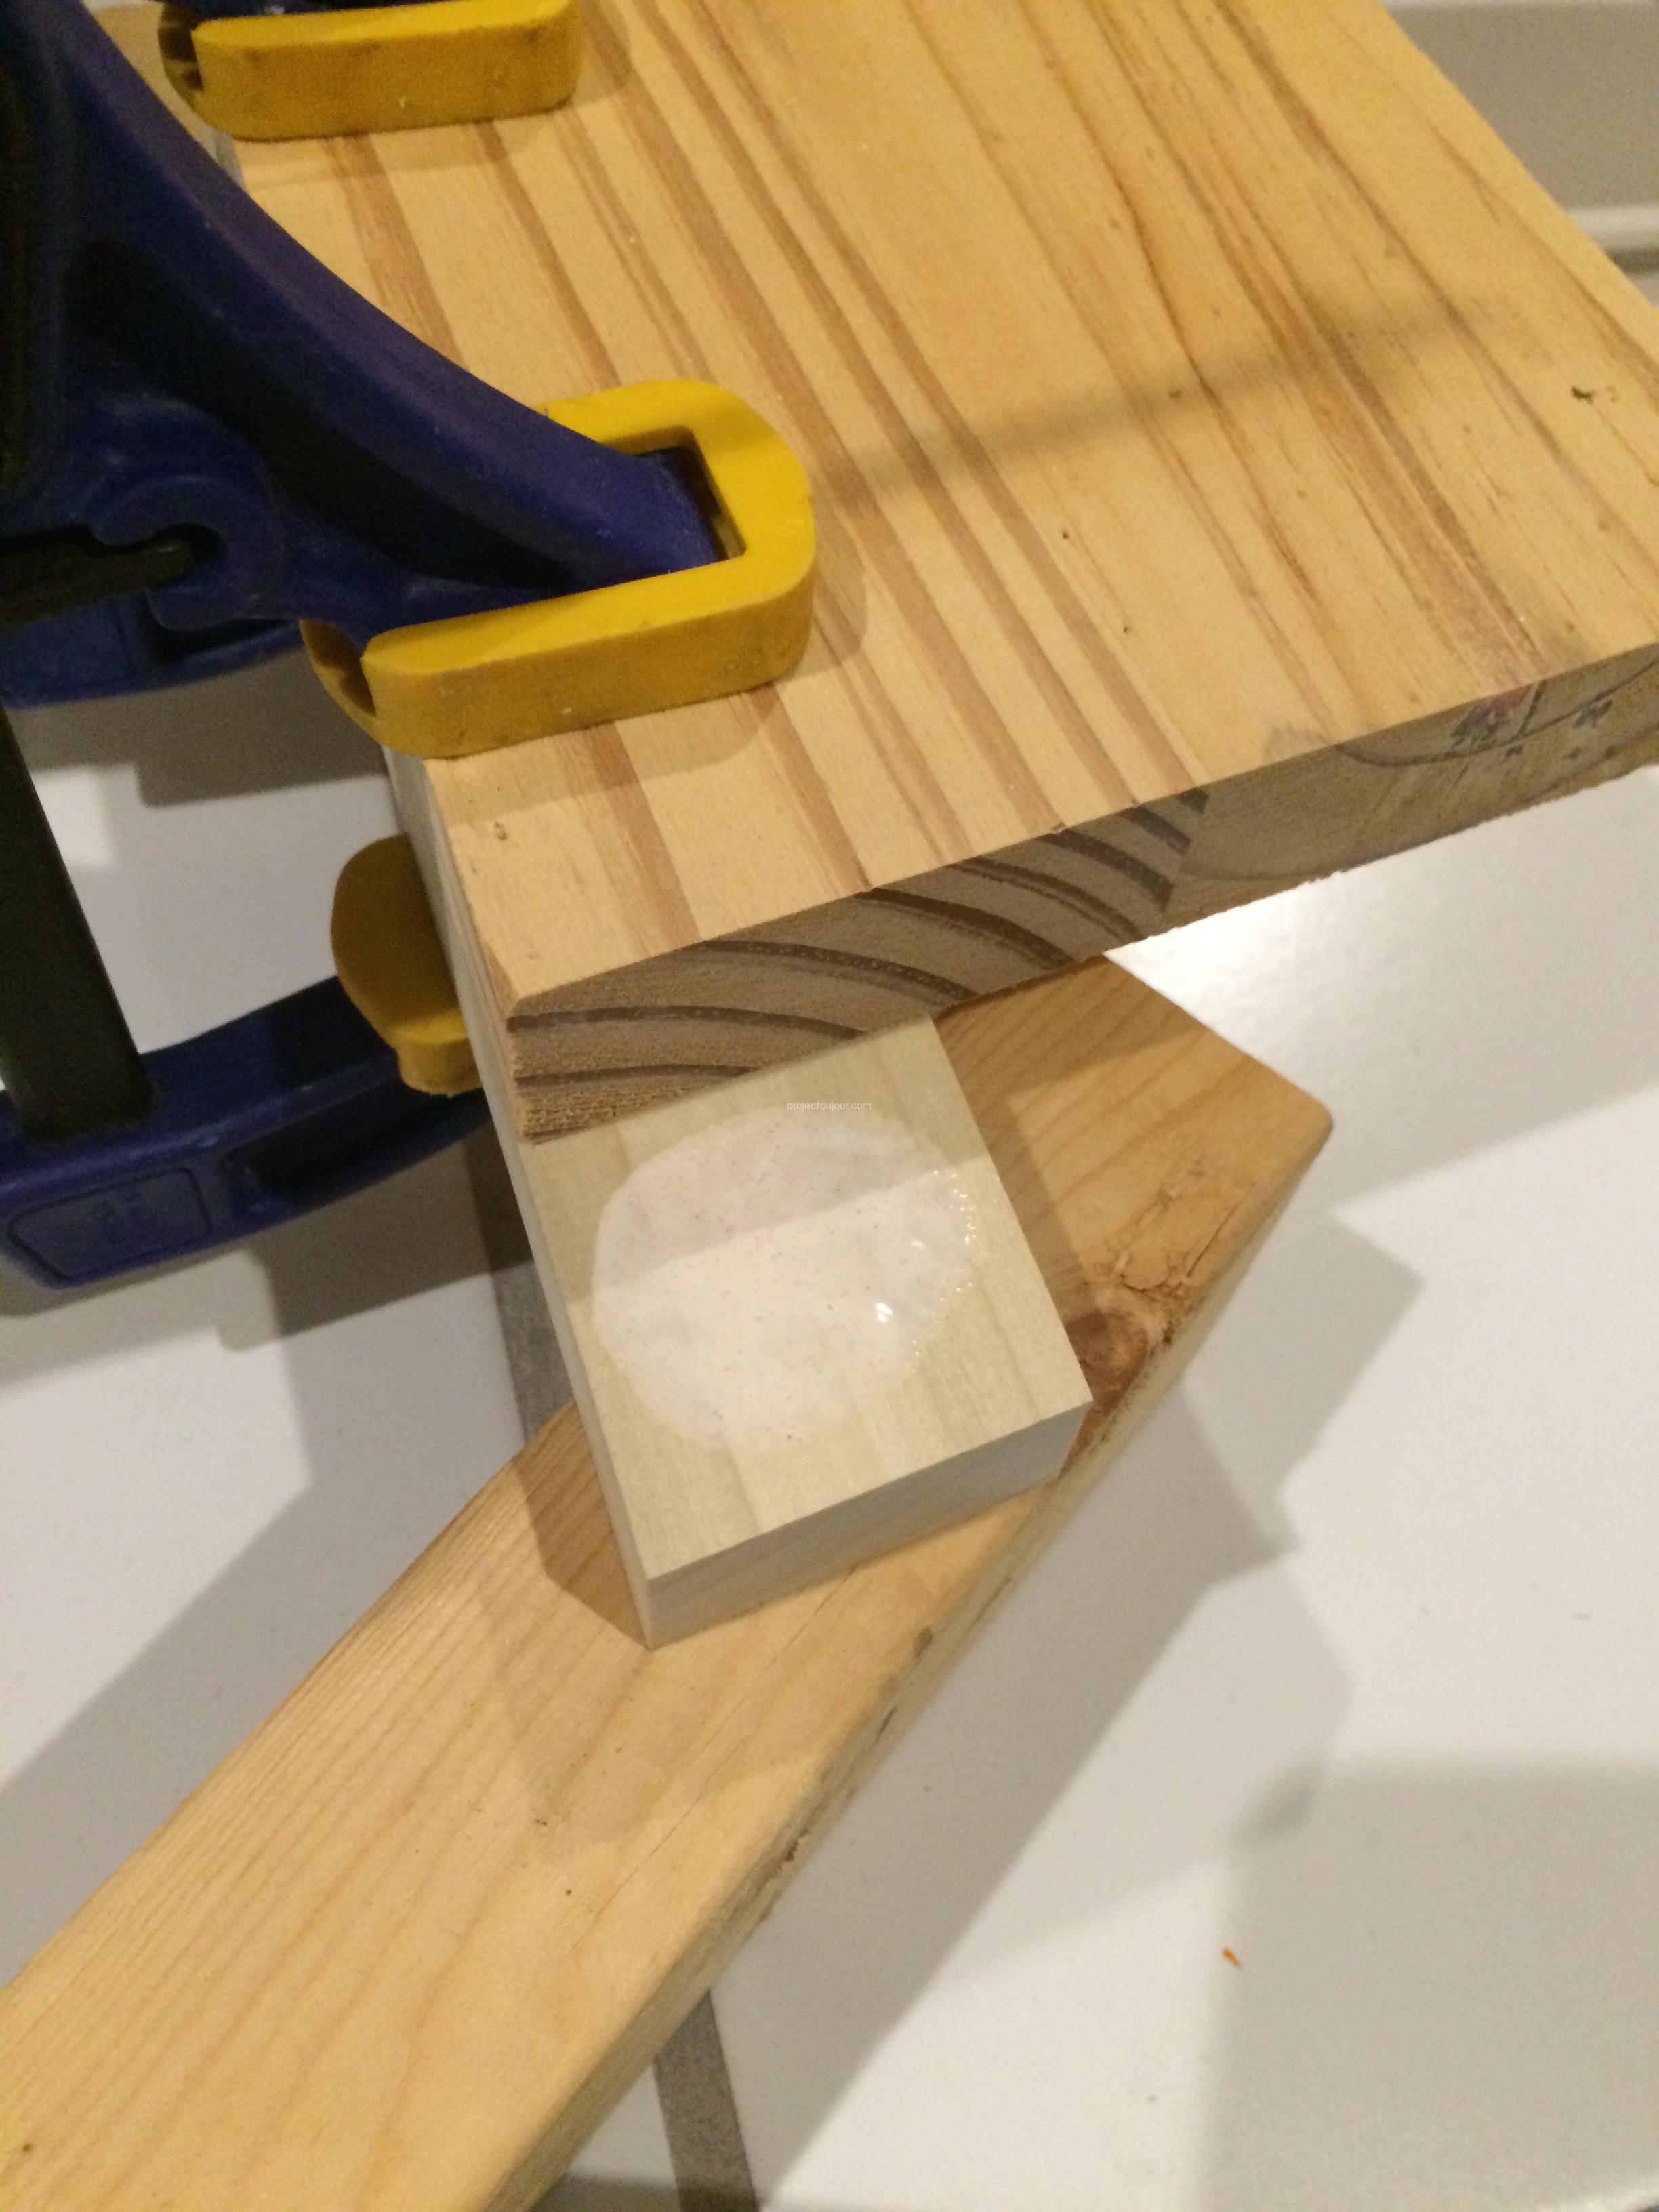
Corner template holding both pieces
All pieces hold together using wood glue and 4 finish nails (16 gage, 1 1/4″) at each junction. I started from the front pieces of the bench so the nails would always be hidden (i.e. nailed from the back).
Wood glue
Nailing
Nailing and glue squeezed out
After the glueing and nailing, I clamped each corner and cleaned up the wood glue that was squeezed out. I found that damped Q-Tips are perfect to remove the extra glue in narrow corners.
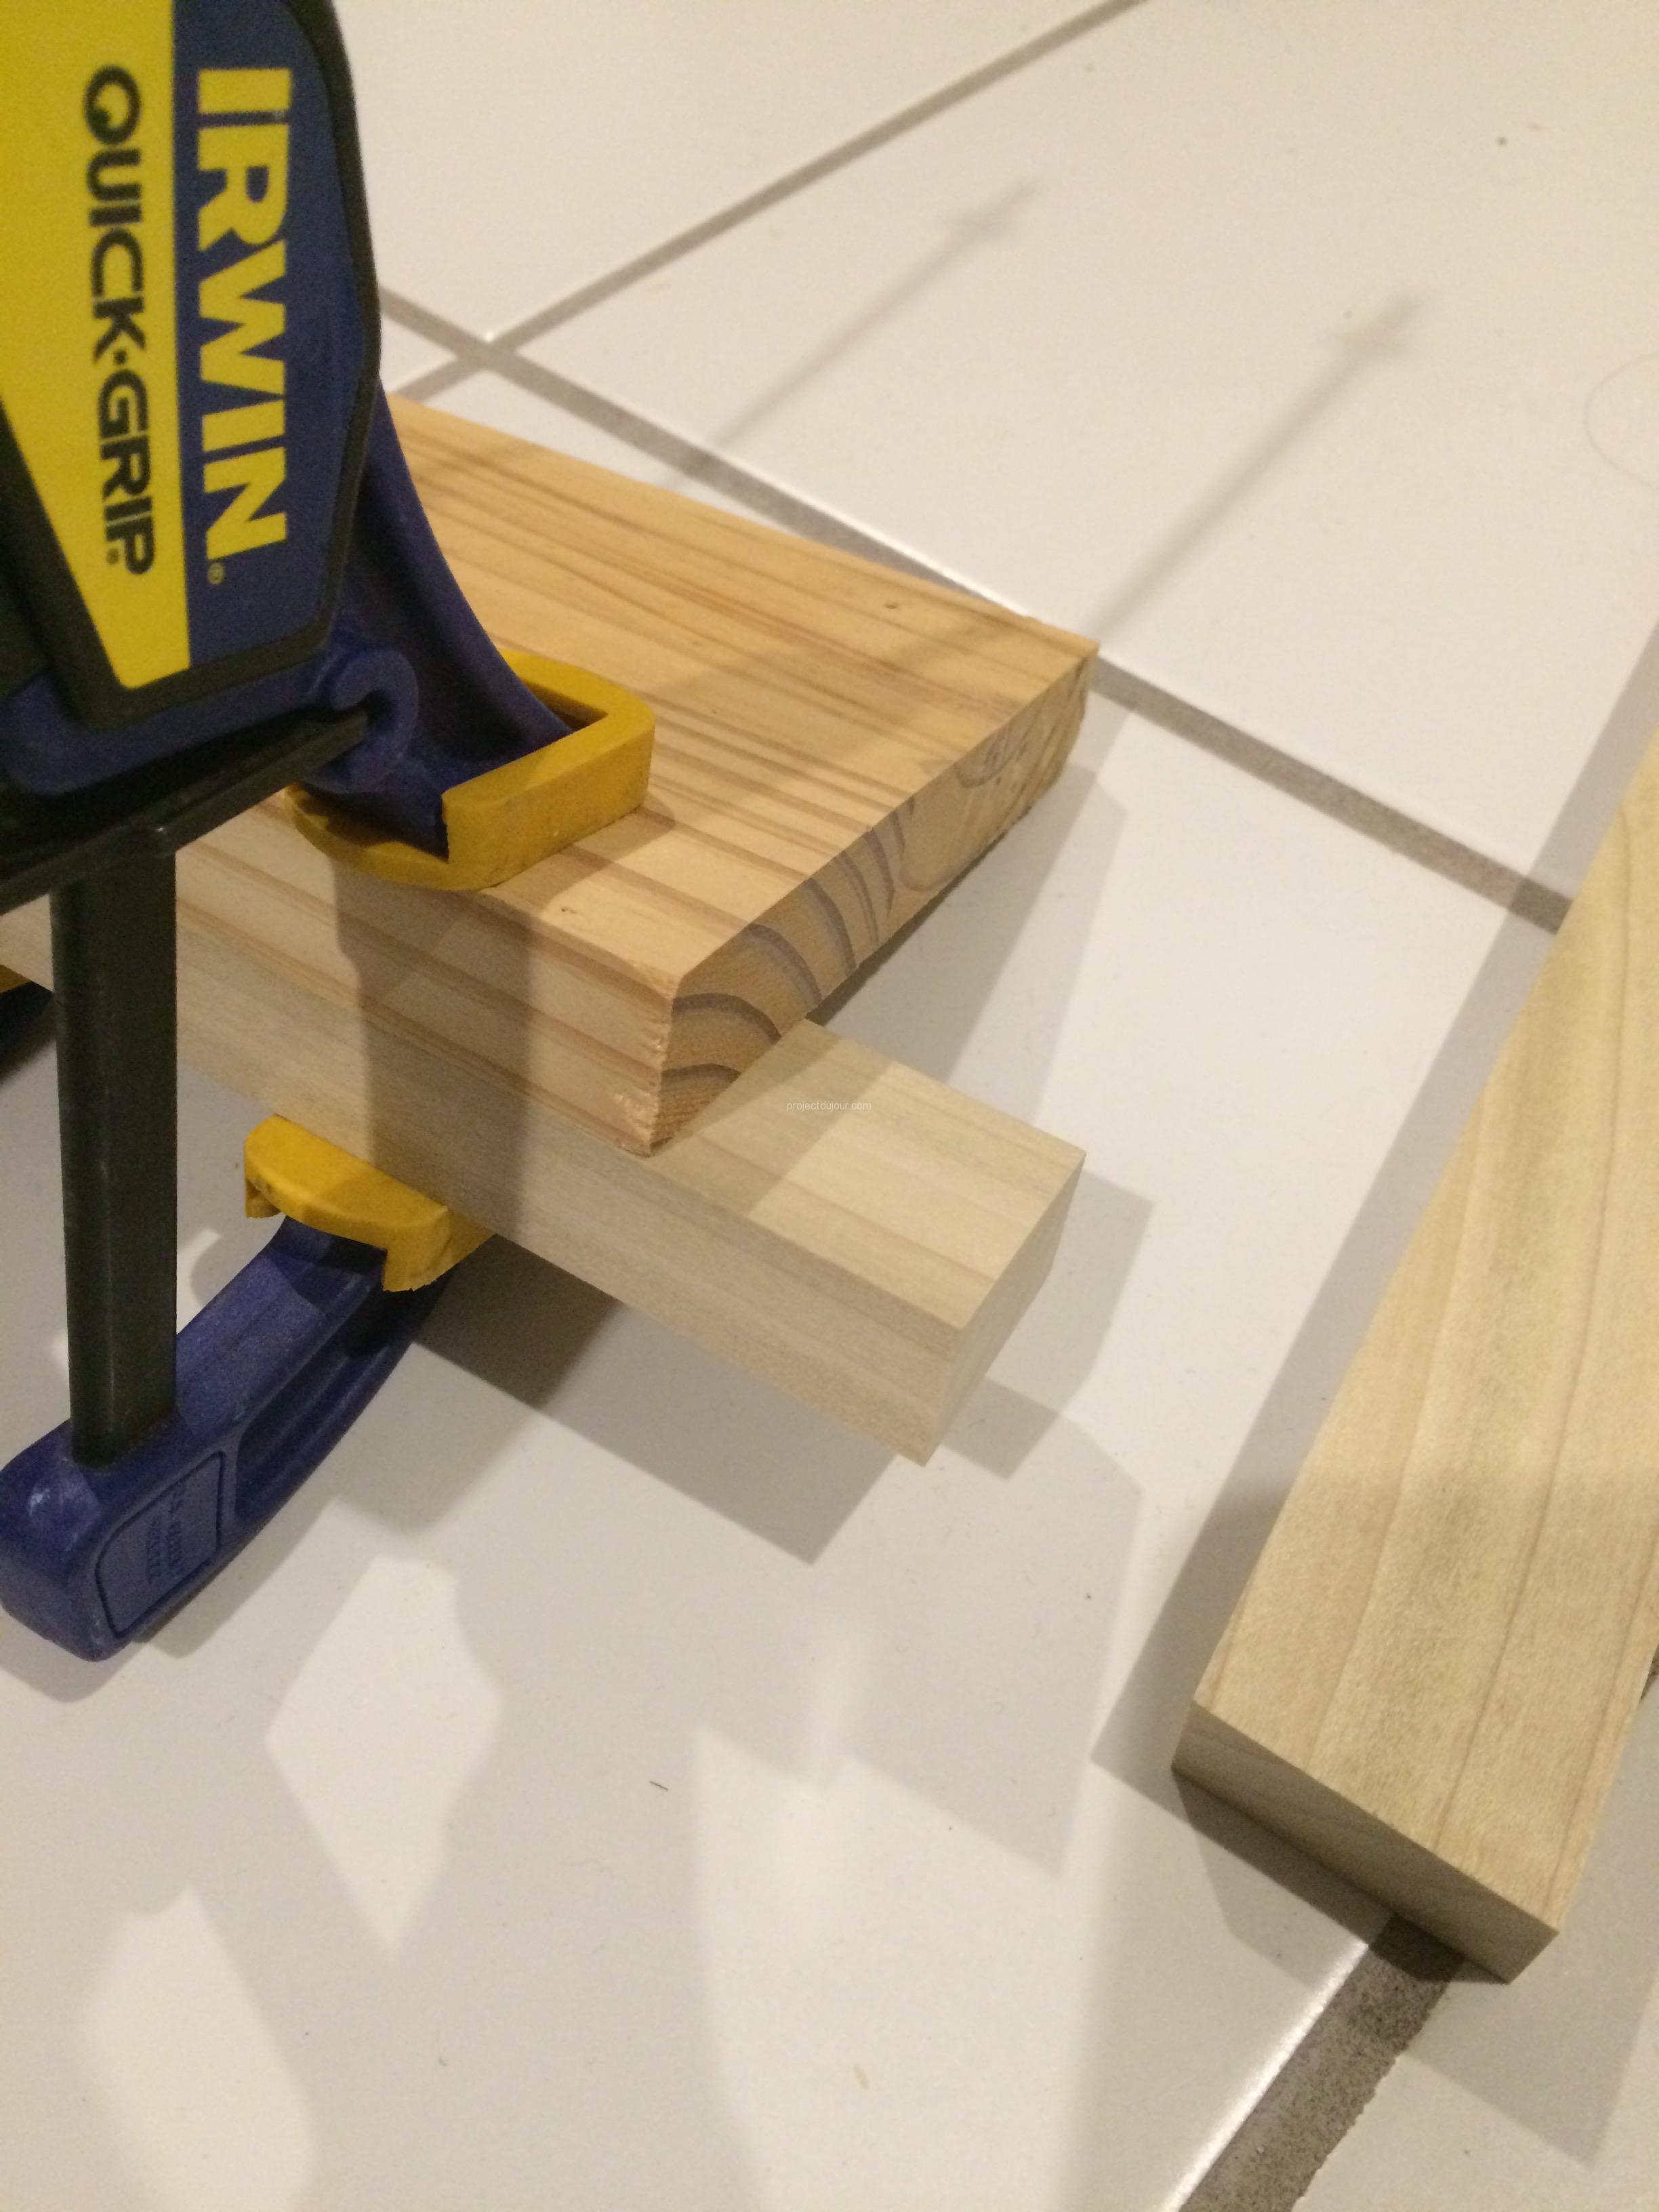
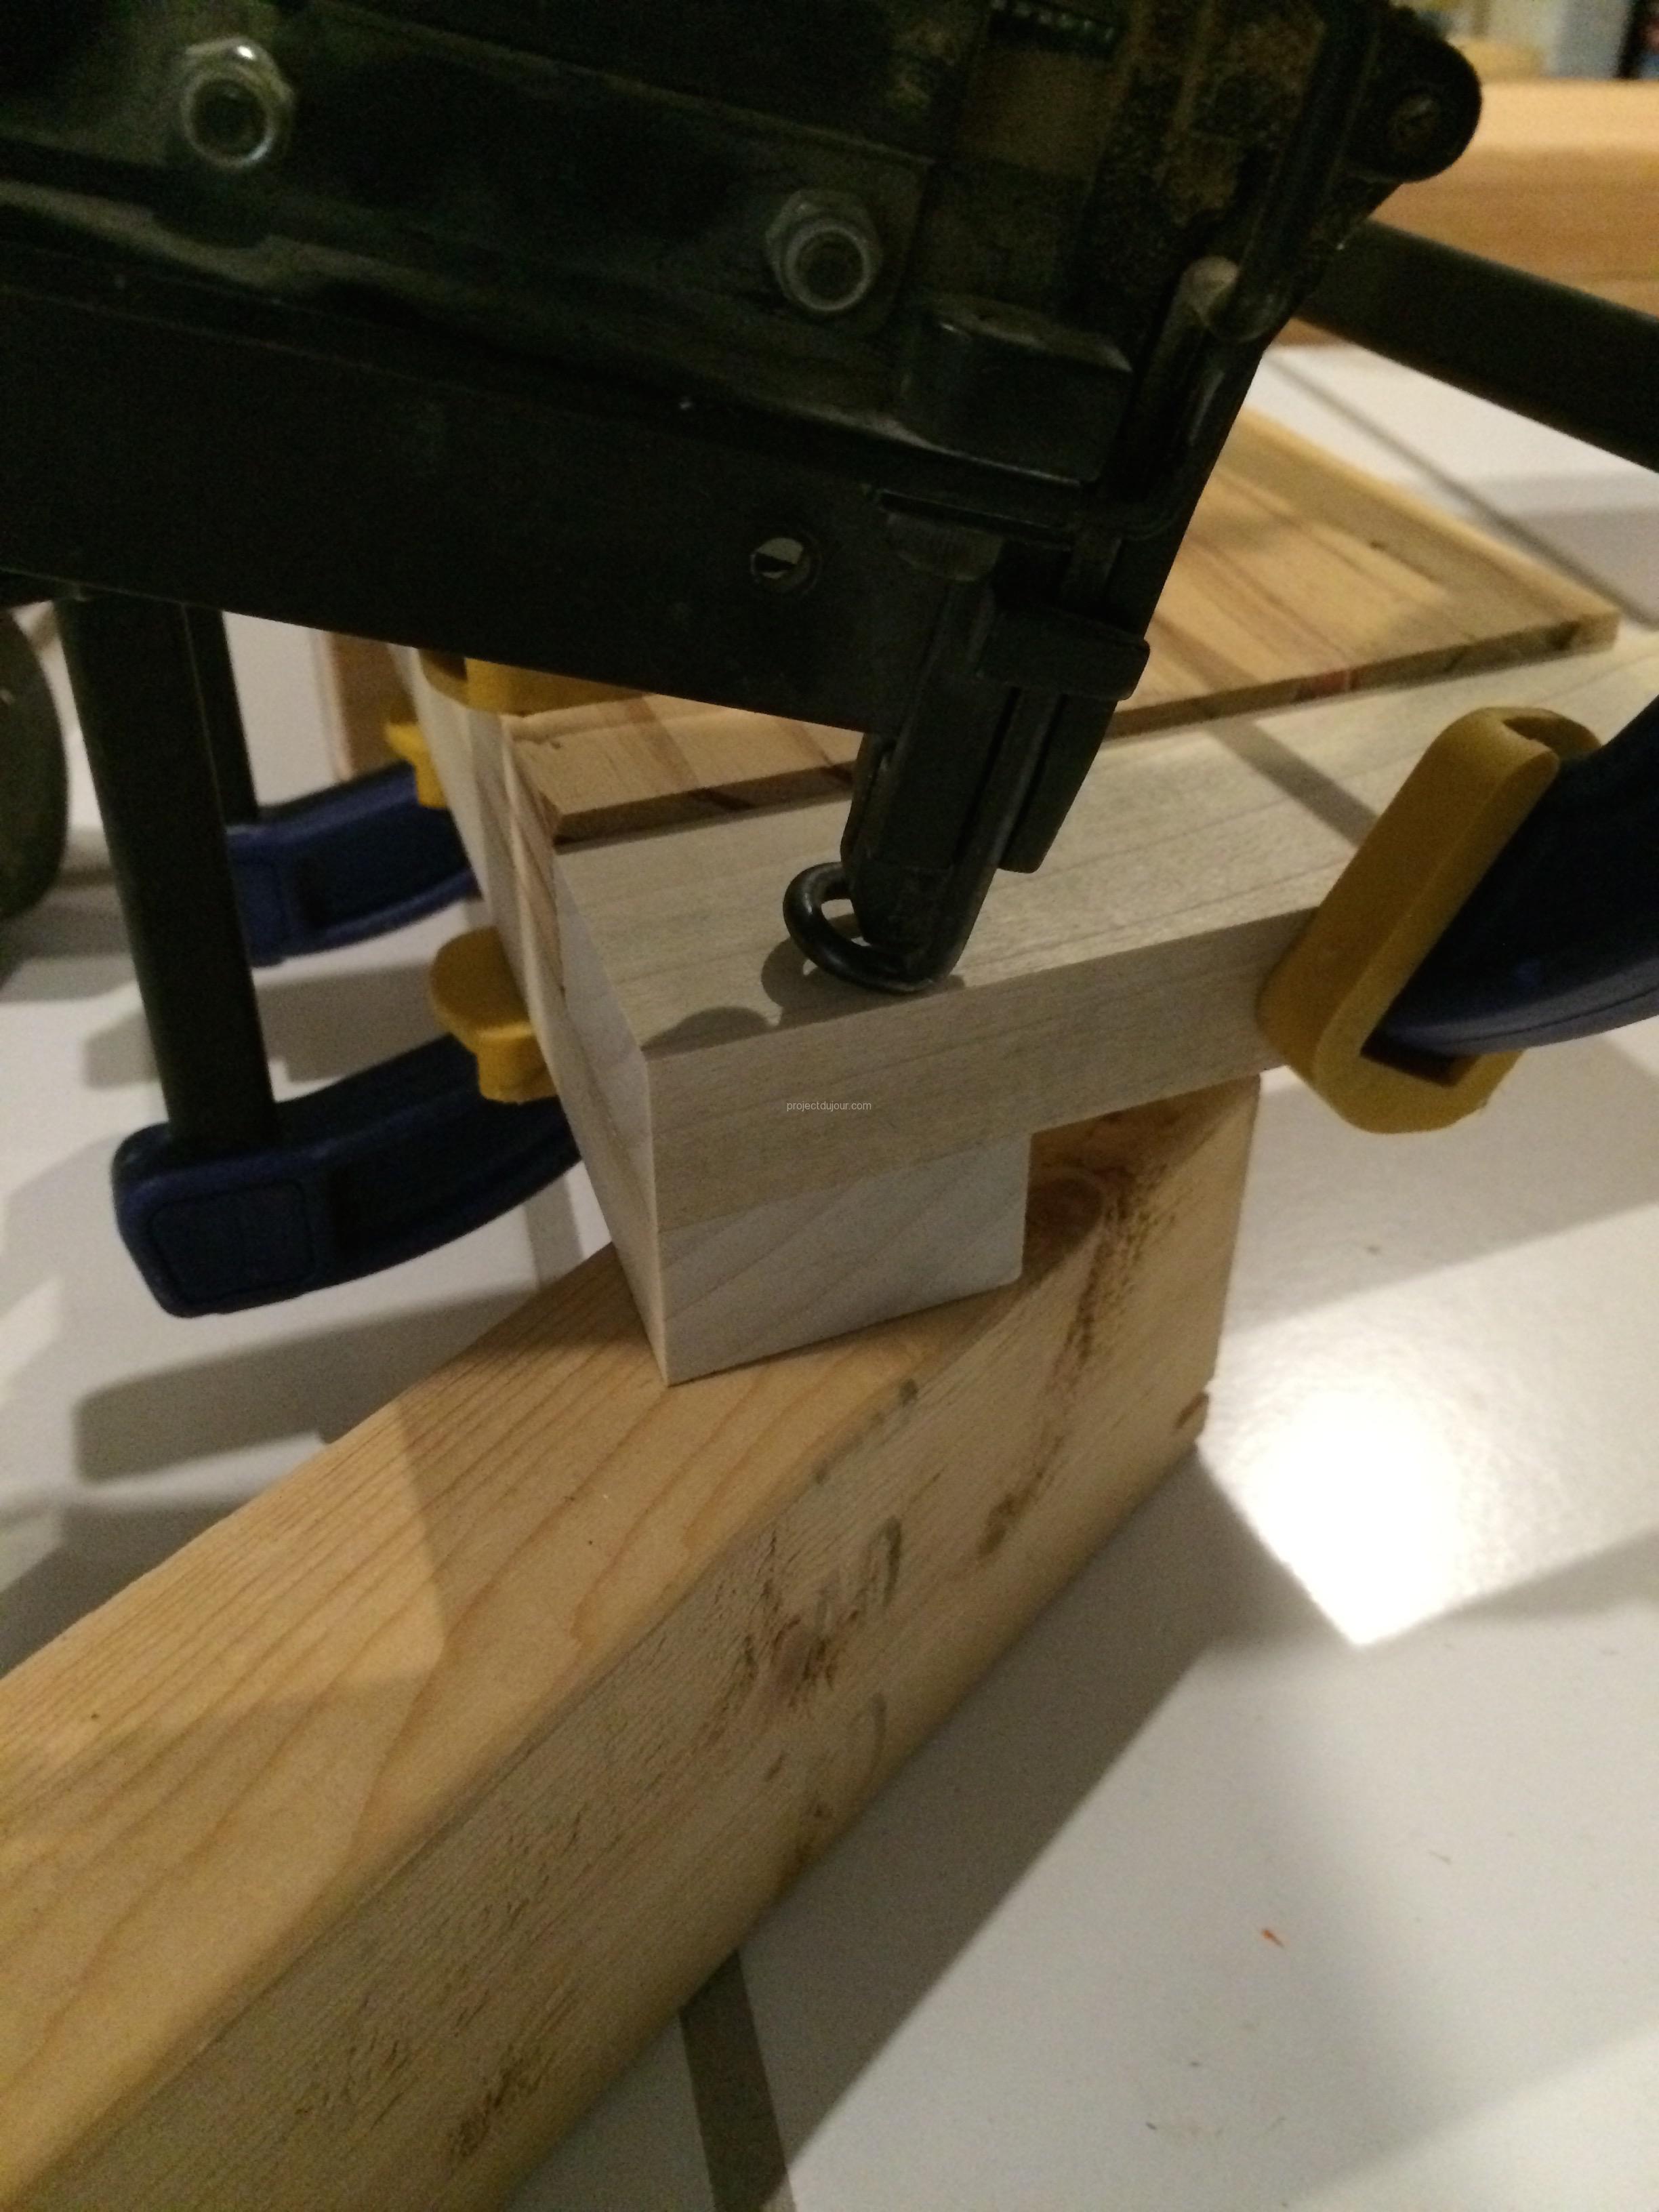
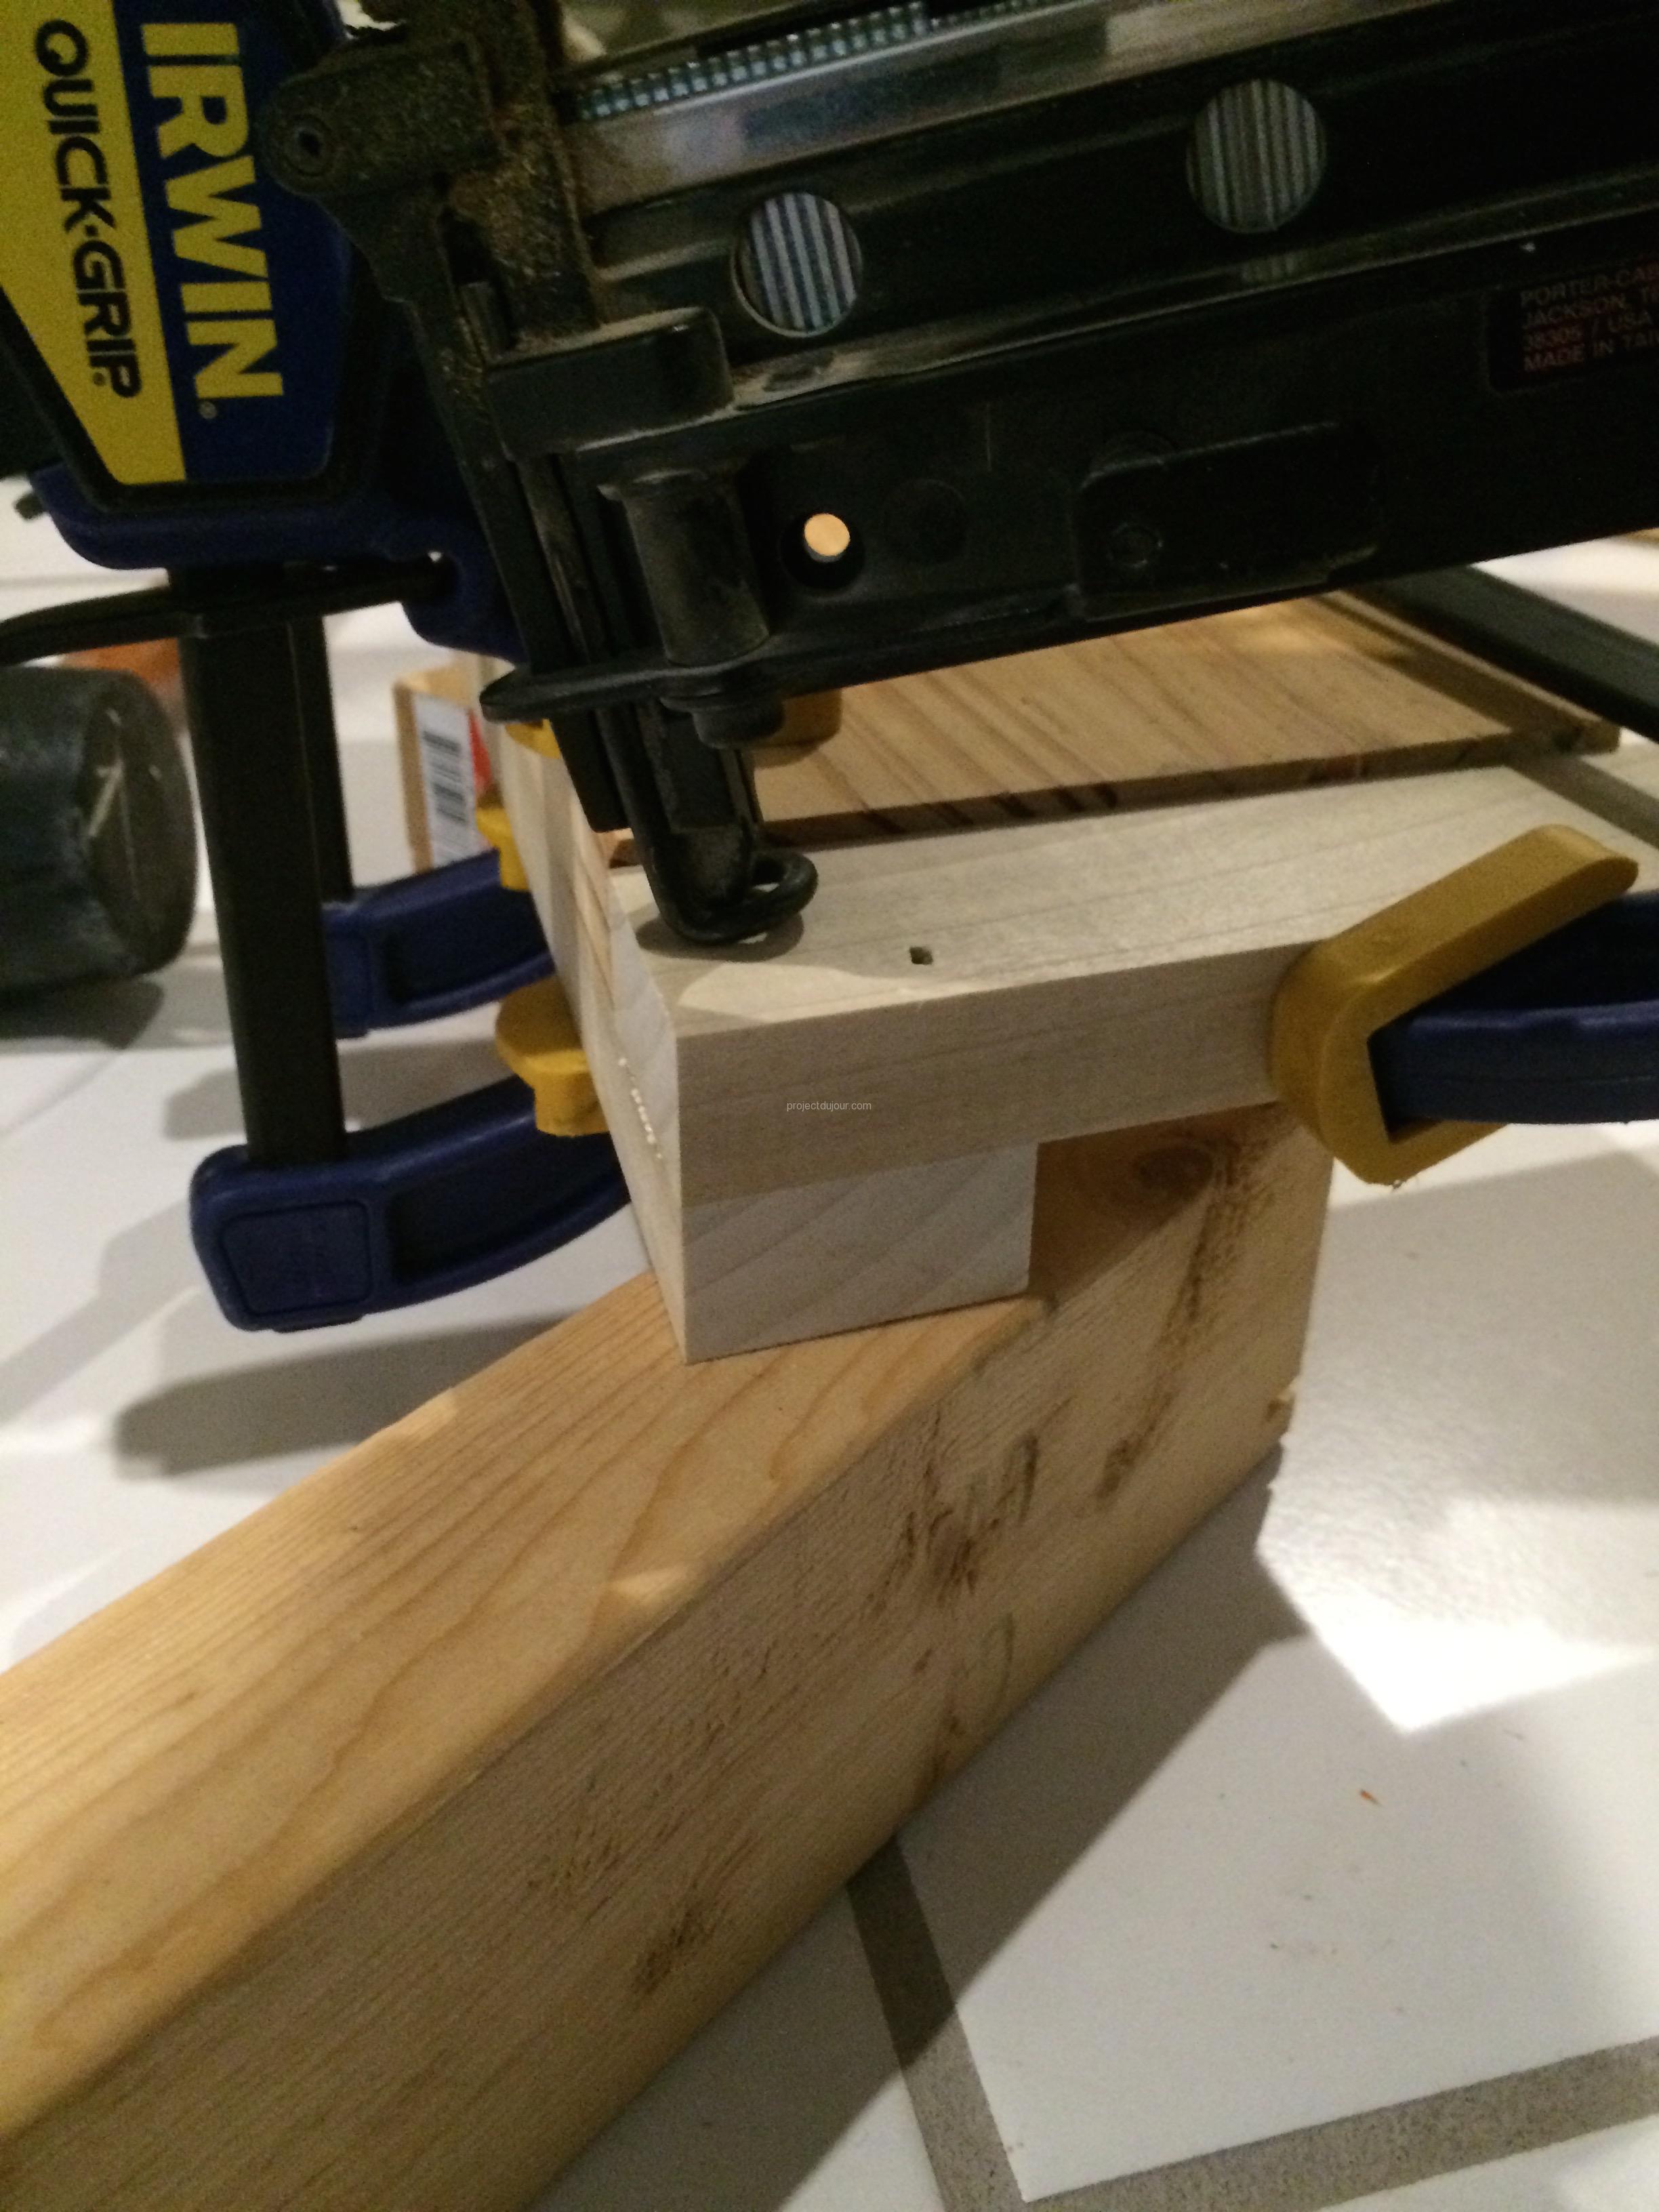
To determine the length of the shelf, I cut two 5″ long spacers that I clamped on the feet’s bottom and measured the required length. I could have used proper trigonometry but I find that empirical methods are often faster and accommodate for small errors in execution. I used these spacers for each layer to maintain a constant shelf height as I assembled the bench.
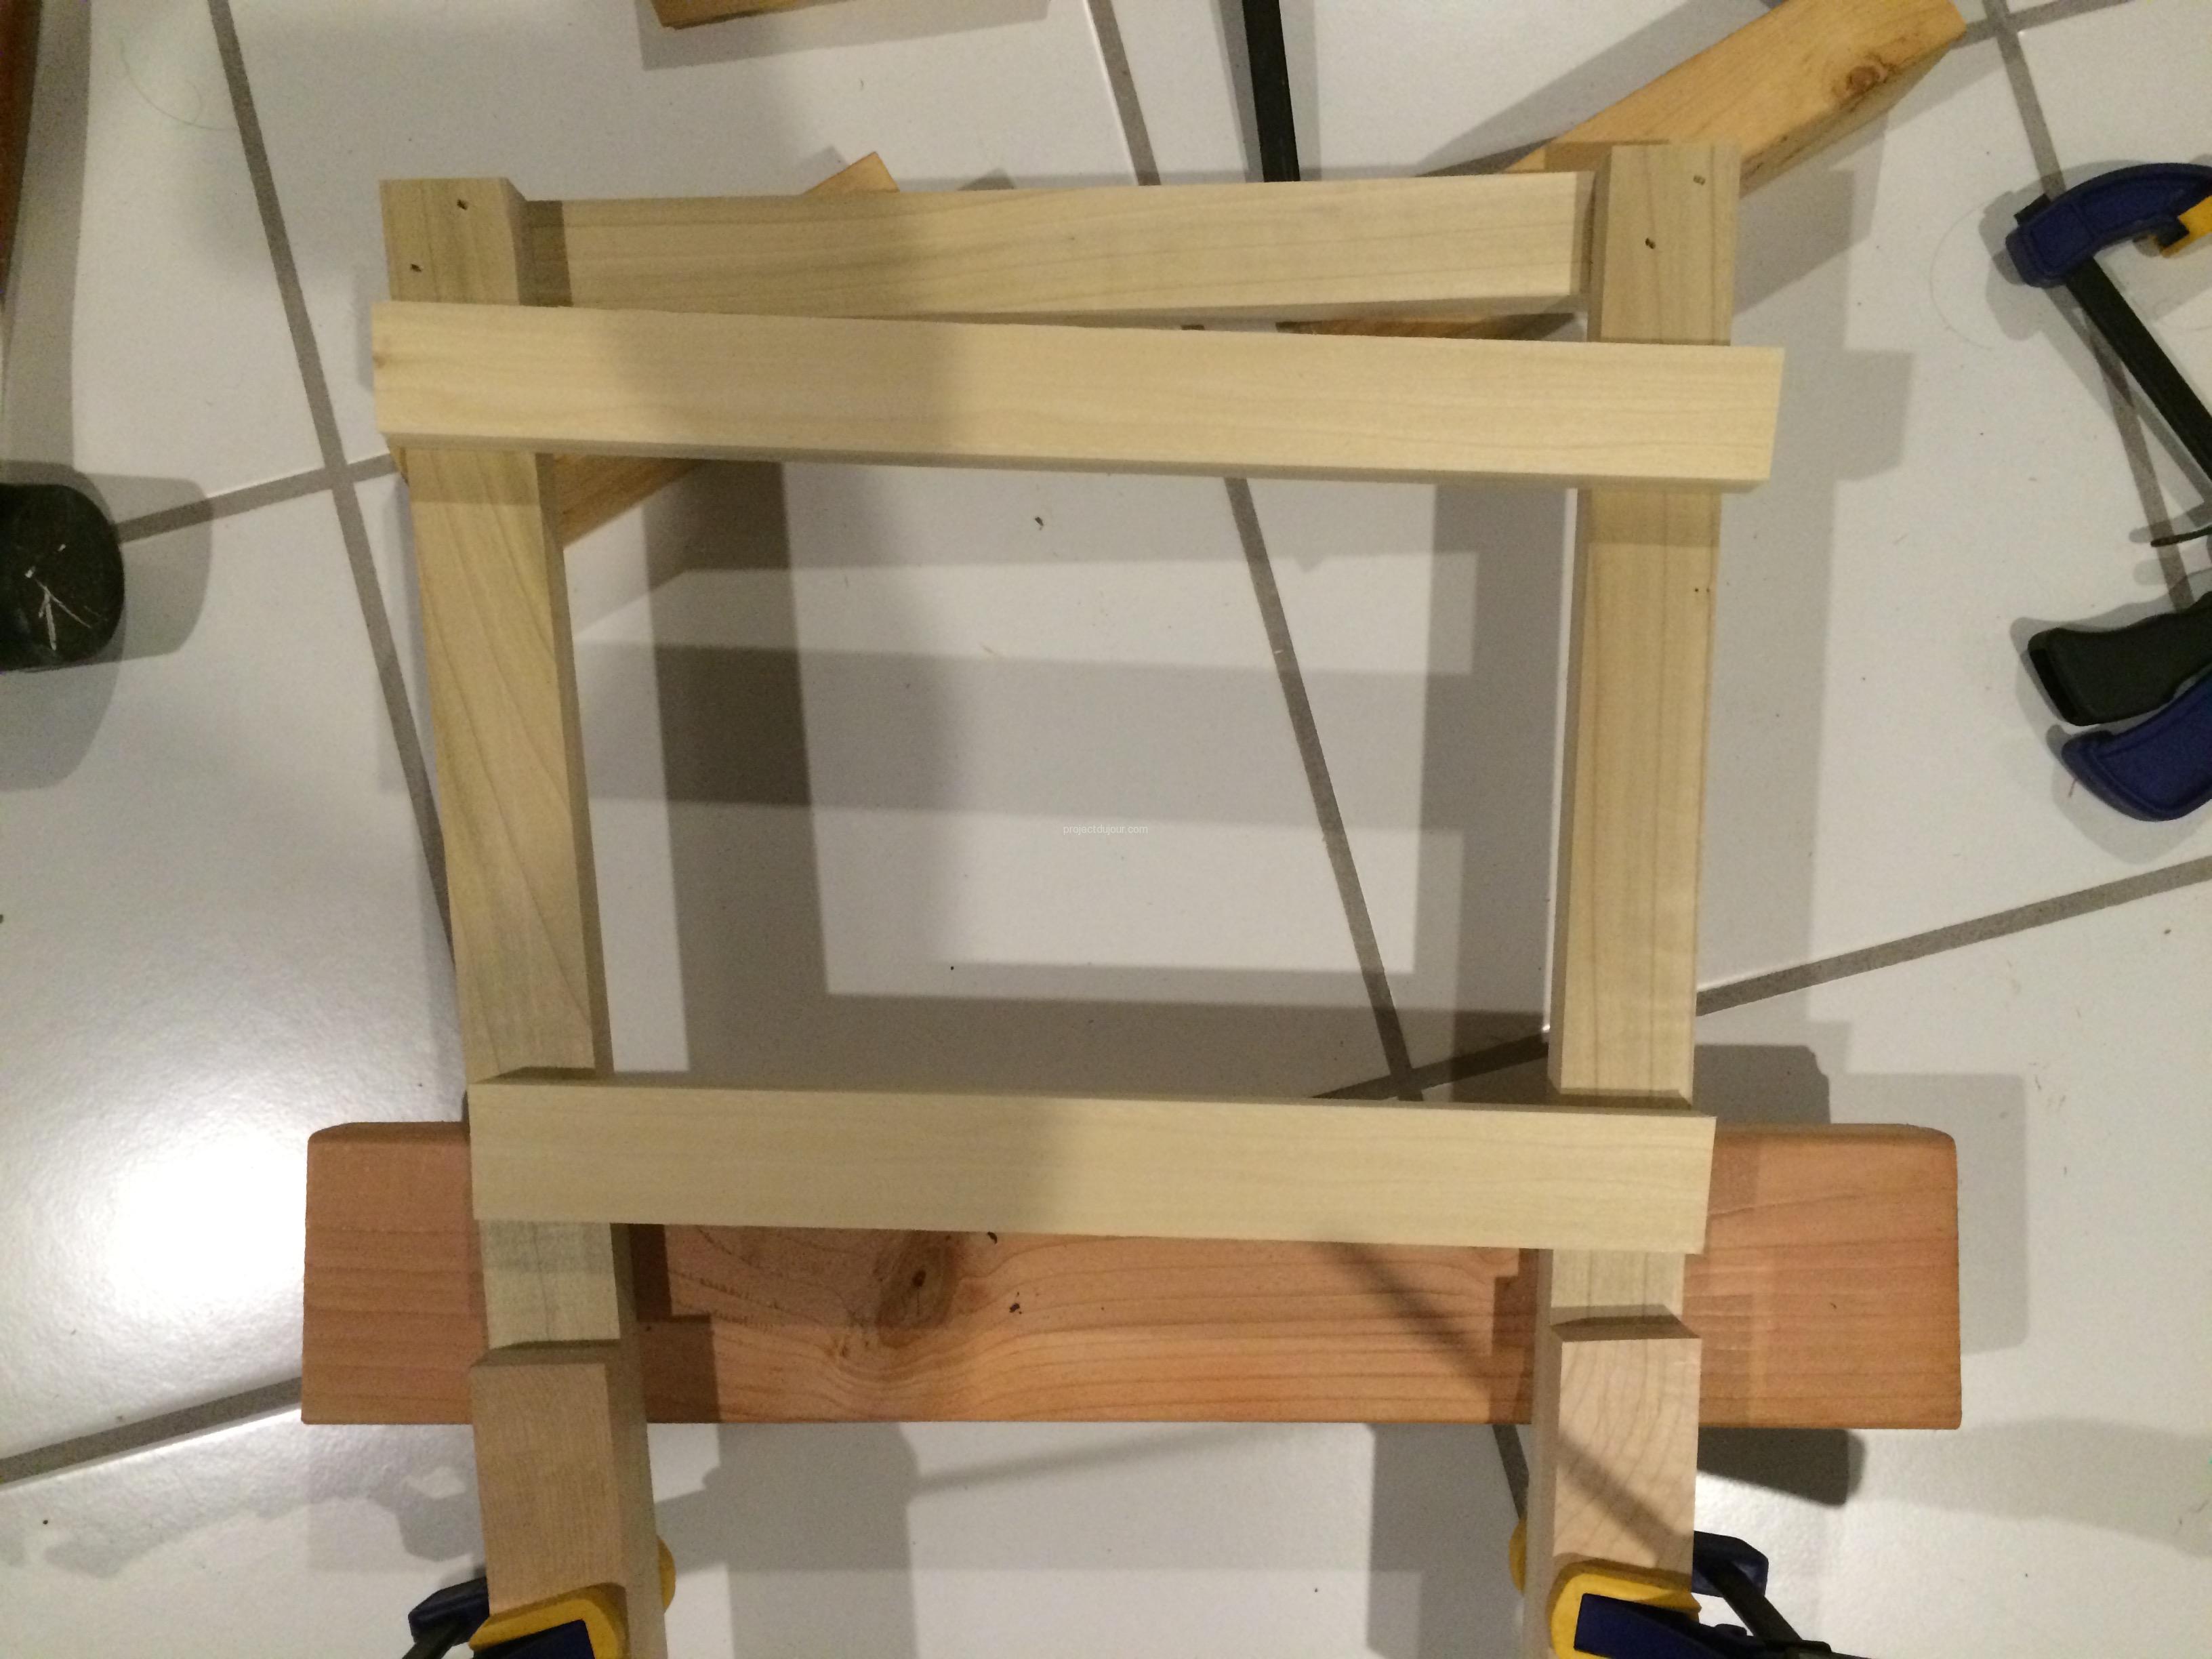
Spacers clamped on feet’s bottom
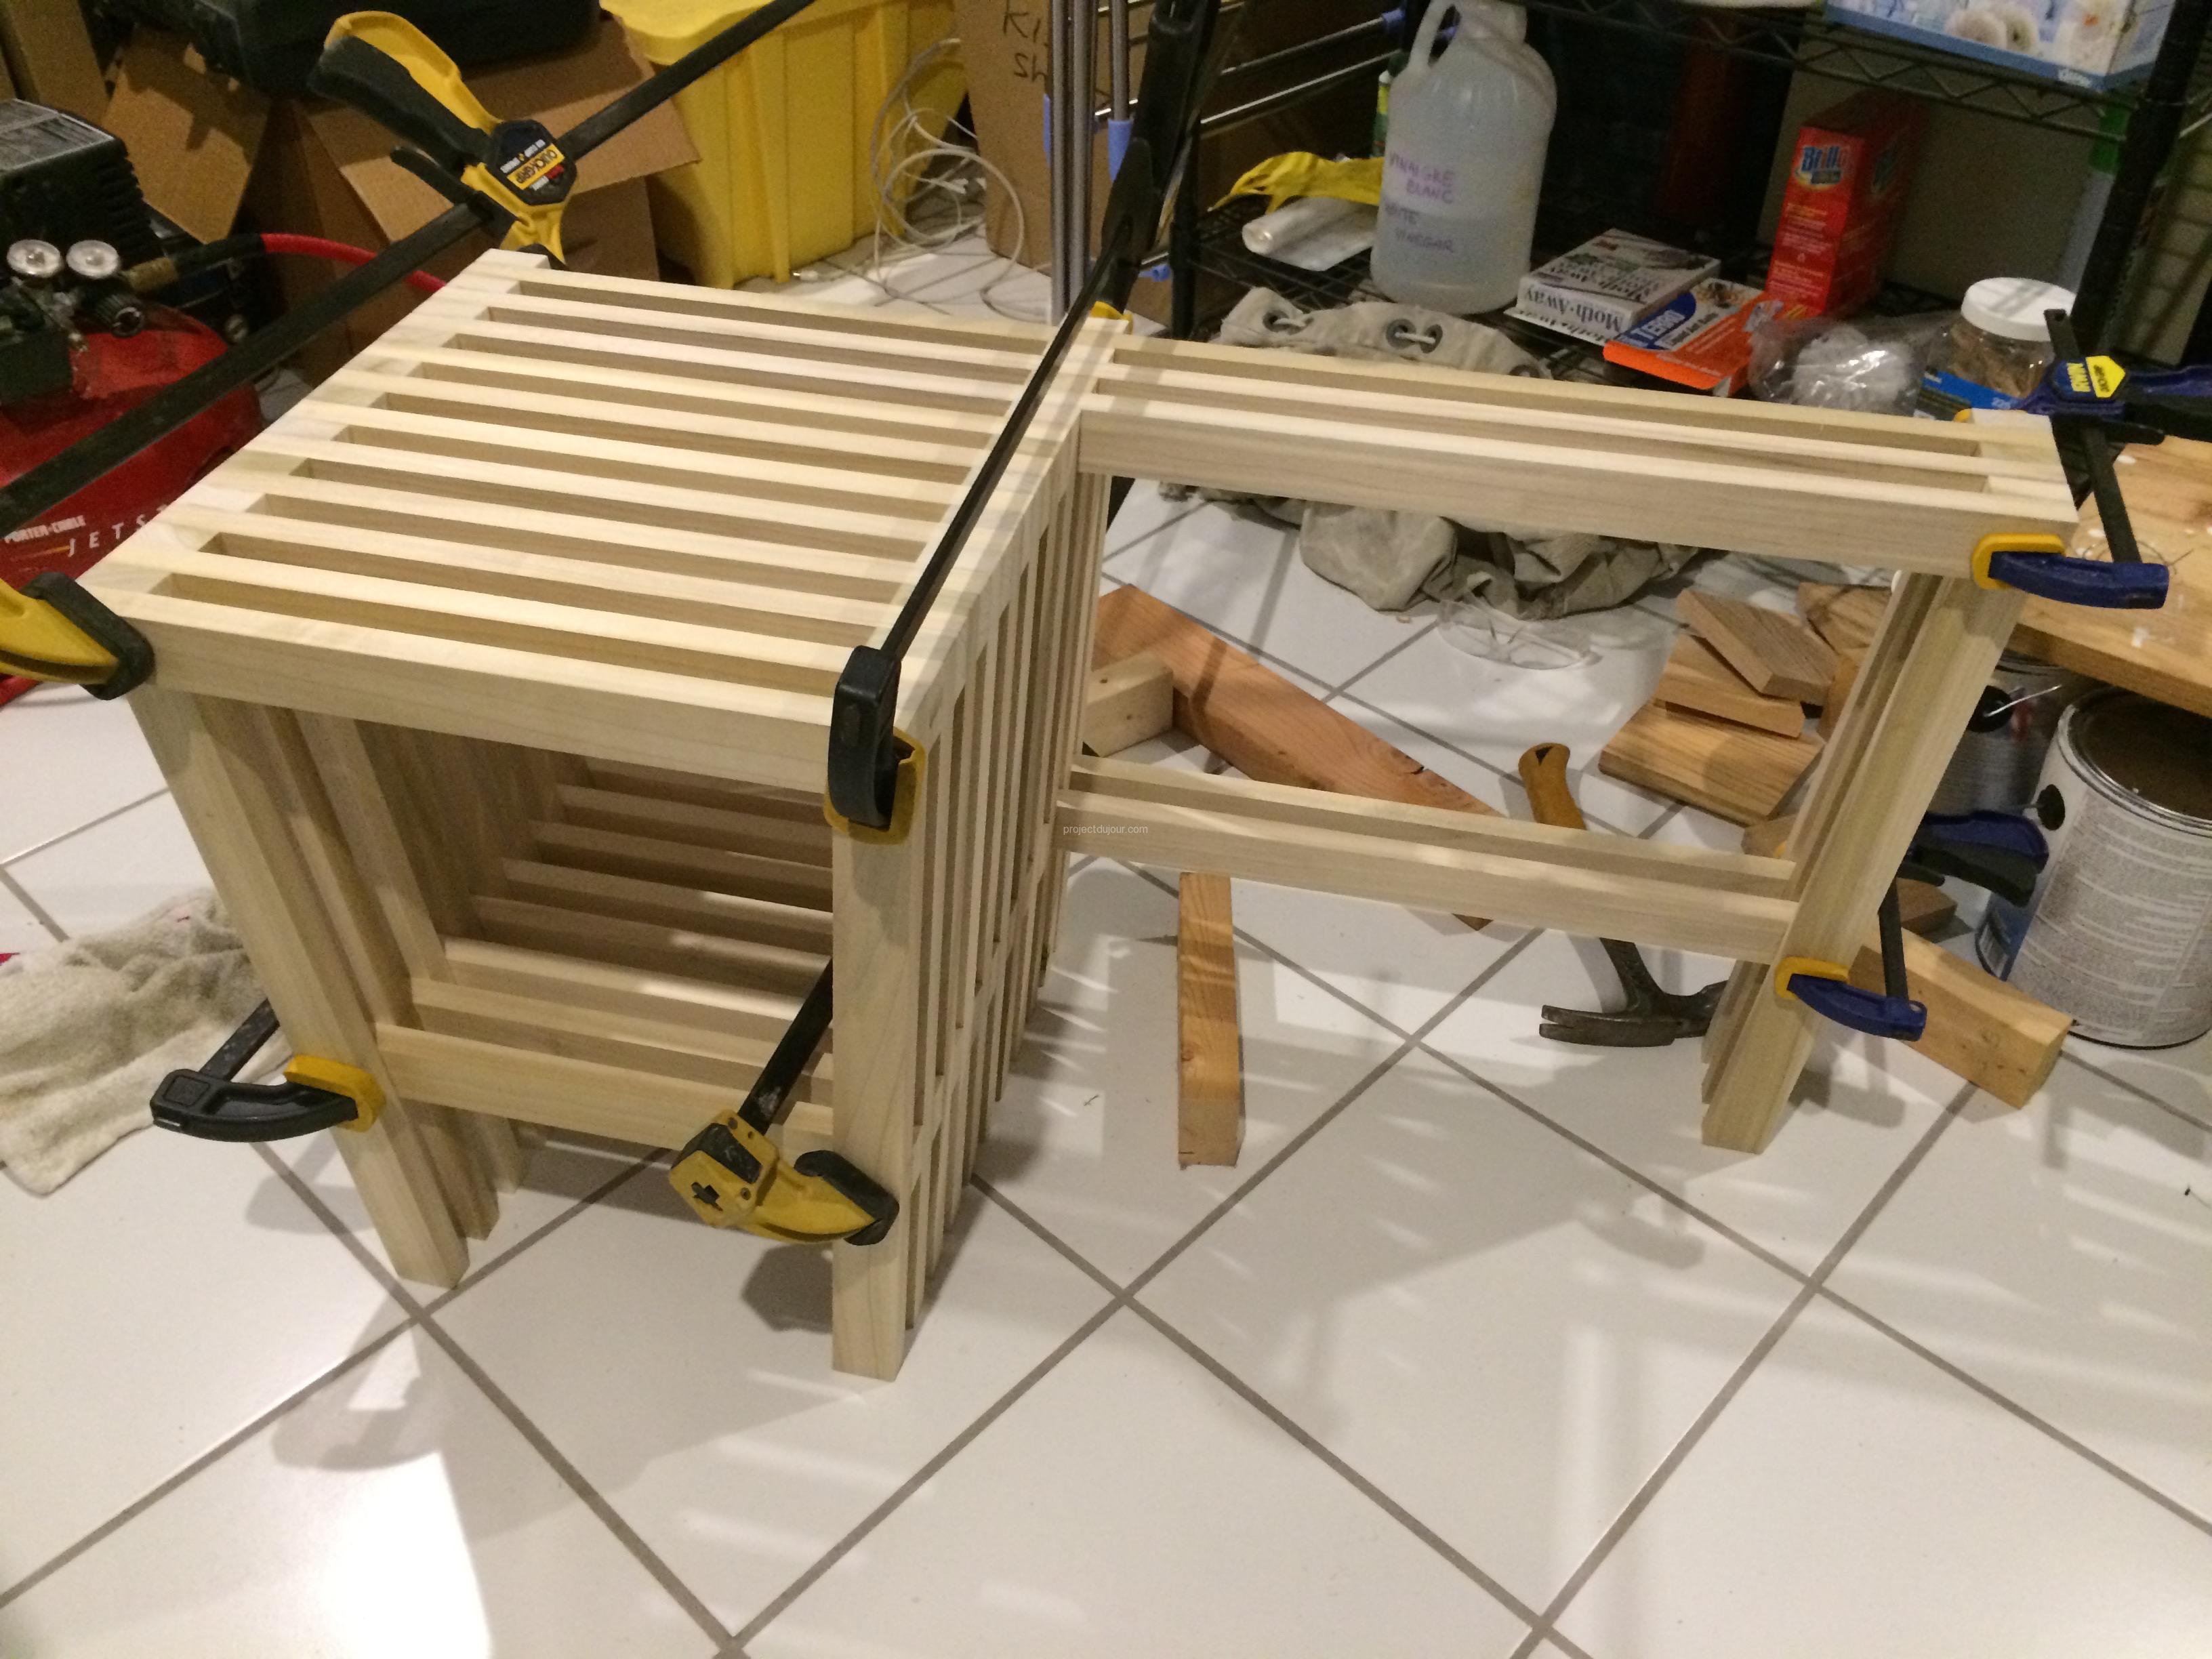
Once the first layer was assembled, it was just a matter of precisely stacking layer after layer.

First few layers
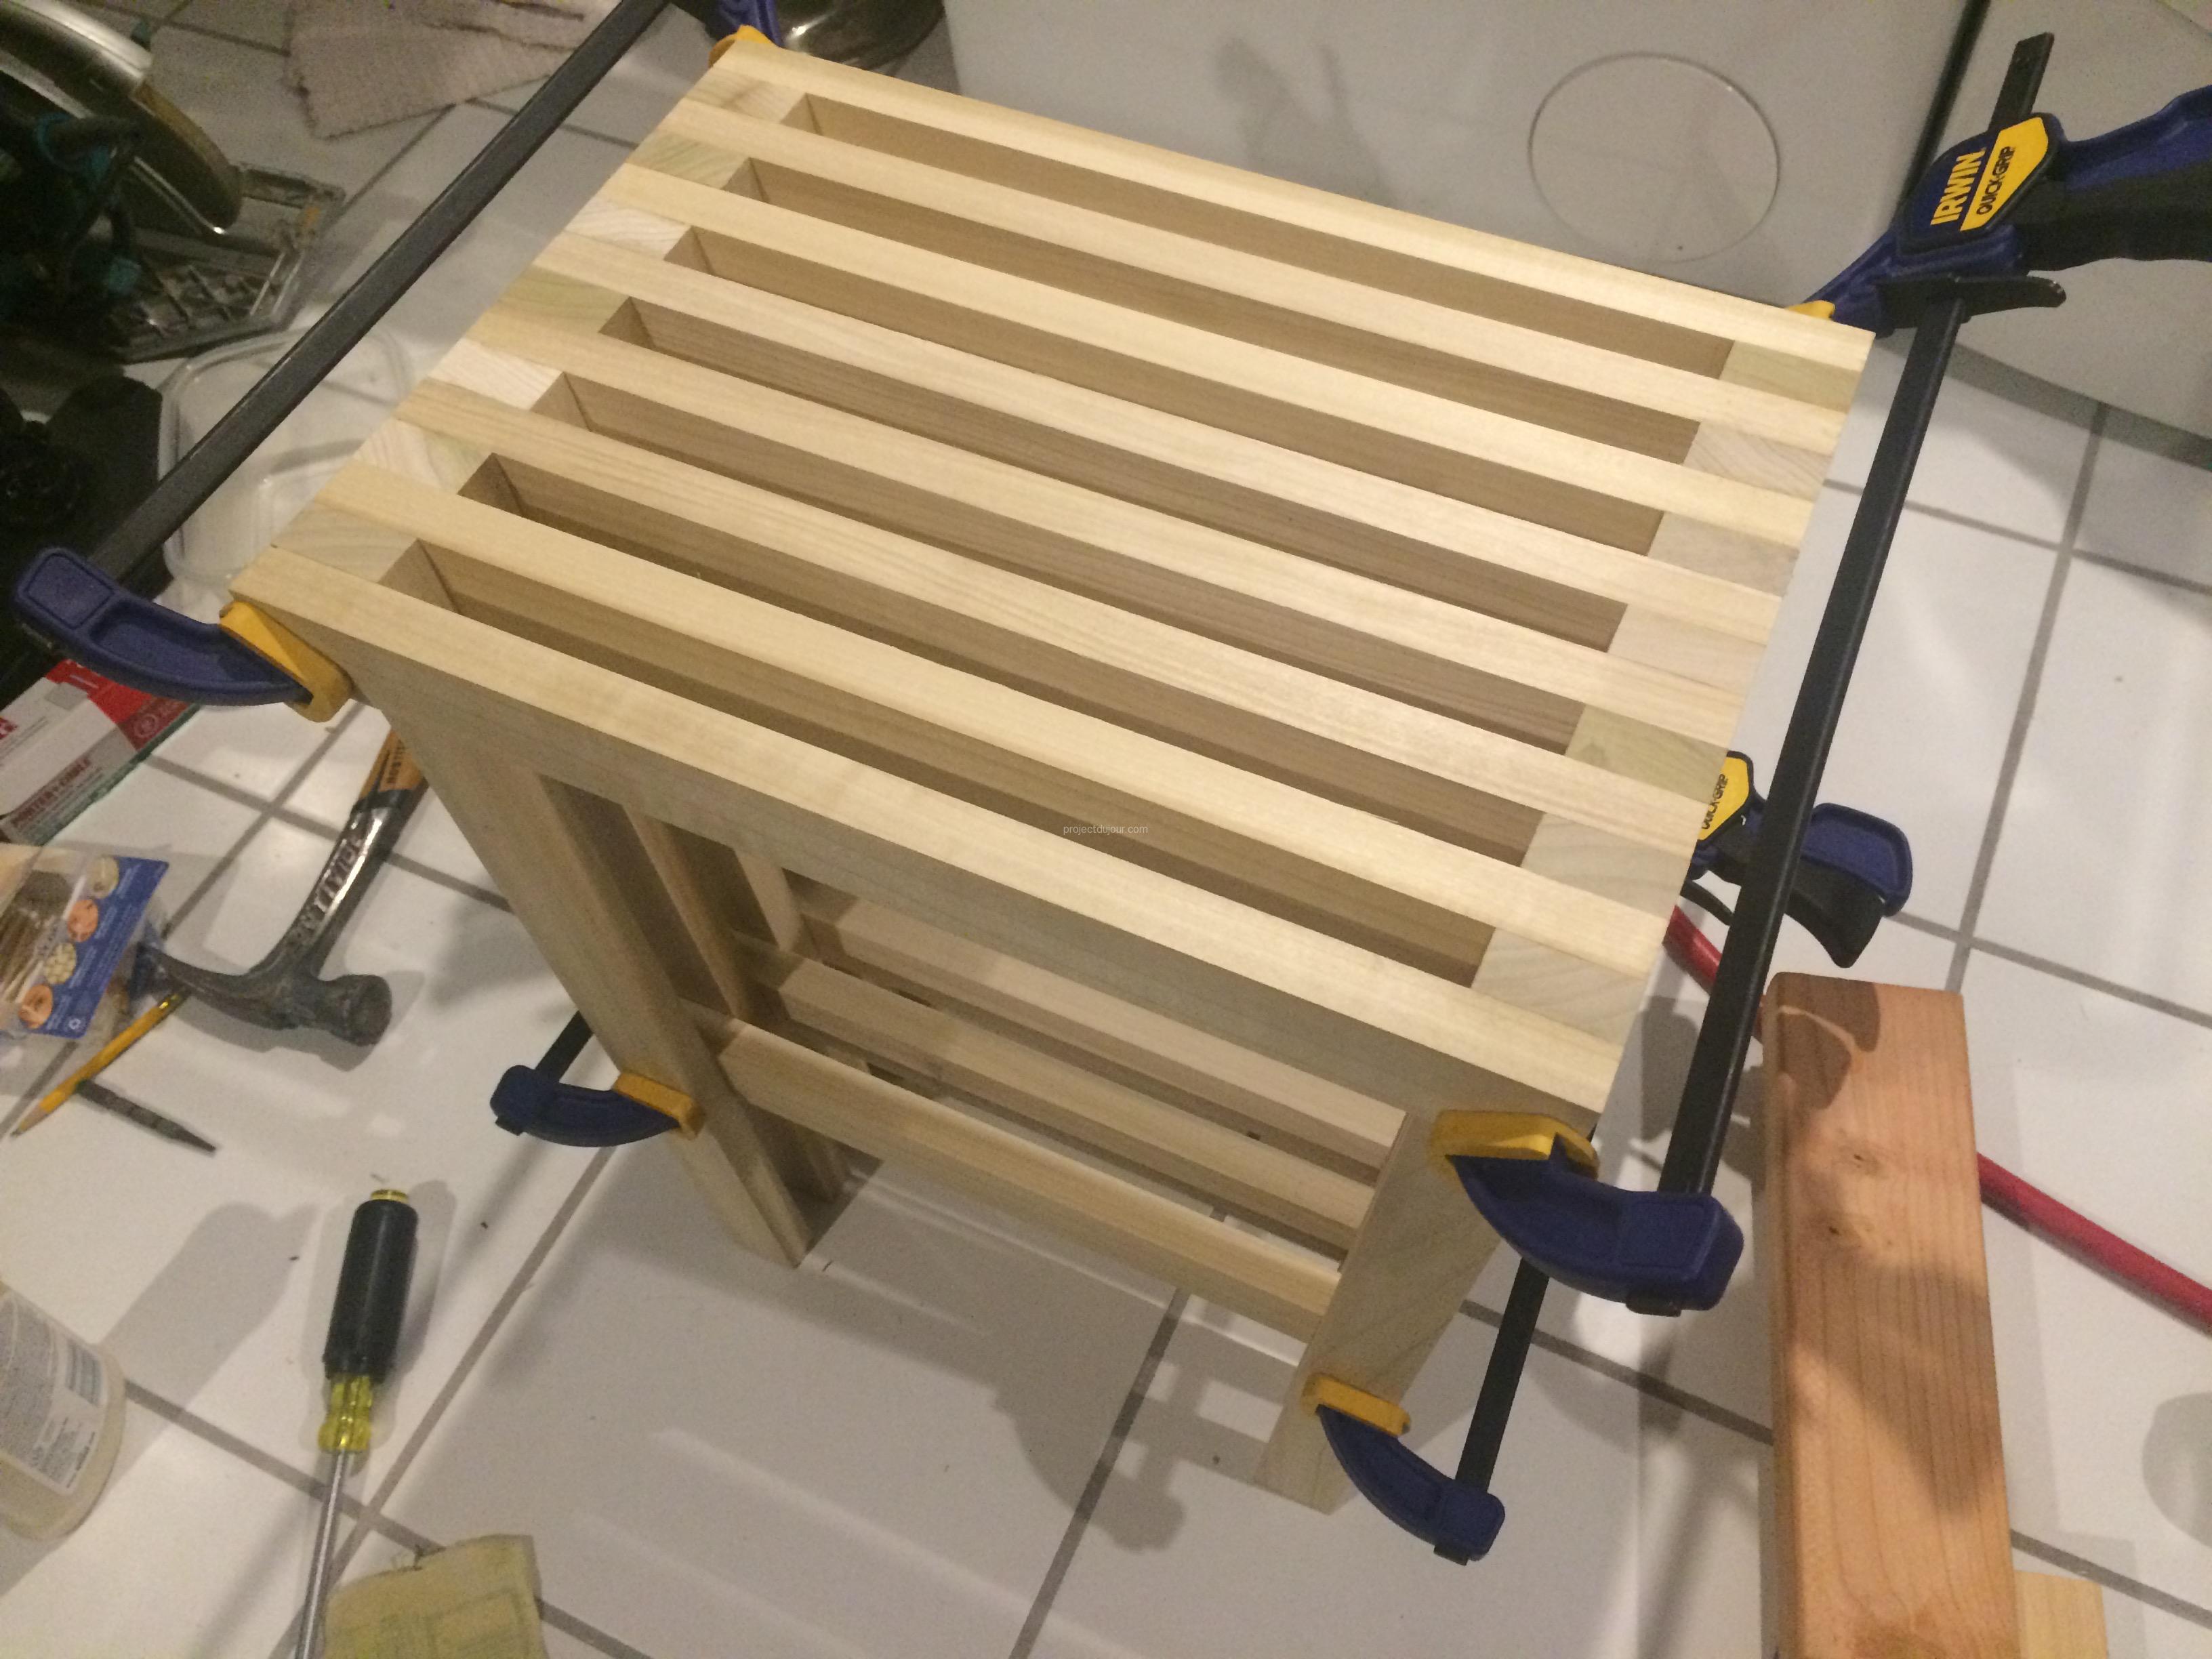
Getting a sense of what it will look like
Once I finished the narrow part of the bench, I started using long pieces. Note that I have extra long slat on the top compared to the shelf. This way the top sticks out and the shelf is recessed.
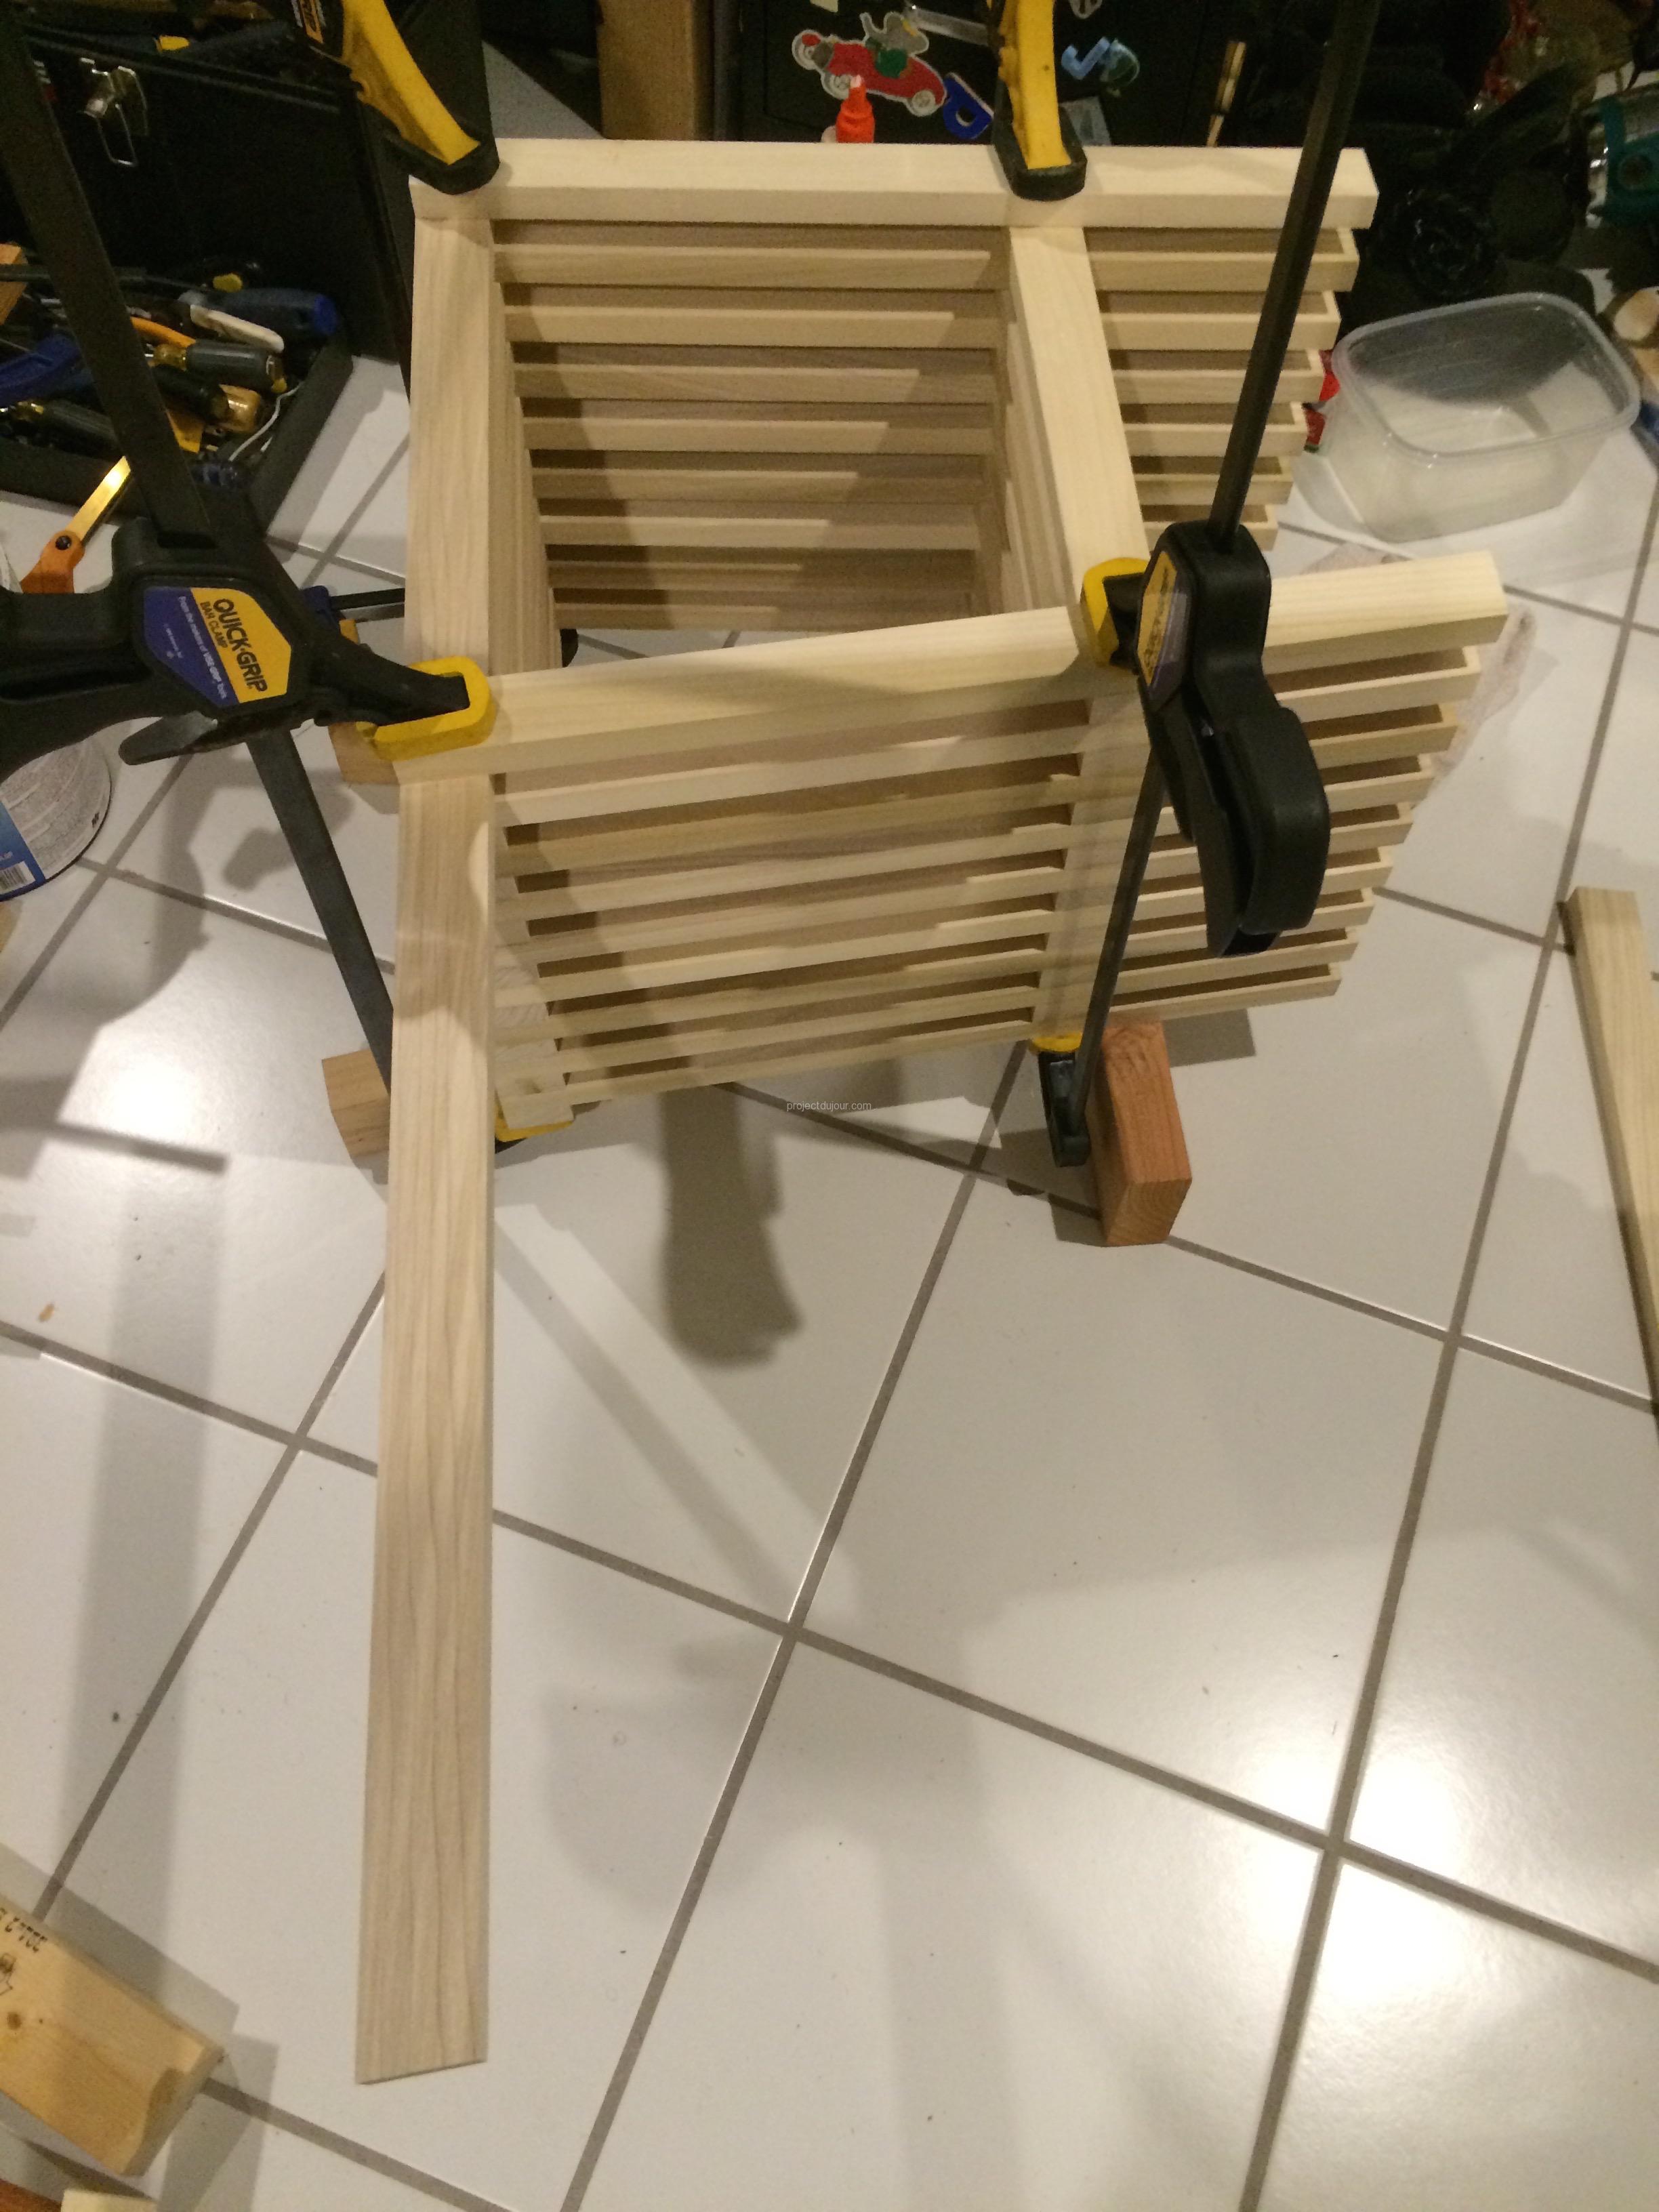
First long top piece
Using template to position feet
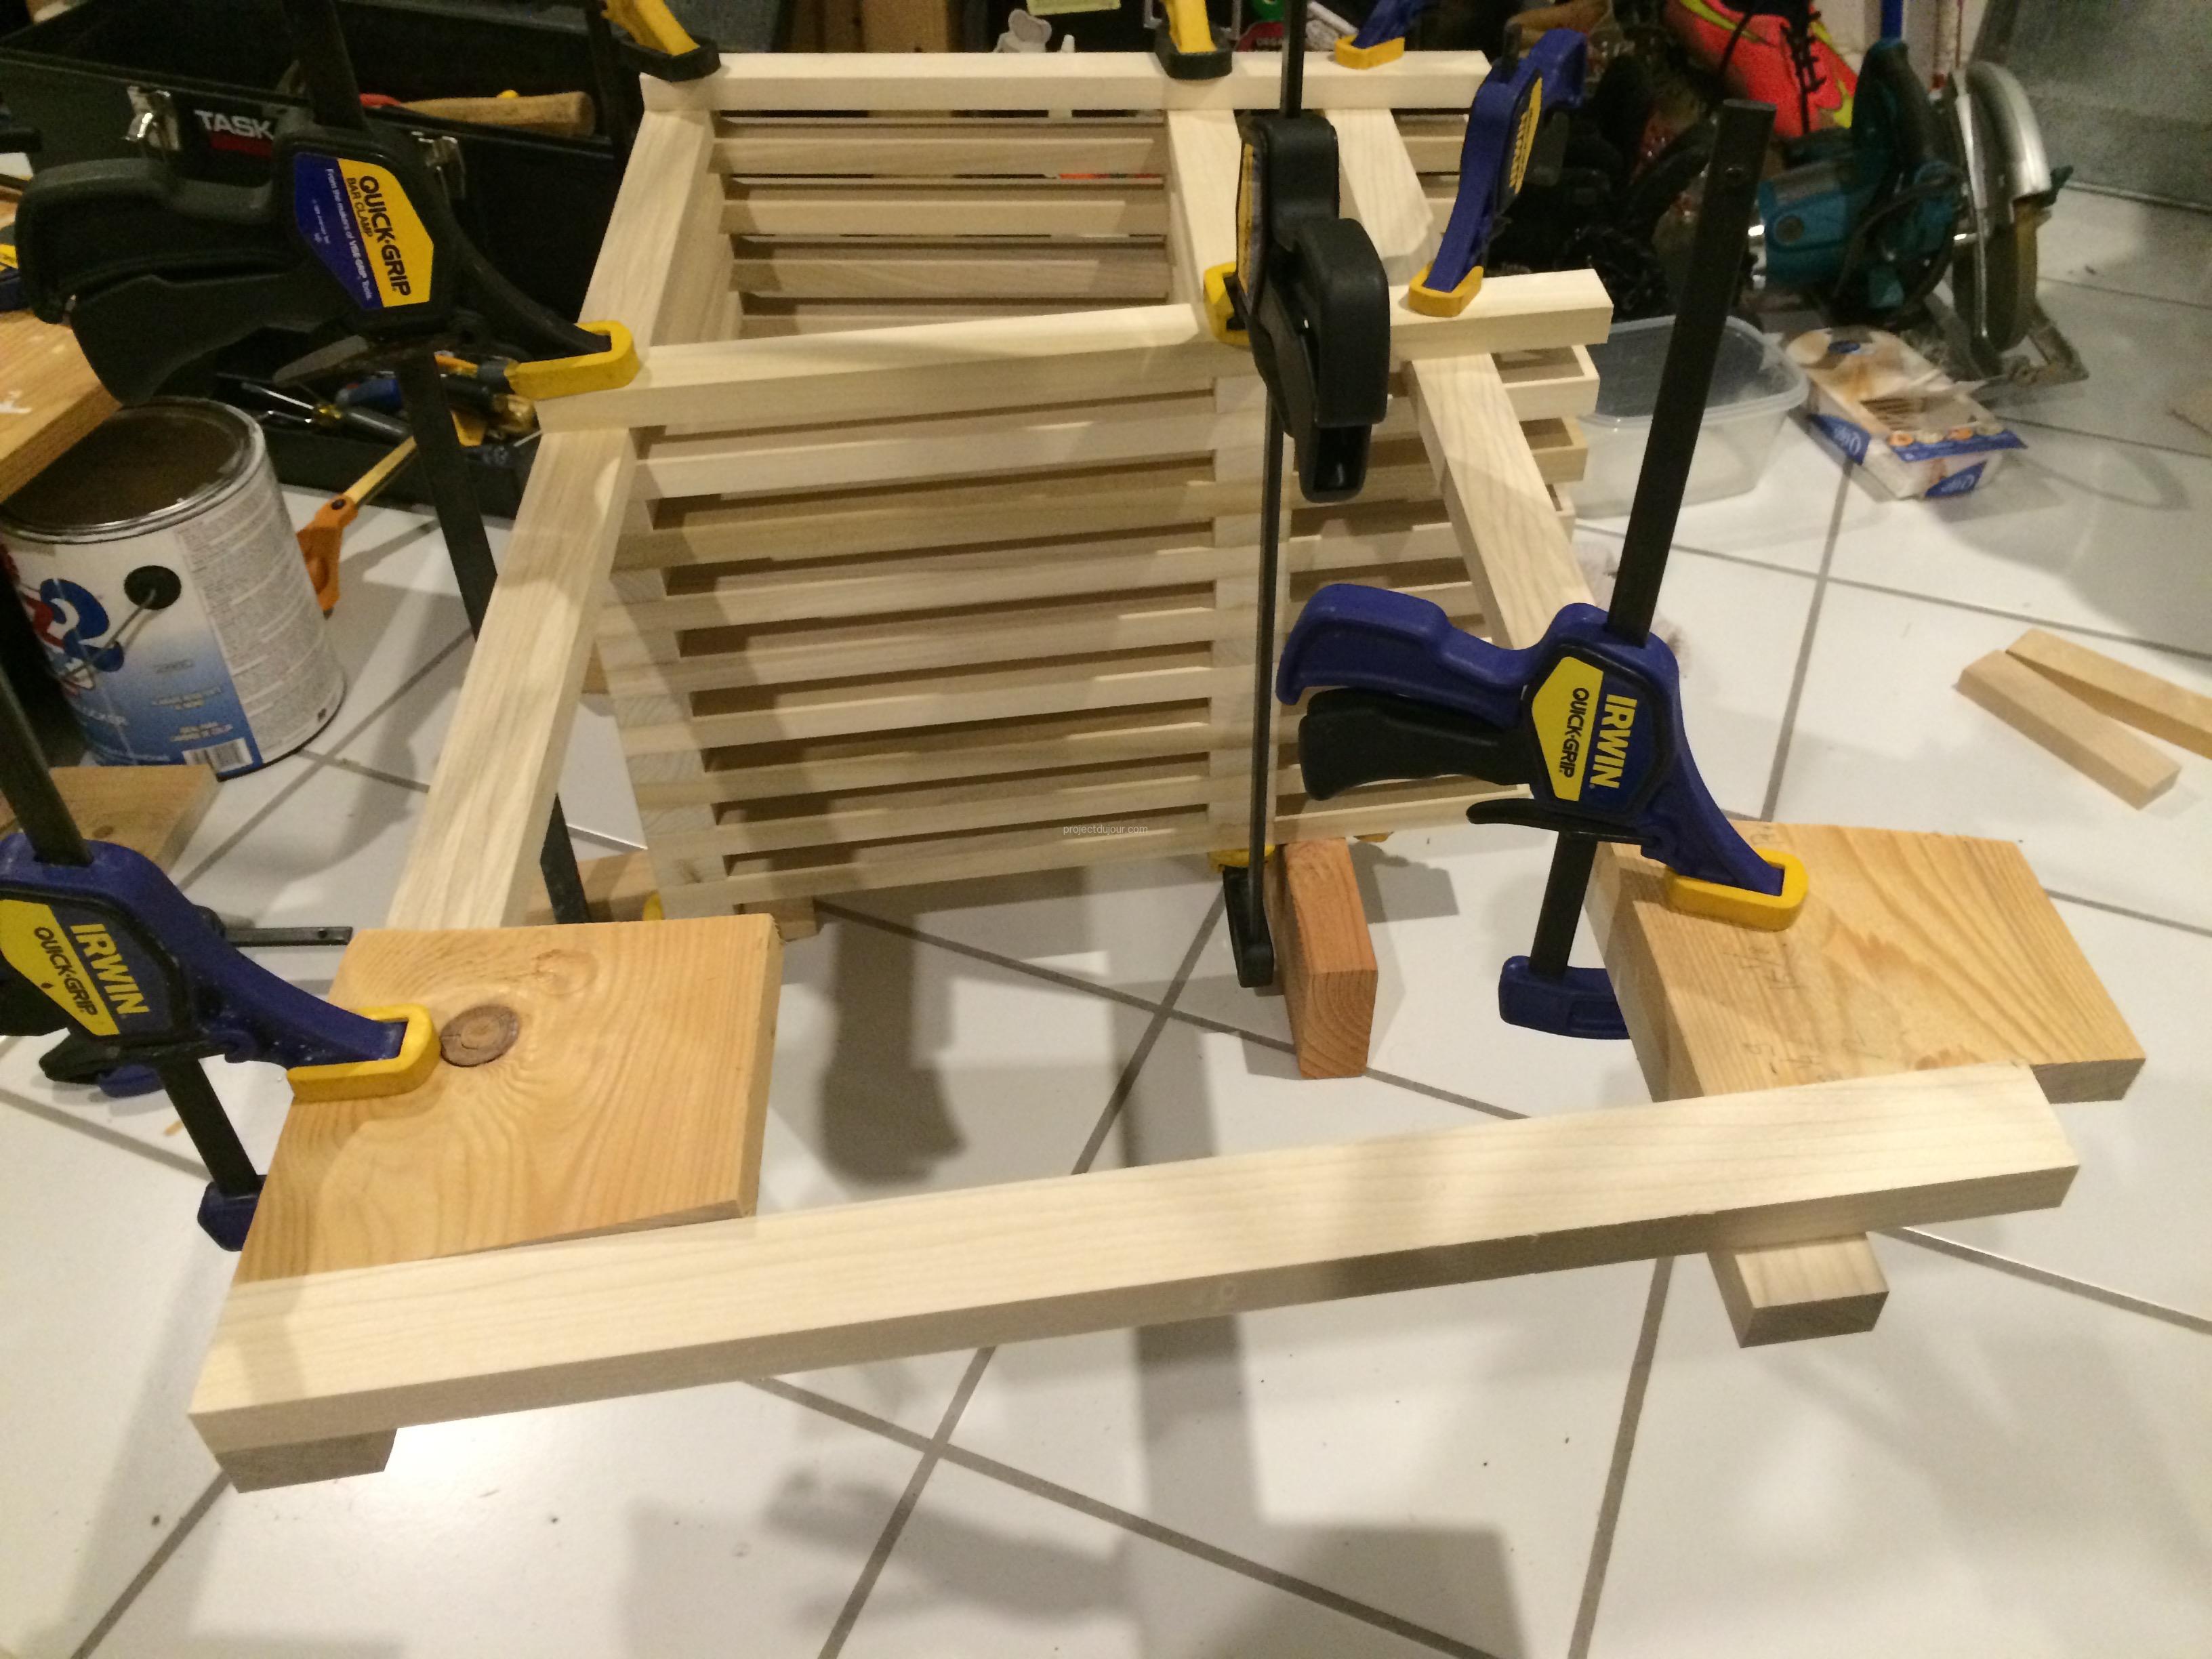
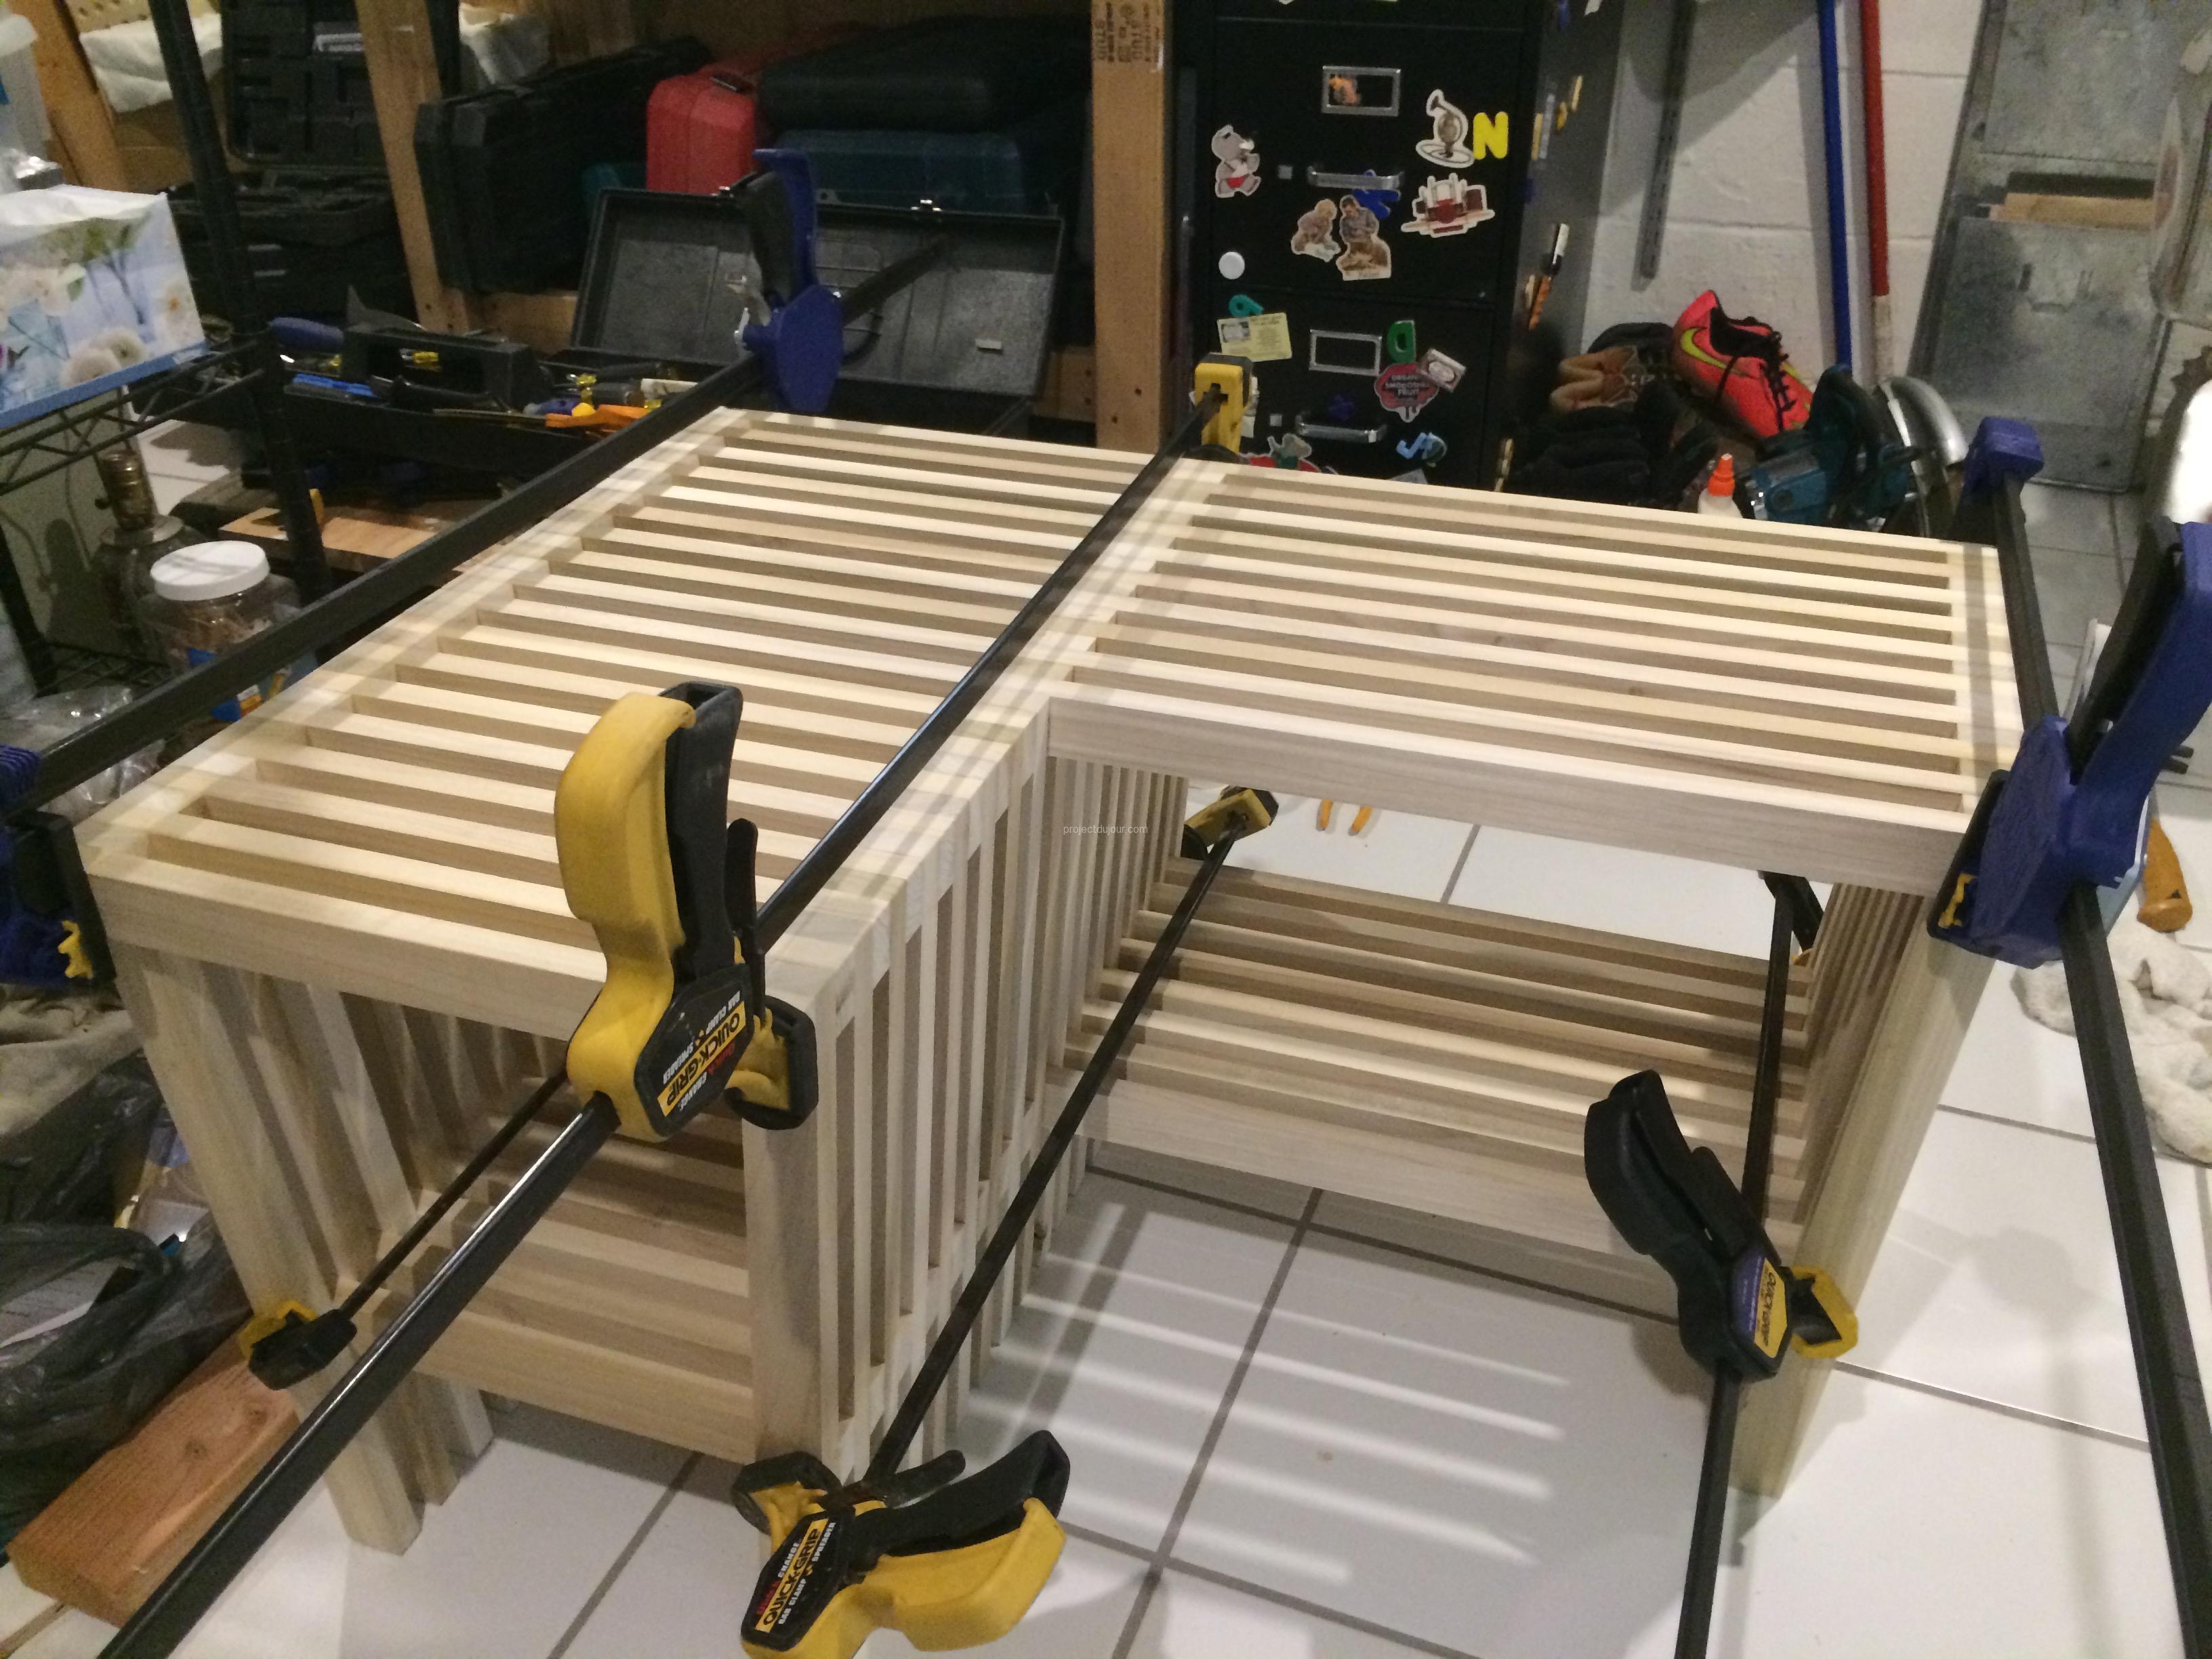
With all the angles figured out, I kept stacking, stacking and stacking, alternating two long pieces (top and shelf) and 3 vertical ones. That part was not overly exciting. After each layer, I checked that all the feet were still on the same level by putting the bench upright and looking for any rocking.
Stacking…
… and all assembled!
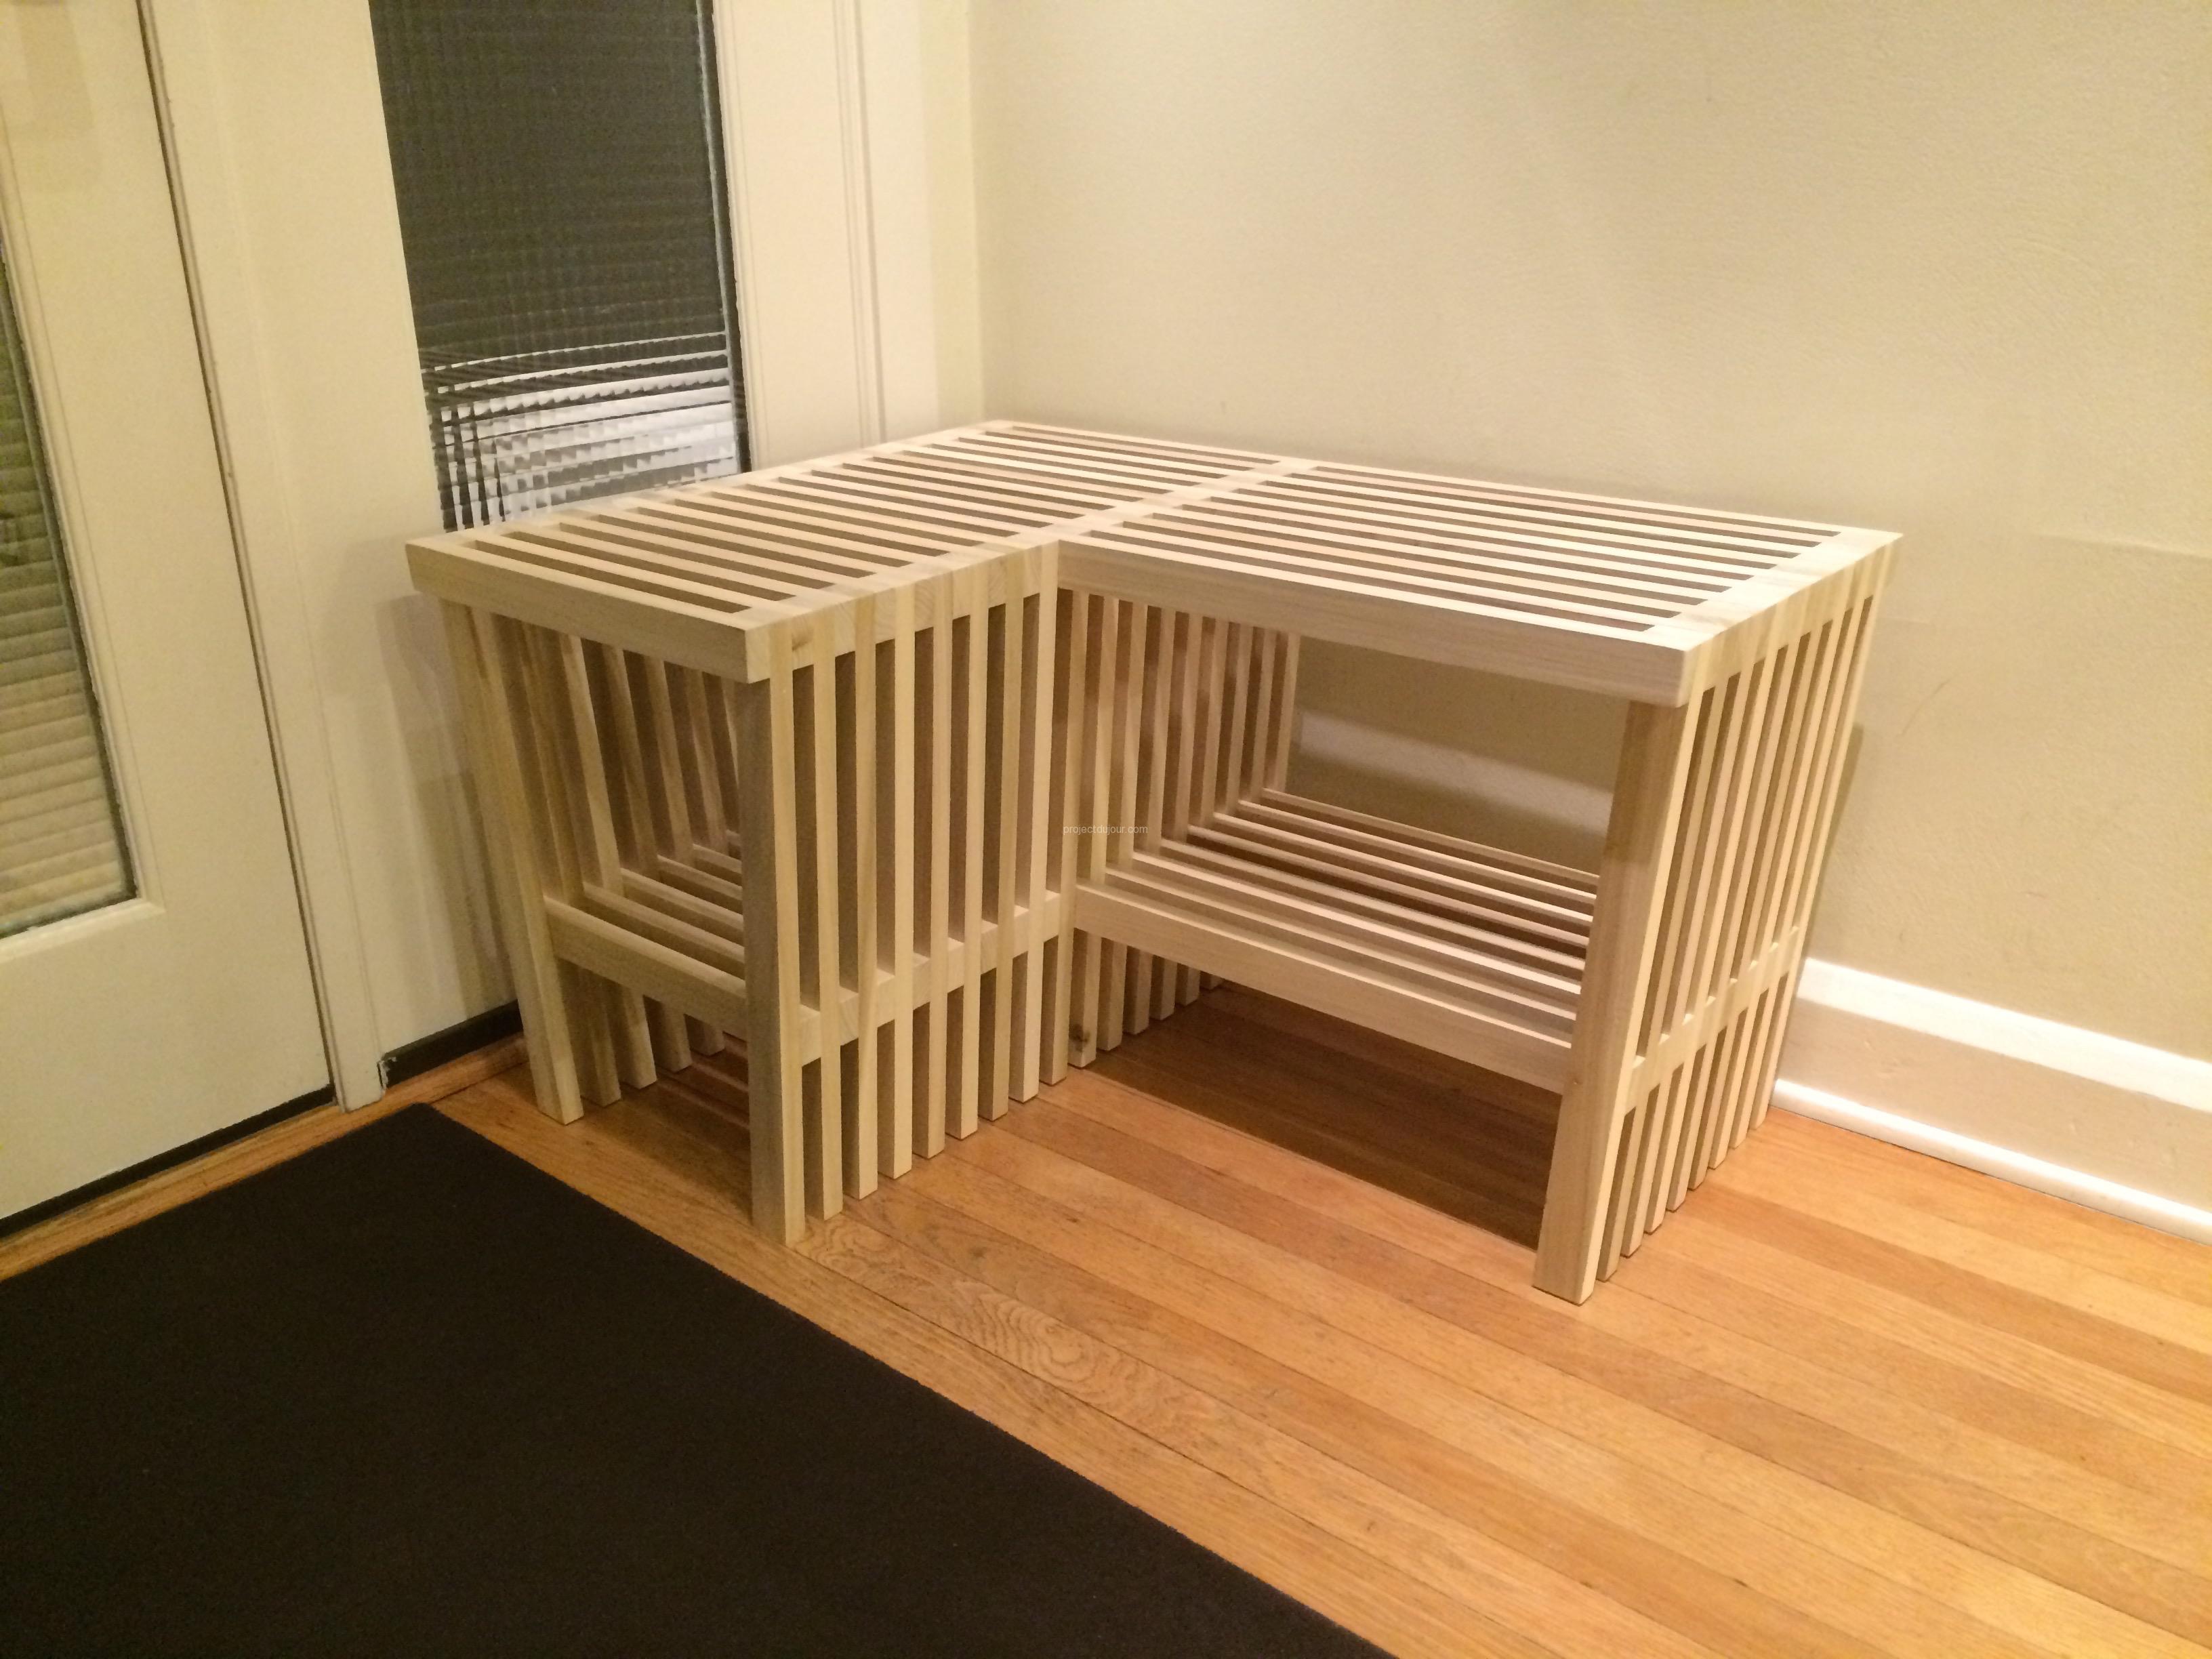
Sanded, ready for some finishing oil
After some extensive hand sanding to smooth the corners and level the differences between the slats, came the time to apply a finish. Varnish would have been tricky with all the corners and interstices between the slats. Wax might have worked but since the bench is intended for an entryway, wax might not be as strong as needed. I decided to use a clear oil found and found some at Lowes: Watco Danish Oil Finish, Natural. Oil can be applied loosely and drips can be wiped off with a rag before they can dry and solidify (as a varnish would do).

Watco Danish Oil
Project in numbers:
- 4: number of trips to Lowes to find enough 2″ by 1″ poplar boards. Stores don’t shelve that much poplar and I was a bit picky so I eliminated all the boards that had some defects (scratches, warp, knots…)
- 35: number of layers, count at least half an hour to let the glue dry between layers.
- 1732: linear inches of 2″ by 1″, or about 217 feet. This includes:
- 43 pieces 20″ long for the feet
- 8 pieces 16″ long and 10 pieces 36″ long for the top
- 8 pieces 14″ long and 8 pieces 34″ long for the shelf (approximative length, based on angle and shelve height)
- 166: junctions between two slats that had to be glued
- 664: number of finish nails, 4 per junction
- 6: number of 3″ clamp needed, 2 old ones, 2 from my neighbor (thanks Mike) and 2 new ones. What’s the point of new projects if one can’t buy new toys?
